
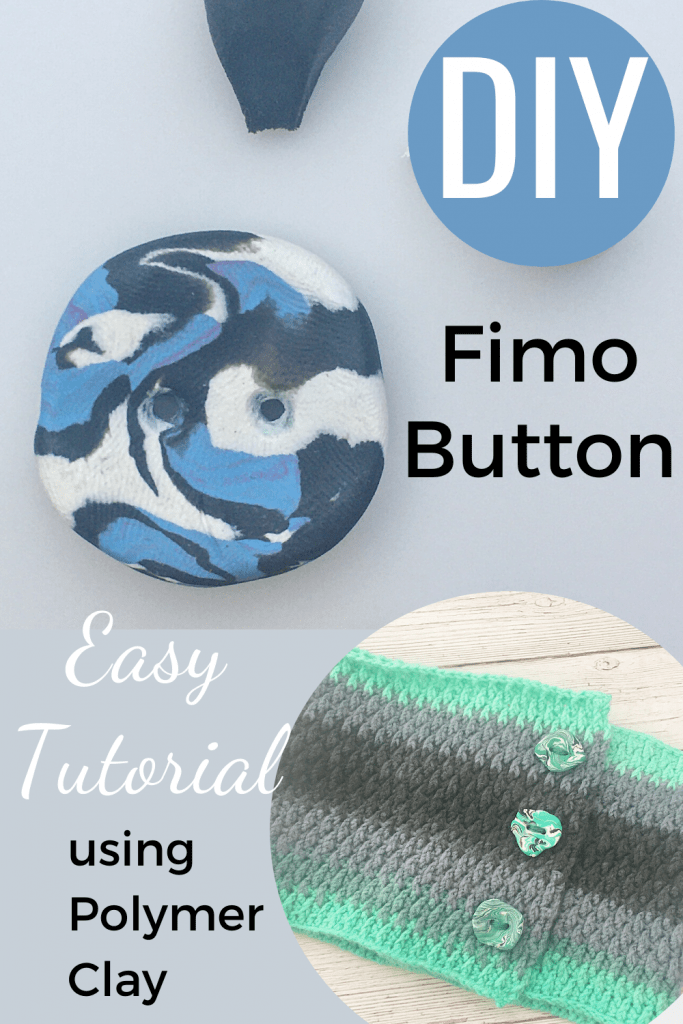
Polymer clay is a great and easy material to work with and gives you endless creative opportunity. Making marbleized buttons is just one way to use them. Select colors to match or contrast your crochet or knitting project and you can really elevate your handmade garments.
Buttons can be made from any polymer clay. Fimo and Sculpey are the most common ones and I used a sampler pack of Sculpey for mine.
You can buy the ad-free printable PDF for this Button Tutorial on Etsy. Thank you for your support!
“As an Amazon Associate I earn from qualifying purchases. If you make a purchase through my link, I will make a small commission with no extra cost to you. “
Materials:
- Sculpey or Fimo in black, white and blue
- pencil
- oven
You can make buttons for just about anything! The crochet pattern and tutorial for the cowl that I made my buttons for is available here.
Here is a video of each step or you can follow along with the photos!
How to Make Marbleized Fimo Buttons
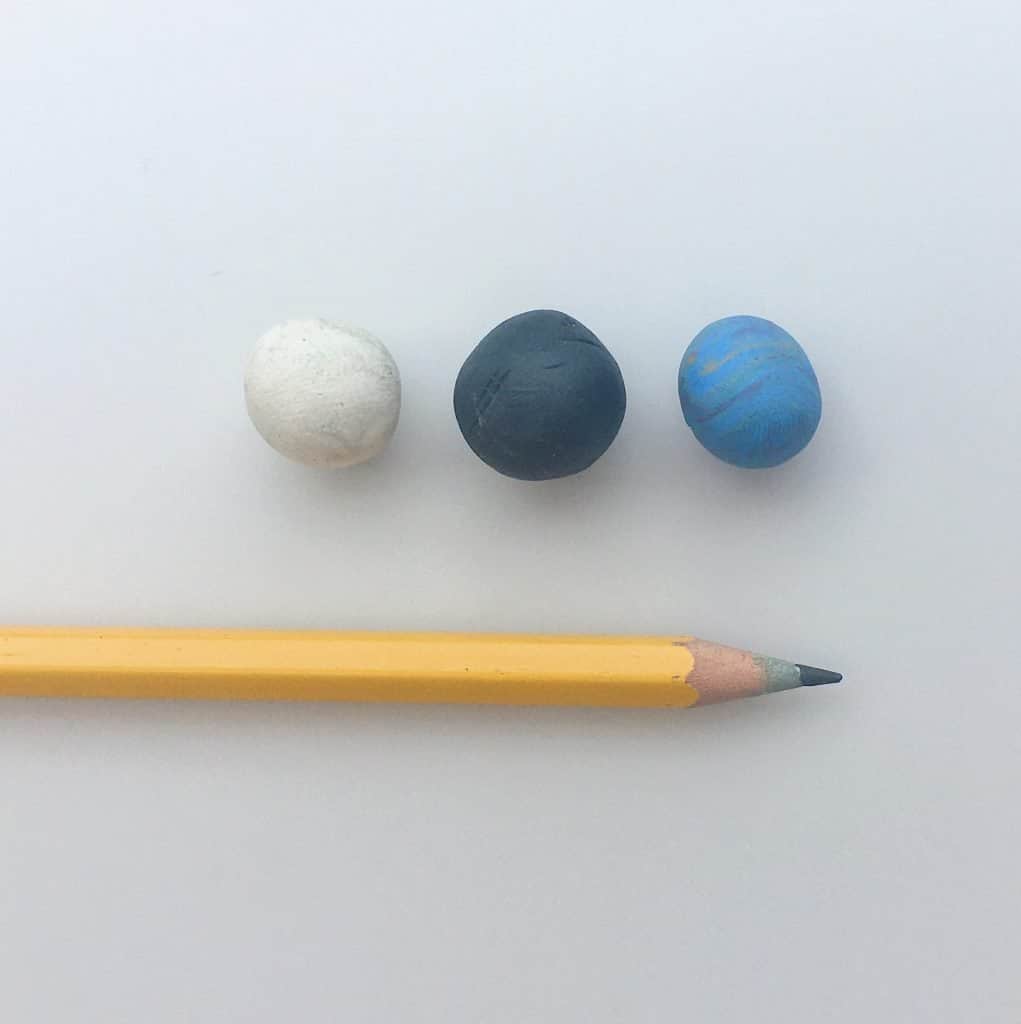
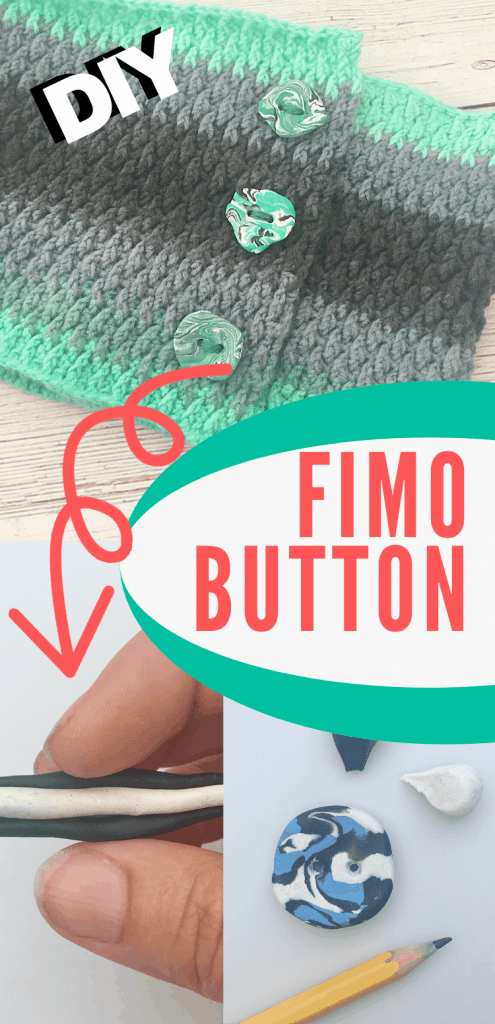
Start with 3 balls of blue, black and white.
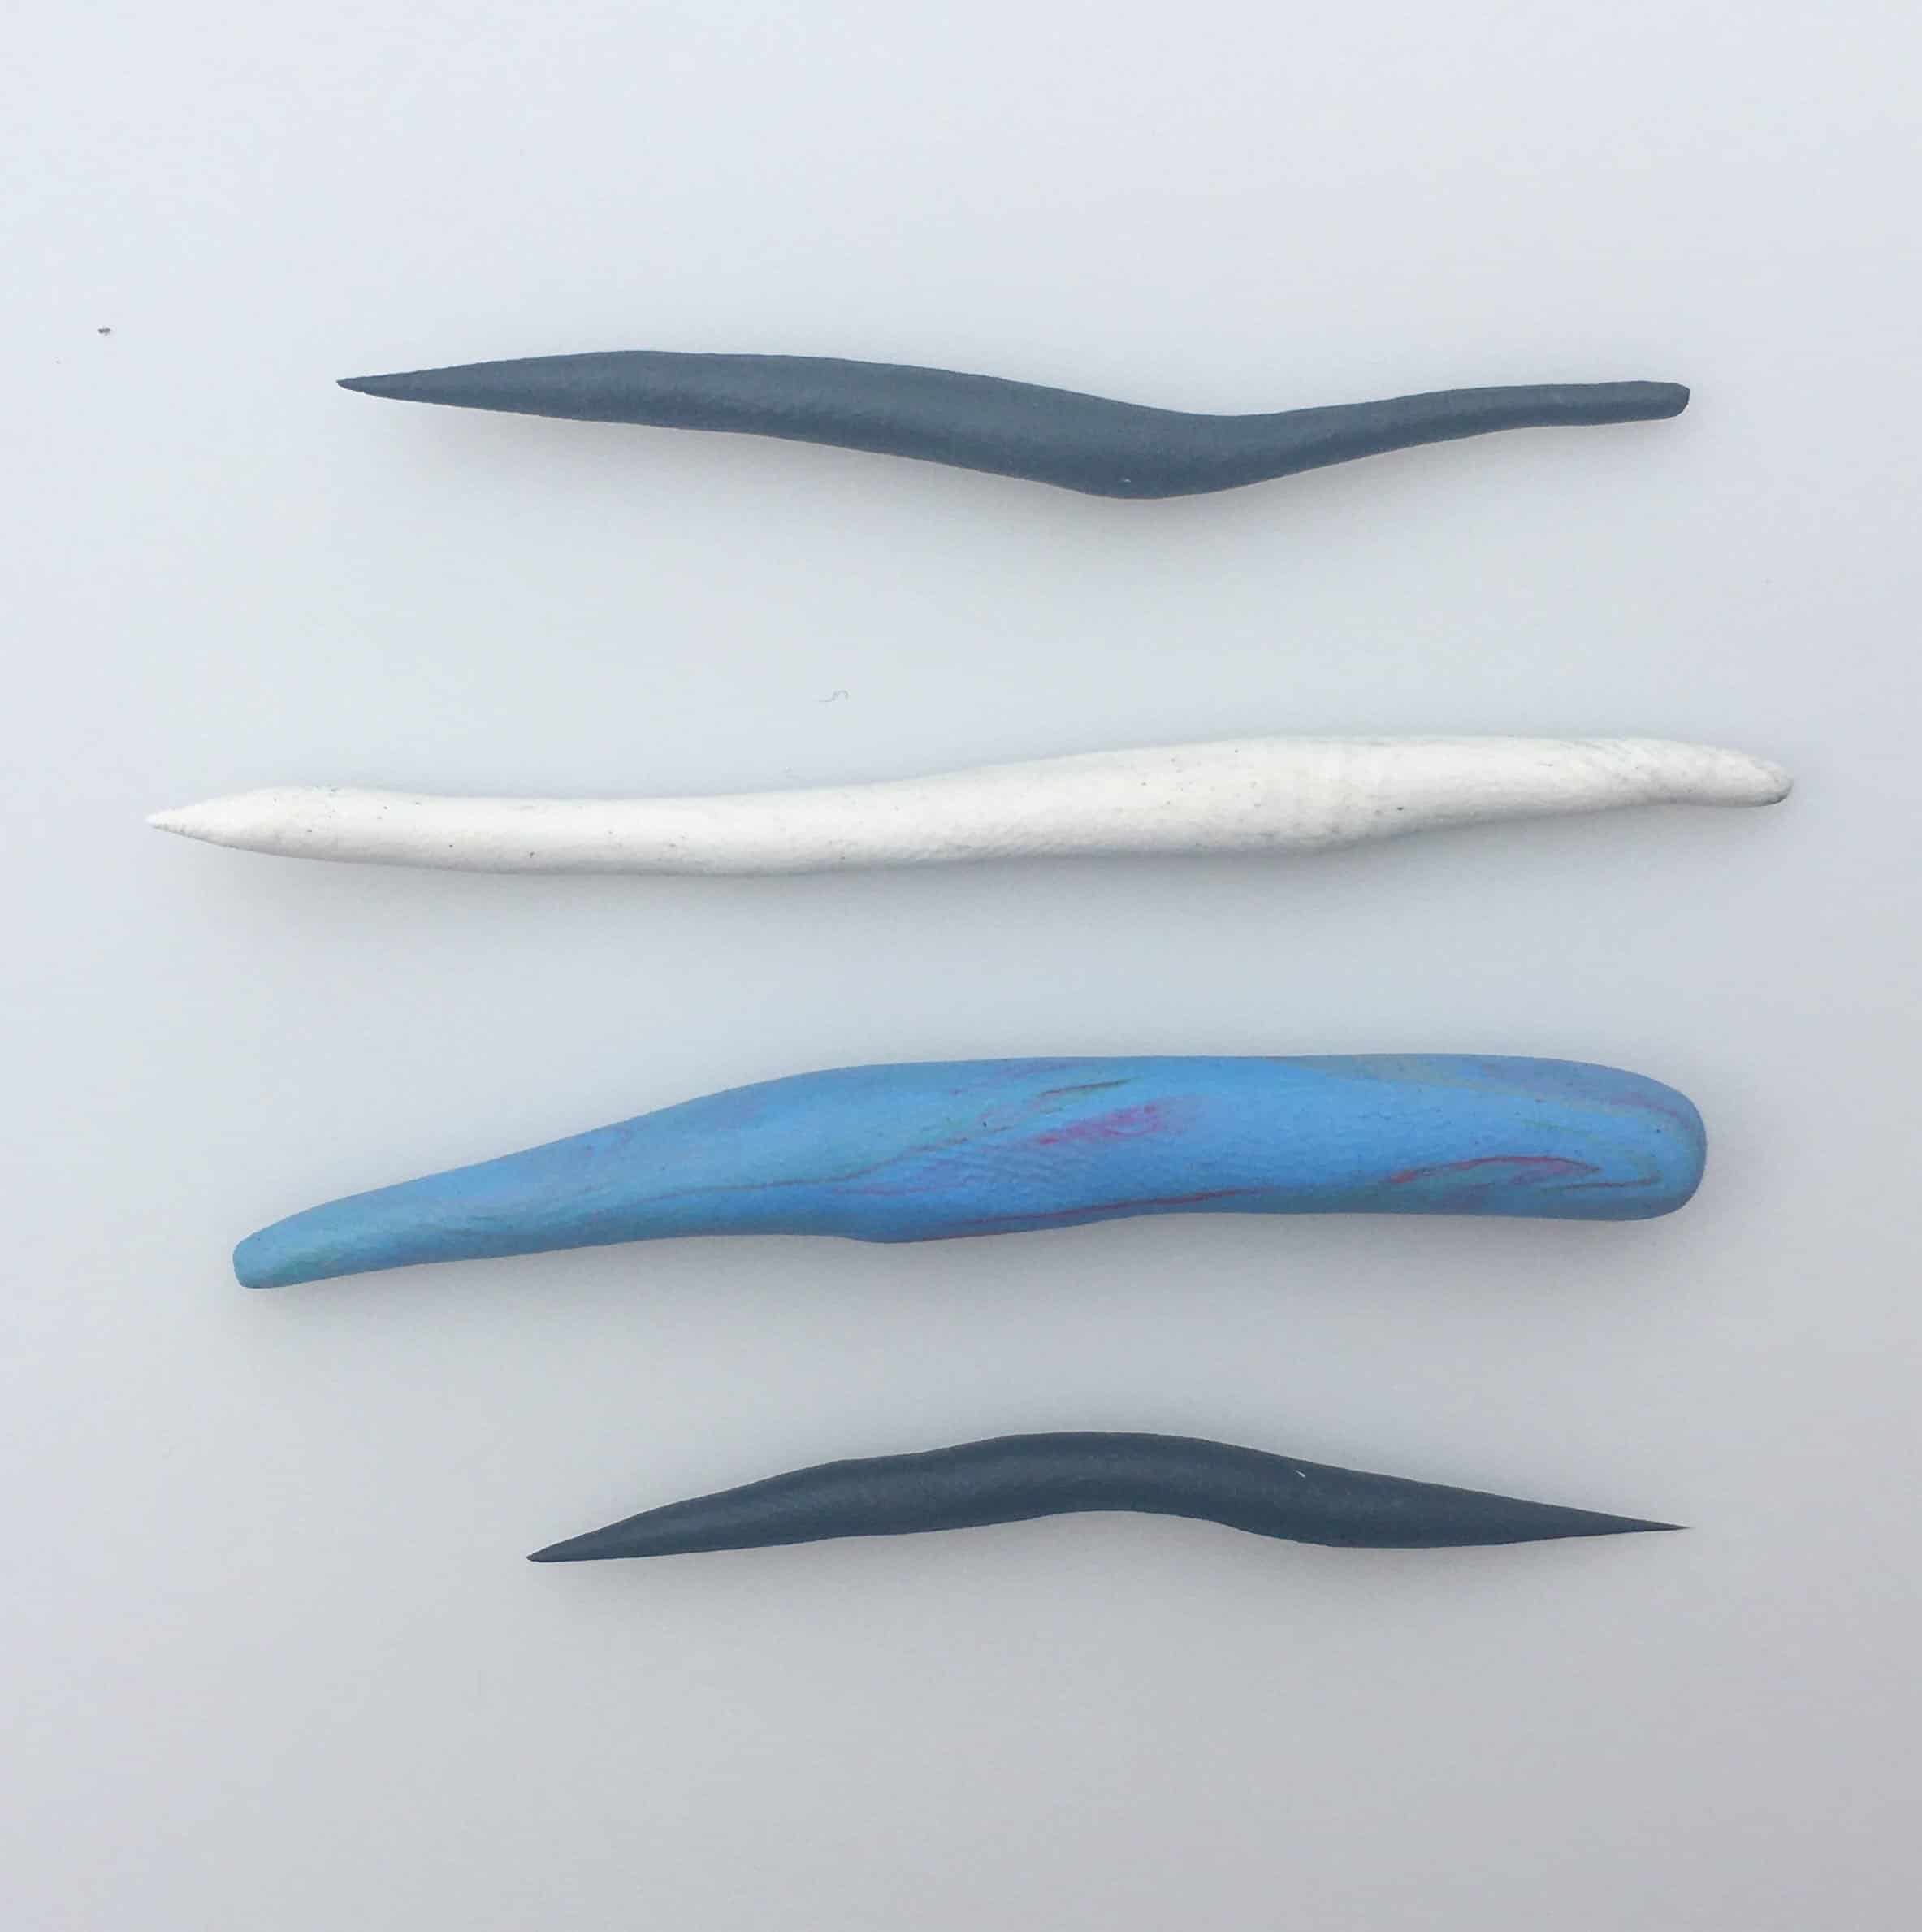
Then take a bit of the black and make 2 thin long tubes by rolling them between your hands.
Then make a white tube just a little bigger.
And Finally a blue tube that should be the biggest.
Your main color should be the biggest tube and the other smaller. Always use the smallest amount for the black since it can easily take over.
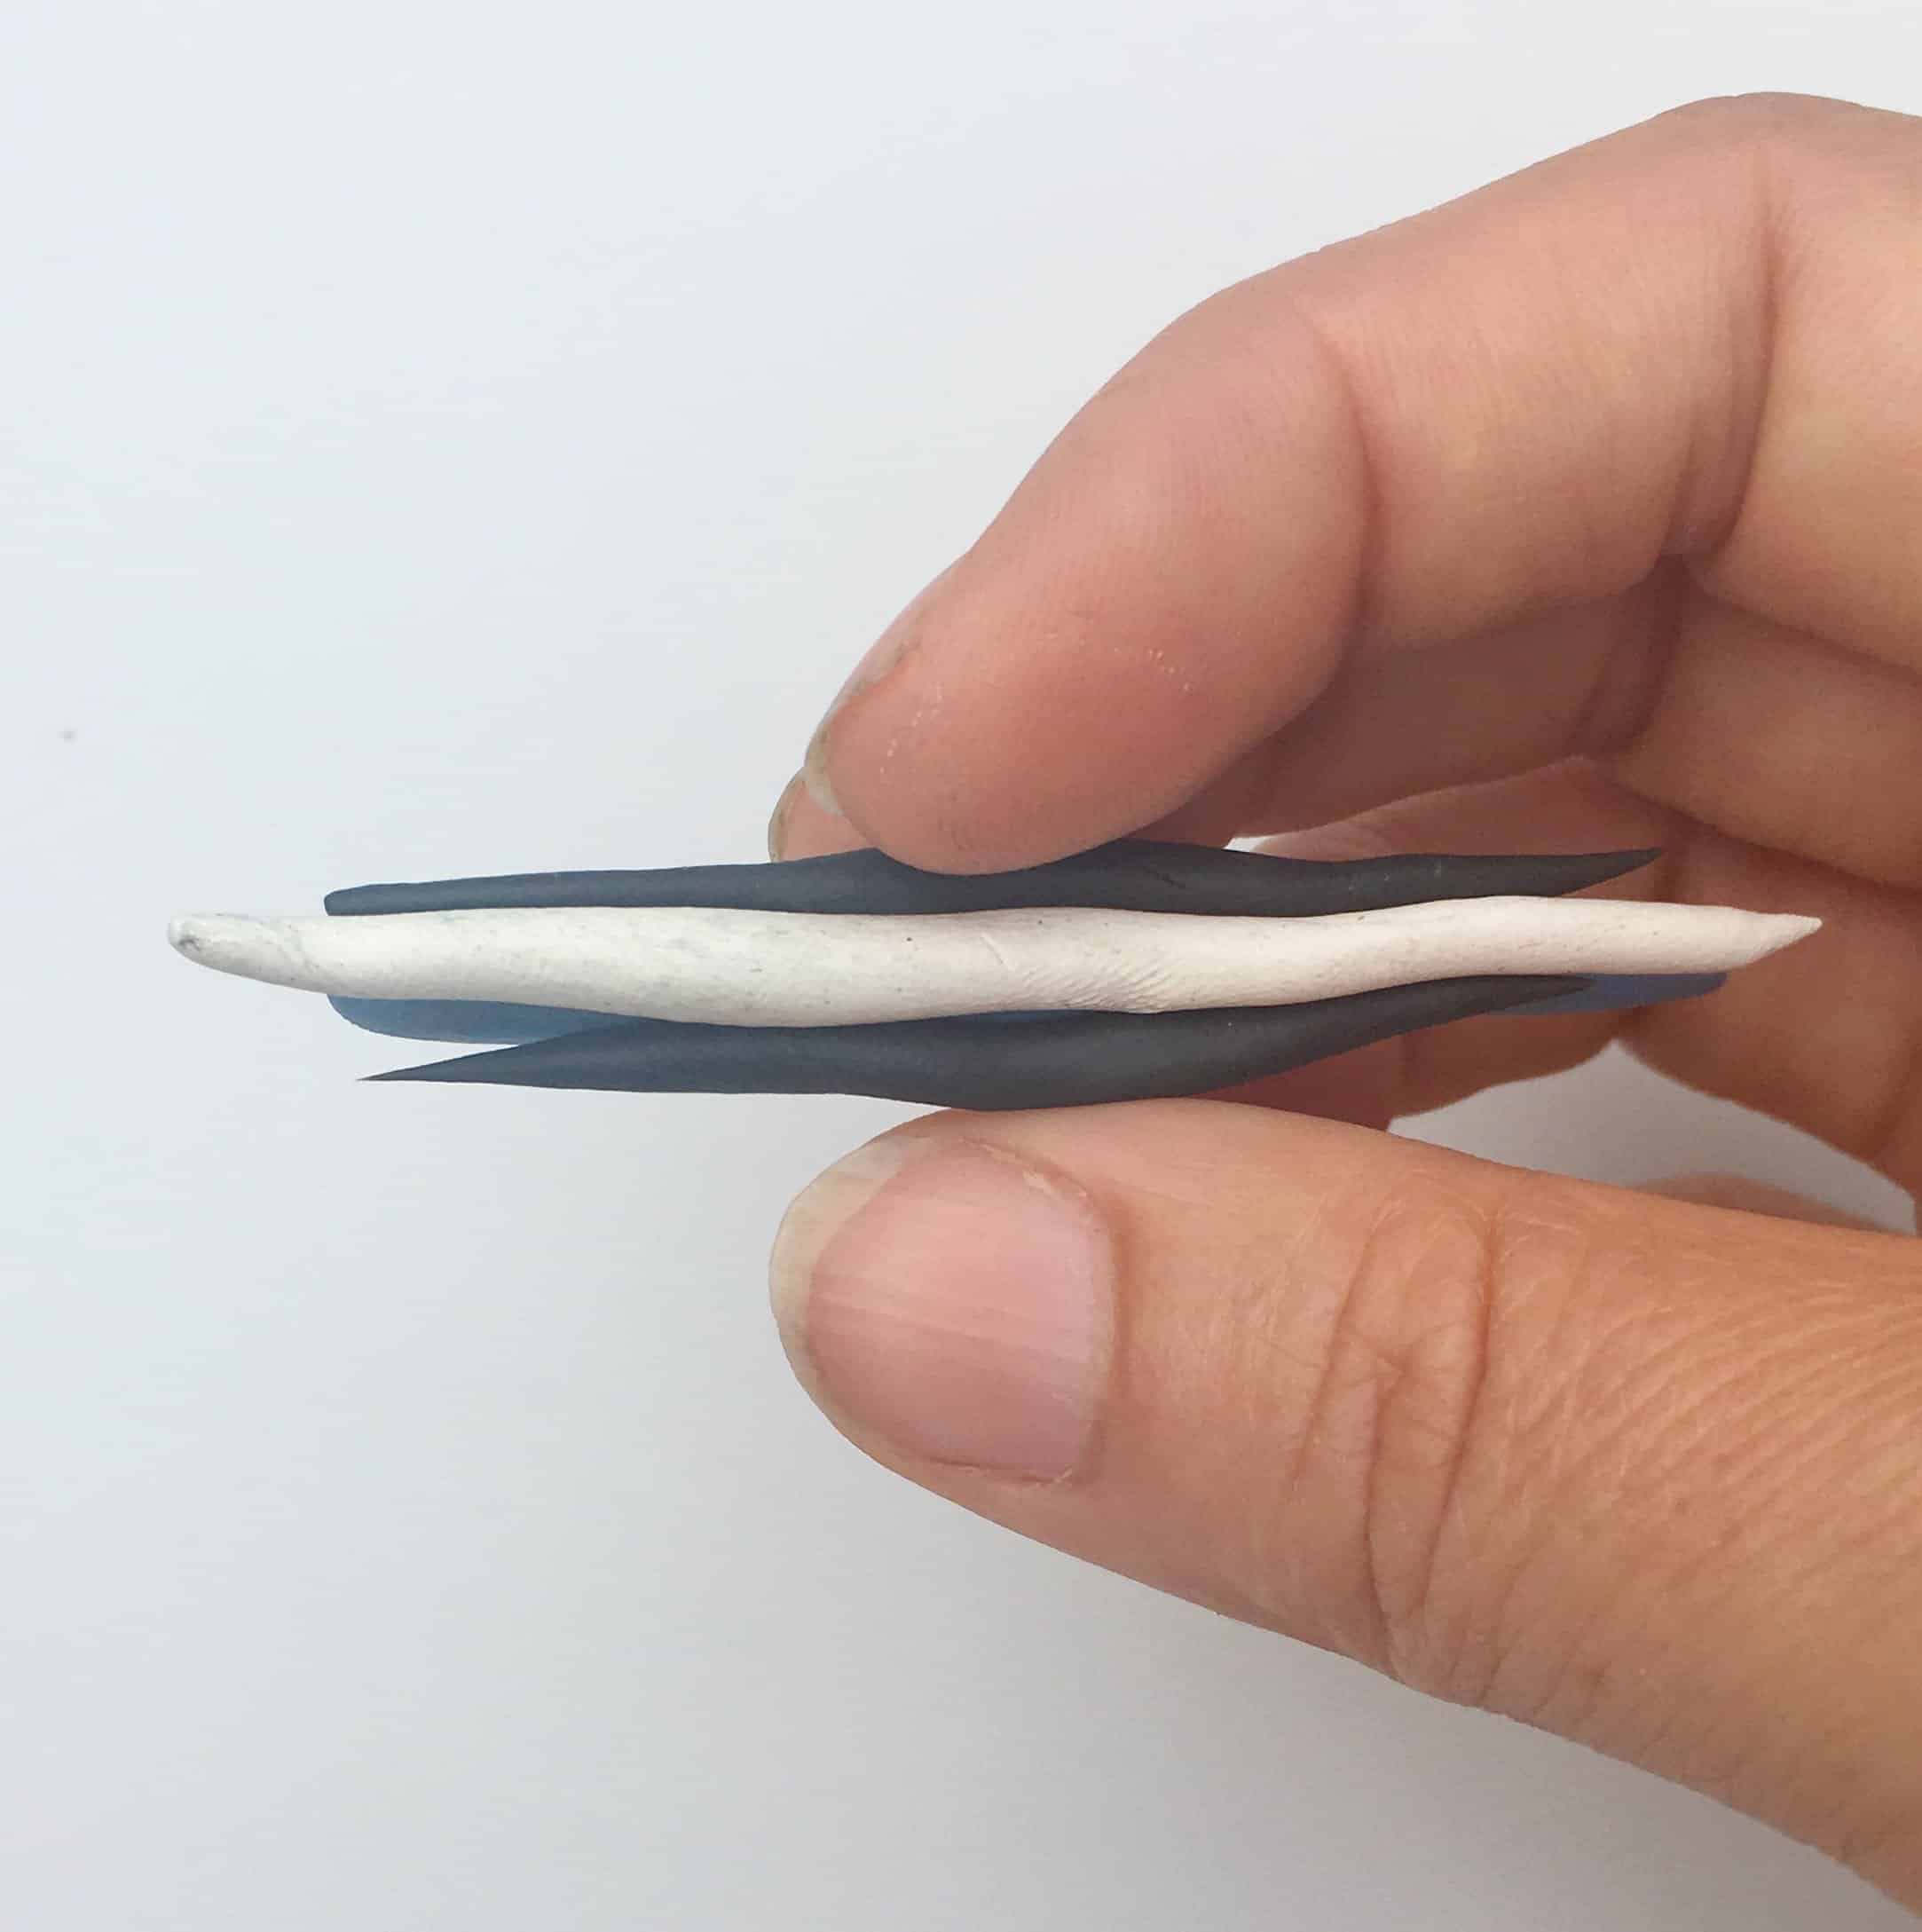
Now place them together making sure not to have 2 of the same colors right next to each other.
Then twist them so they start blending.
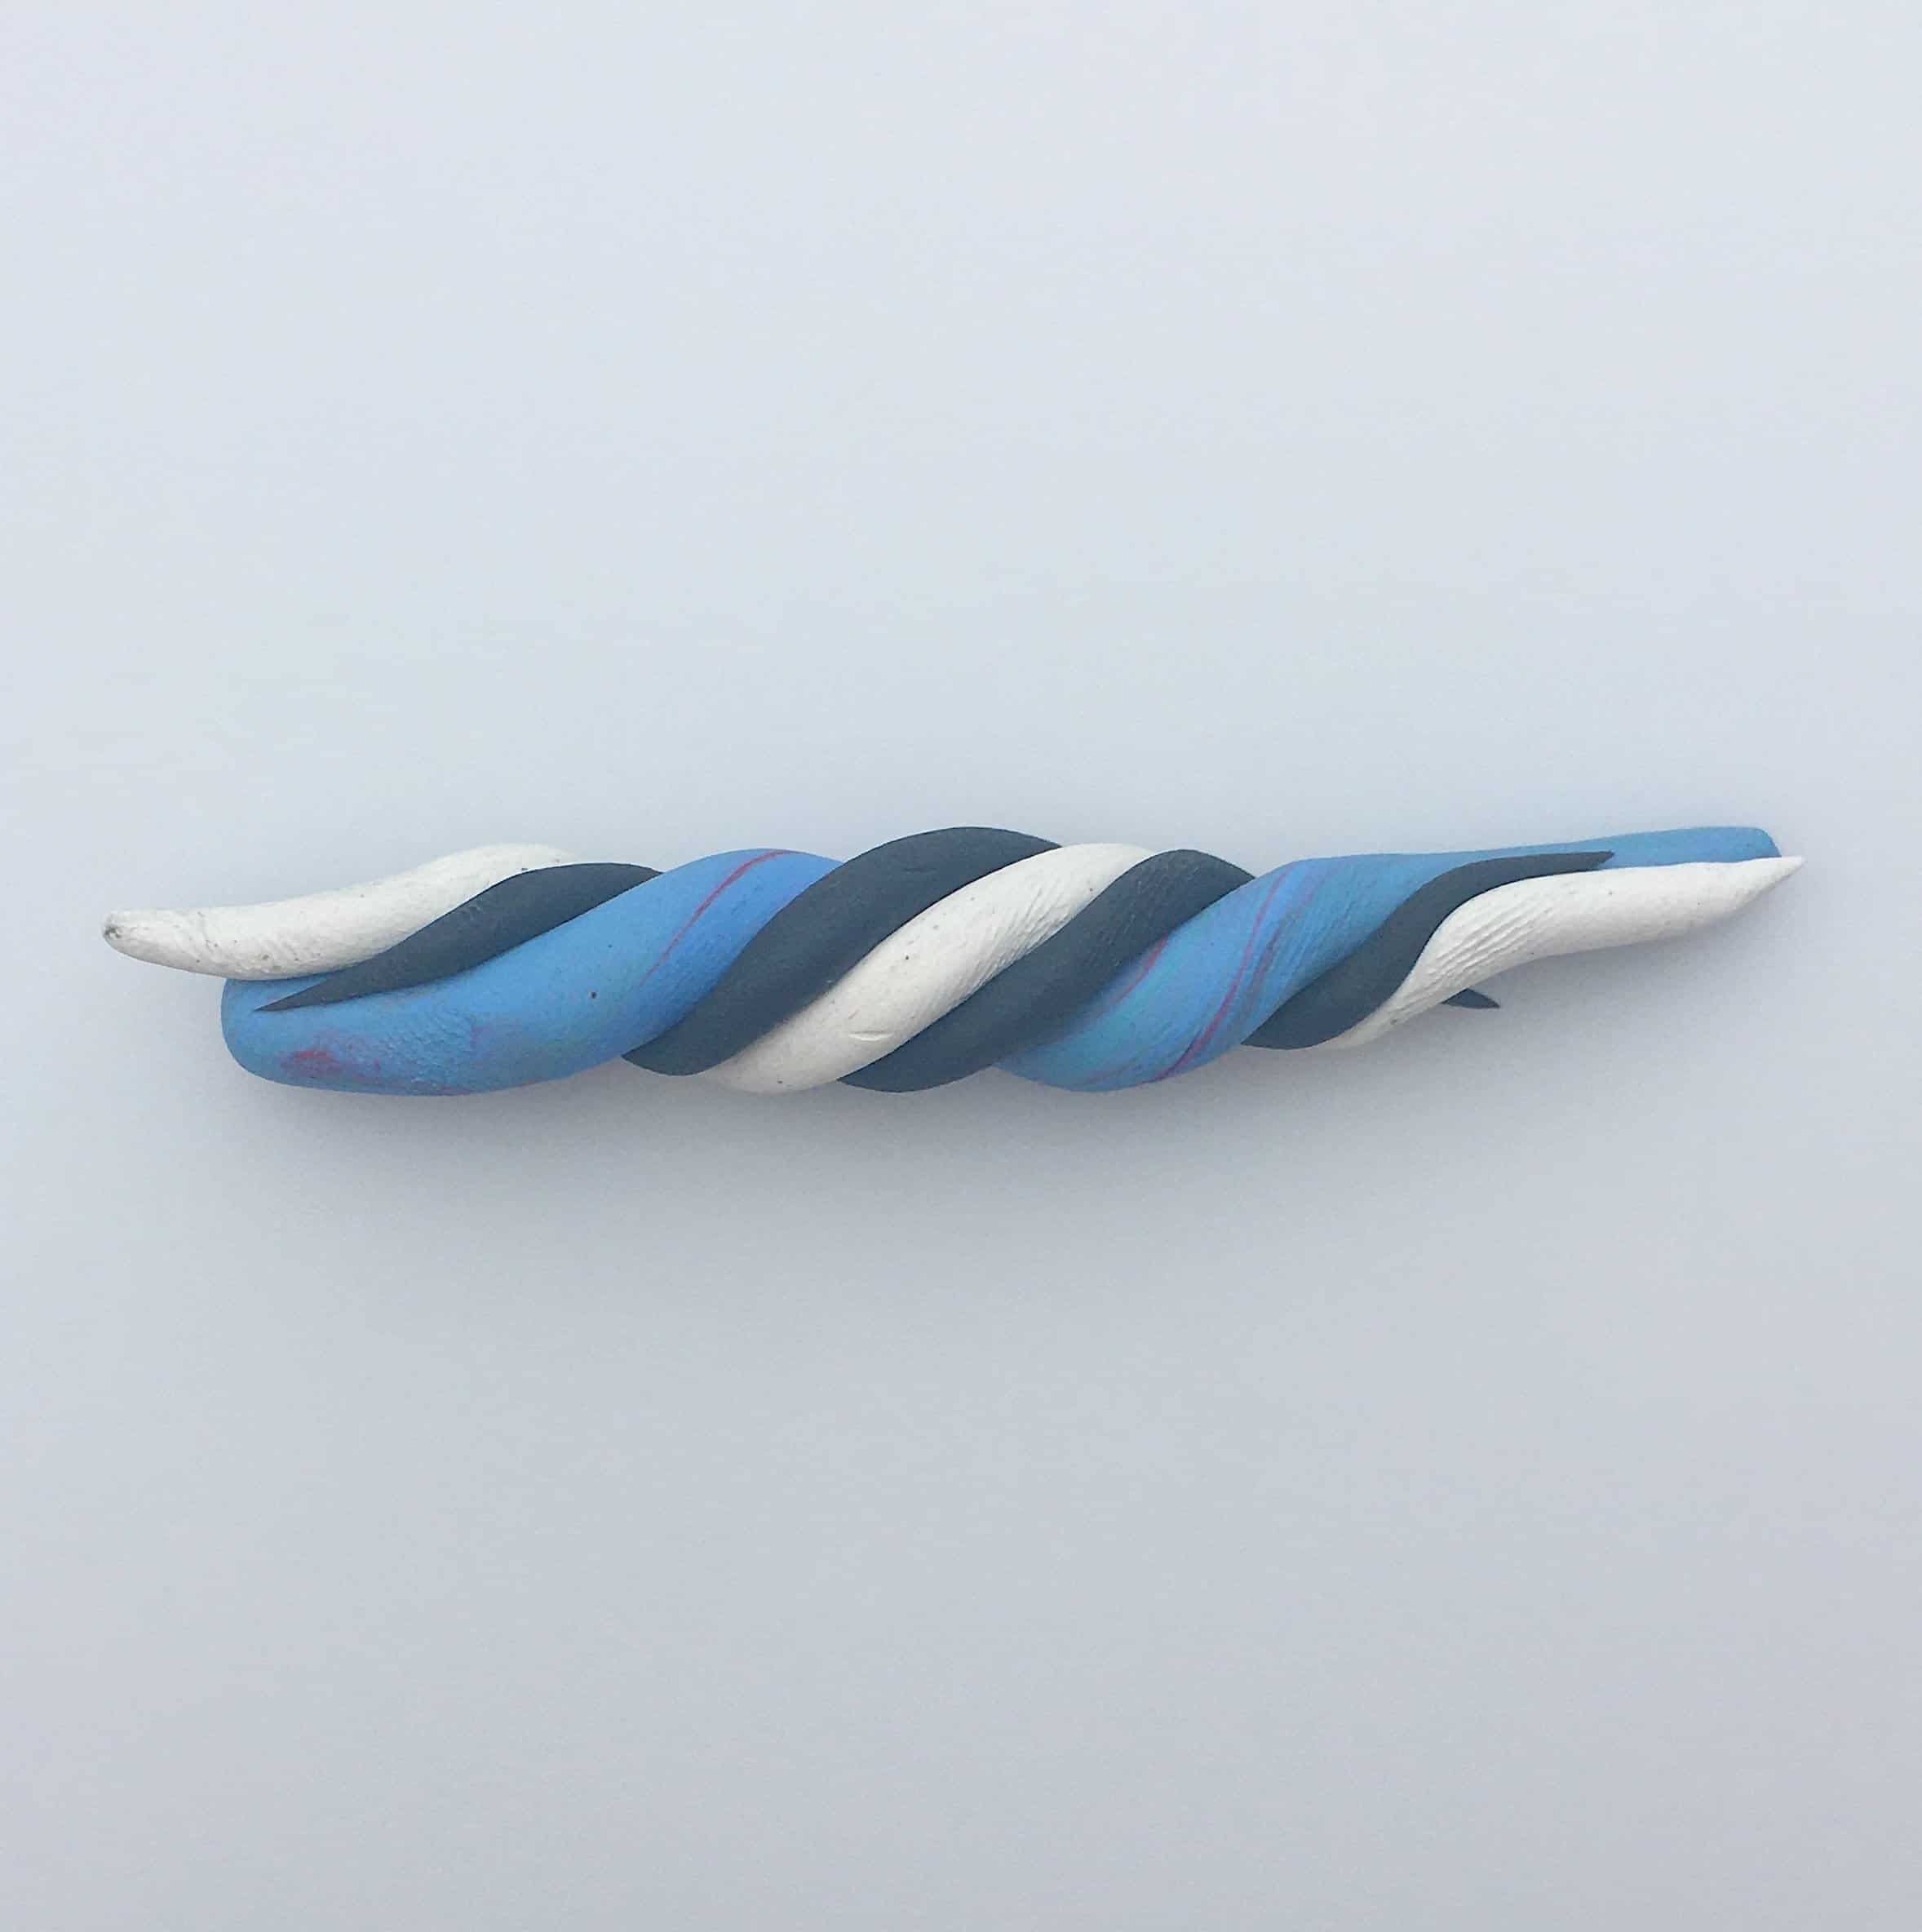
Don’t twist them too much or it just turns into one color.
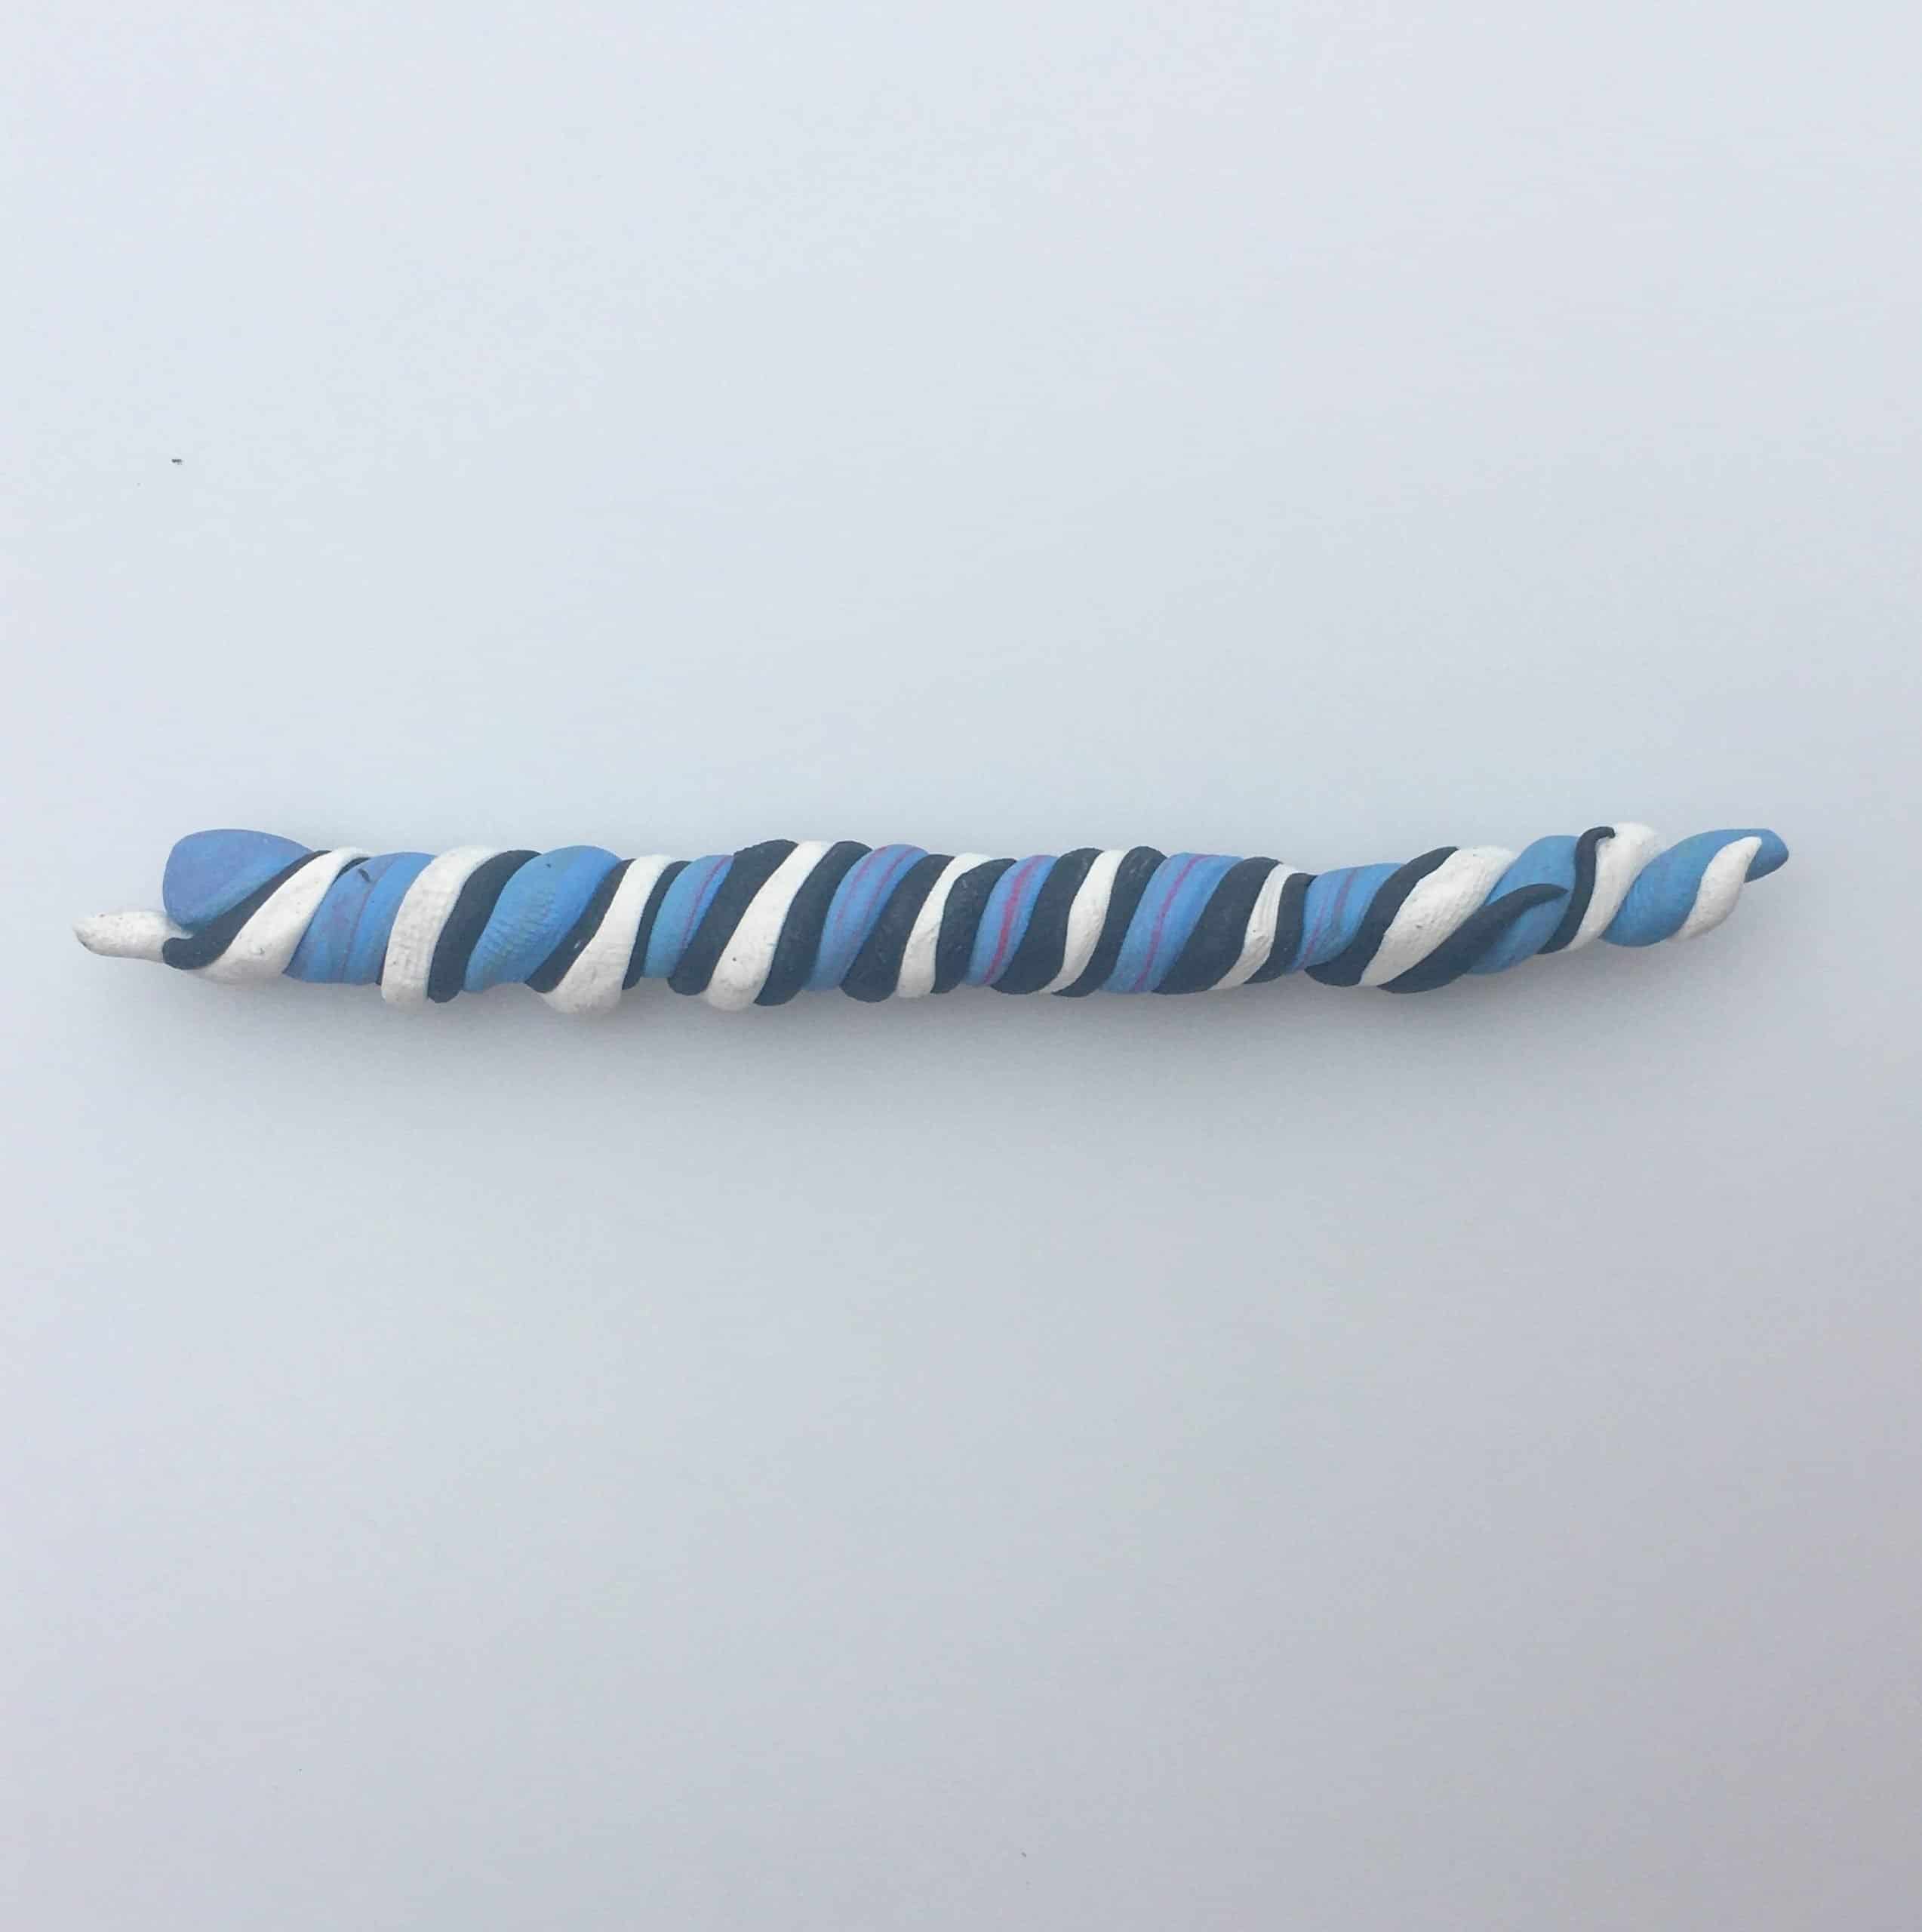
Now fold it in half, twist again and fold it in half again.
This should be enough to still see a nice separation of color.
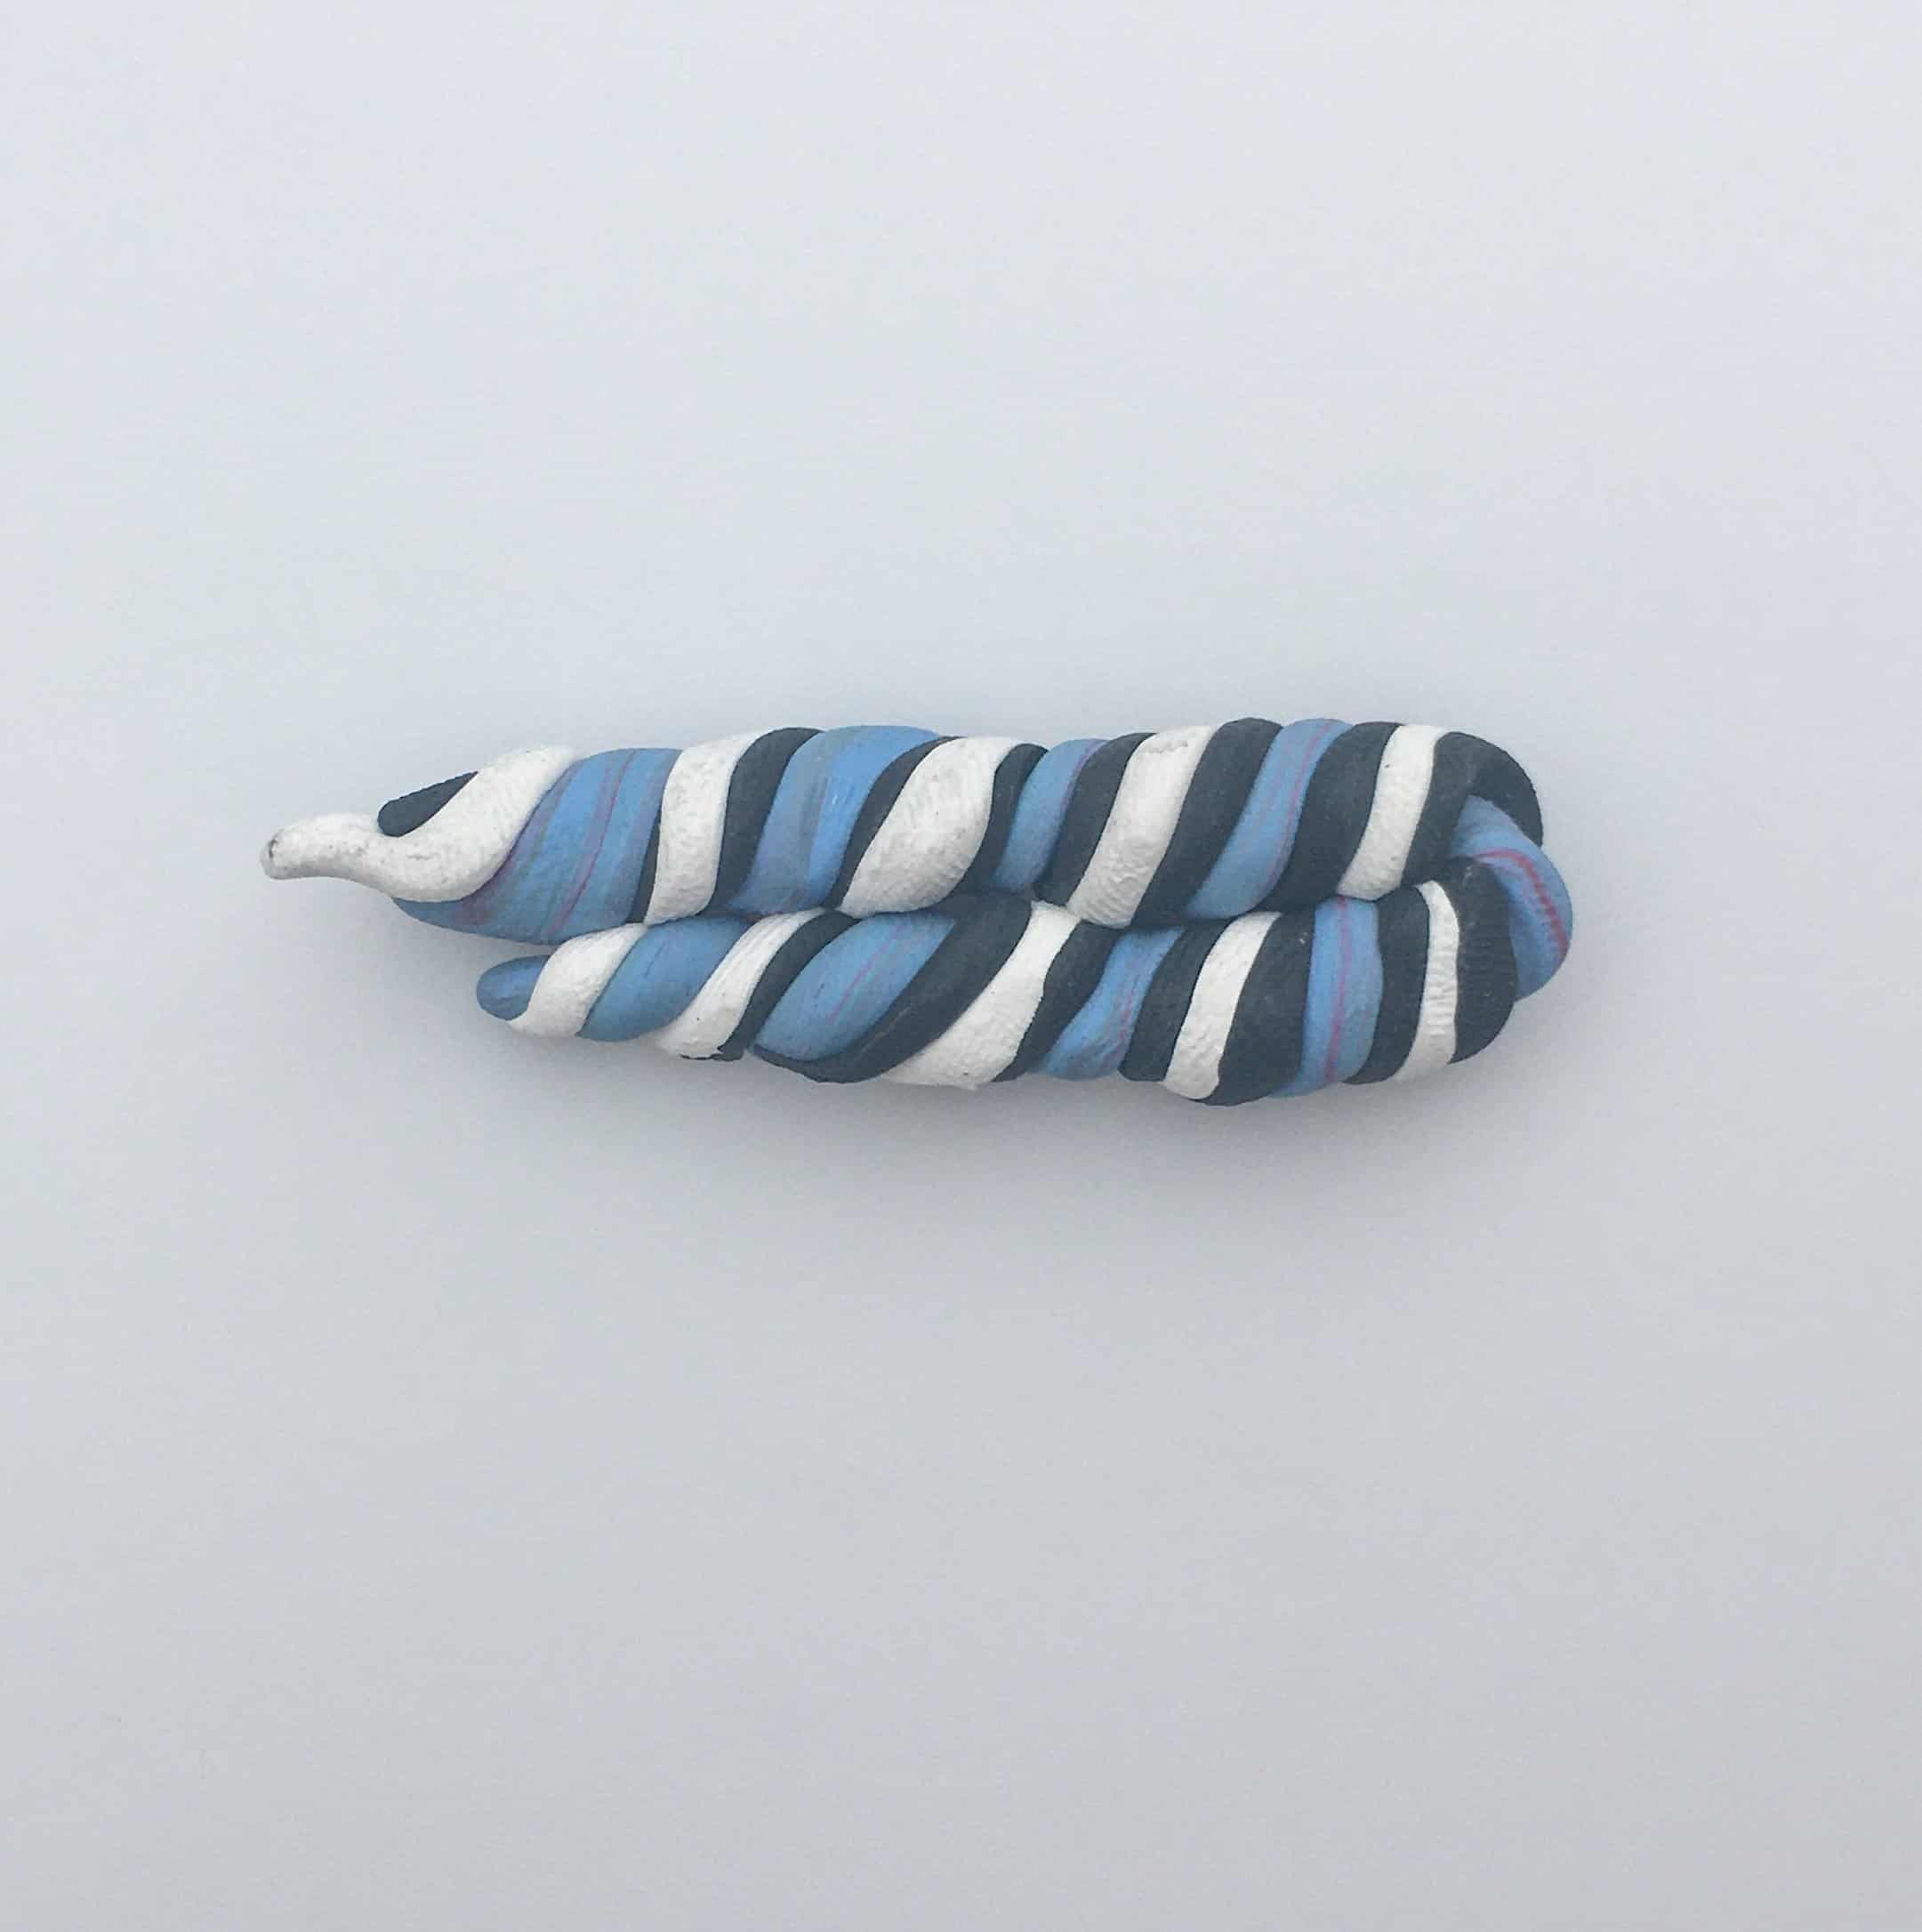


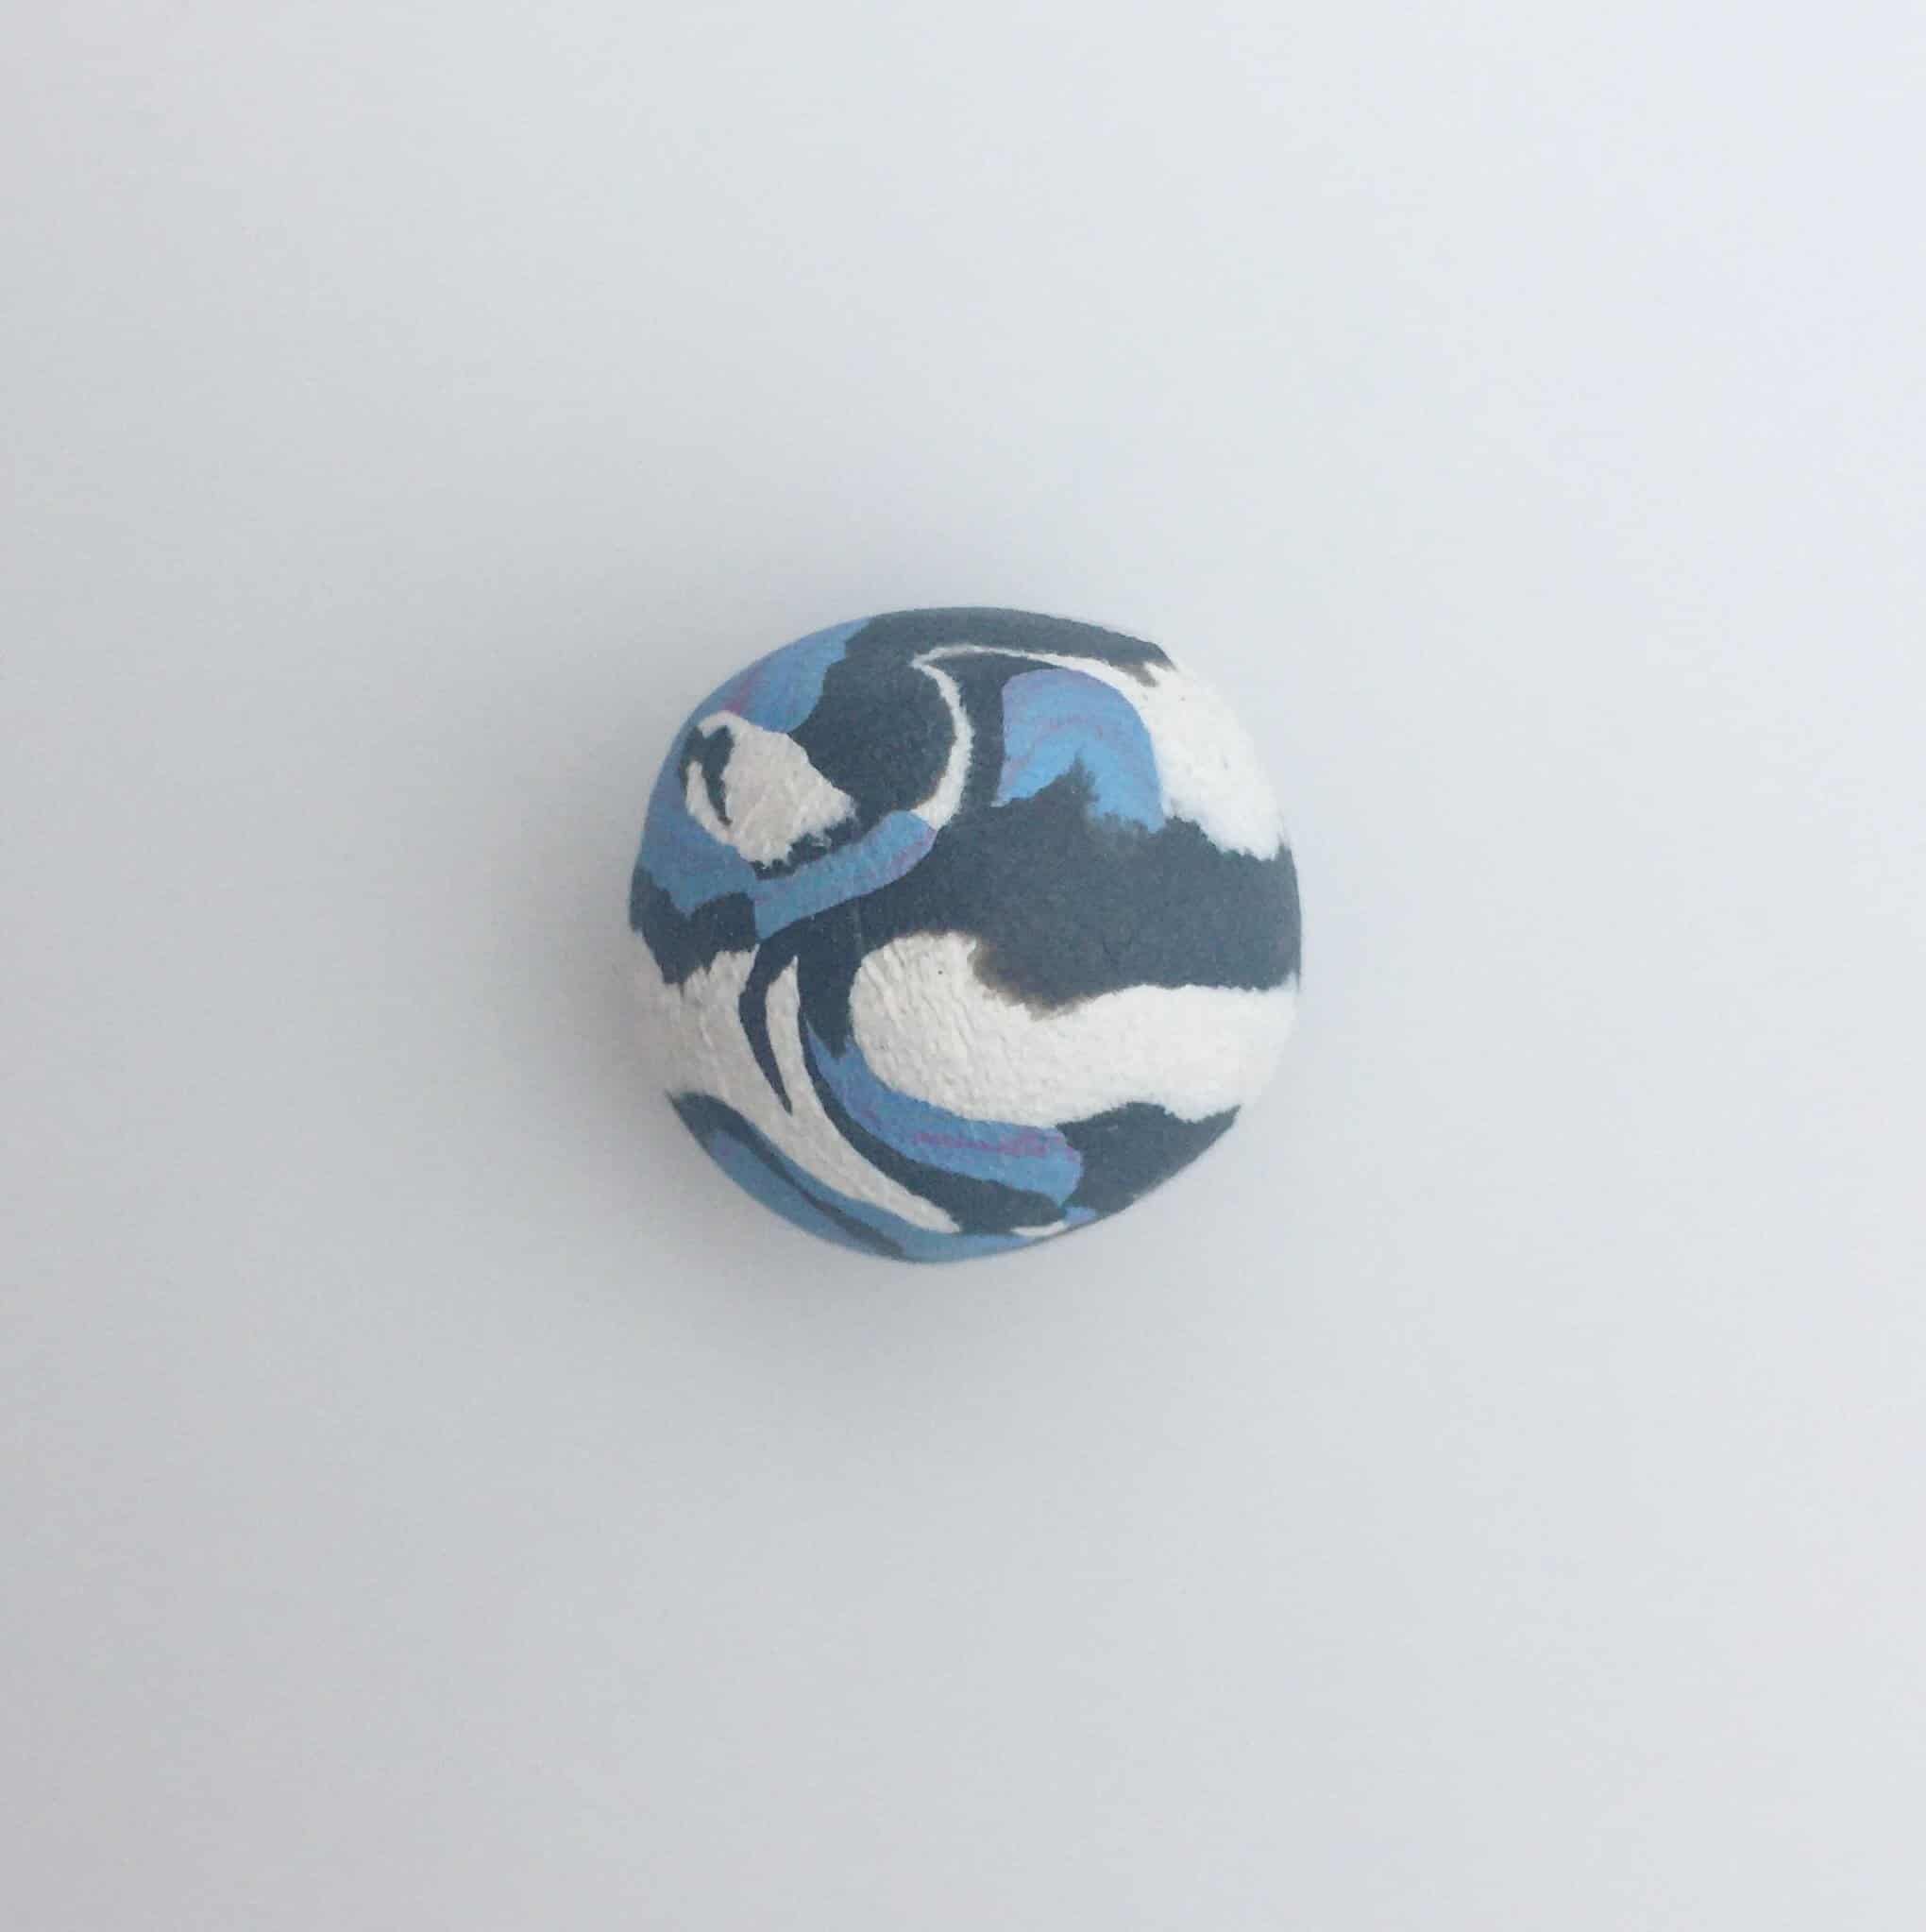
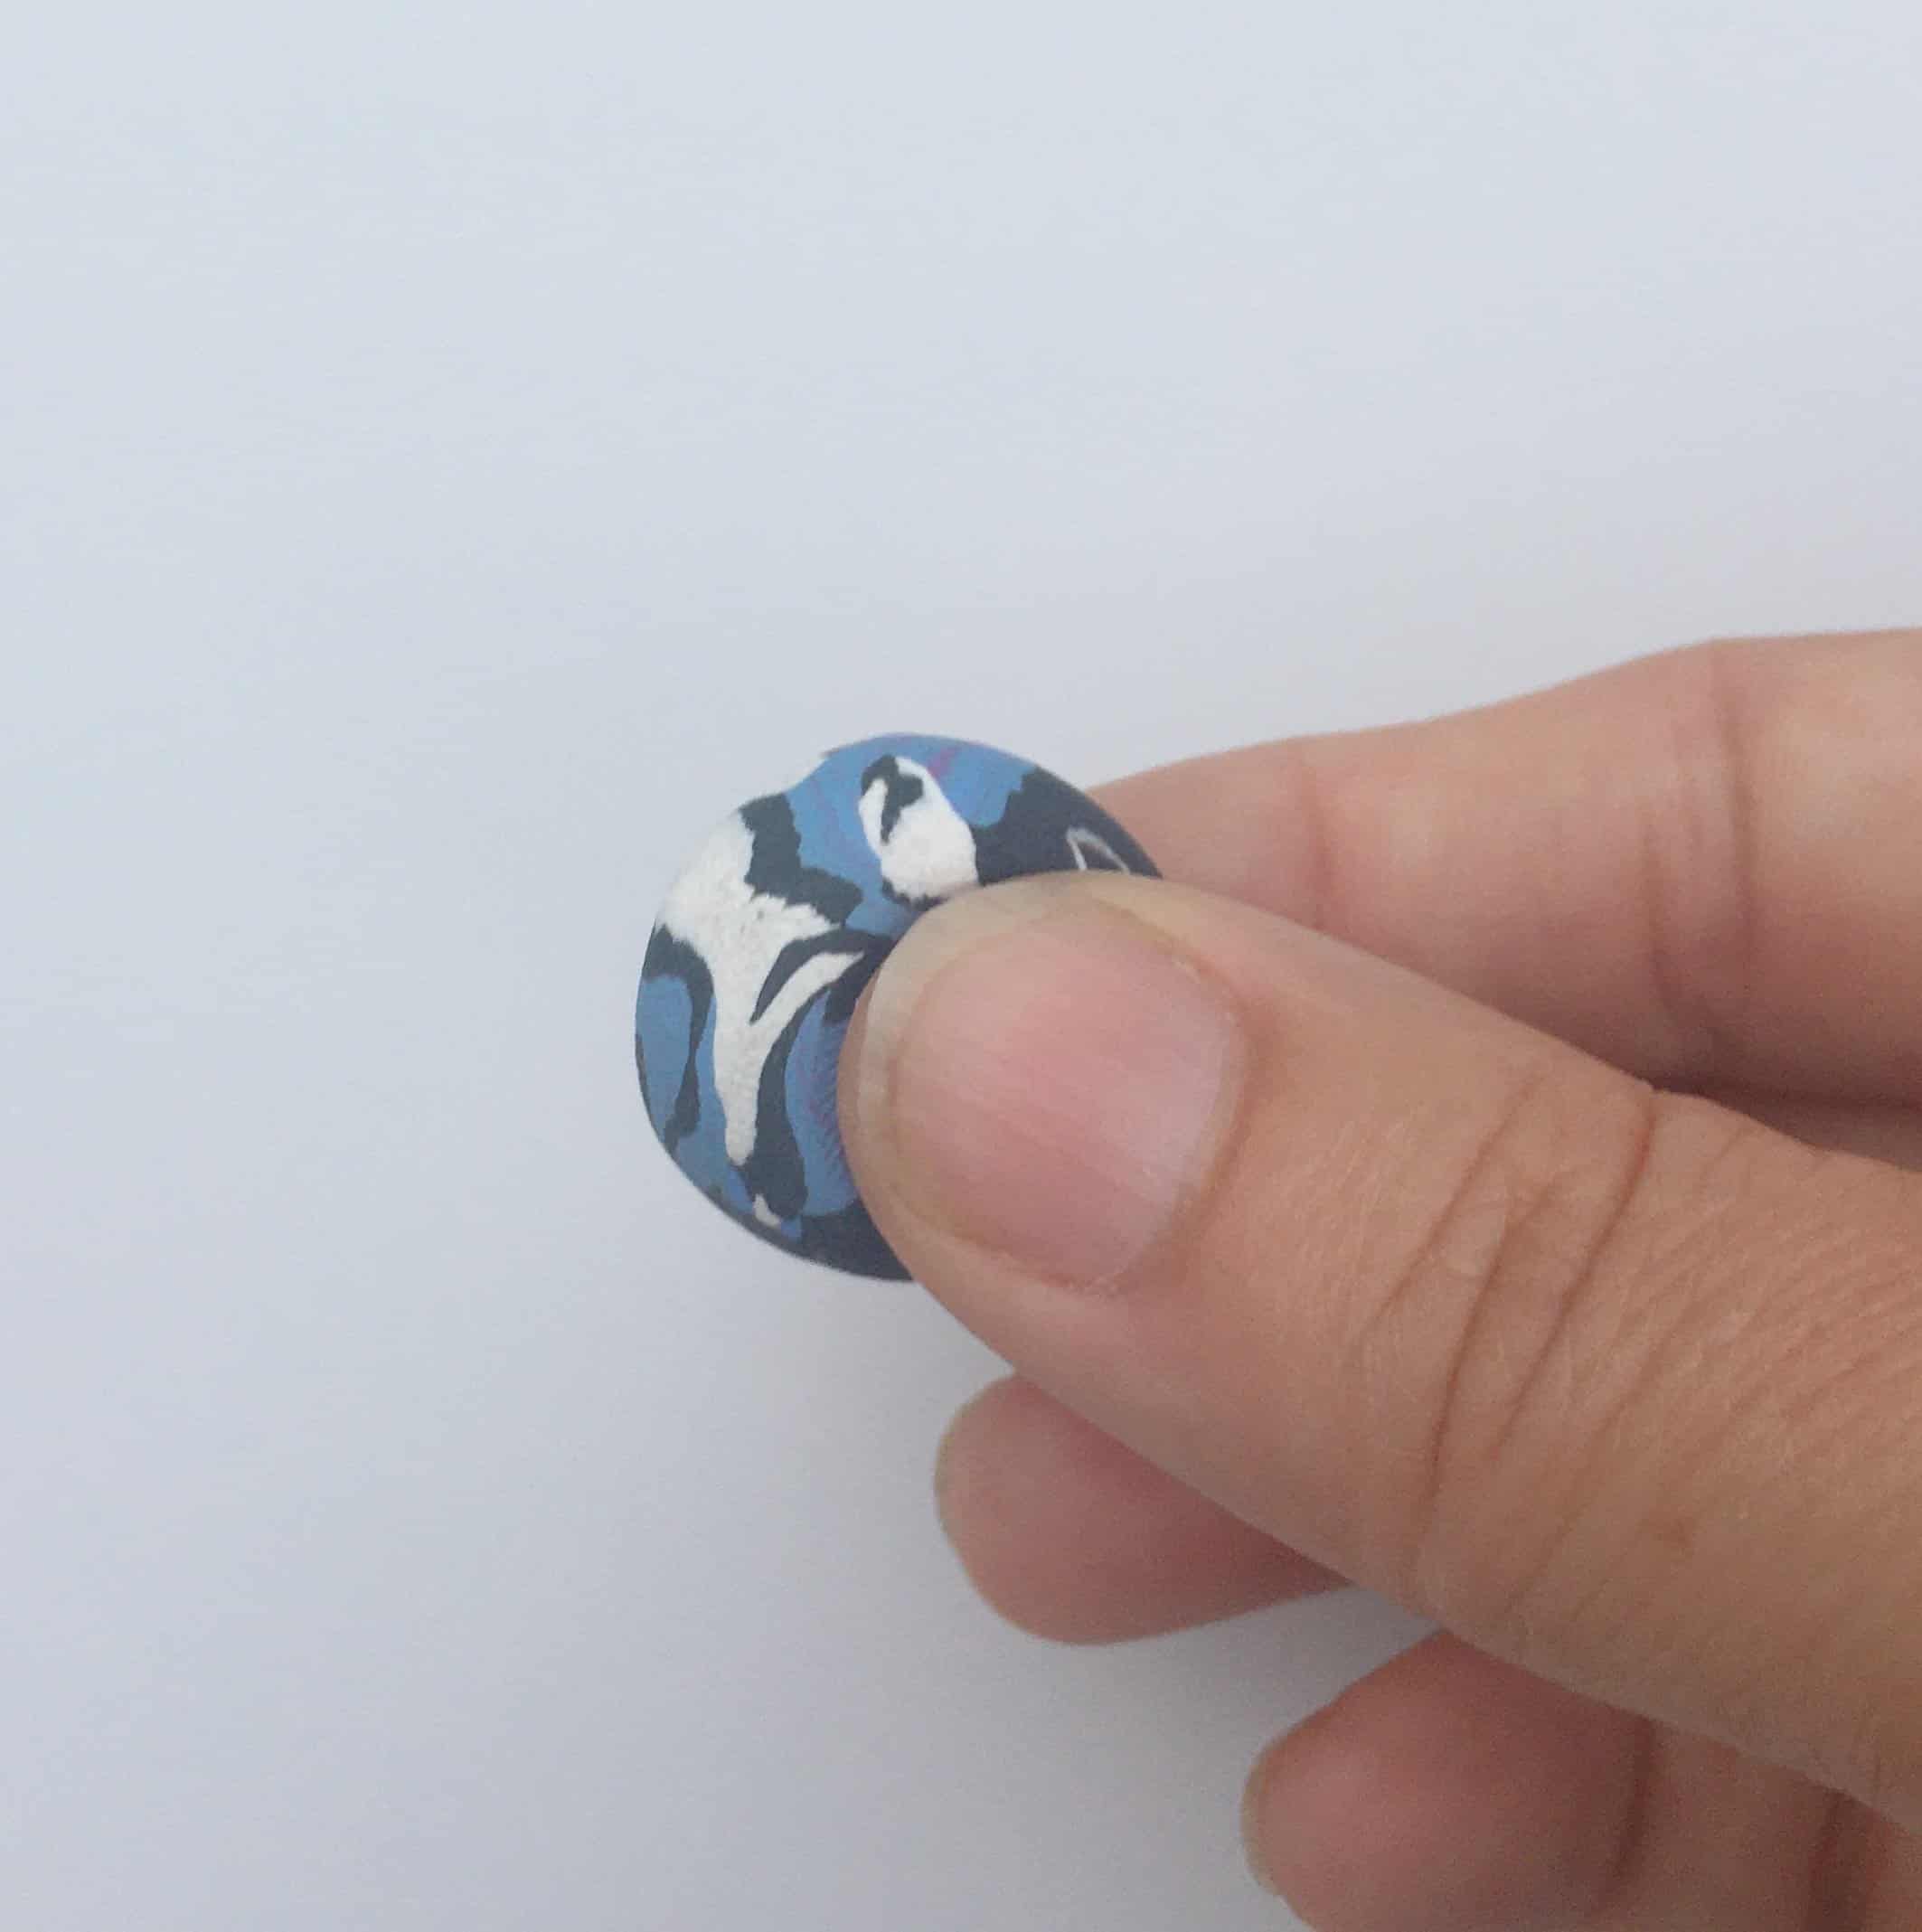
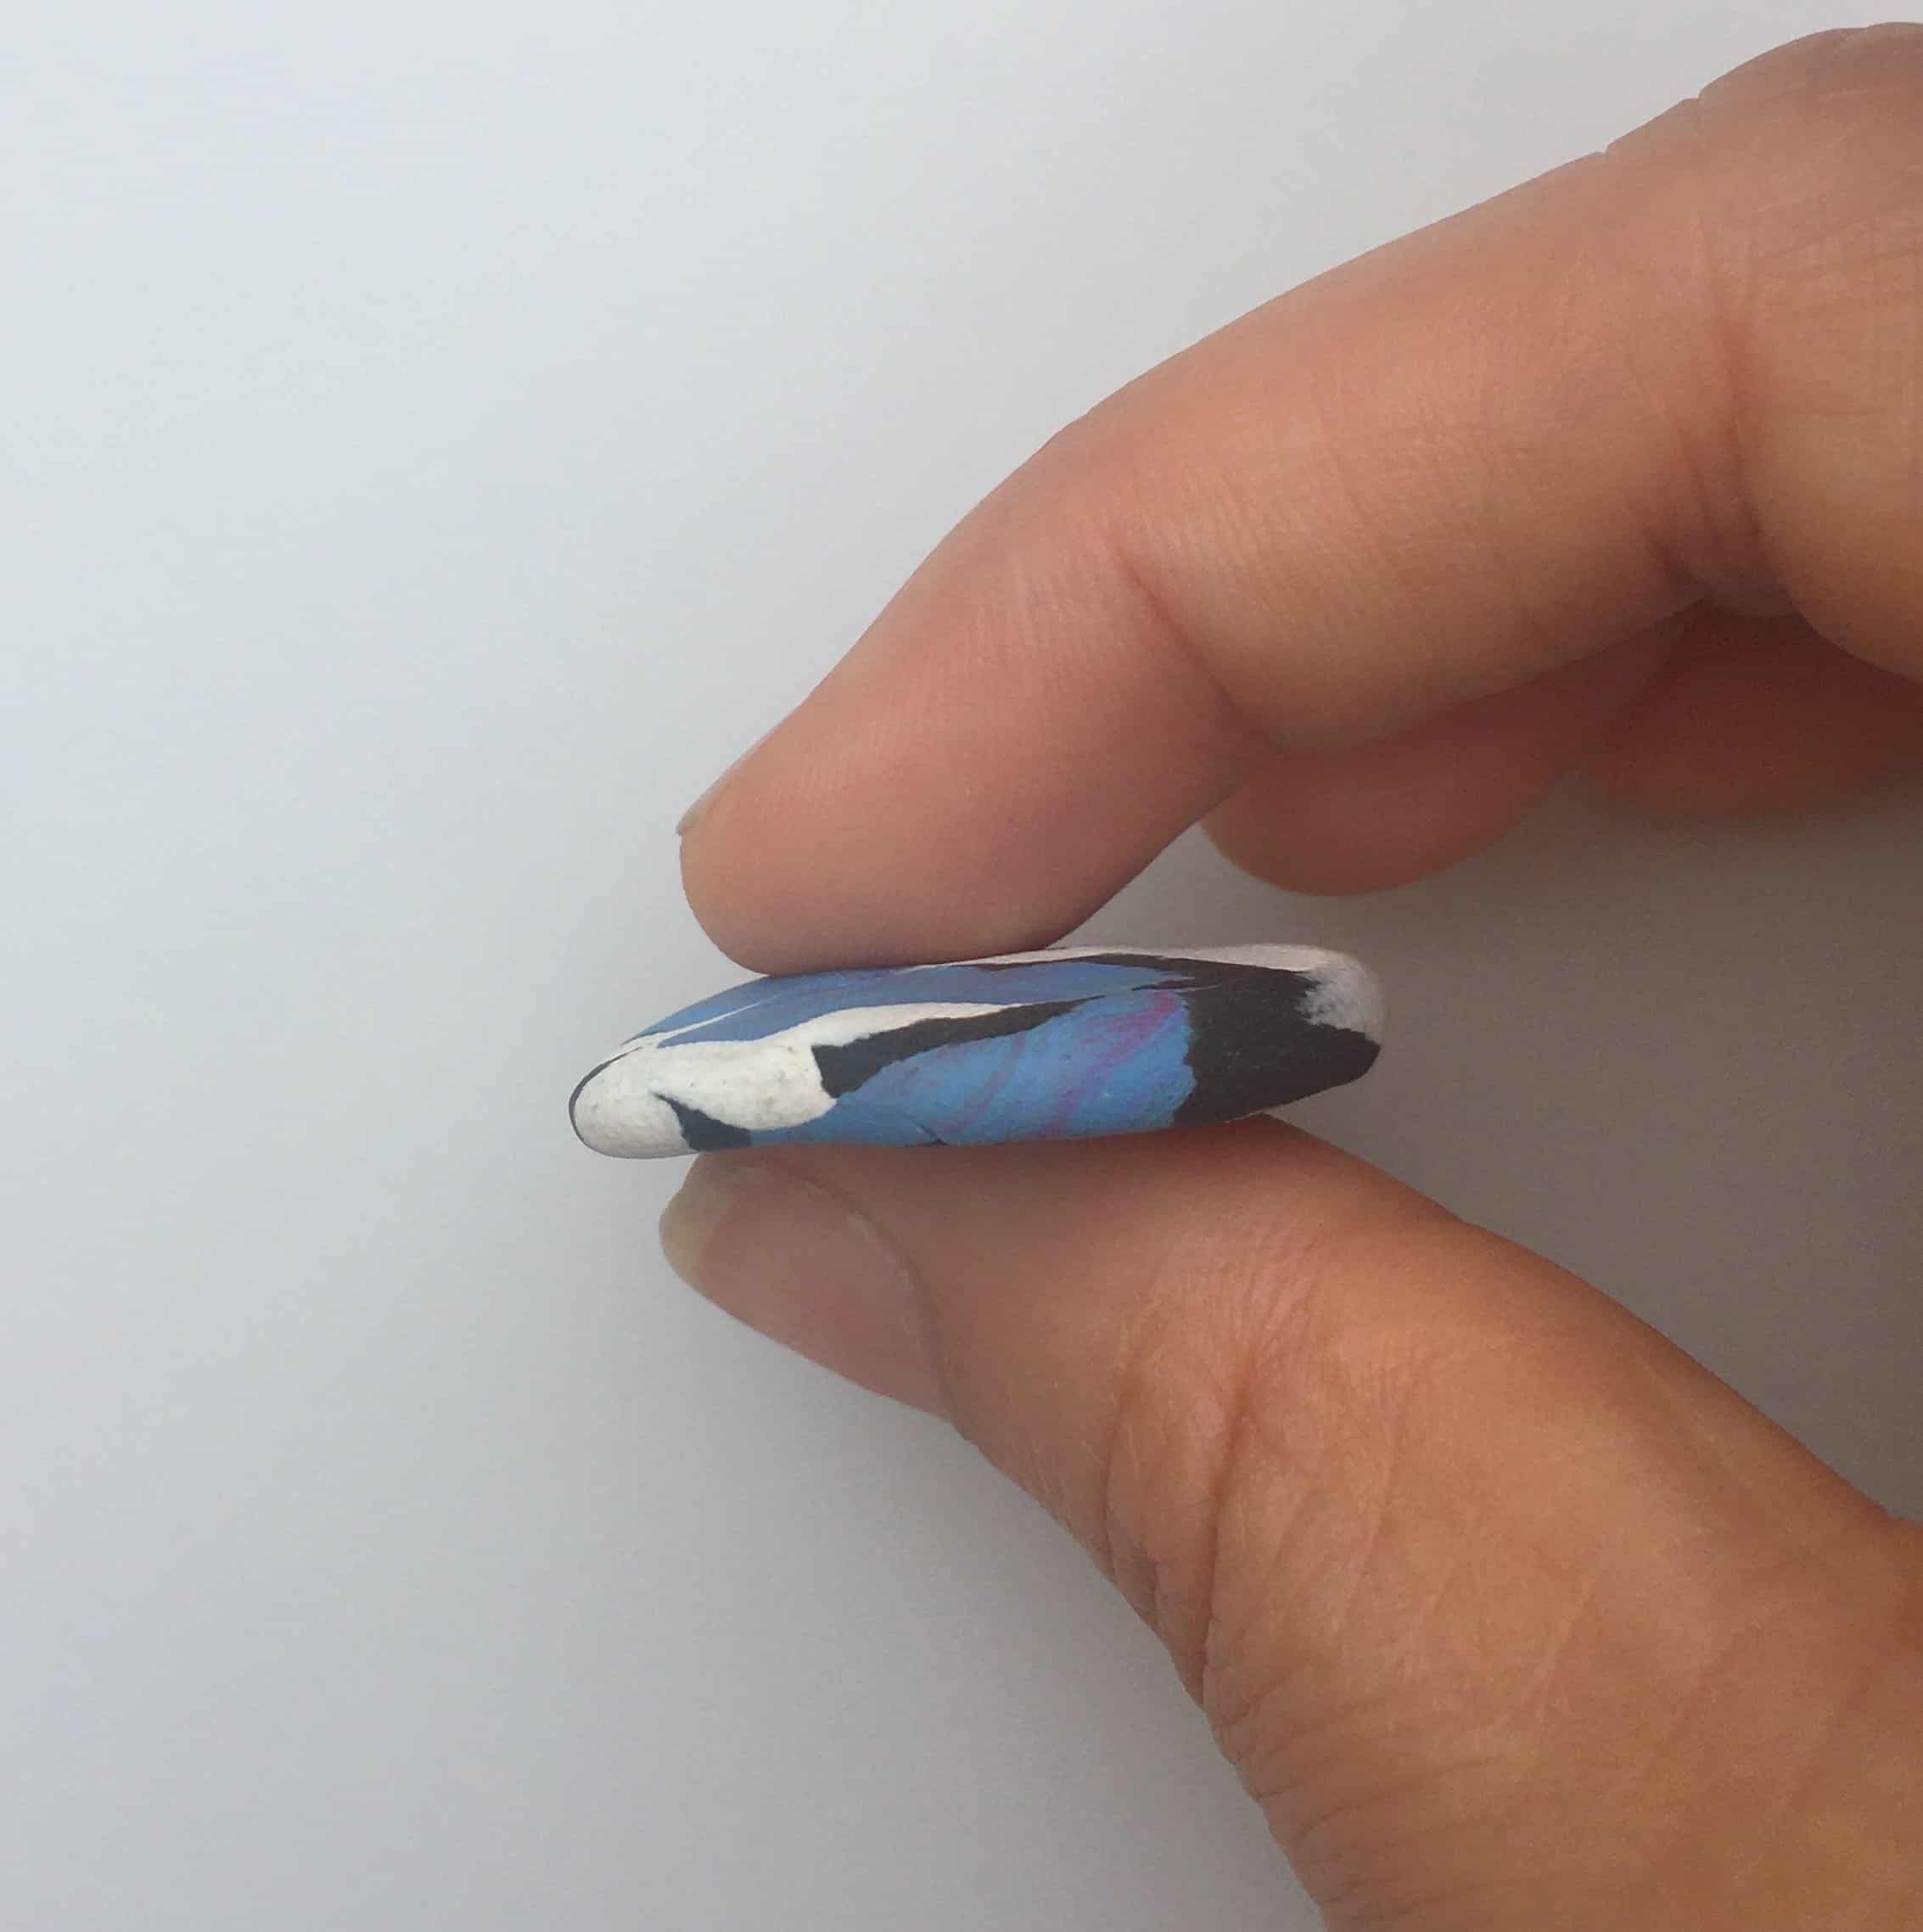
Now roll it into a ball and flatten it with your thumb into a nice disc.
You can keep it at a nice round disc or give it more of an uneven edge.
The disc should be about 1/4″ thick.
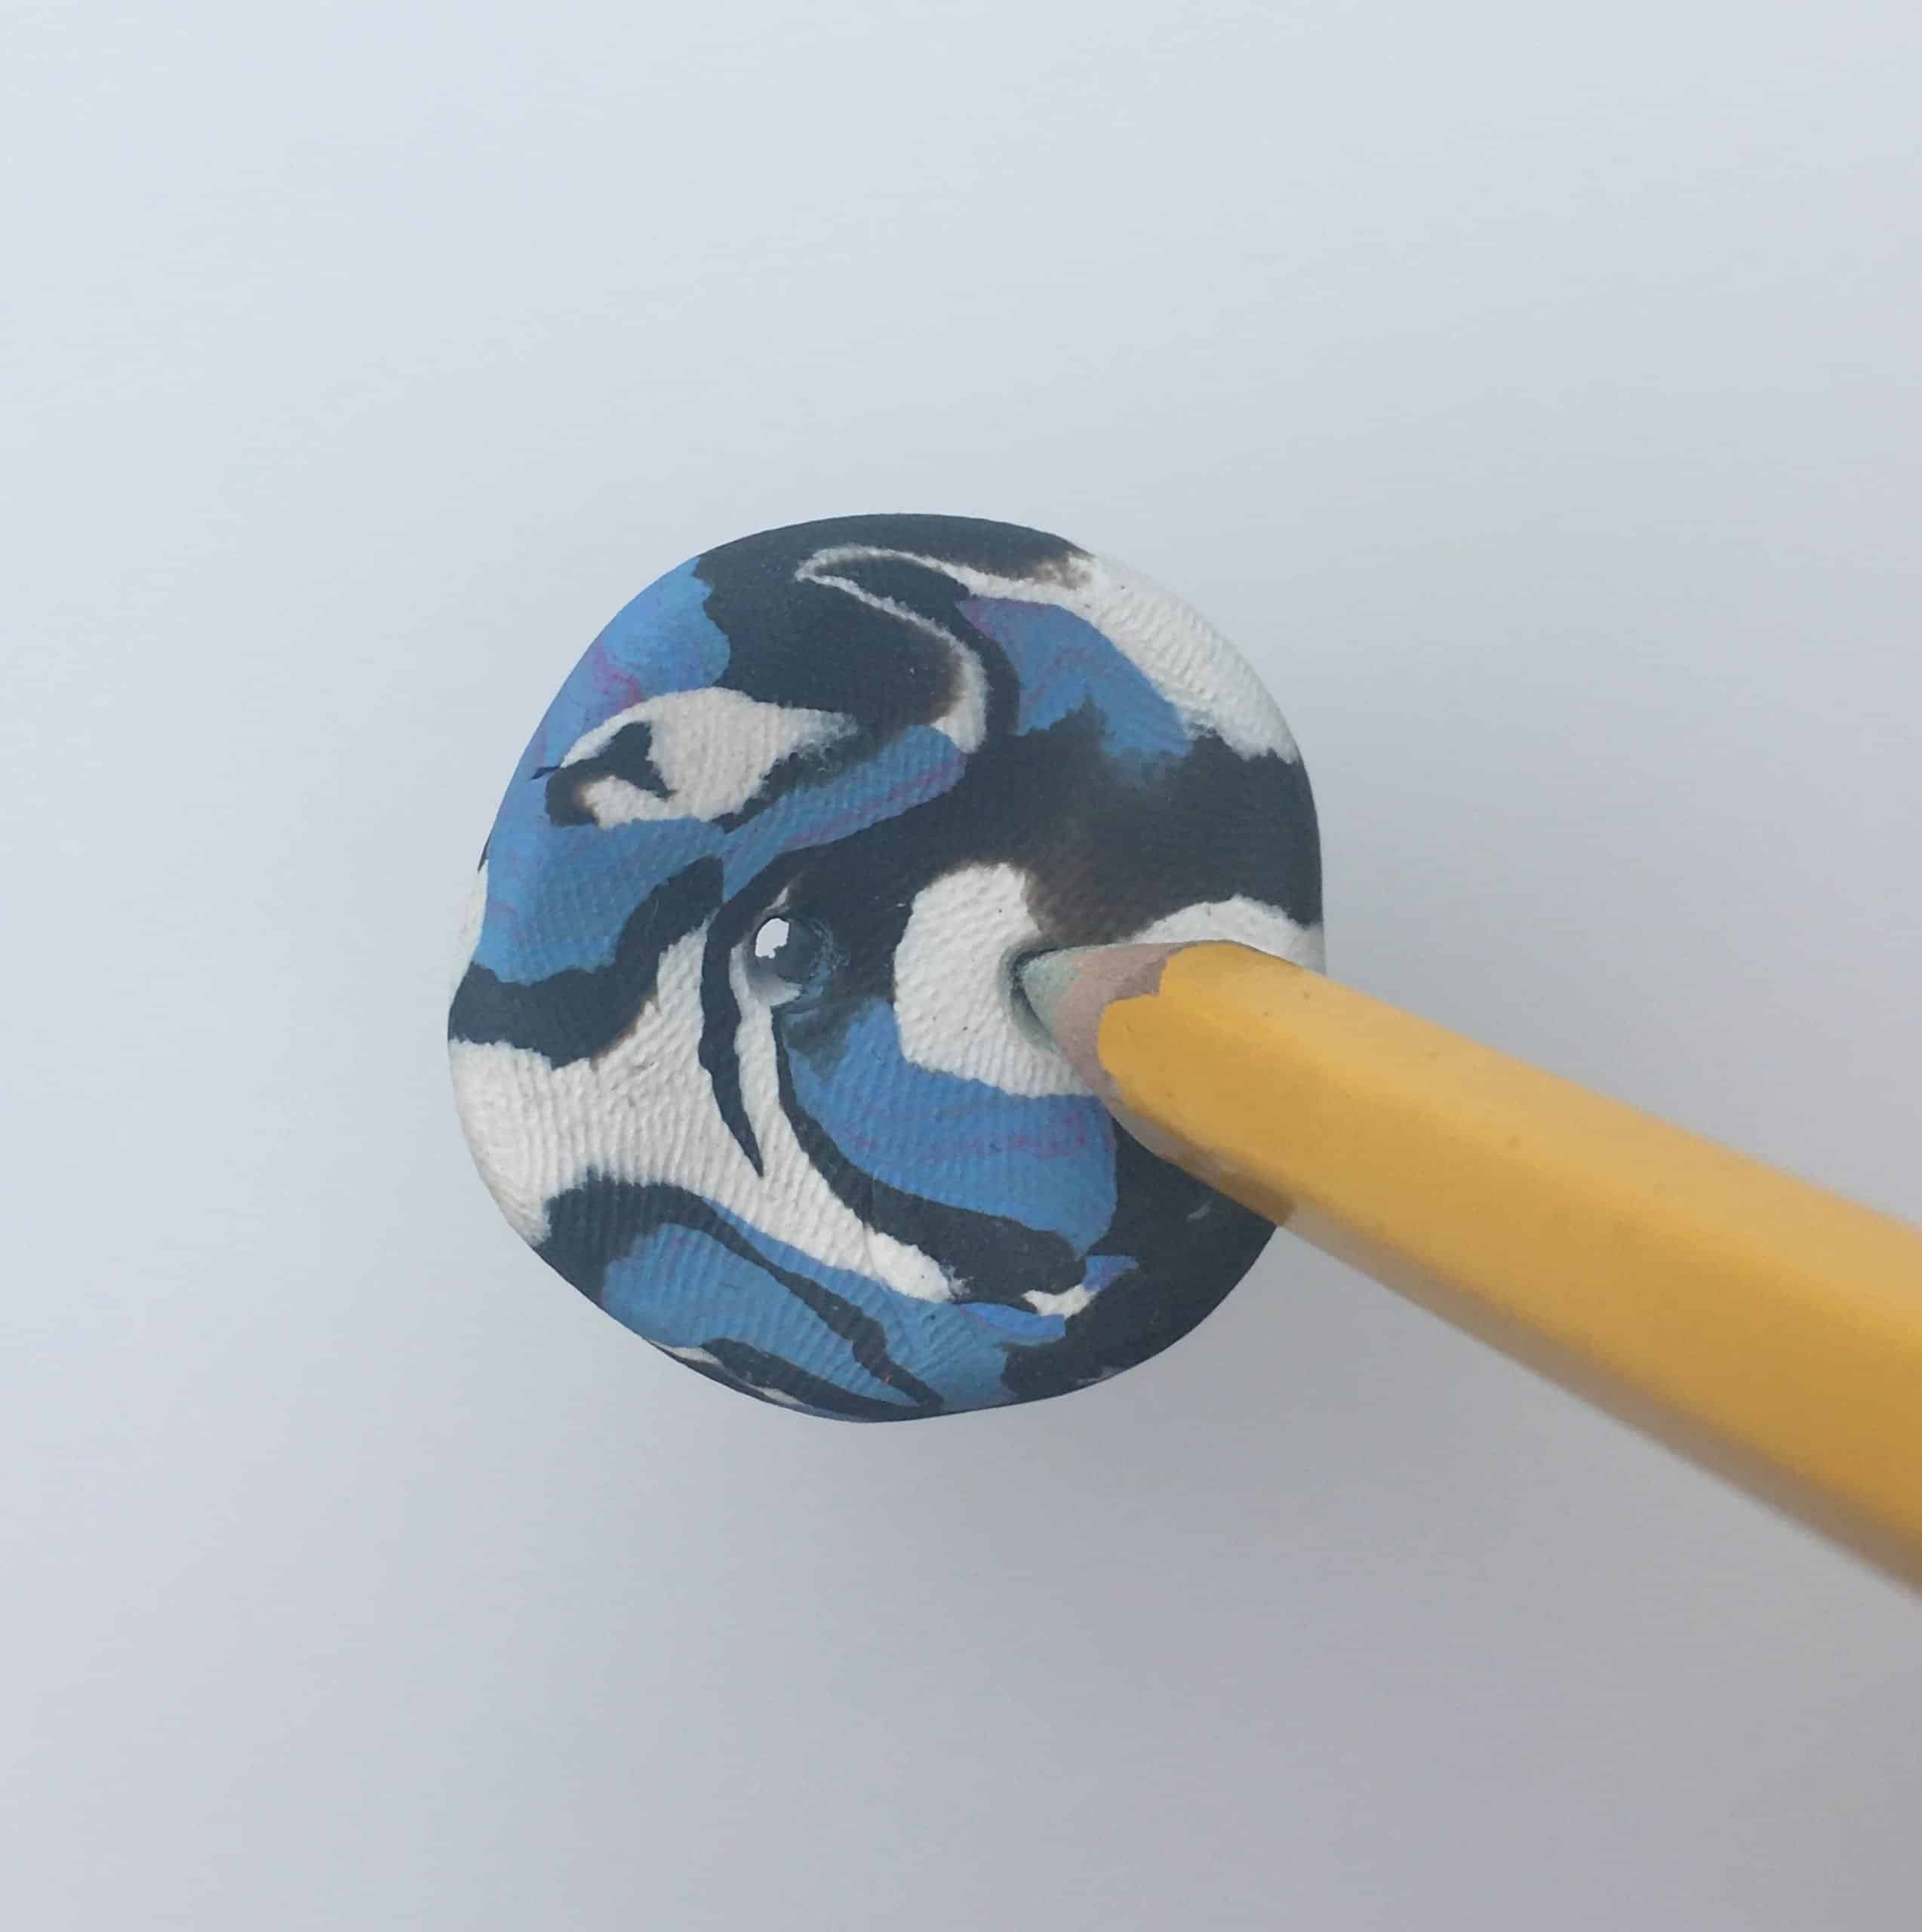
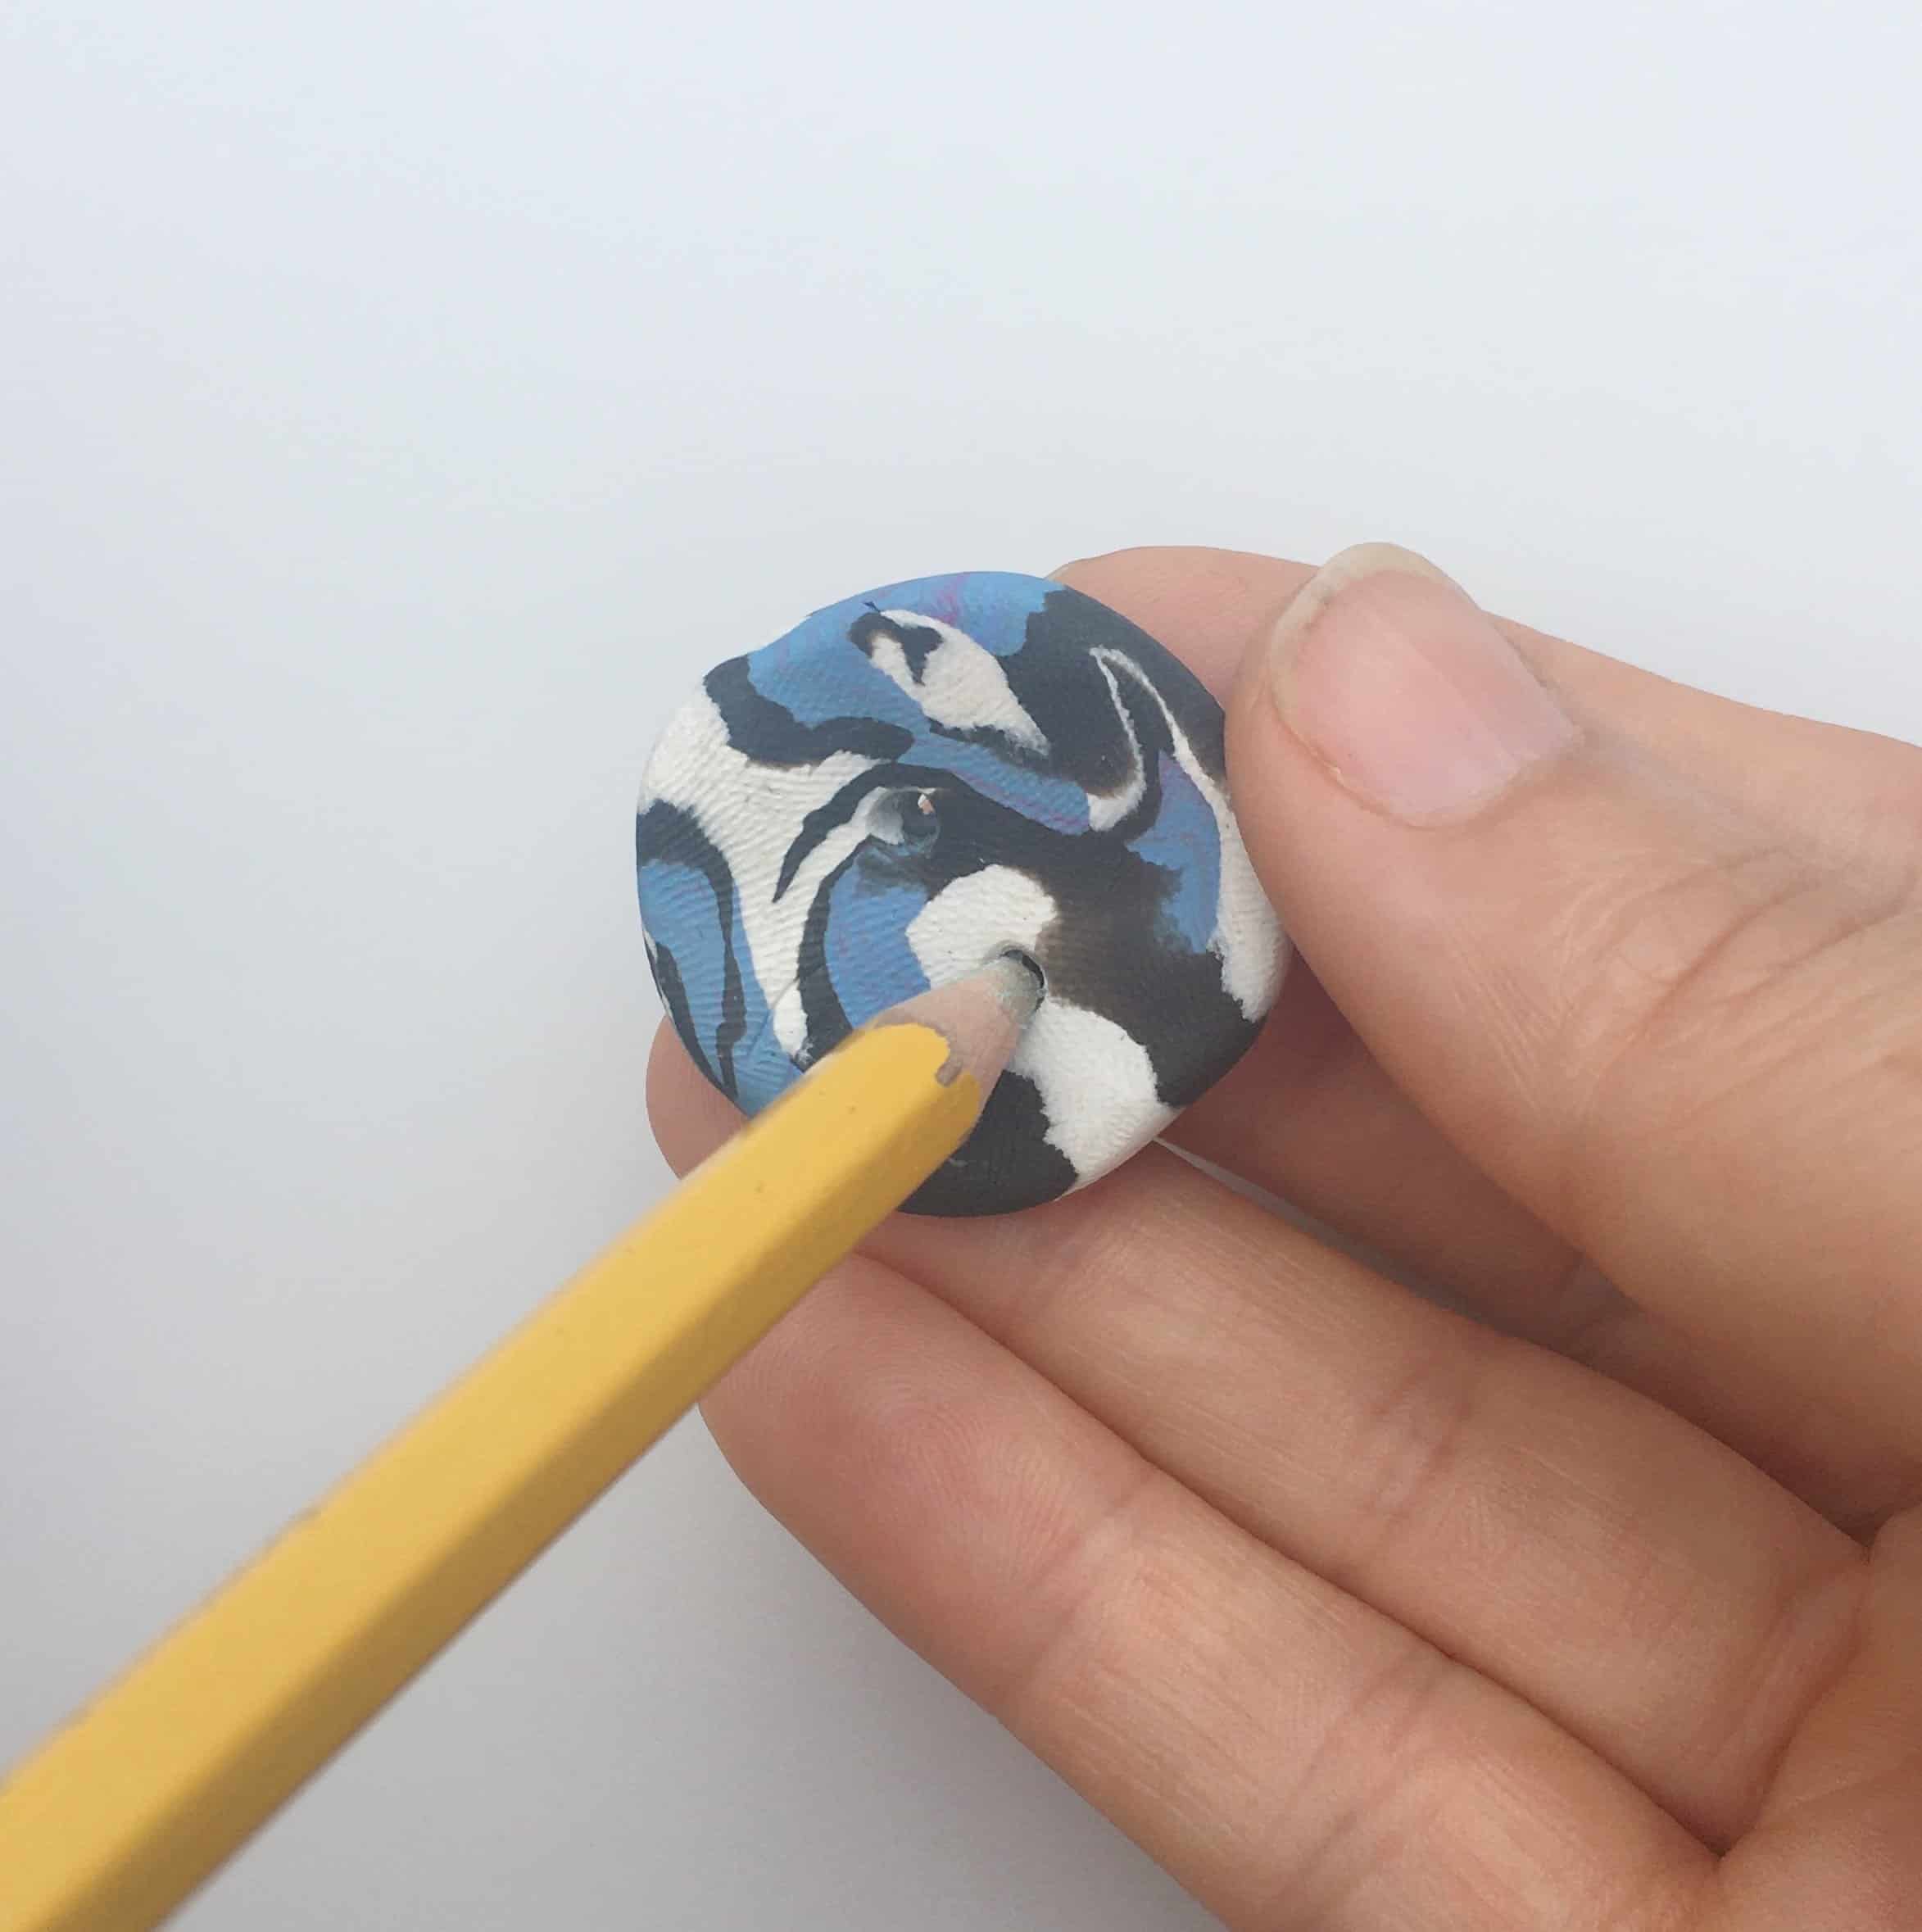
Then it’s time to add the button holes. A pencil is the best to give you a nice big hole. You can add 2 holes or even 4.
Widen the holes from both the front and the back and smooth out the back.
All that is left now is to back them in the oven or small toaster oven per manufacturer’s instructions. It should only take about 5 minutes. Check on it often since it is easy to overcook them. My first batch burned!
Pro Tip!
You can make marbleized buttons in any shape. Don’t just stay with the round disc but also make some square buttons or long oval polymer clay buttons. The sky is the limit with Fimo and Sculpey!
I hope you have fun making this polymer clay project. Comment below if you have any questions and show off your creations here and on Instagram #kaileacrafts