• Skip to primary navigation
  • Skip to main content
  • Skip to primary sidebar
Crafting on the Fly

Crafting on the Fly

There is always time to craft!

  • Home
  • Macrame
  • Jewelry Making
  • Crochet
  • Home Decor
  • About
  • Contact
  • Show Search
Hide Search

Easy Knitted Bow Headband Tutorial

My ICord maker has come in handy so many times and I love creating different things with it. Today I want to show you an easy tutorial on how to use your icord or knitted cord to create a beautiful hairband.

These hairbands can be created with traditional knitting of an icord or you can use an I-cord knitting machine like I do. This machine works up your cord in no time ad it looks like actual knit. By using different yarns, you can create many different headbands for yourself, your children and friends and family.

Your Email Address

SUBSCRIBE

You can buy the ad-free printable PDF for this Headband tutorial on ETSY. Thank you for your support!

 As an Amazon Associate I earn from qualifying purchases. If you make a purchase through my link, I will make a small commission with no extra cost to you. “

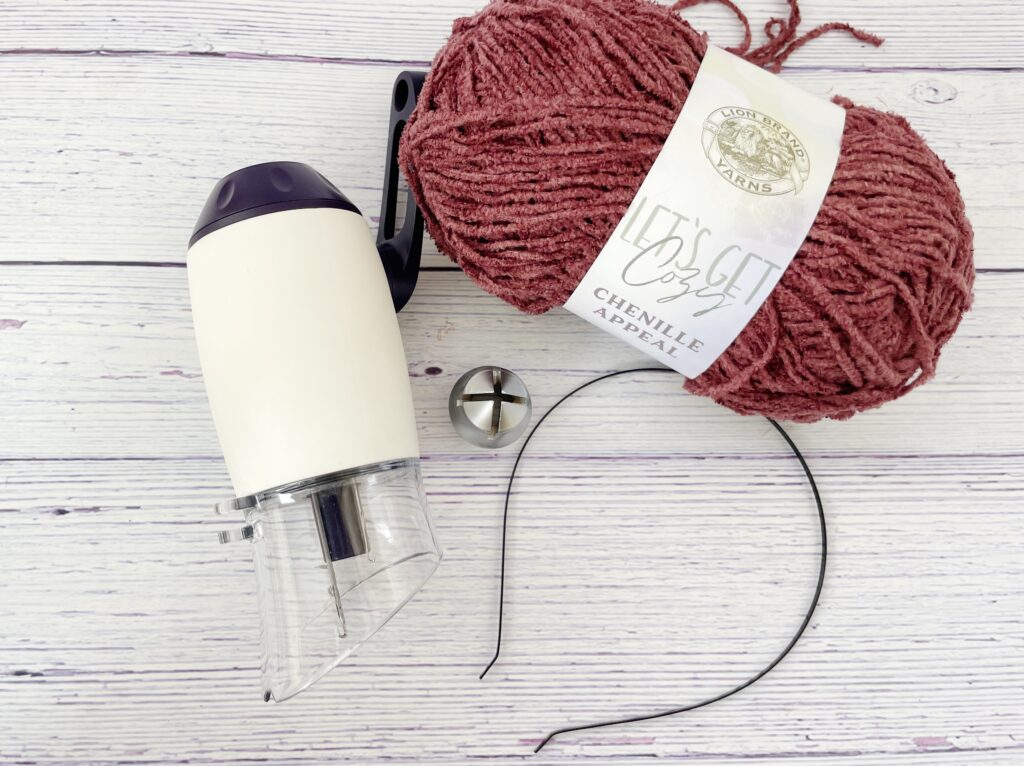
Bow Headband Materials

  • Knitting Machine
  • Wire Headband
  • Yarn: Lion Brand Yarn Chenille Appeal Yarn, Rose Taupe It should be thin, more like a #3 or even #1 yarn
  • Needle
  • Scissors

Your knitting machine to make the i-cord will come with general directions. I like this machine the best. I had ordered a cheaper one before and the yarn got stuck on every turn. So I returned that knitting machine and got this one. SO much better! The key to using the machine successfully is using a thin yarn that is smooth. At least a #3 yarn but a #1 is better.

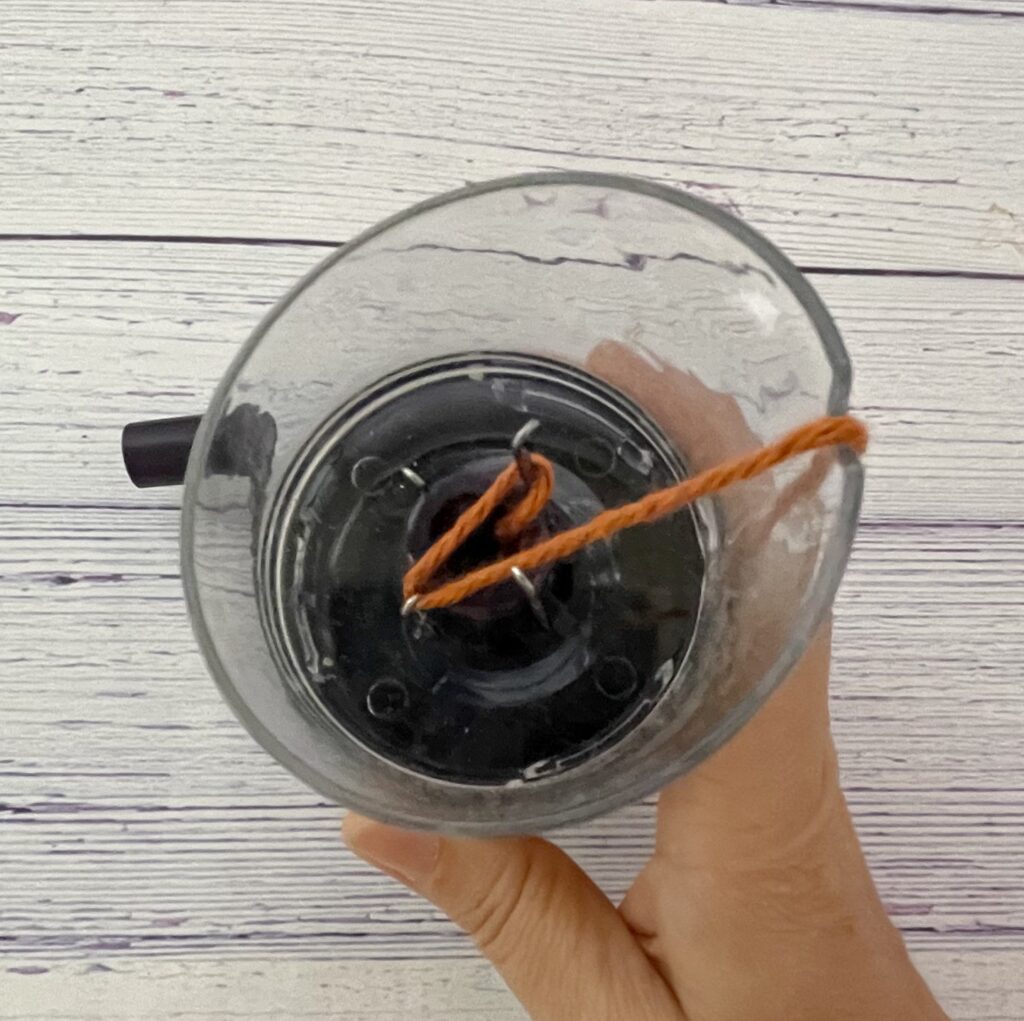
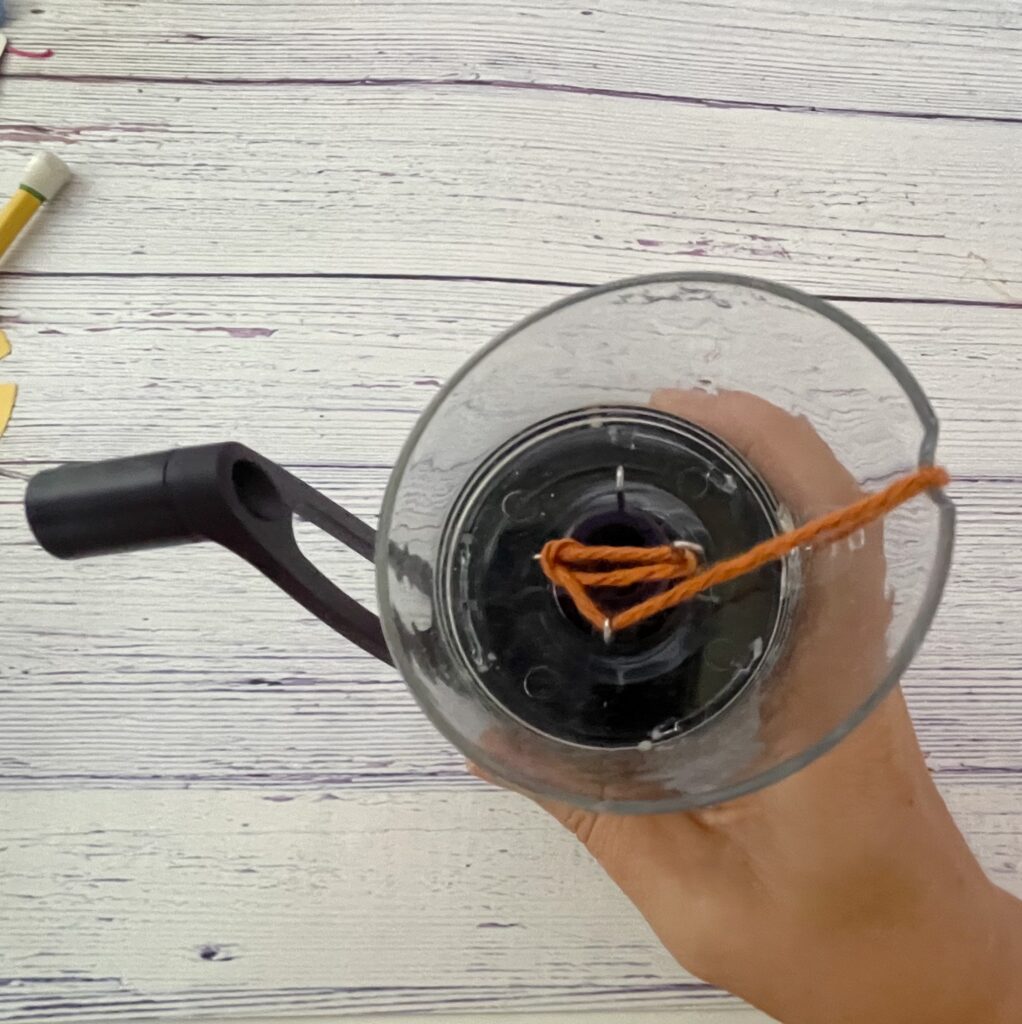
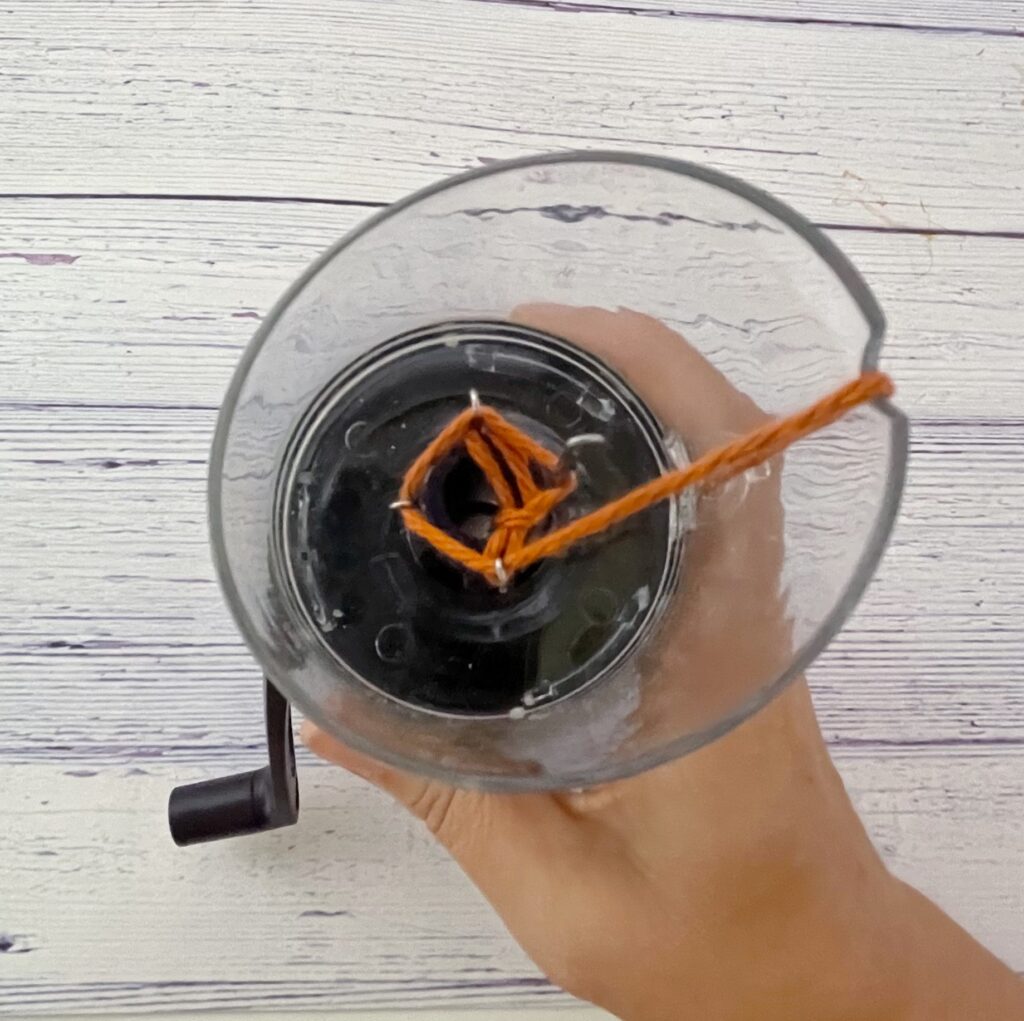
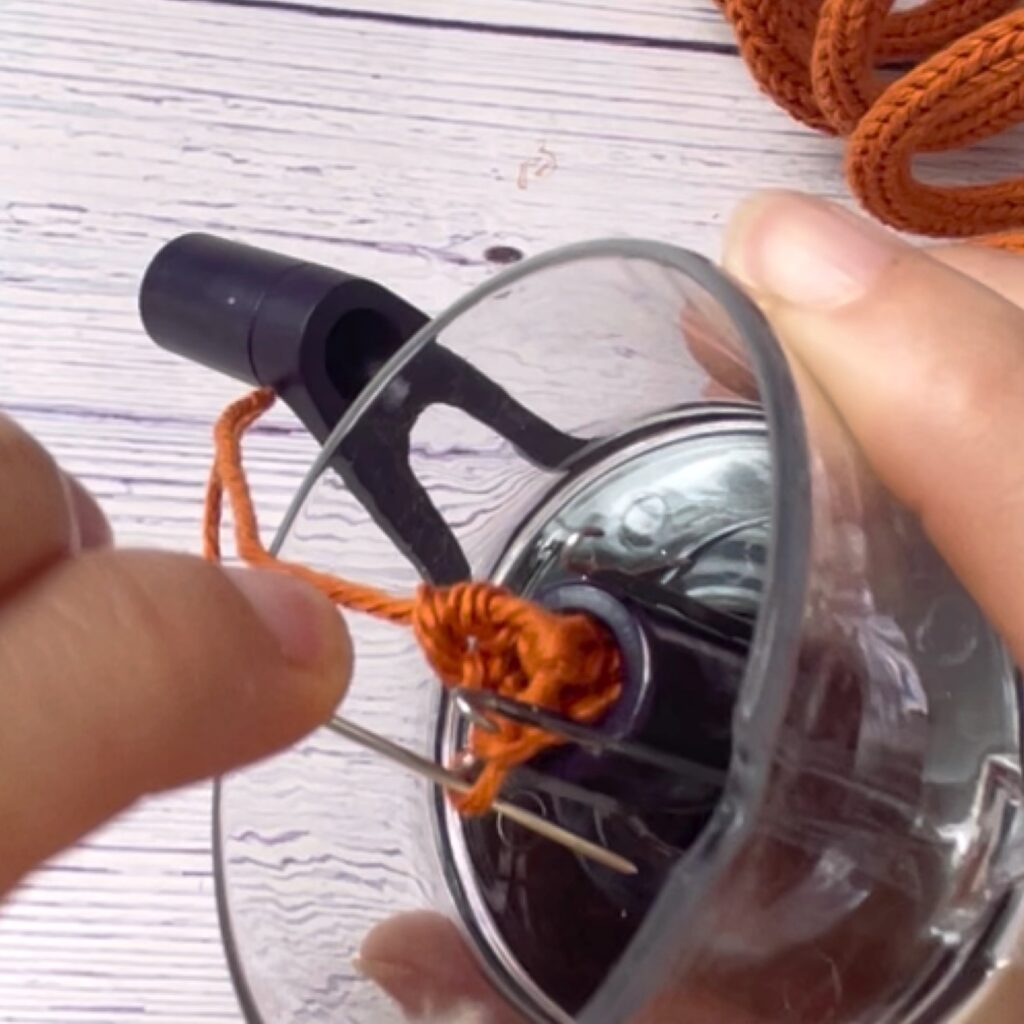
Step 1: Make a no knit i-cord with the knitting machine

Pumpkin Decor Tutorial

Put the end of your yarn through the center of the machine and attach the weight to it. Then let the first hook catch the yarn, skip the second hook, let the 3rd hook catch the yarn again and skip the 4th hook. After that, let the yarn be caught by all the hooks. Make your cord as long as you think you will need for your headband and some extra for the bow.

Step 2: Finishing off the end of the I-cord

Cut the string about 4″ from the hooks and string it on a needle. Now take off the loops of yarn from all 4 hooks with the needles. So you are pulling the end of the yarn through all 4 loops and pulling it tight. Then just pull it through the machine.

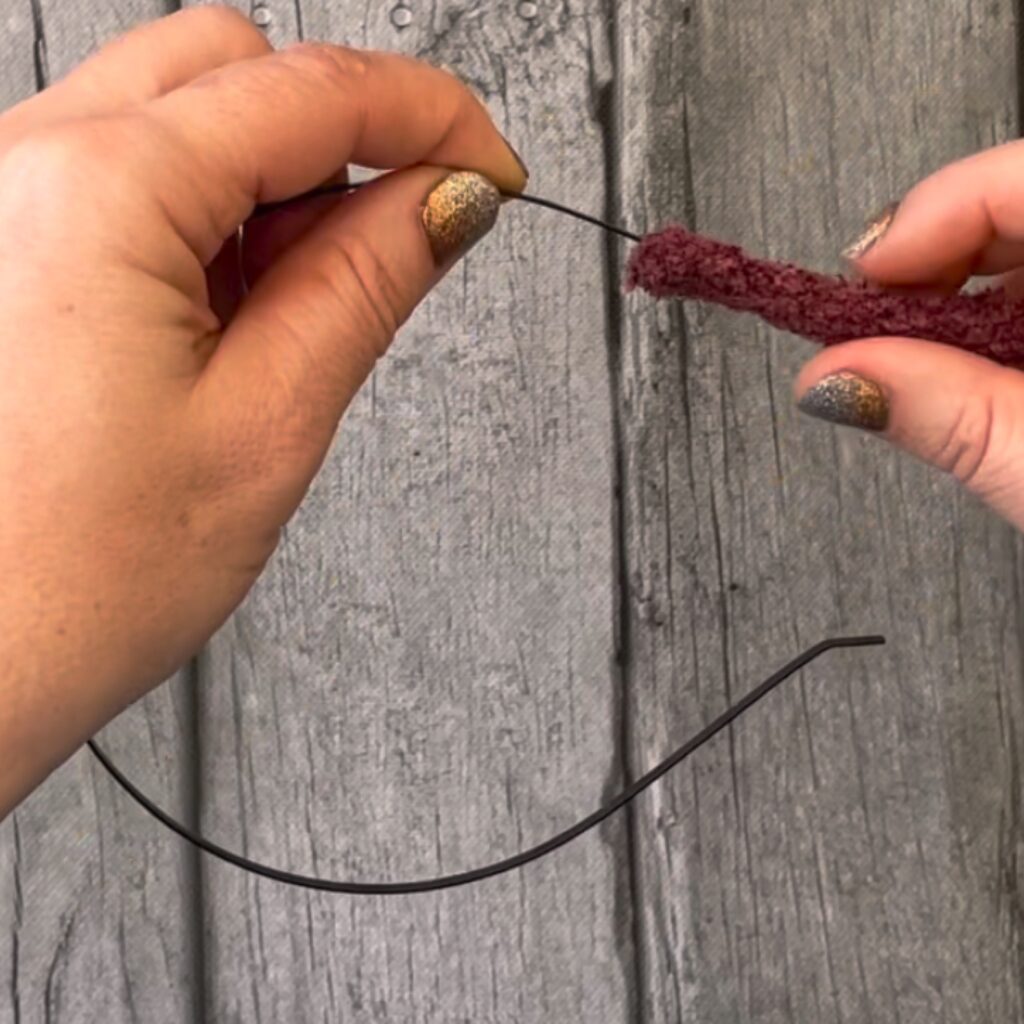
Step 3: Winding the I-cord onto the wire headband
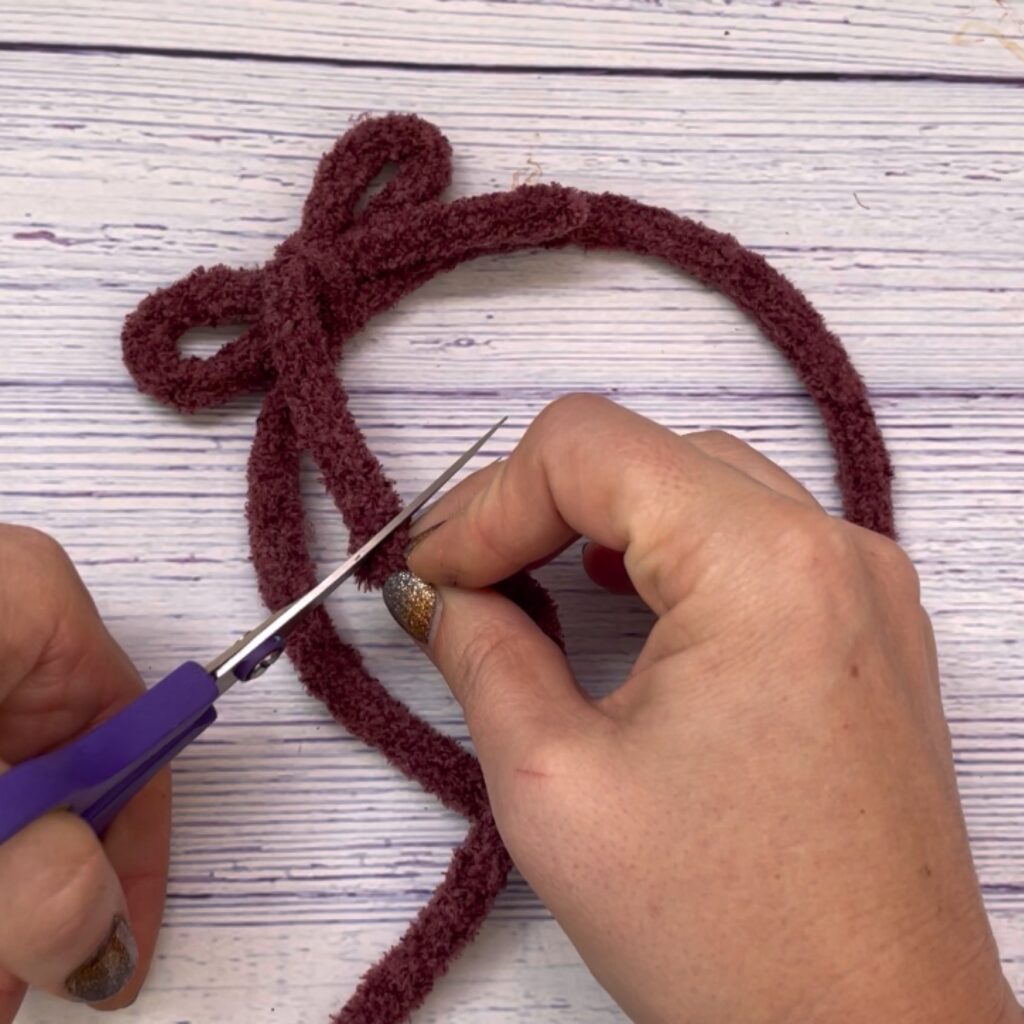
Take that end and push it over the wire frame. Use some glue to attach the end firmly to the end of the wire frame. Then cut the i-cord at the end of the headband. Undo a bit of the knitting until you clearly see all 4 loops. Using a needle, catch all 4 loops with the end of the string and tie it off. Then use more glue to attach this end to the end of the wire headband as well.

Step 4: Attach bow

Tie off one side of the rest of the I-cord the same way as before by catching all 4 loops. Then use this cord to tie a bow a little off to the side on the headband. When you are happy with the bow, cut off the end and weave in the ends as before.

I hope you will enjoy this bow headband tutorial as much as I do. Comment below if you have any questions and show off your own headbands here and on Instagram #kaileacrafts

More Free Tutorial

Want to make even more fun pieces? Check out these Crafting on the Fly creations!

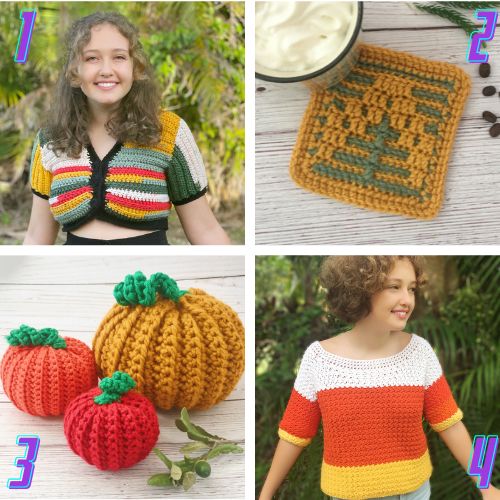
  1. Autumn Crop Jacket– Crochet this autumn inspired crop jacket
  2. Mosaic Pine Tree Coaster – Crochet this pine tree coaster
  3. Pumpkin Patch – Crochet a pumpkin patch in 3 different sizes
  4. Candy Corn Sweater – Crochet a Candy Corn Sweater

Primary Sidebar

Kailea

Recent Posts

  • Heart Fingerless Gloves Crochet Pattern
  • Easy Knitted Bow Headband Tutorial
  • How to crochet a Snowflake Ornament
  • Ceramic Tile Polymer Clay Earrings Tutorial

Seach

Copyright © 2023 ·Crafting on the fly

  • Privacy Policy
  • Disclosure