
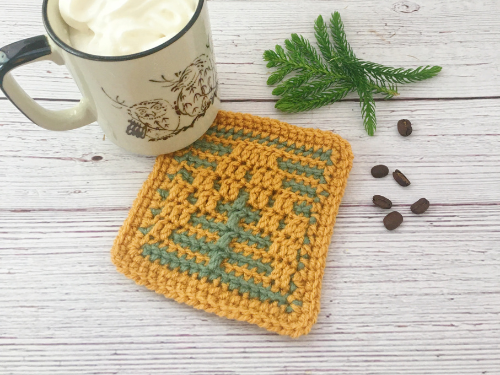
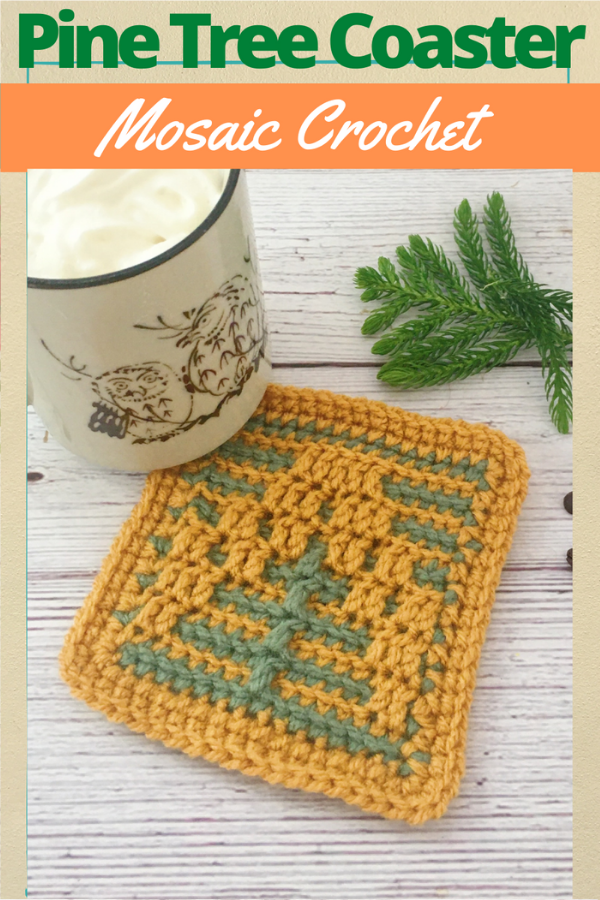
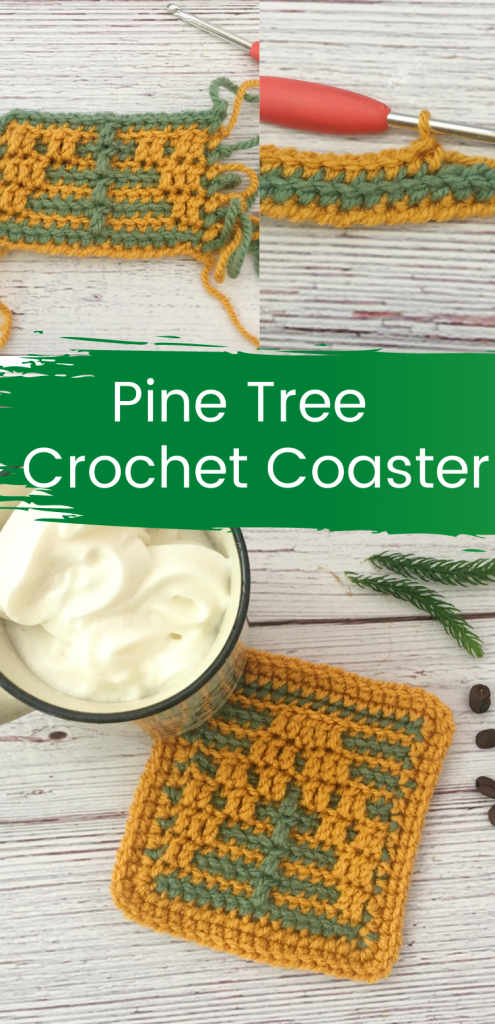
Learn how to make a Pine Tree Coaster with Mosaic Crochet
Now that is is getting colder in the northern hemisphere, the need for a hot coffee or tea is becoming stronger and stronger. Time to crochet a set of cozy pine tree coasters to go with this season of falling leaves, shades of yellow and orange and walked in a pine tree forest.
You can buy the ad-free printable PDF for this Pine Tree Coaster Crochet Pattern on Etsy. Thank you for your support!
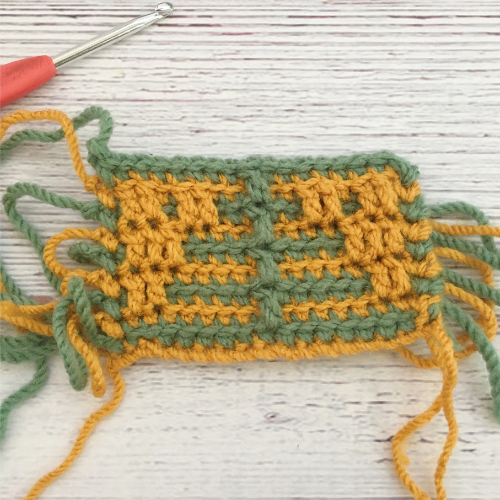
Mosaic crochet is a beautiful way to create pictures with yarn. It seems intimidating for many beginners, but its not so hard once you understand the basics. This mosaic crochet coaster tutorial is a great way to start with mosaic crochet since you are working on a small square to built and see you pattern quickly. No long repeats!
Once you get the hang of it, you will want to create a full set! These would also make great housewarming gifts!
You can also follow along with this video tutorial to see this pine coaster crochet from beginning to end.
As an Amazon Associate I earn from qualifying purchases. If you make a purchase through my link, I will make a small commission with no extra cost to you. “
Pine Tree Coaster Materials
- Color A: Patons Canadiana Yarn, Fool’s Gold
- Color B: Patons Canadiana Yarn, Dark Green Tea
- 4mm Crochet Hook
- Pencil
- Scissors
- Needle
Crochet Terms (US):
- Ch- Chain
- Sp – Space
- St (s) – Stitch(es)
- REP – Repeat
- Sl St – Slip Stitch
- SC – Single Crochet
- BLSC – Back Loop Single Crochet
- MosaicFLDC – Mosaic Front Loop Double Crochet
Pine Tree Mosaic Crochet Pattern
Mosaic crochet has a set of rules you need to follow:
- use 2 colors that are clearly different and easy to differentiate
- use alternating rows of these 2 colors
- start each row on the right side (left side for left handed crocheters)
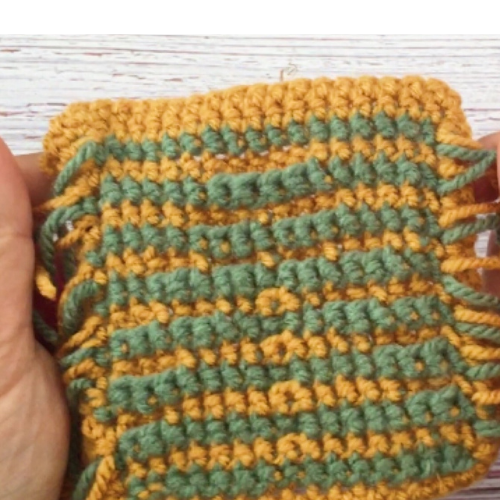
- cut the yarn at the end of each row
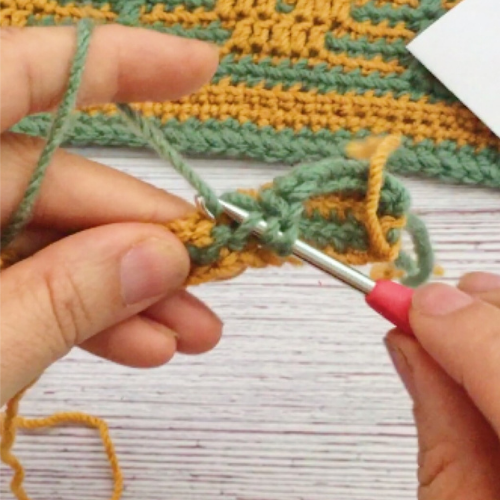
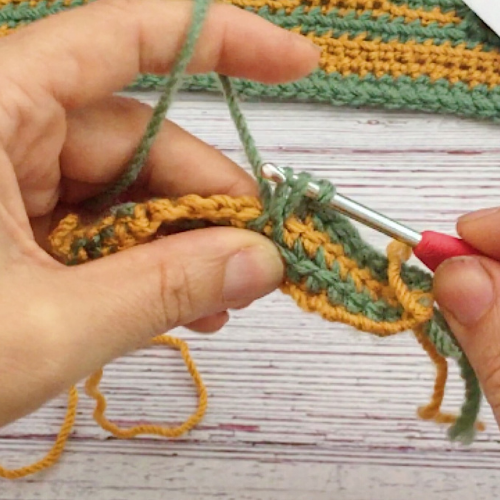
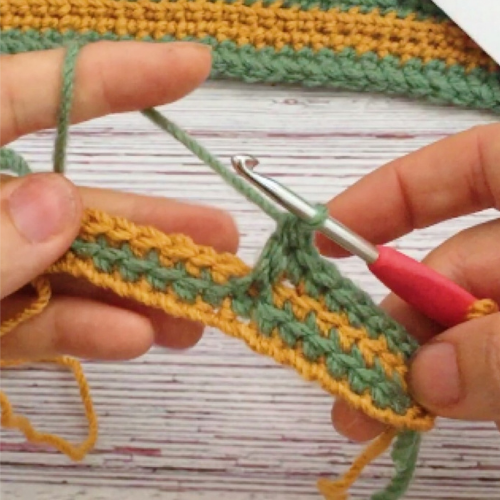
- use BLSC for regular stitches and MosaicFLDC indicated with an X in the pattern to bring the color over one row.
- at the beginning and end of your work, you add a SC
- You can repeat the pattern over and over in a row to create larger projects such as pillows or blankets
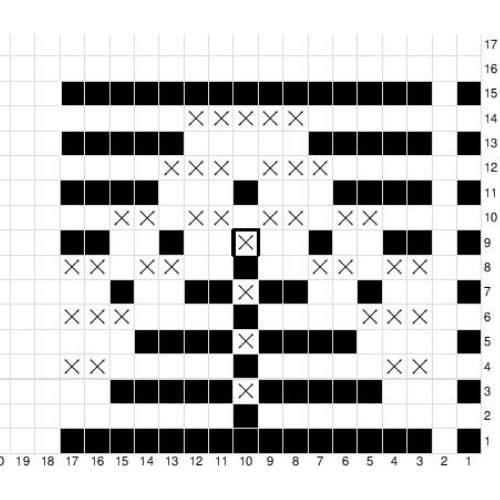
This Pine Tree Coaster Pattern has a repeat of 15. When you look at the pattern, column 1 shows you what alternating color you are using in each row. You are only using 1 color for each row for both the black and white squares. These are blsc. The squares with an x and mosaicfldc. The pattern itself starts on column 3 all the way across to column 17.
Here is the written pattern, but you can also just follow the chart above.
Foundation: with A ch17 (adding 1 ch on each side), fasten off
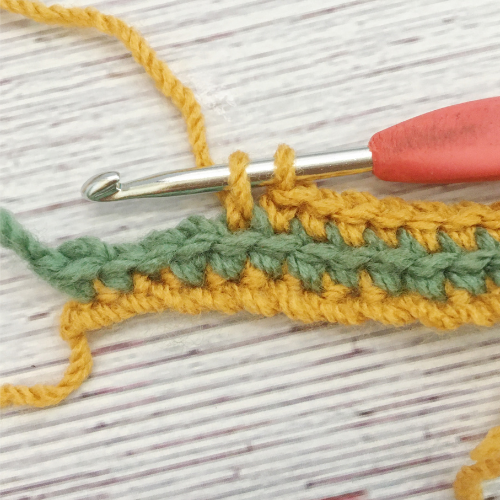
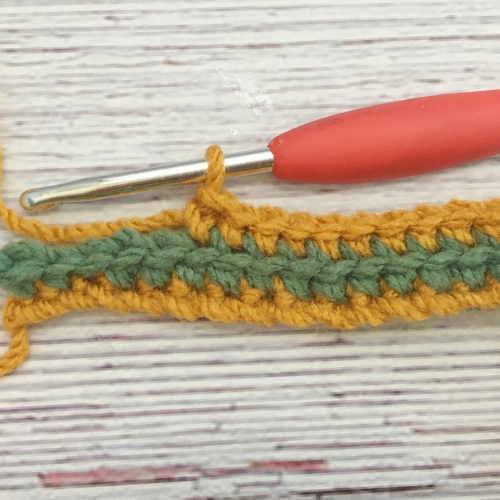
Row 1: With B (starting from the right here and throughout) pull up a loop in 1st ch, ch1, sc in same ch, sc across, fasten off
Row 2: with A pull up a loop in 1st st, ch1, sc in same st, blsc across, sc in last st, fasten off
Row 3: with B pull up a loop in 1st st, ch1, sc in same st, blsc in next 7 sts, mosaicfldc into the next st, blsc across, sc in last st, fasten off
Row 4: with A pull up a loop in 1st st, ch1, sc in same st, mosaicfldc in the next 2 sts, blsc in next 11 sts, mosaicfldc into the next 2 sts, sc in last st, fasten off
Row 5: rep row 3
Row 6: with A pull up a loop in 1st st, ch1, sc in same st, mosaicfldc in the next 3 sts, blsc in next 9 sts, mosaicfldc into the next 3 sts, sc in last st, fasten off
Row 7: rep row 3
Row 8: with A pull up a loop in 1st st, ch1, sc in same st, mosaicfldc in the next 2 sts, blsc in next st, mosaicfldc into the next 2 sts, blsc in next 5 sts, mosaicfldc into the next 2 st, blsc in next st, mosaicfldc into the next 2 sts, sc in last st, fasten off
Row 9: rep row 3
Row 10: with A pull up a loop in 1st st, ch1, sc in same st, blsc in next 2 sts, (mosaicfldc into the next 2 sts, blsc in next st) 4 times, blsc in next st, sc in last st, fasten off
Row 11: with B pull up a loop in 1st st, ch1, sc in same st, blsc across, sc in last st, fasten off
Row 12: with A pull up a loop in 1st st, ch1, sc in same st, blsc in next 4 sts, (mosaicfldc into the next 3 sts, blsc in next st ) 2 times, blsc in next 3sts, sc in last st, fasten off
Row 13: rep 11
Row 14: with A pull up a loop in 1st st, ch1, sc in same st, blsc in next 5 sts, mosaicfldc into the next 5 sts, blsc in next 5sts, sc in last st, fasten off
Row 15: rep 11
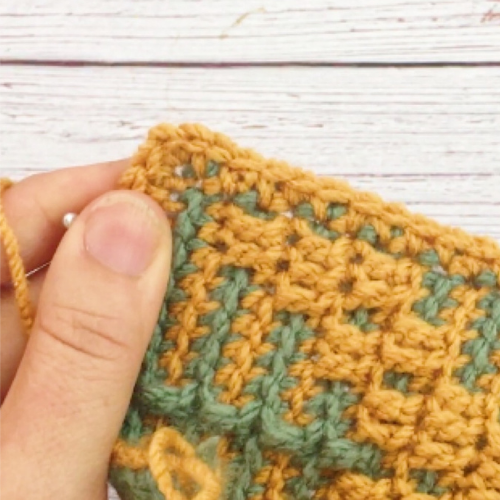
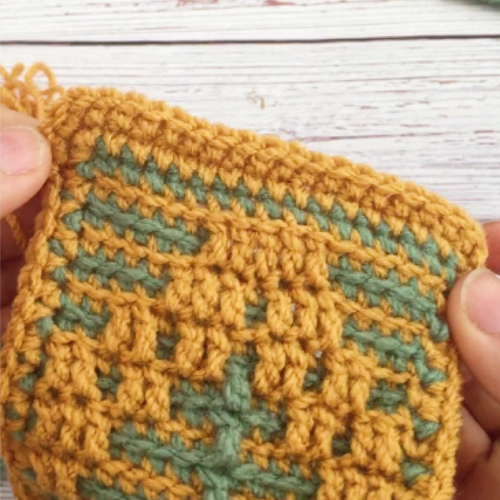
This completes the mosaic pattern. Now you can add a border around your coaster.
Round 1: With A pull up a loop in one of the corner sts, ch1, 3sc in same st, (sc across to next corner, 3sc in corner st) 2 times, sc across, sl st to start
Round 2: ch1, 3sc in same st, (sc across to next corner, 3sc in corner st) 2 times, sc across, sl st to start, fasten off and weave in all ends
I hope you will enjoy this Pine Tree Coaster Mosaic Crochet Pattern as much as I do. Comment below if you have any questions and show off your own Pine Tree Coasters here and on Instagram #kaileacrafts
More Free Crochet Patterns
Want to make even more crochet accessories? Check out these Crafting on the Fly creations!
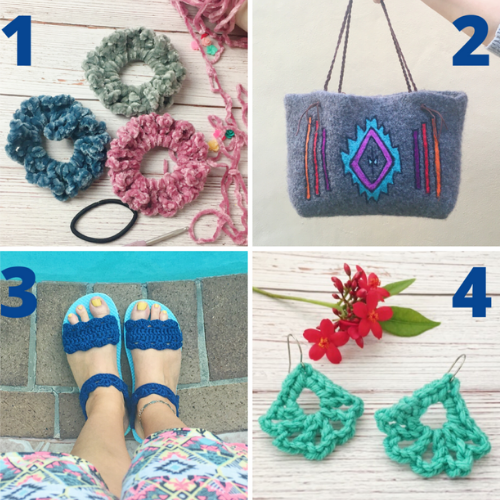
- Velvet Crochet Scrunchies – These scrunchies are a quick project that will brighten up any outfit.
- Crochet Felted Aztec Bag – Need a large carry-all bag? This felted crochet bag is all you need.
- Crochet Flip Flop Sandals – Add some stylish sandals to your summer wardrobe with this flip flop crochet pattern.
- Crochet Statement Earrings – These crochet earrings are quickly made with some leftover yarn and will complete your summer outfits.