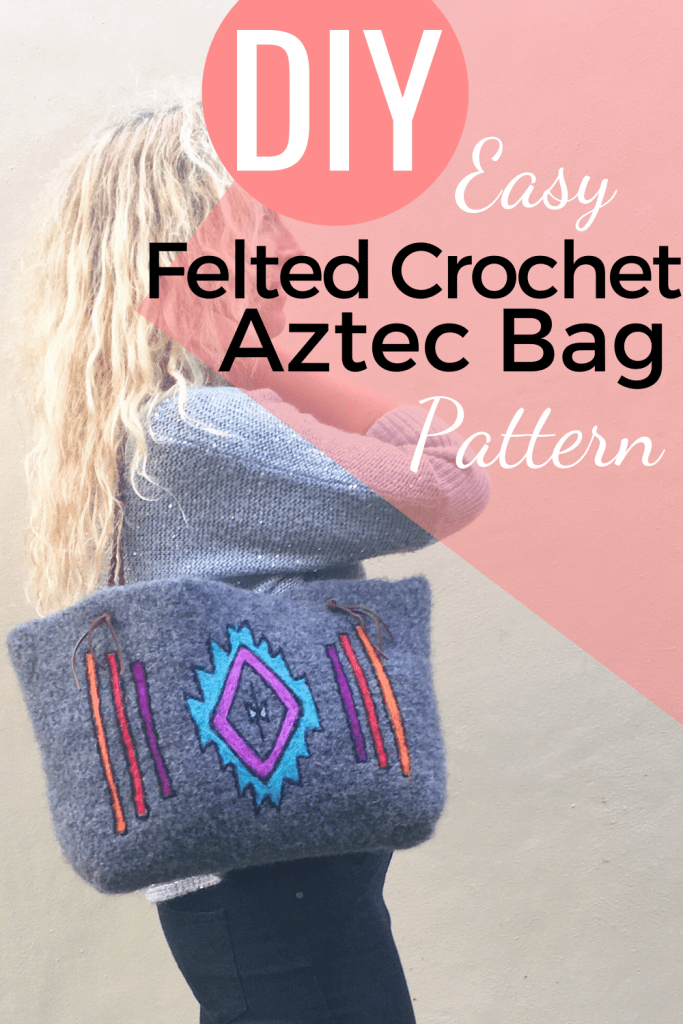
Learn how to make a felted crochet carryall bag
Large carryall bags are the best when taking trips or just visiting friends. Even better are handmade bags! When I saw a woman with the most amazing colorful and large felted handbag at the fair recently, I new I wanted to recreate that look right away. It took be some time to think of how to make one similar to that large carryall bag.
I am so glad I waited because I just love hoe it finally came out. And it really is so easy to make this crochet felted handbag.
Felted wool crafts are lots of fun. I had gotten myself this needle felting kit and was happy to finally really be able to use it.
There are so many different colors, so you can decide to totally change the colors for your felted bag.
As an Amazon Associate I earn from qualifying purchases. If you make a purchase through my link, I will make a small commission with no extra cost to you. “
I had already used Patons 100% wool for my felted face mask, So I new how much fun crochet felting is. For this large bag, you have to keep in mind that the felted bag will be about 1/3 smaller than the crochet bag. So that’s why it is so large while crocheting it!
So felting the bag in your washing machine is called wet felting. Now the second part of this felted handbag tutorial shows you how to needle felt this handbag with a simplified Aztec motive.
Let’s get started!
Felted Carryall Bag Materials:
- Patons Classic Wool Yarn in color gray, 4 balls
- Crochet Hook Number 5.5mm
- Patons Classic Wool Yarn in color Mercury, 1 ball
- Needle Felting Kit
- 3mm Leather String
- Scissors
- needle
Crochet Terms (US):
- Ch- Chain
- Sp – Space
- St – Stitch
- SC- Single Crochet
- DC- Double Crochet
- Sl St- Slip Stitch
- RS- Right Side
- WS- Wrong Side
Explanation:
This crochet handbag is made in easy double crochet rounds. Then the bottom corners are sown over.
Felting the wet felted bag is easy in your washing machines. You might want to start with a lower temperature and wash it at higher and higher temperatures until it comes out the size you like it. Then just lay out perfectly and let dry.
I ended up washing mine with hot water for it to really felt. It wasn’t really working with just warm water.
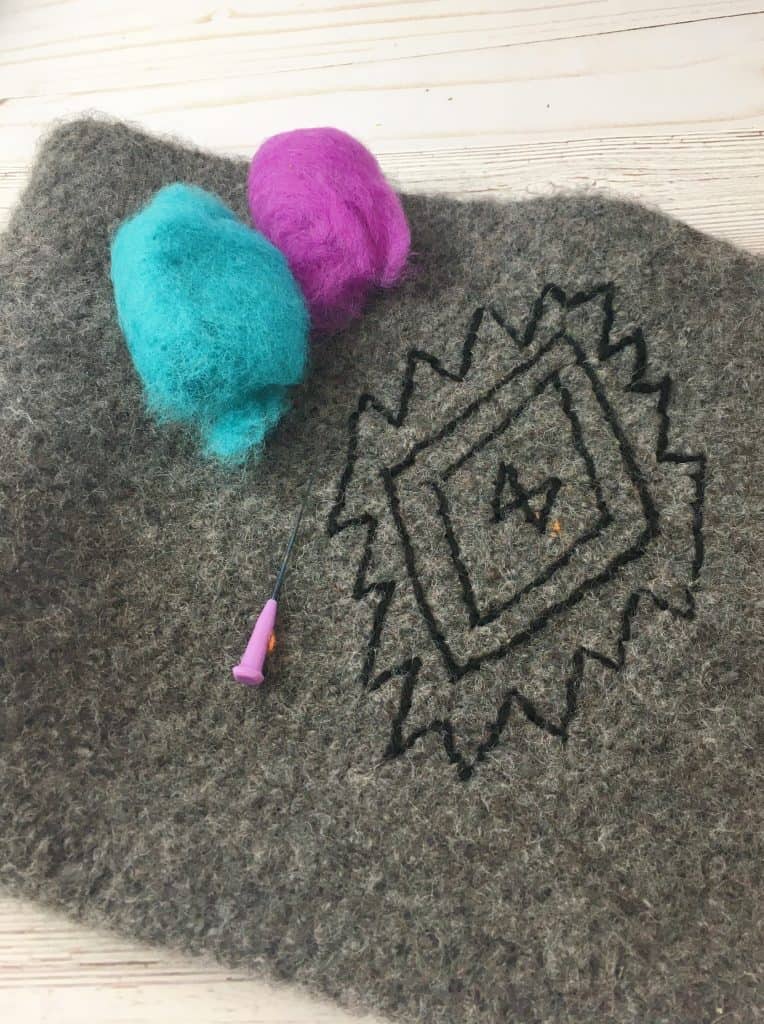
To add the Aztec inspired pattern to the front. you need to needle felt the handbag. This is lots of fun and you can do any pattern with that. Or use my felted bag pattern free!
And finally, add some leather handles to complete the Aztec look.
Pattern:
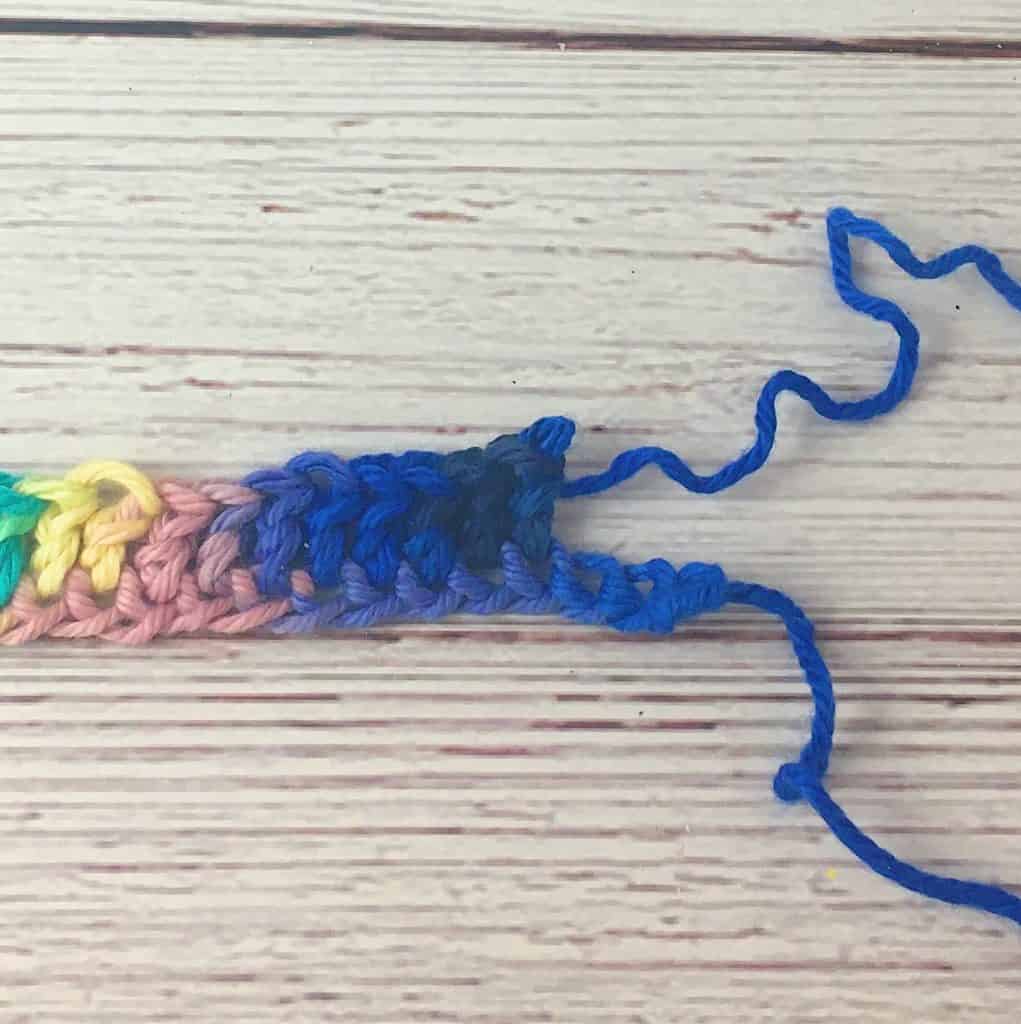
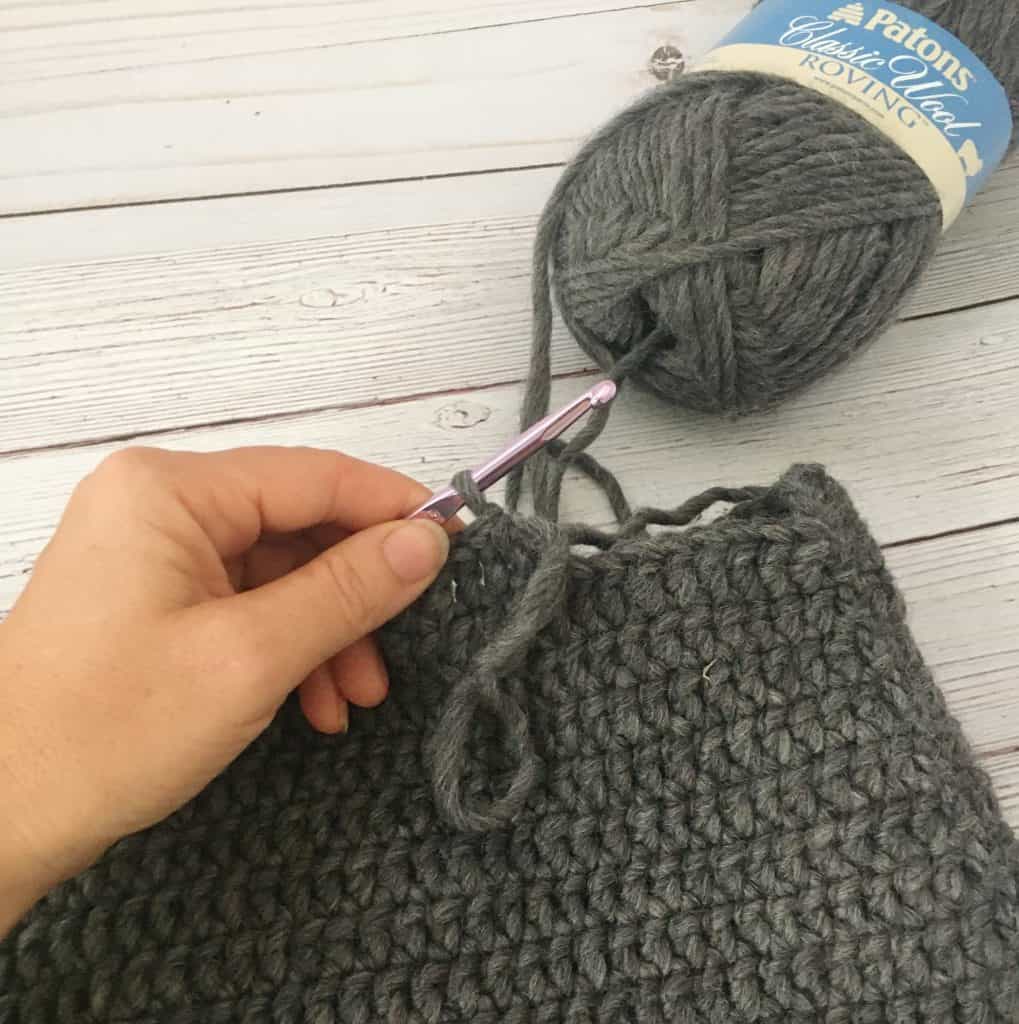
ROUND 1: Ch 61, dc in 3rd ch from hook and in each ch across
Keep hat RS (don’t turn your work over) dc across bottom part of foundation row, sl st to start.
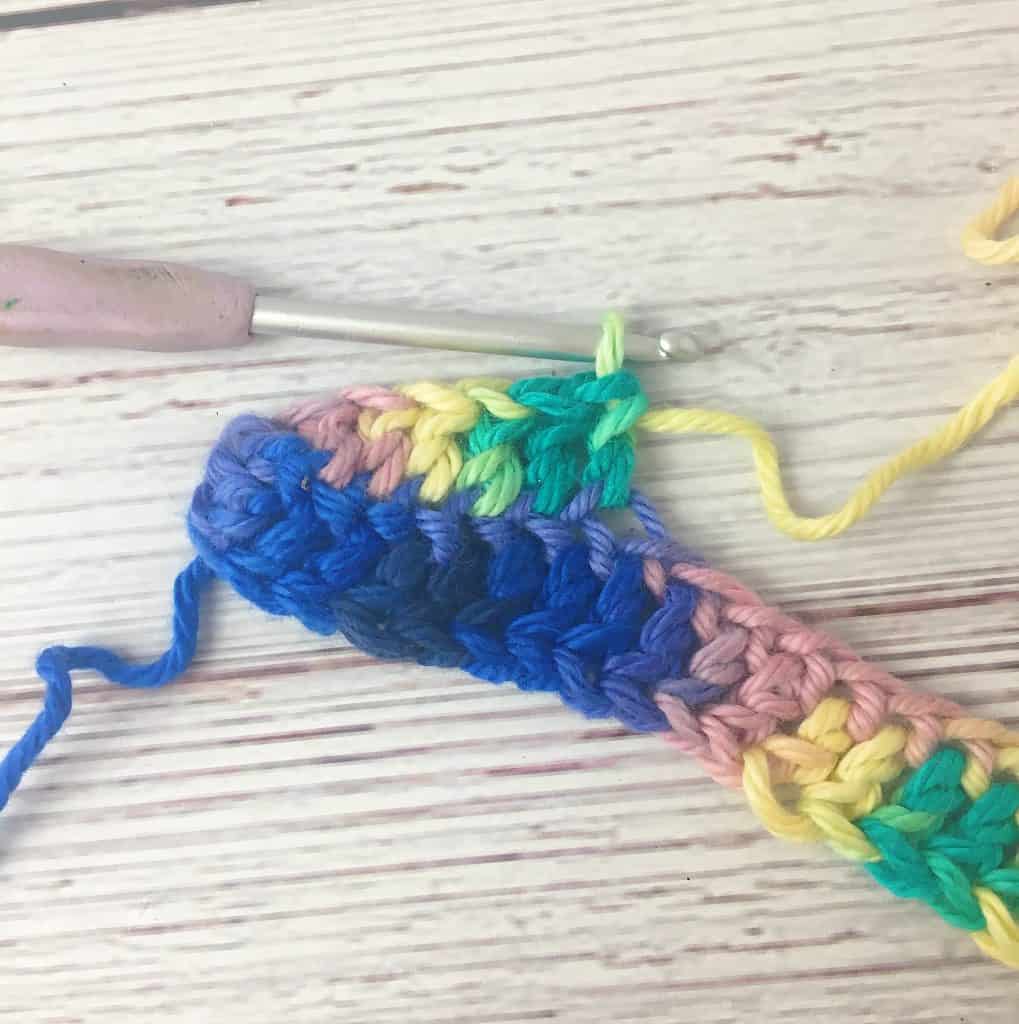
Now you continue in rounds to built up your bag.
ROUND 2-27: ch 2, dc in next st and around, sl st to start
ROUND 28:ch 2, dc in next st and around, sl st to start, fasten off and weave in all ends.
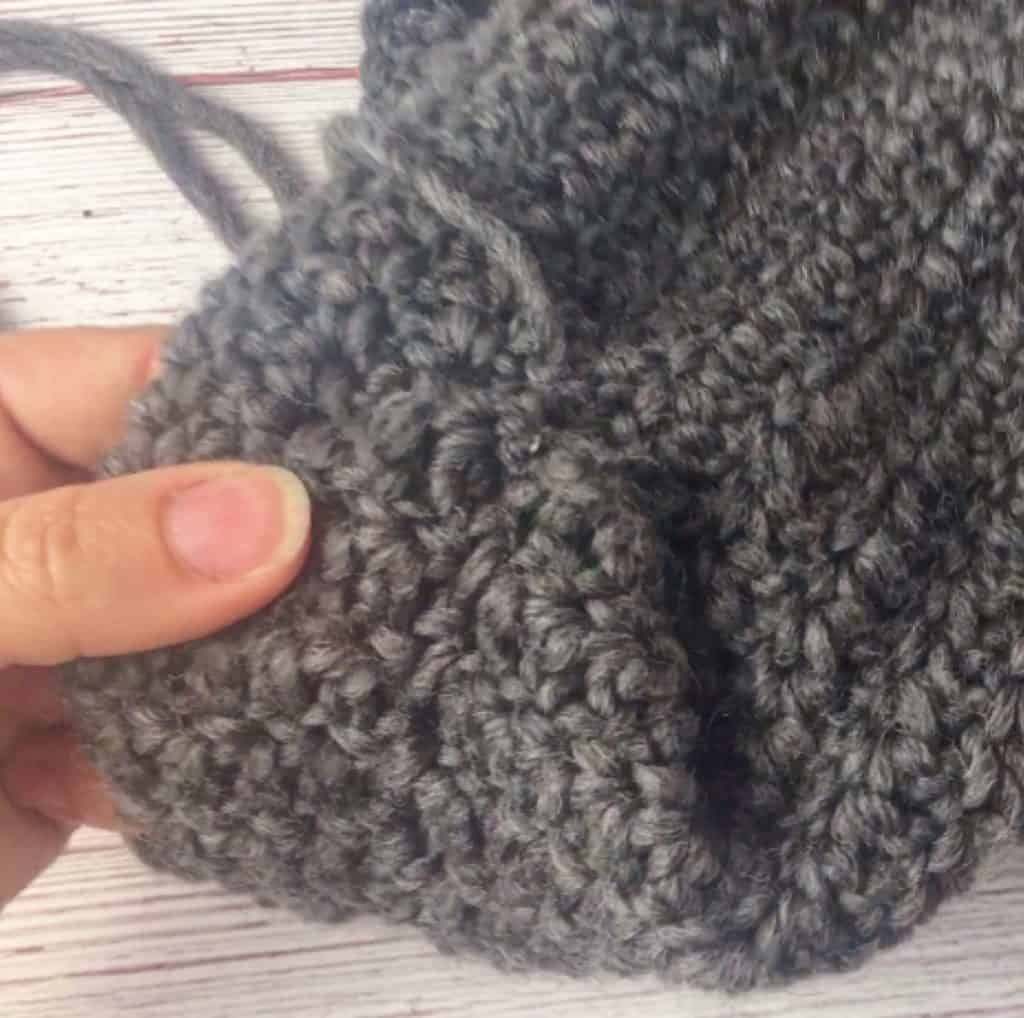
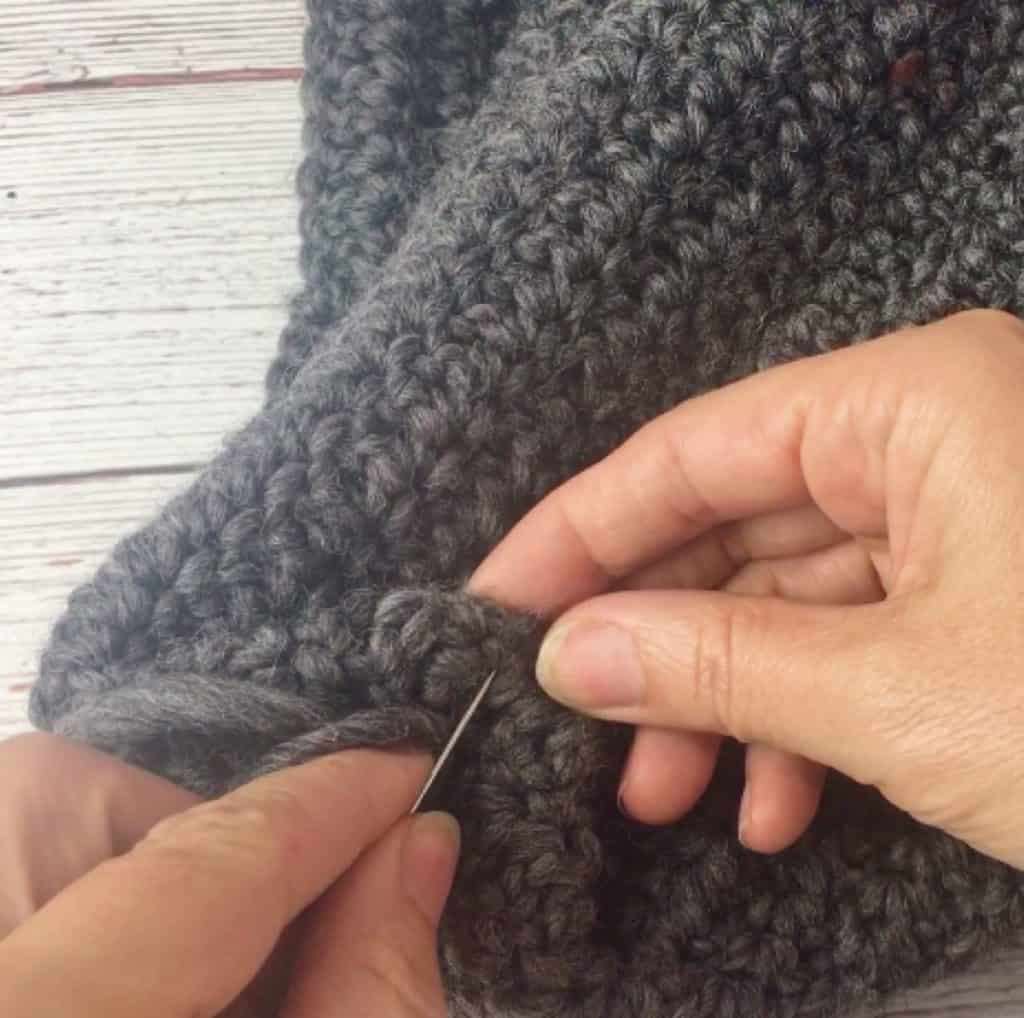
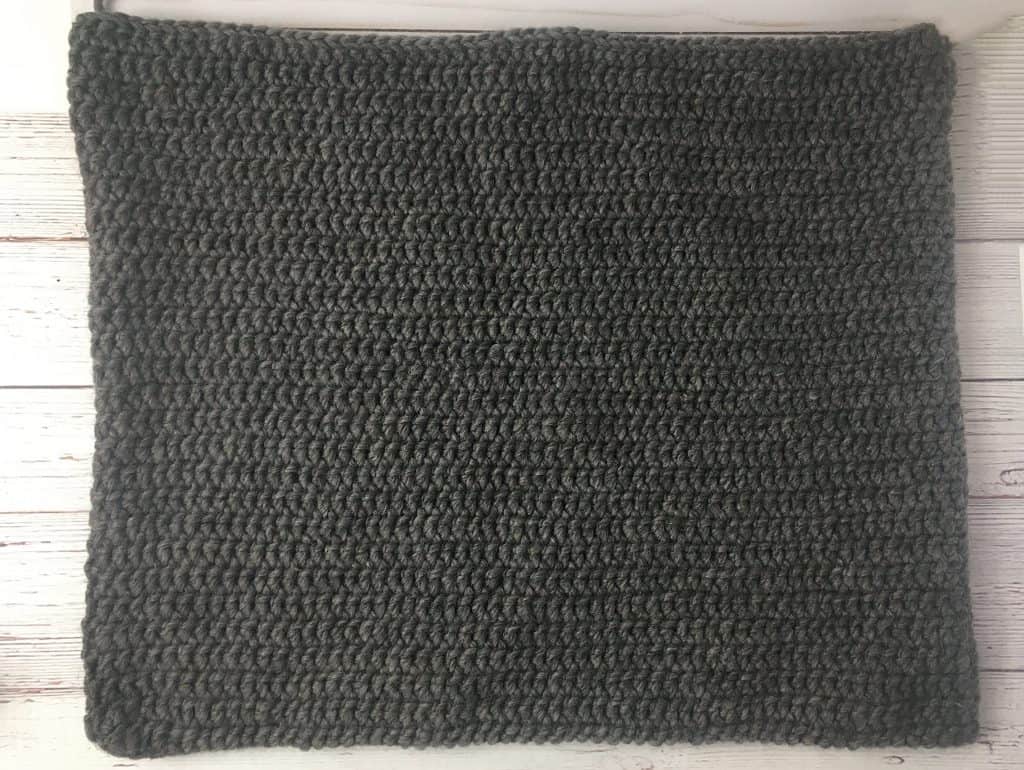
Once you finished crocheting the bag, turn it inside out to fold over the corners. This will give your bag some depth and a bottom to stand on. It should be about 4″ wide. So 2″ on each side. That is about 4 rows of the double crochet. Use some of the wool yarn and stitch along all the edges and also the long open mouth on the right side. Do that on both sides and your crochet bag is ready to go in the washing machine.
When the crochet bag is felted and dry, you can start with the needle felting process. This is the fun part!
But first, copy down the pattern with some chalk or a pencil. Something so you can see your pattern but also erase it in case you need to.
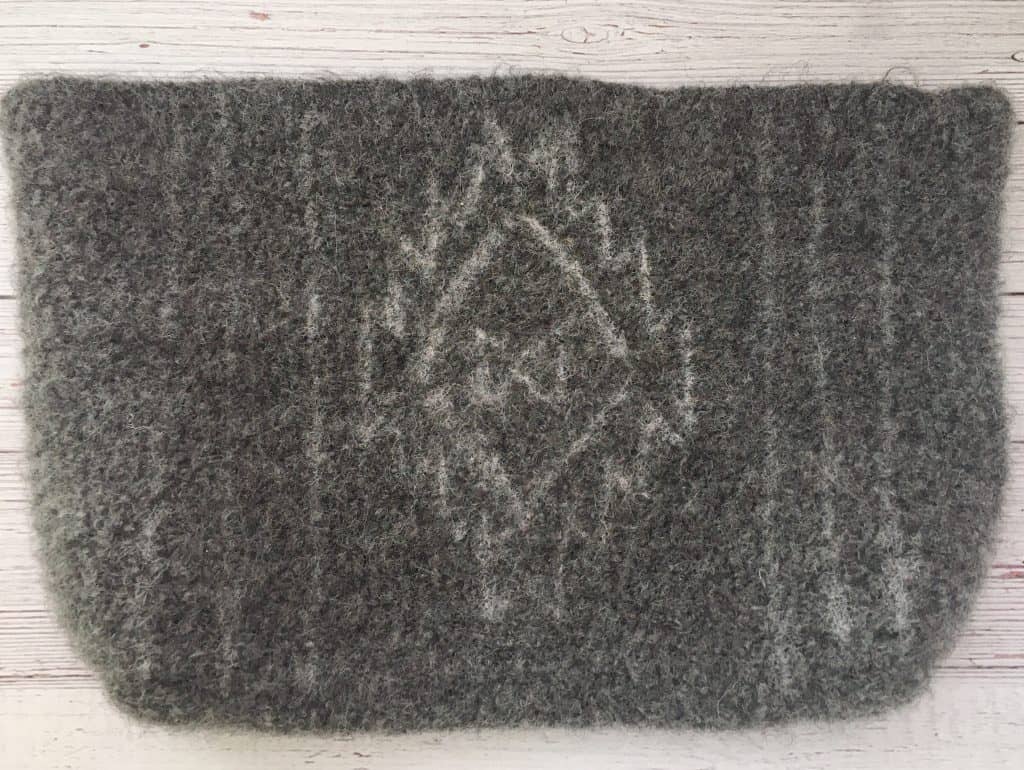
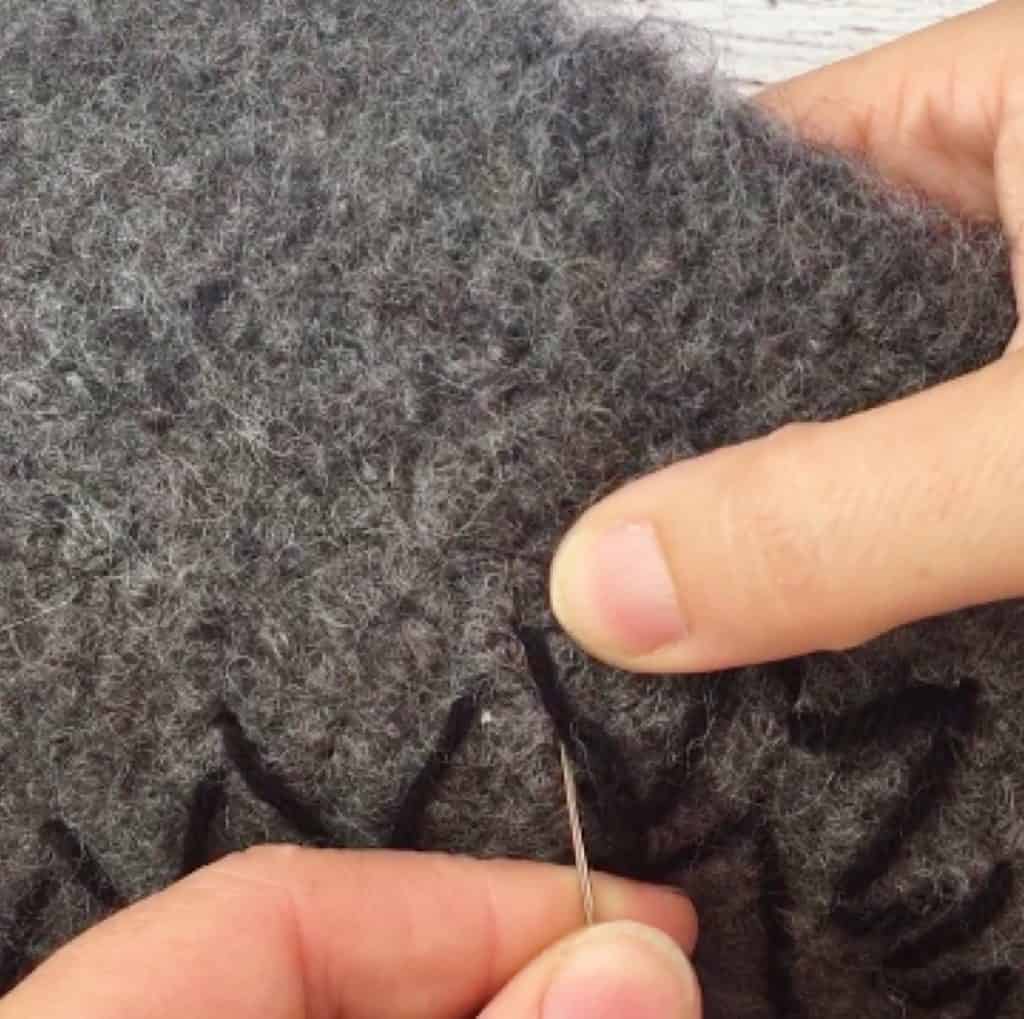
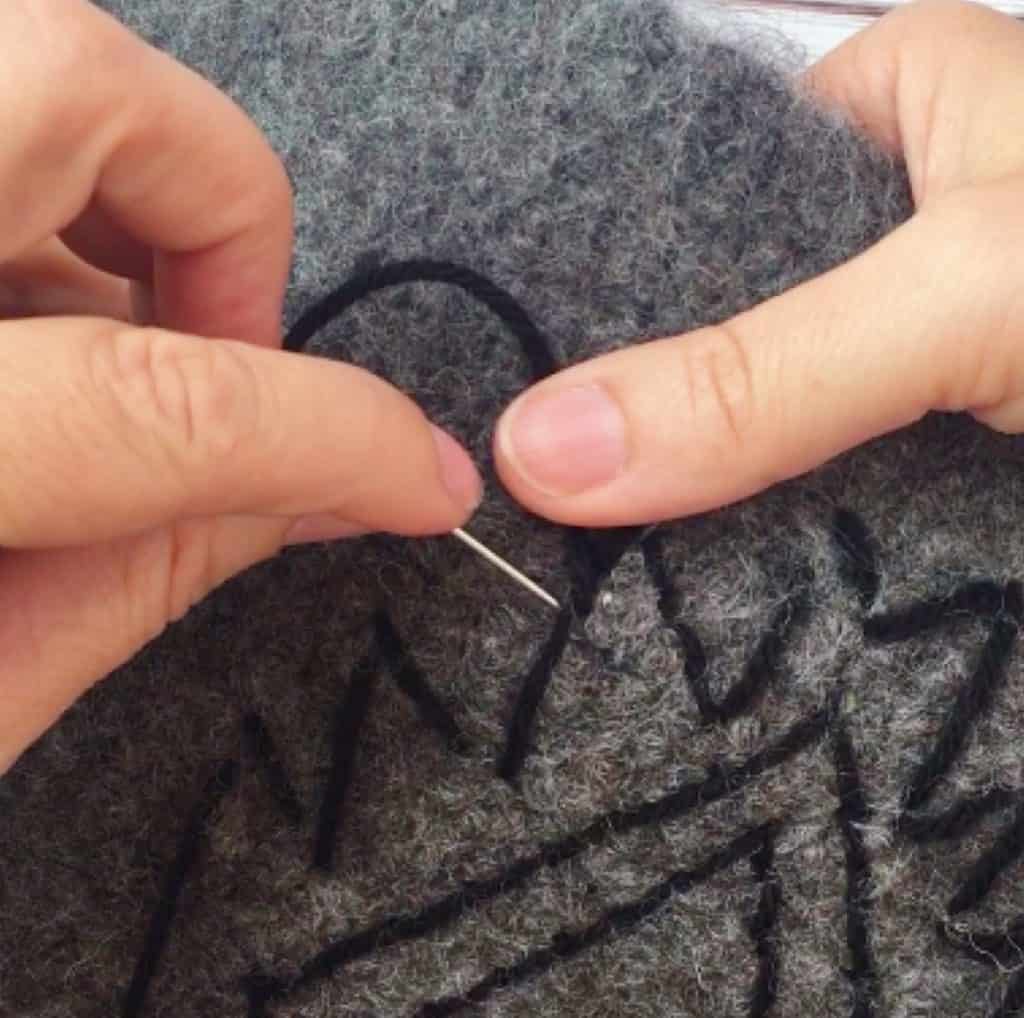
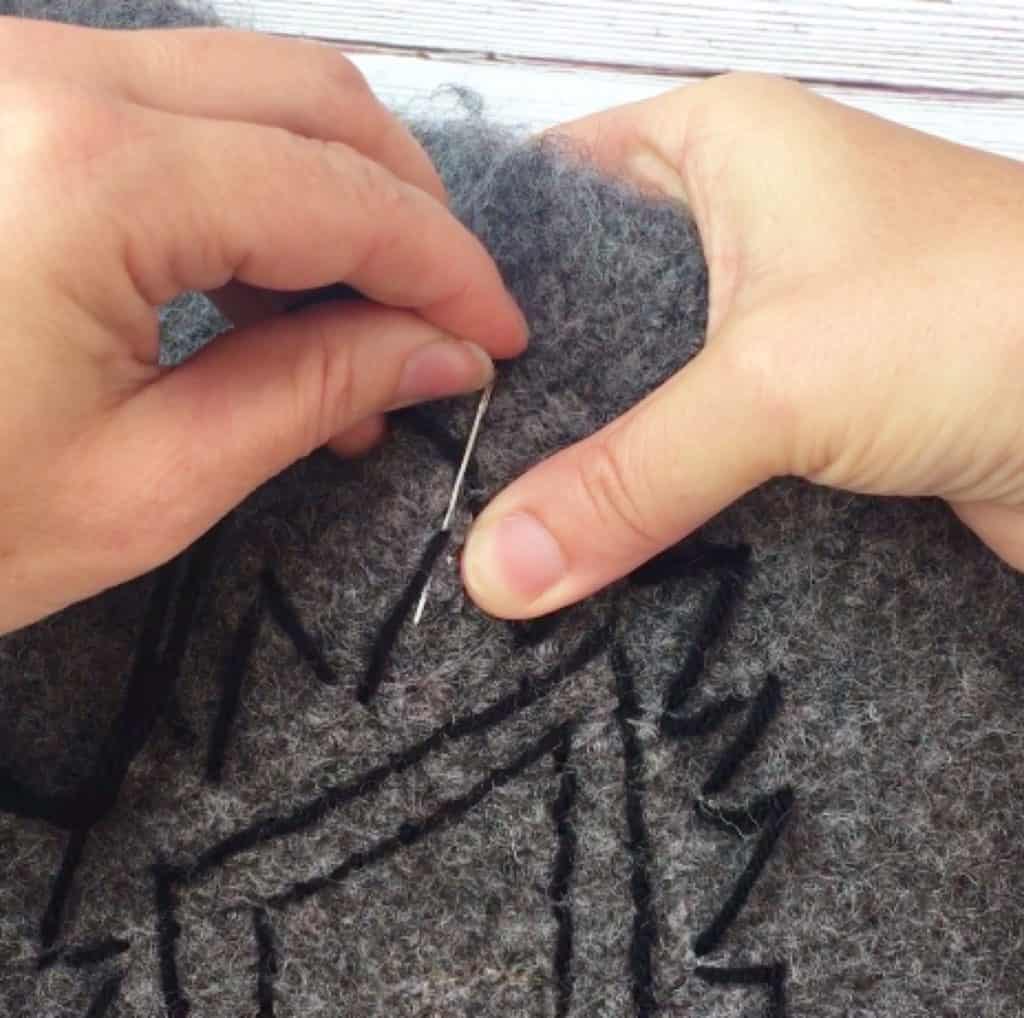
The hardest part (at least for me!) is laying out the pattern in the black yarn. I used an embroidery stitch called couching for that and it worked really well but you really have to watch your pattern to make sure it looks all even Steven and straight 😉
You can see best how to work this in the video. You are essentially laying out the black yarn and securing it along the way with a loop. Sort of like a bracket to keep it down.
I only went half way into the felted bag so the inside was clean and does not have any yarn. It works really well this way because the felted bag is thick.
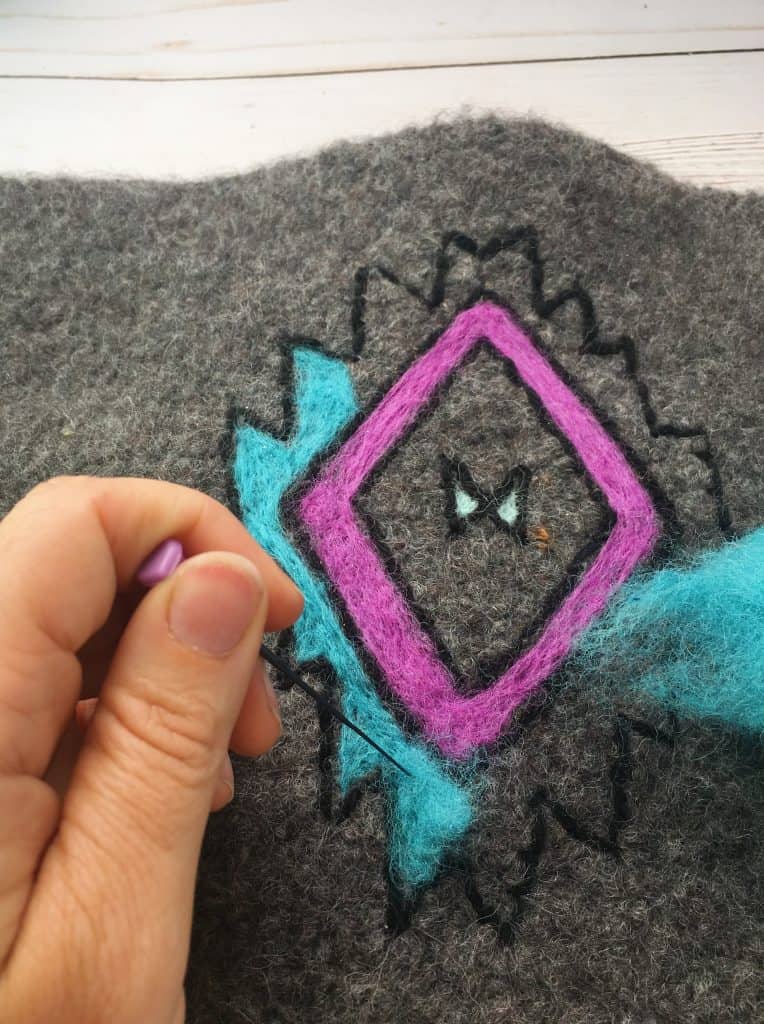
Now on to the most fun part! The needle felting!!!!
Choose your colors or match mine. Make sure to read the instructions that came with your needle felting kit.
Place the foam block under the part you want to needle felt. Take a little bit of felt and place it on top of the area you want to ‘color in’.
Then take your needle and stab the wool until it is firmly attached to the bag. This is a good activity to let out some accretion! Just make sure not to stab your finger! (Happened to me a few times. Ouch!)
All that is left now, is adding the braided leather handles.
Cut 6 pieces of 30″ leather and braid 2 separate strands, one for each side.
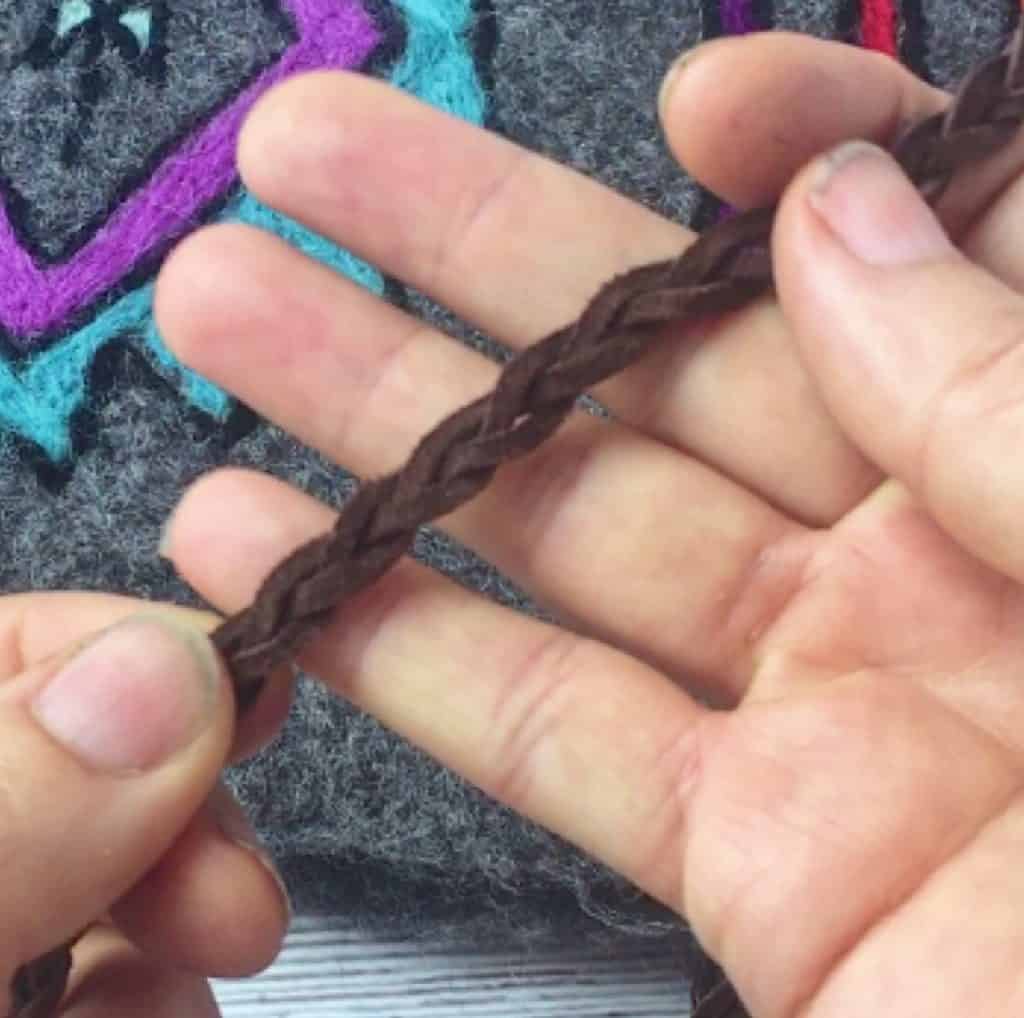
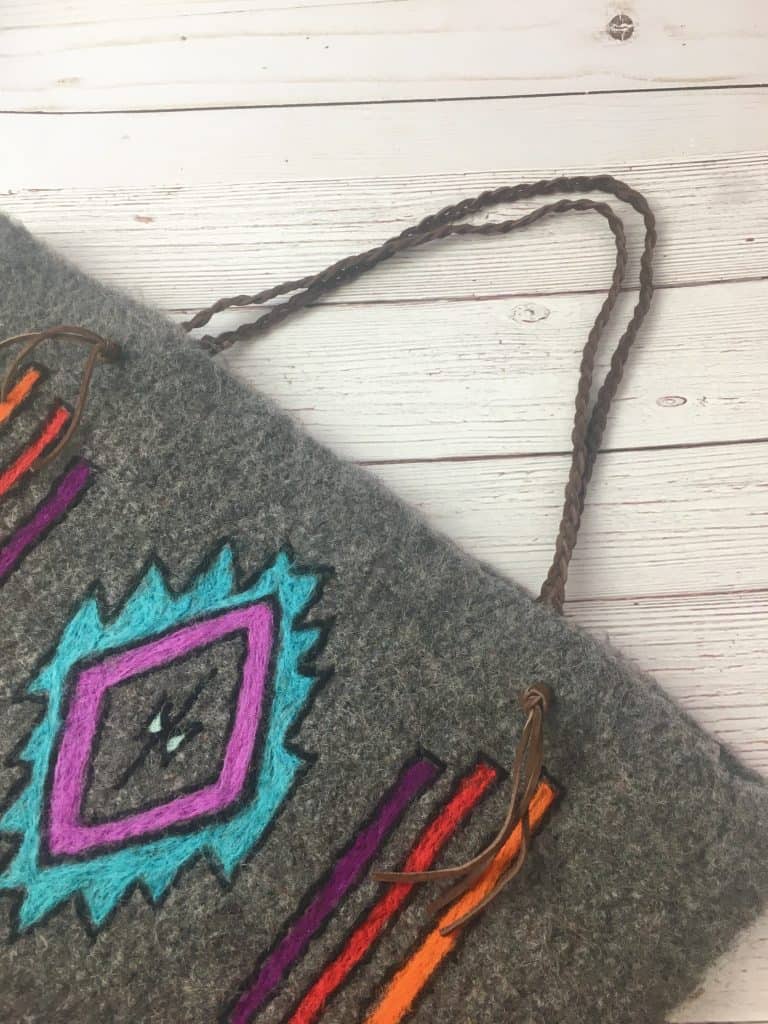
I placed the handles above the center stripe, the red one.
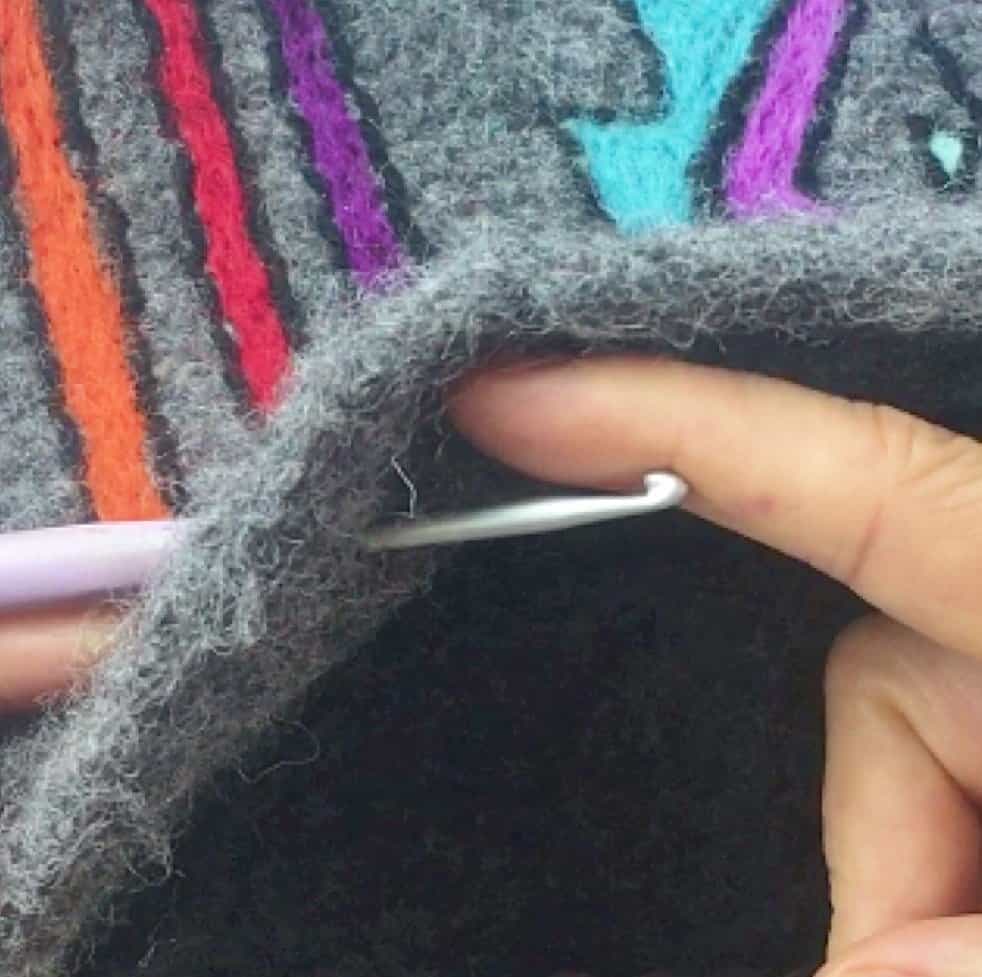
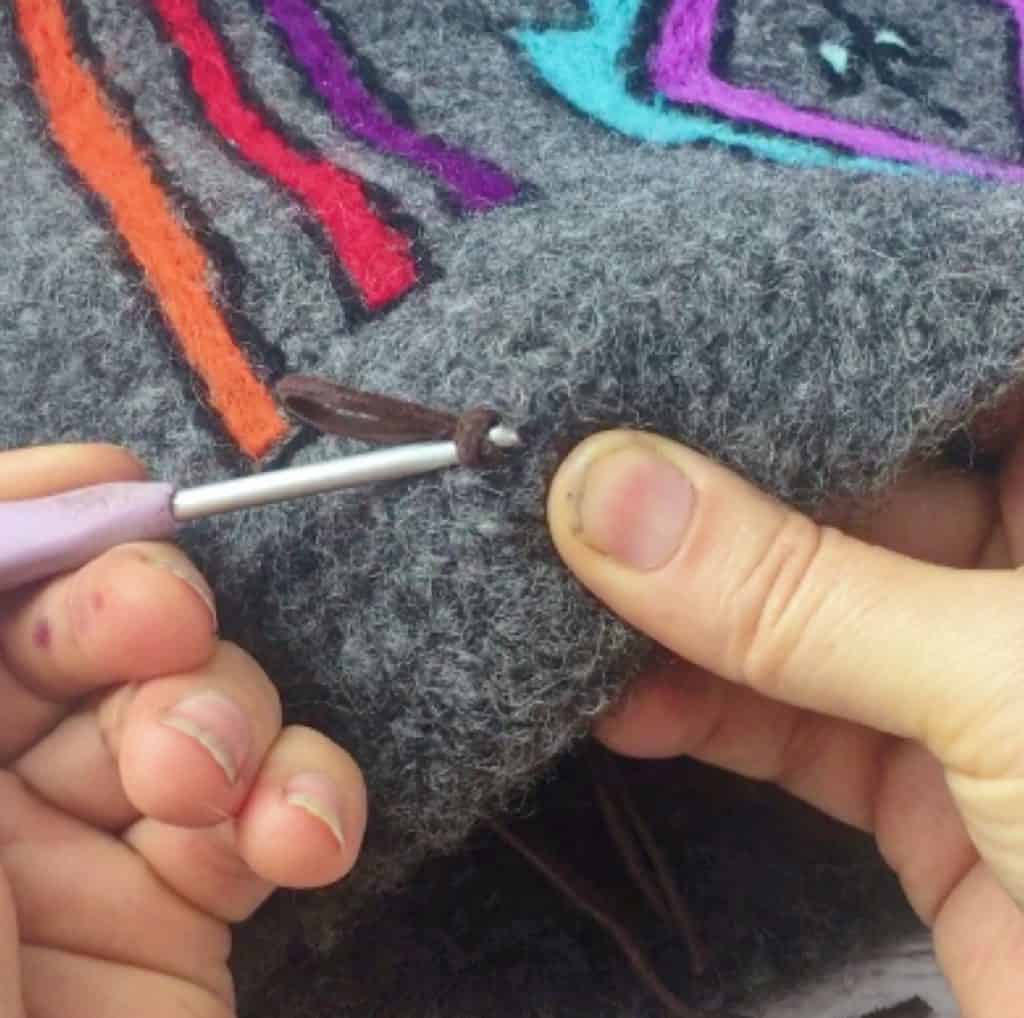
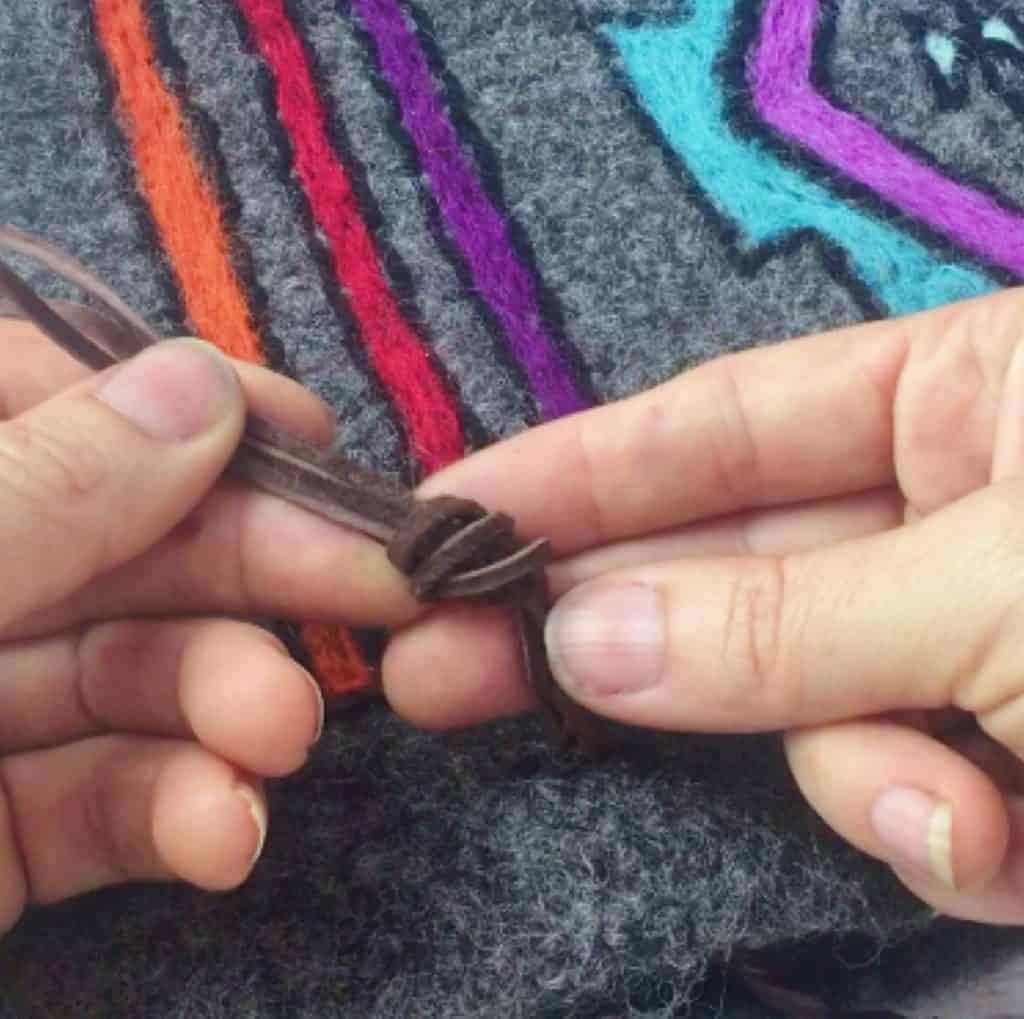
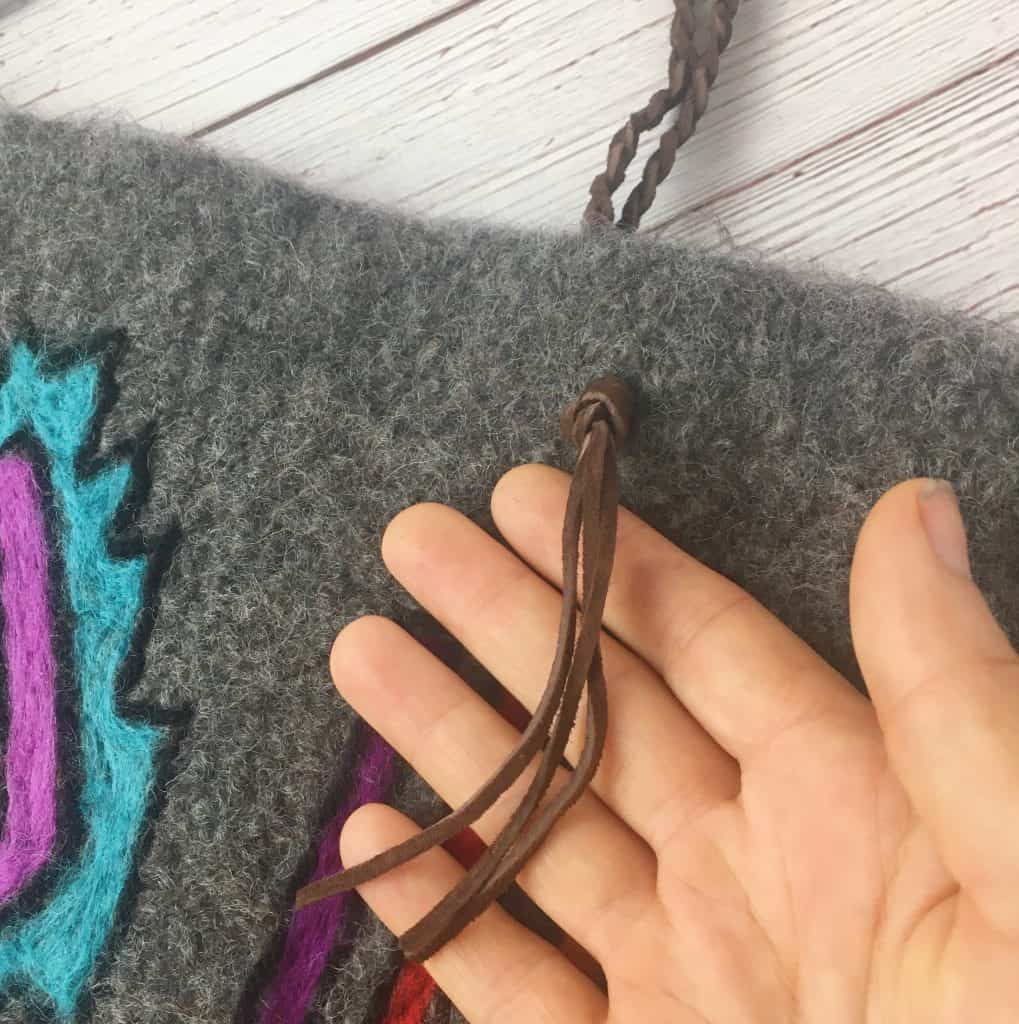
Use your crochet needle and poke a hole through the felted bag. Then take the 3 leather ends and pull them through from the inside to the outside.
Might need to wiggle it a bit to get them all out. Then you just need to tie them in a knot. Repeat that on all 4 side and your felted wool handbag is complete!
Pro Tip!
Once you completed your first bag, you can create many more variations for it! Smaller or even larger! And many many different patterns with the needle felting!
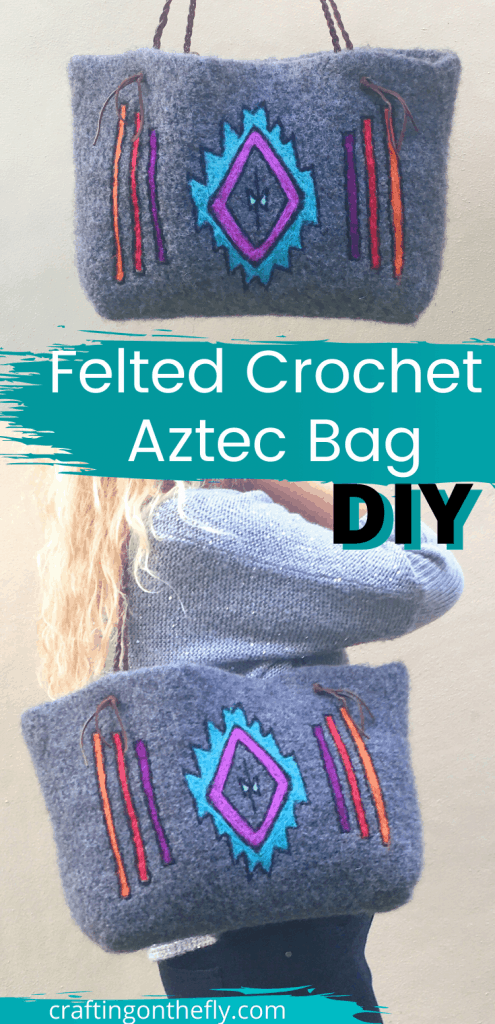
I hope you will enjoy this Felted Crochet Bag Pattern as much as I do. Comment below if you have any questions and show off your own Crochet Bag Creations here and on Instagram #kaileacrafts
More Free Crochet Patterns Perfect for your Summer Outfits
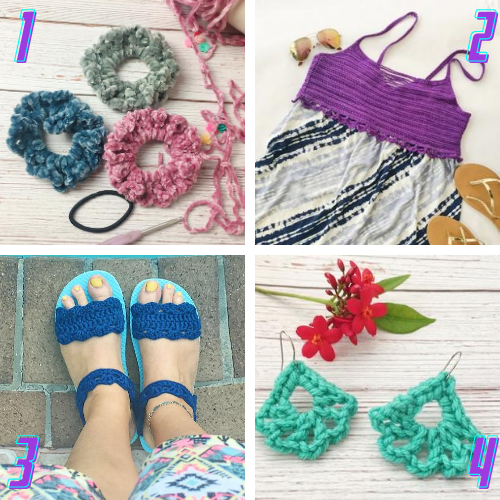
- Velvet Crochet Scrunchies – These scrunchies are a quick project that will brighten up any outfit
- Lila Crop Top Crochet Pattern – Perfect light and breezy crop top for the summer.
- Crochet Flip Flop Sandals – Add some stylish sandals to your summer wardrobe with this flip flop crochet pattern.
- Crochet Statement Earrings – These crochet earrings are quickly made with some leftover yarn and will complete your summer outfits.

