
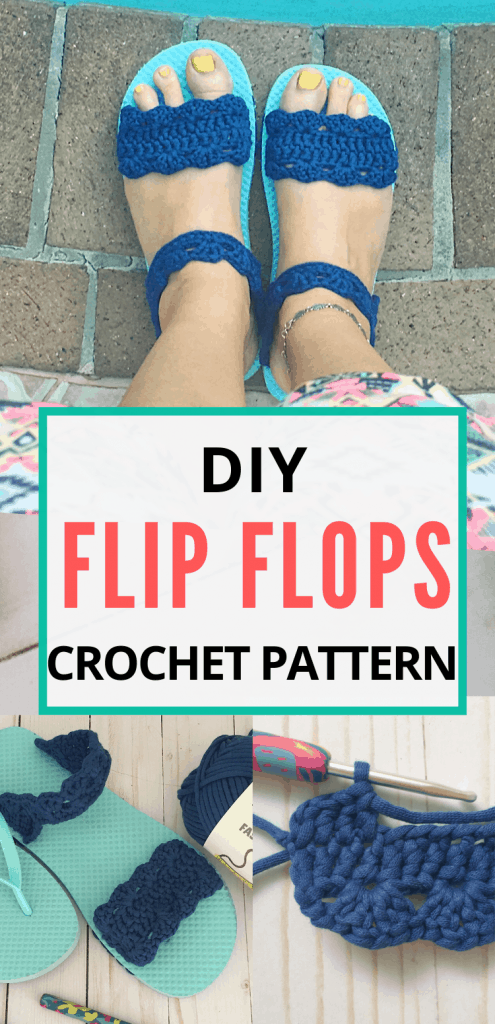
I love the comfy and squishy sols of flip flops. What I don’t like is the rubber band that divides my toes!
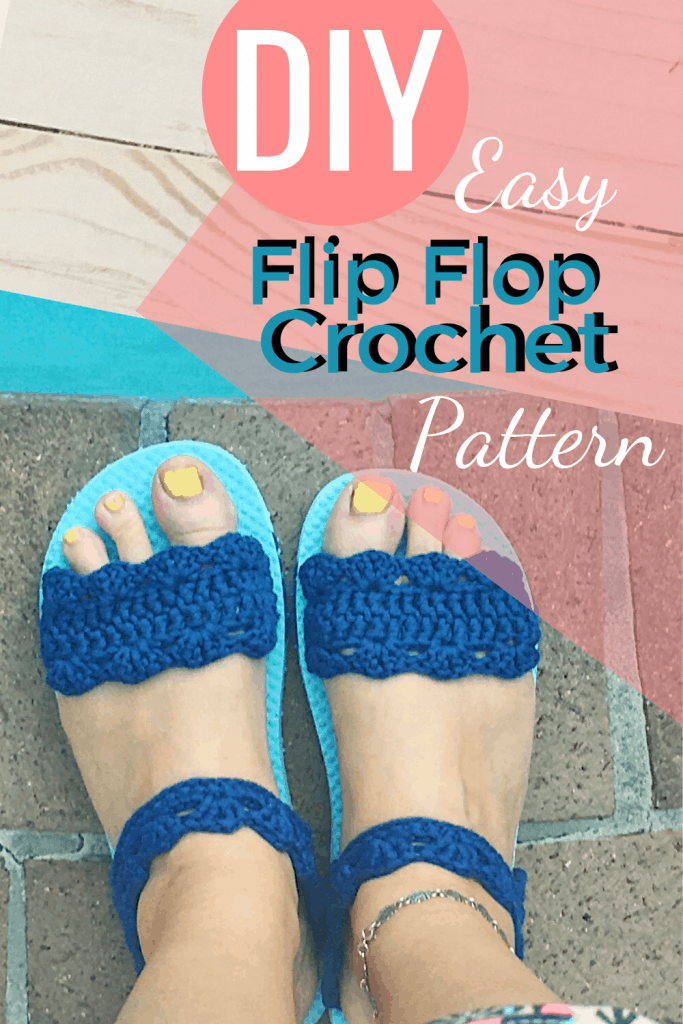
So I cut them up and added a nice crochet band to the front part and the back and now my flip flops have become beautiful one of a kind sandals that are oh so comfortable!
You will love them! And you won’t believe how easy it is to make your own crochet sandals with flip flops. You can use an old pair or buy new ones. This flip flop crochet pattern is quickly made. Great for beginners and I will show you exactly how to attach the crochet band to your flip flop sols.
“As an Amazon Associate I earn from qualifying purchases. If you make a purchase through my link, I will make a small commission with no extra cost to you. “
Materials:
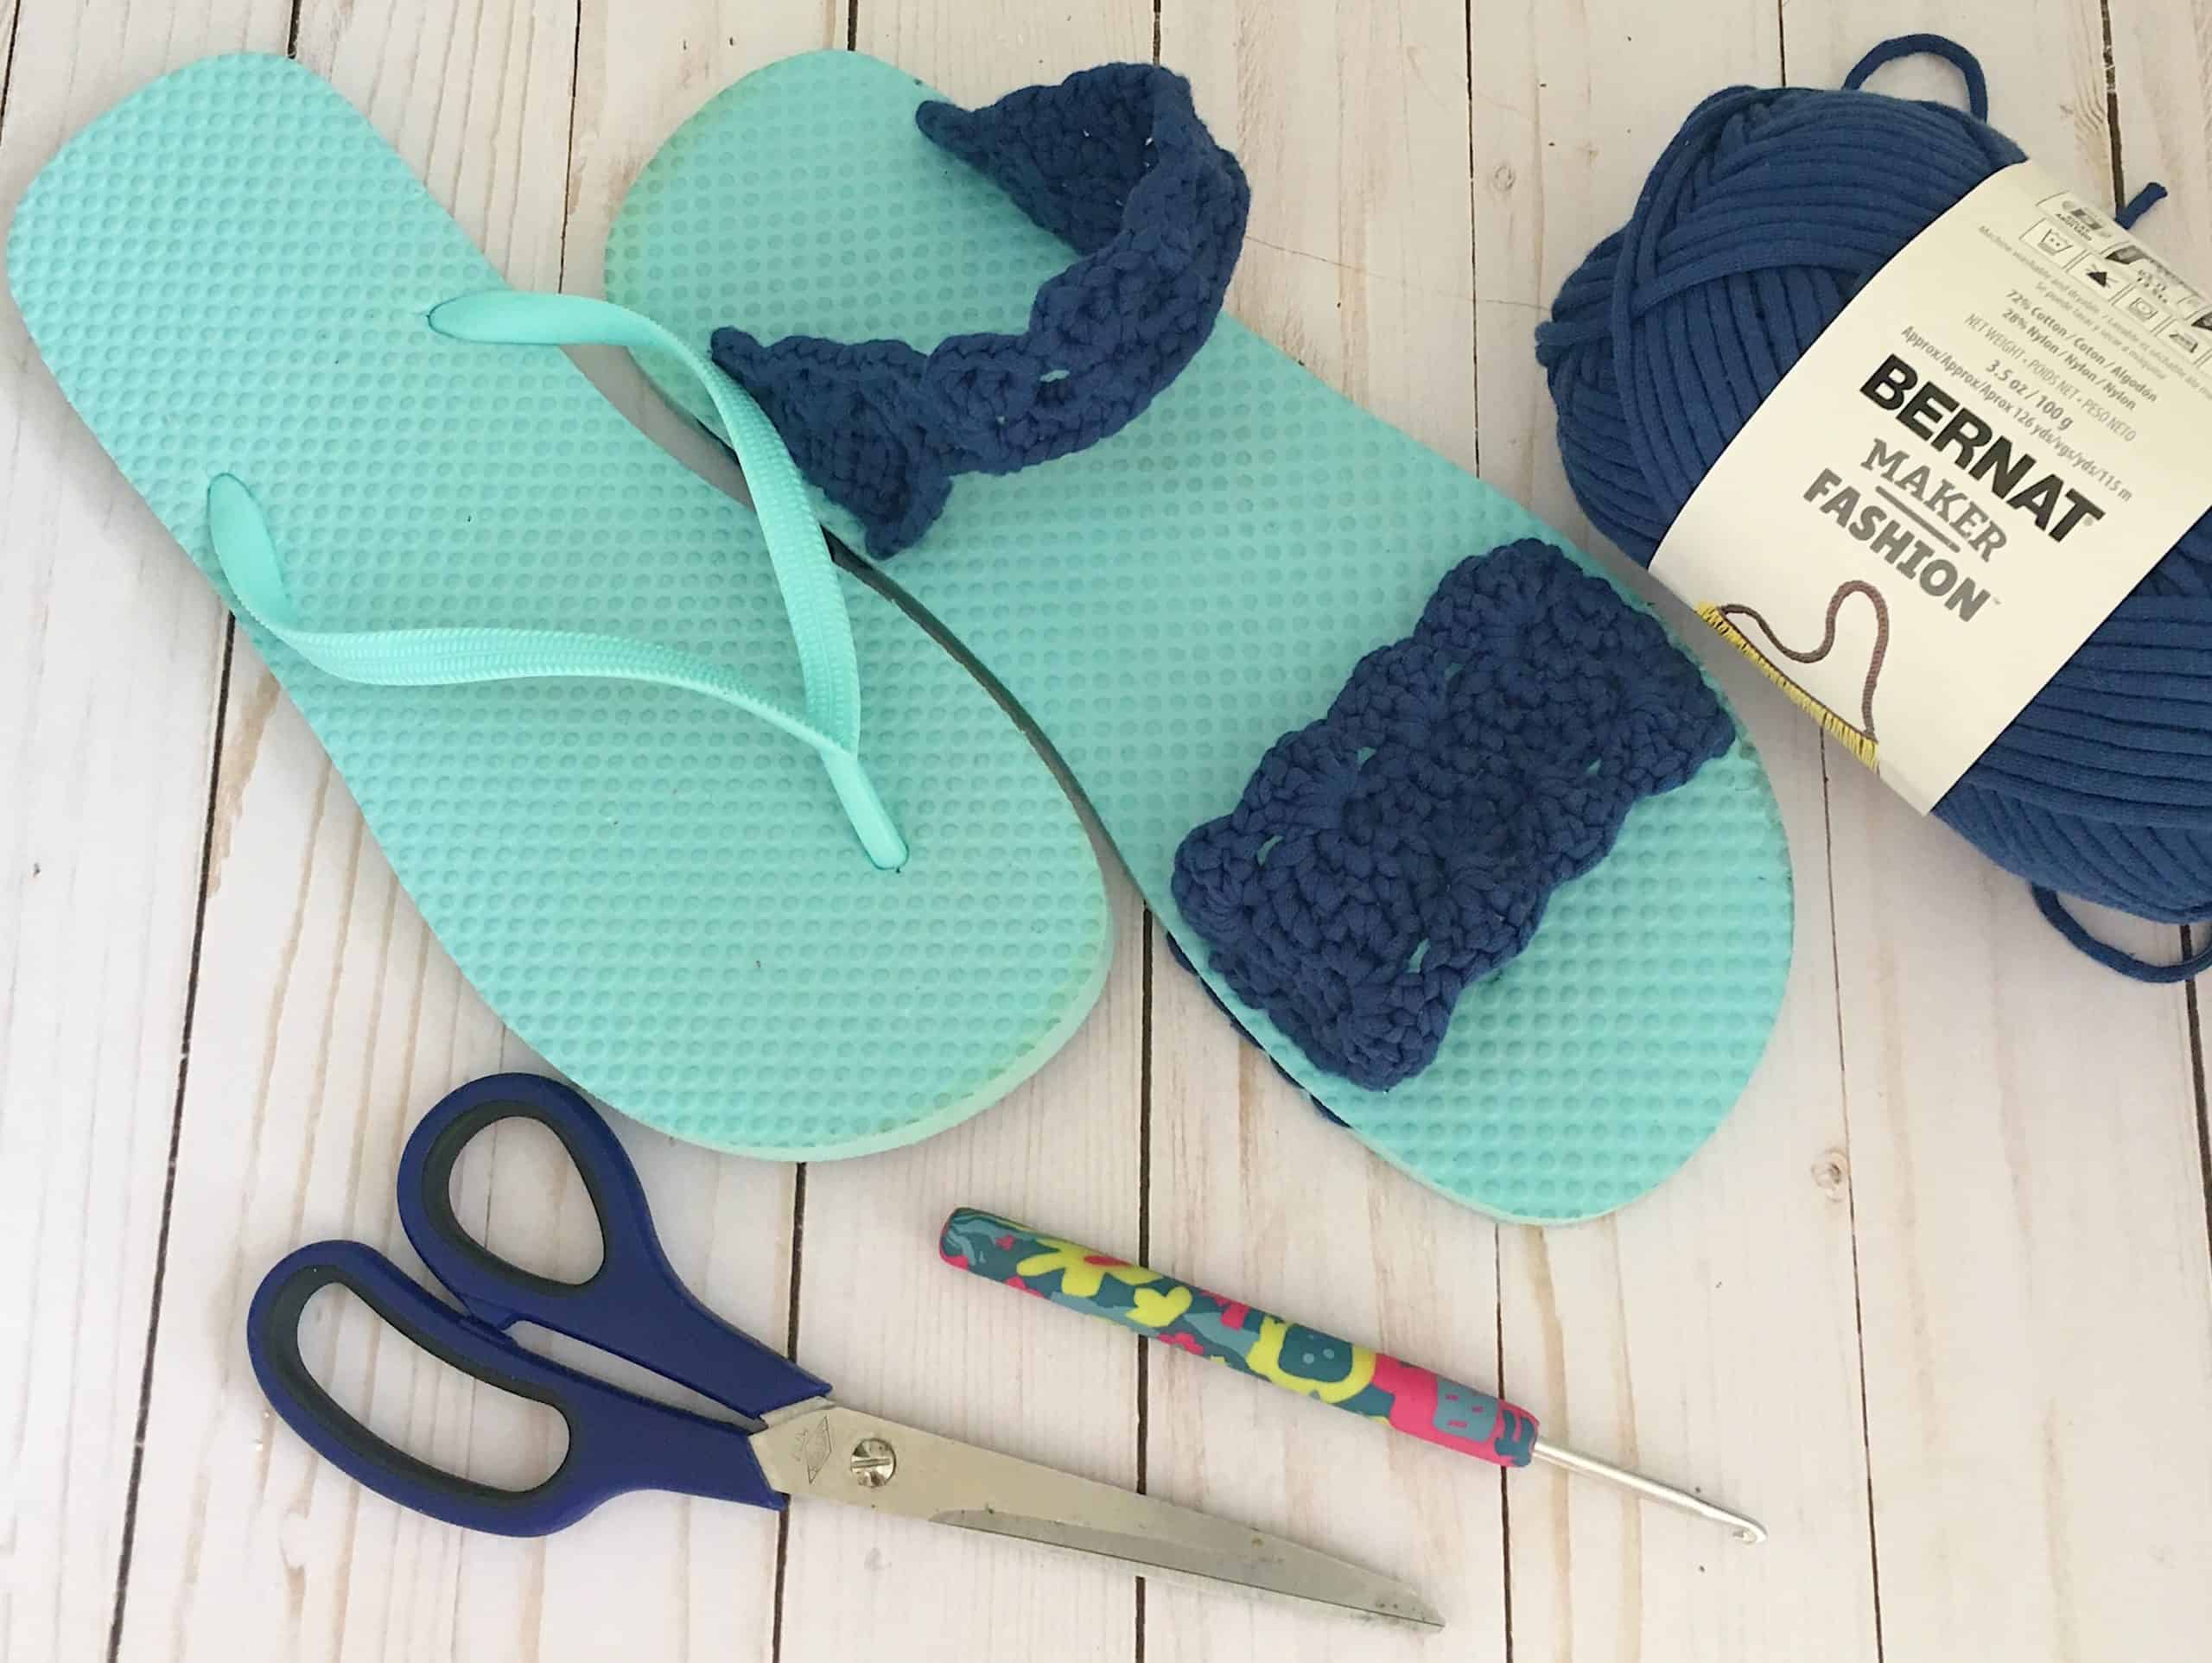
- Bernat Maker Yarn in color Blue, 5 Bulky
- Crochet Hook Number 6mm
- Flip Flops
- Scissors
- Large eye needle
Crochet Terms (US):
- Ch- Chain
- Sp – Space
- St – Stitch
- SC- Single Crochet
- Tr – Triple Crochet
- Sl St- Slip Stitch
- RS- Right Side
- WS- Wrong Side
Specialty Stitch: Shell -2dc, ch1, 2dc
Explanation:
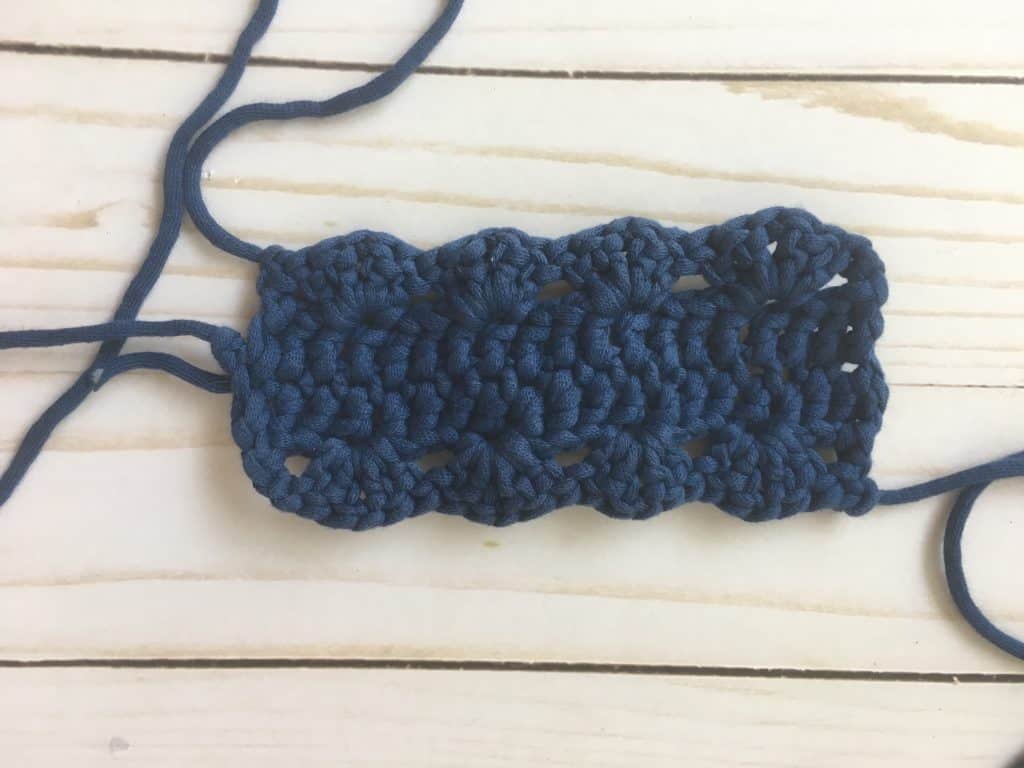
First, you create 2 identical crochet bands for the front of the flip flops.
Then you create 2 identical pieces for the back of the flip flop to hold your foot in place.
And finally, you sew them onto the flip flop with easy stitches.
Pattern:
Front (make 2)
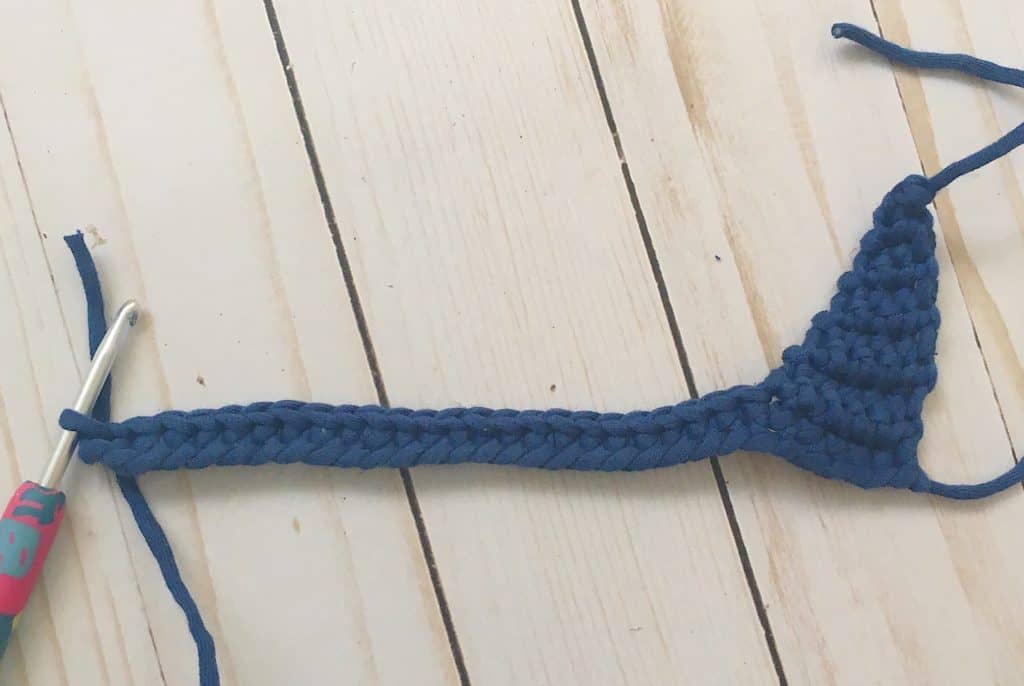
ROW 1: Ch 21, Dc in 3rd ch from hook and across, turn
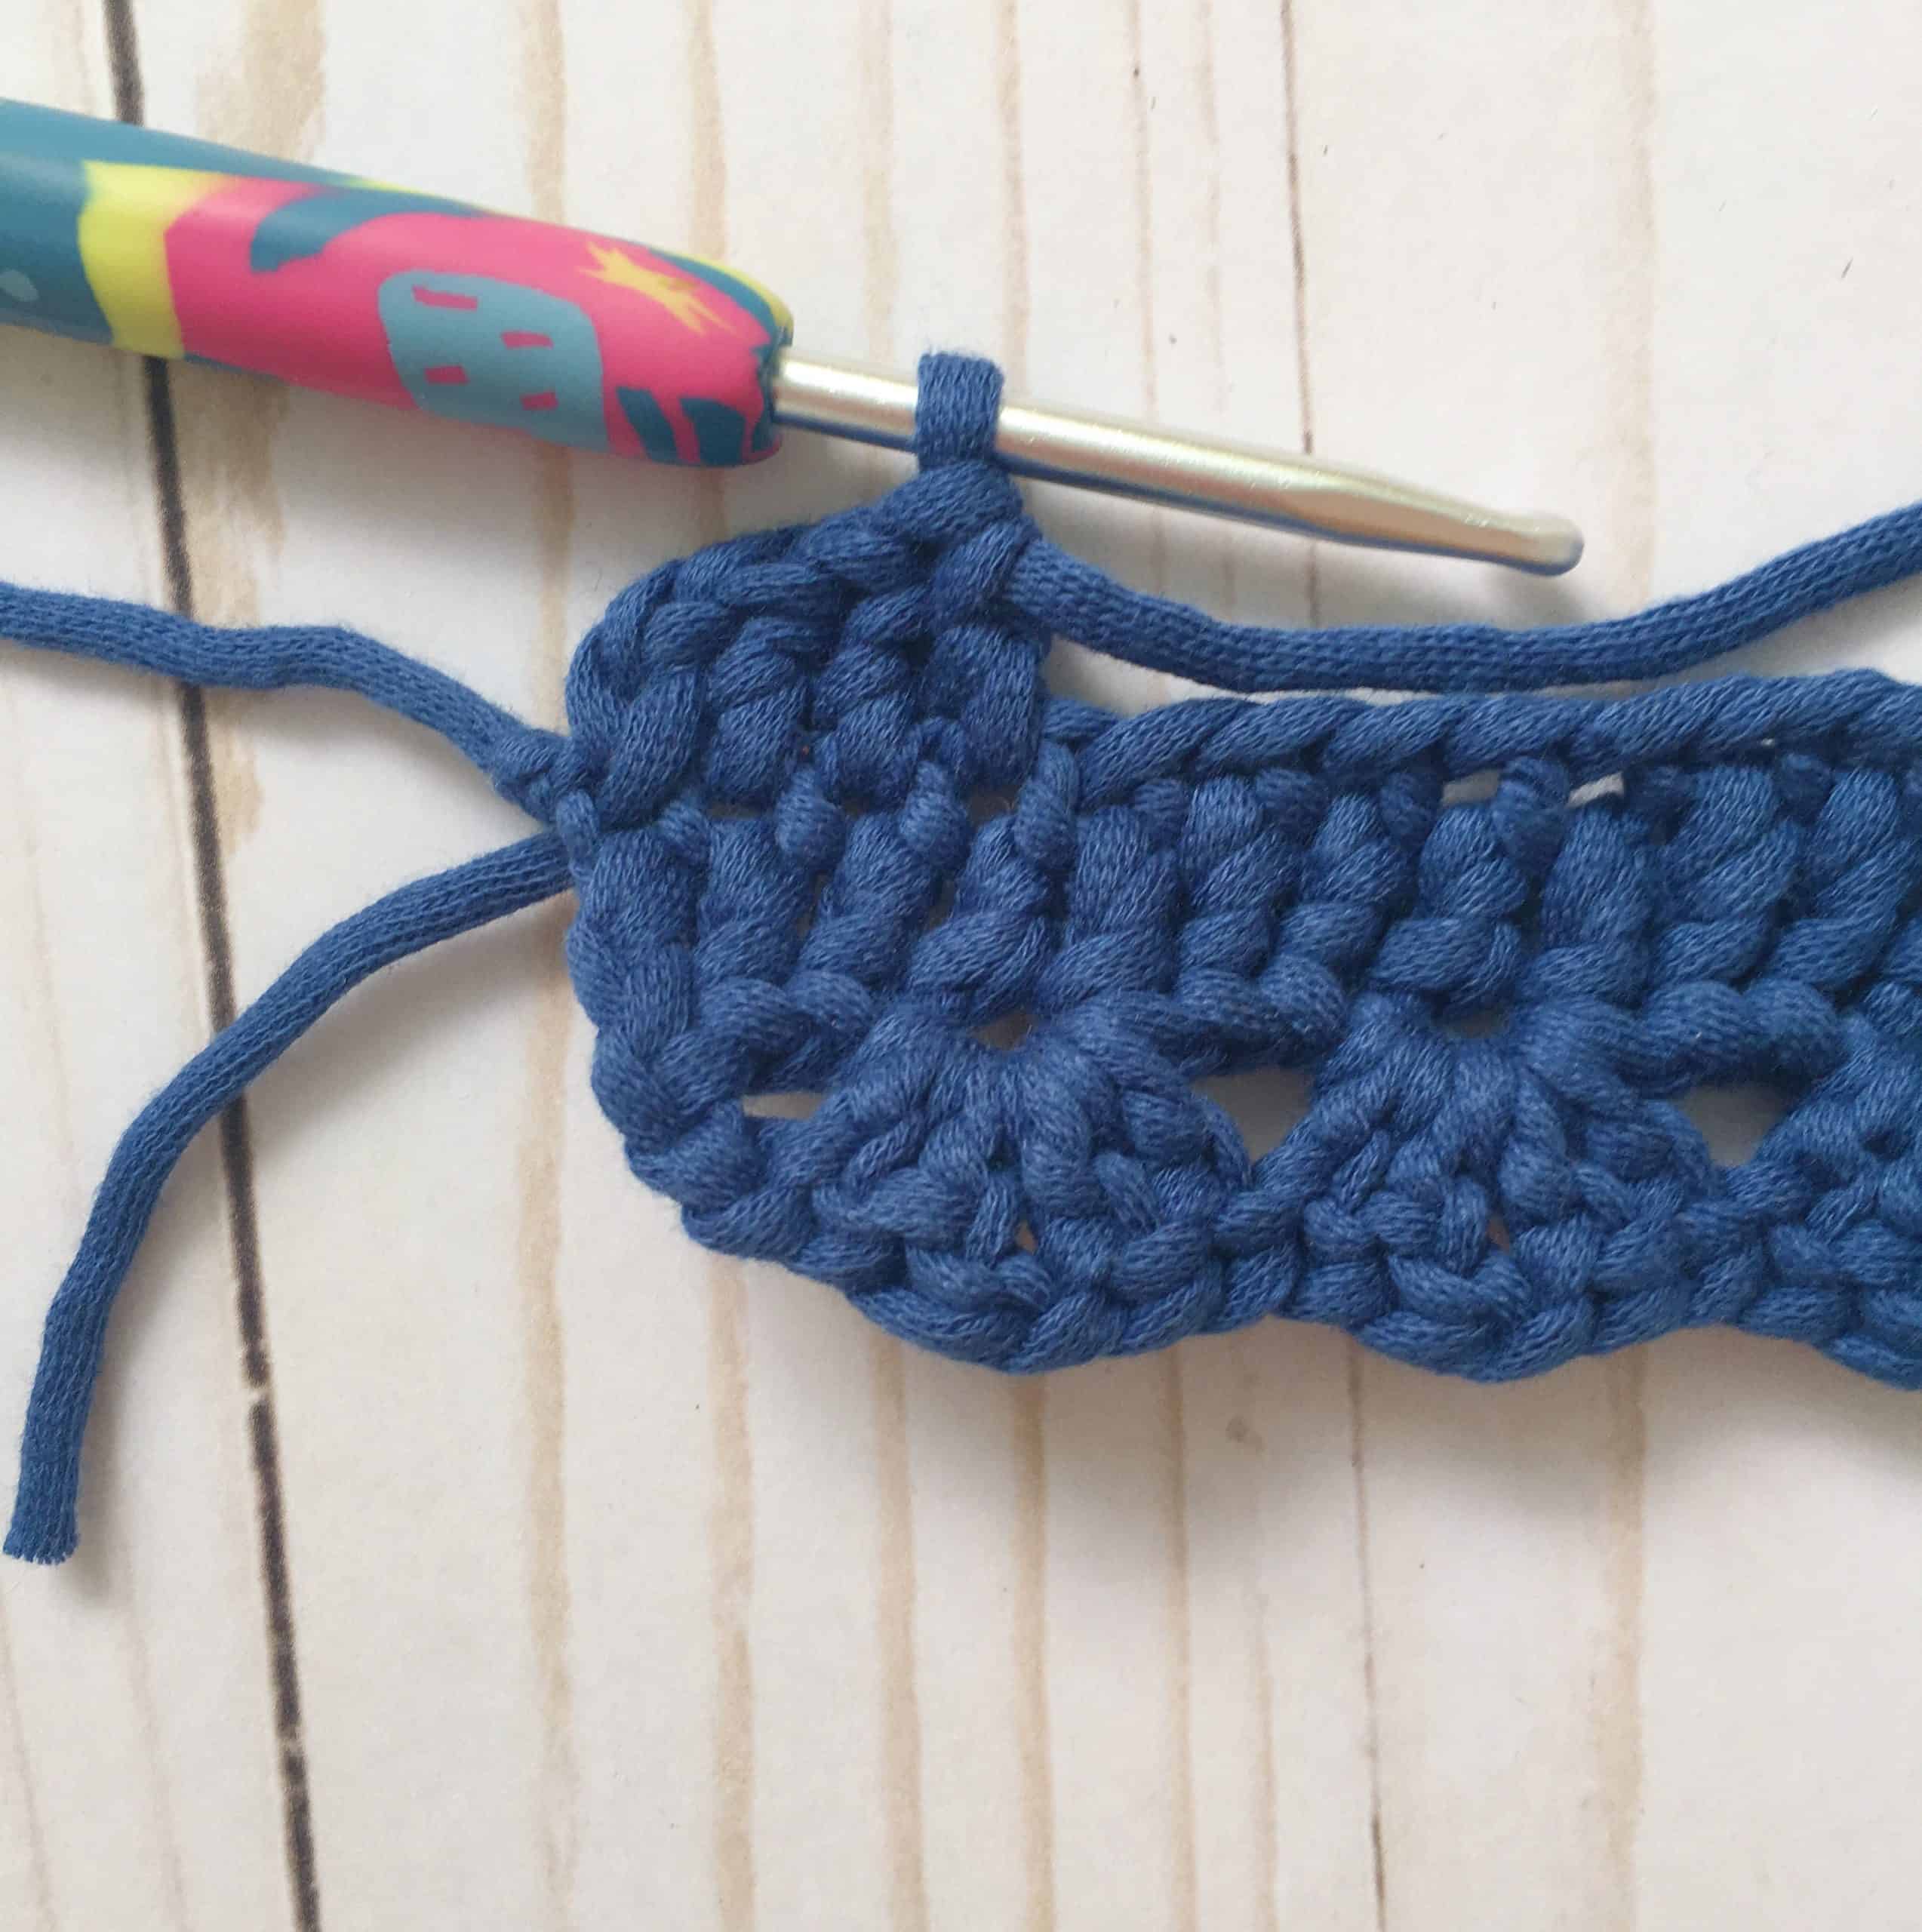
ROW 2: Ch 2, 1 Shell in 6th ch from hook, *skip 3 st, shell in 4th st , repeat 2 times from*, dc in last st, fasten off and leave 12“ tail
Now we need to repeat the same pattern on the other side. Start by attaching yarn in first ch,
ROW 3: Ch 2, dc across
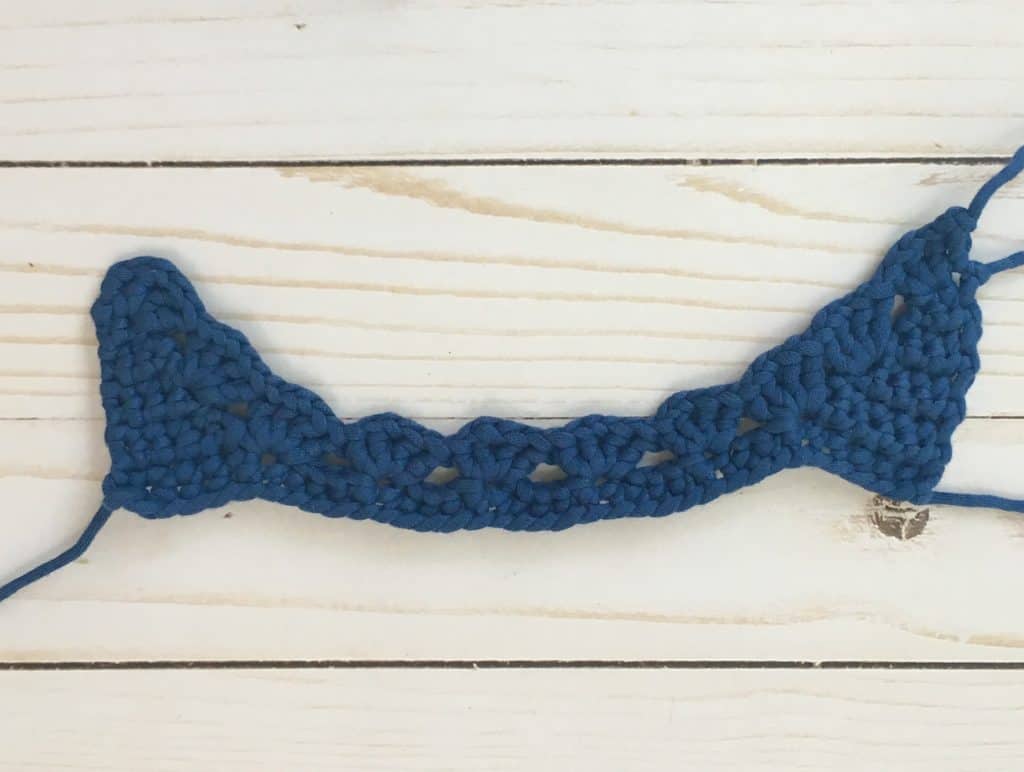
ROW 4: Ch 2, 1 Shell in 6th ch from hook(make sure it’s across from other shell), *skip 3 st, shell in 4th st , repeat 2 times from*, dc in last st, fasten off and leave 12“ tail
Weave in 2 short ends.
Back (make 2)
ROW 1: Ch 31, 1 Sc into 2nd ch from hook and across, ch 1 turn
ROW 2: Sc into next 5 st, turn
ROW 3: Sc into next 5 st, ch 1, turn
ROW 4: Sc into next 4 st, turn
ROW 5: Sc into next 4 st, ch 1, turn
ROW 6: Sc into next 3 st, turn
ROW 7: Sc into next 3 st, ch 1, turn
ROW 8: Sc into next 2 st, turn
ROW 9: Sc into next 2 st, ch 1, turn
ROW 10: Sc, turn
ROW 11: Sc, fasten off
You are essentially creating a triangle on the side.
Repeat the same on other side, start with a long tail, do not fasten off and continue along the side with the shell edge pattern.
ROW 1: ch 2, dc into next sp, ch 1 2 dc into same space, skip 1 sp, shell into next sp, skip 1 sp, shell into next sp, skip 1 sp, shell into next sp( you should be at the bottom of the triangle), skip 4 st, shell into next st, repeat 3 times, shell into bottom of other triangle, skip 1 sp, shell into next sp, skip 1 sp, shell into next sp, fasten off leaving 12“ tail
You should have a total of 10 shell motives across the top.
Now all that is left is to attach these crochet pieces to the flip flops.
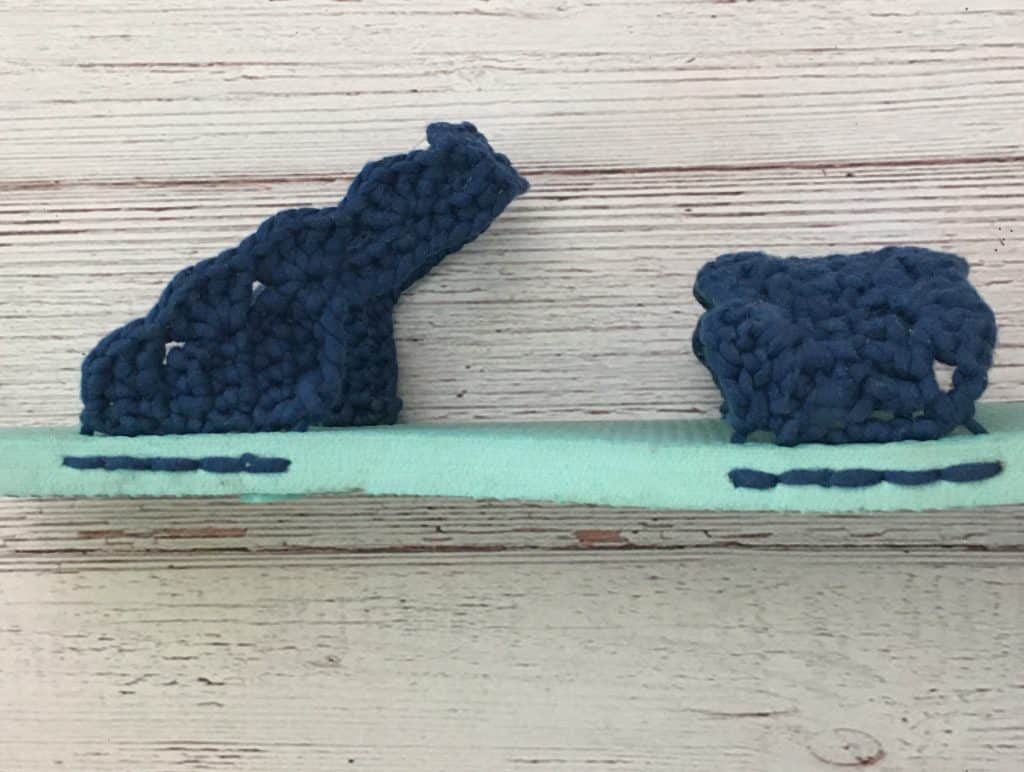
First, cut off the rubber straps.
Then mark the sides of the sols with a pencil so you know where to place the bands. See what feels comfortable for your foot.
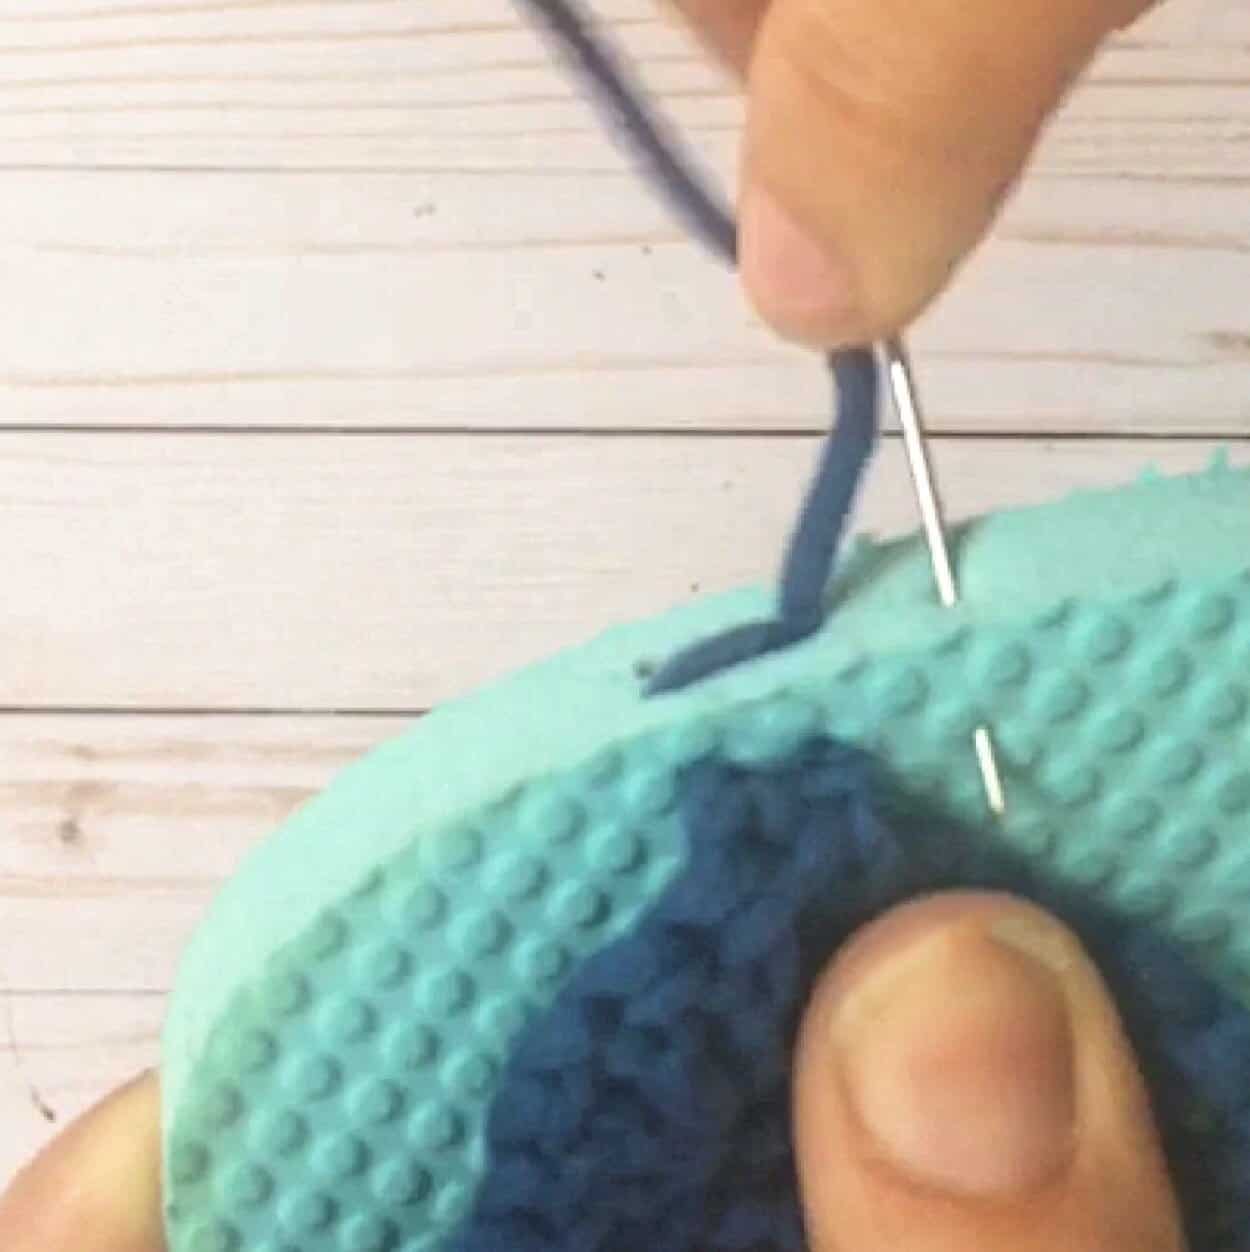
Go through the flip flop base at an angle, pull through.
Be careful not to pull too tightly or it might break the hole.
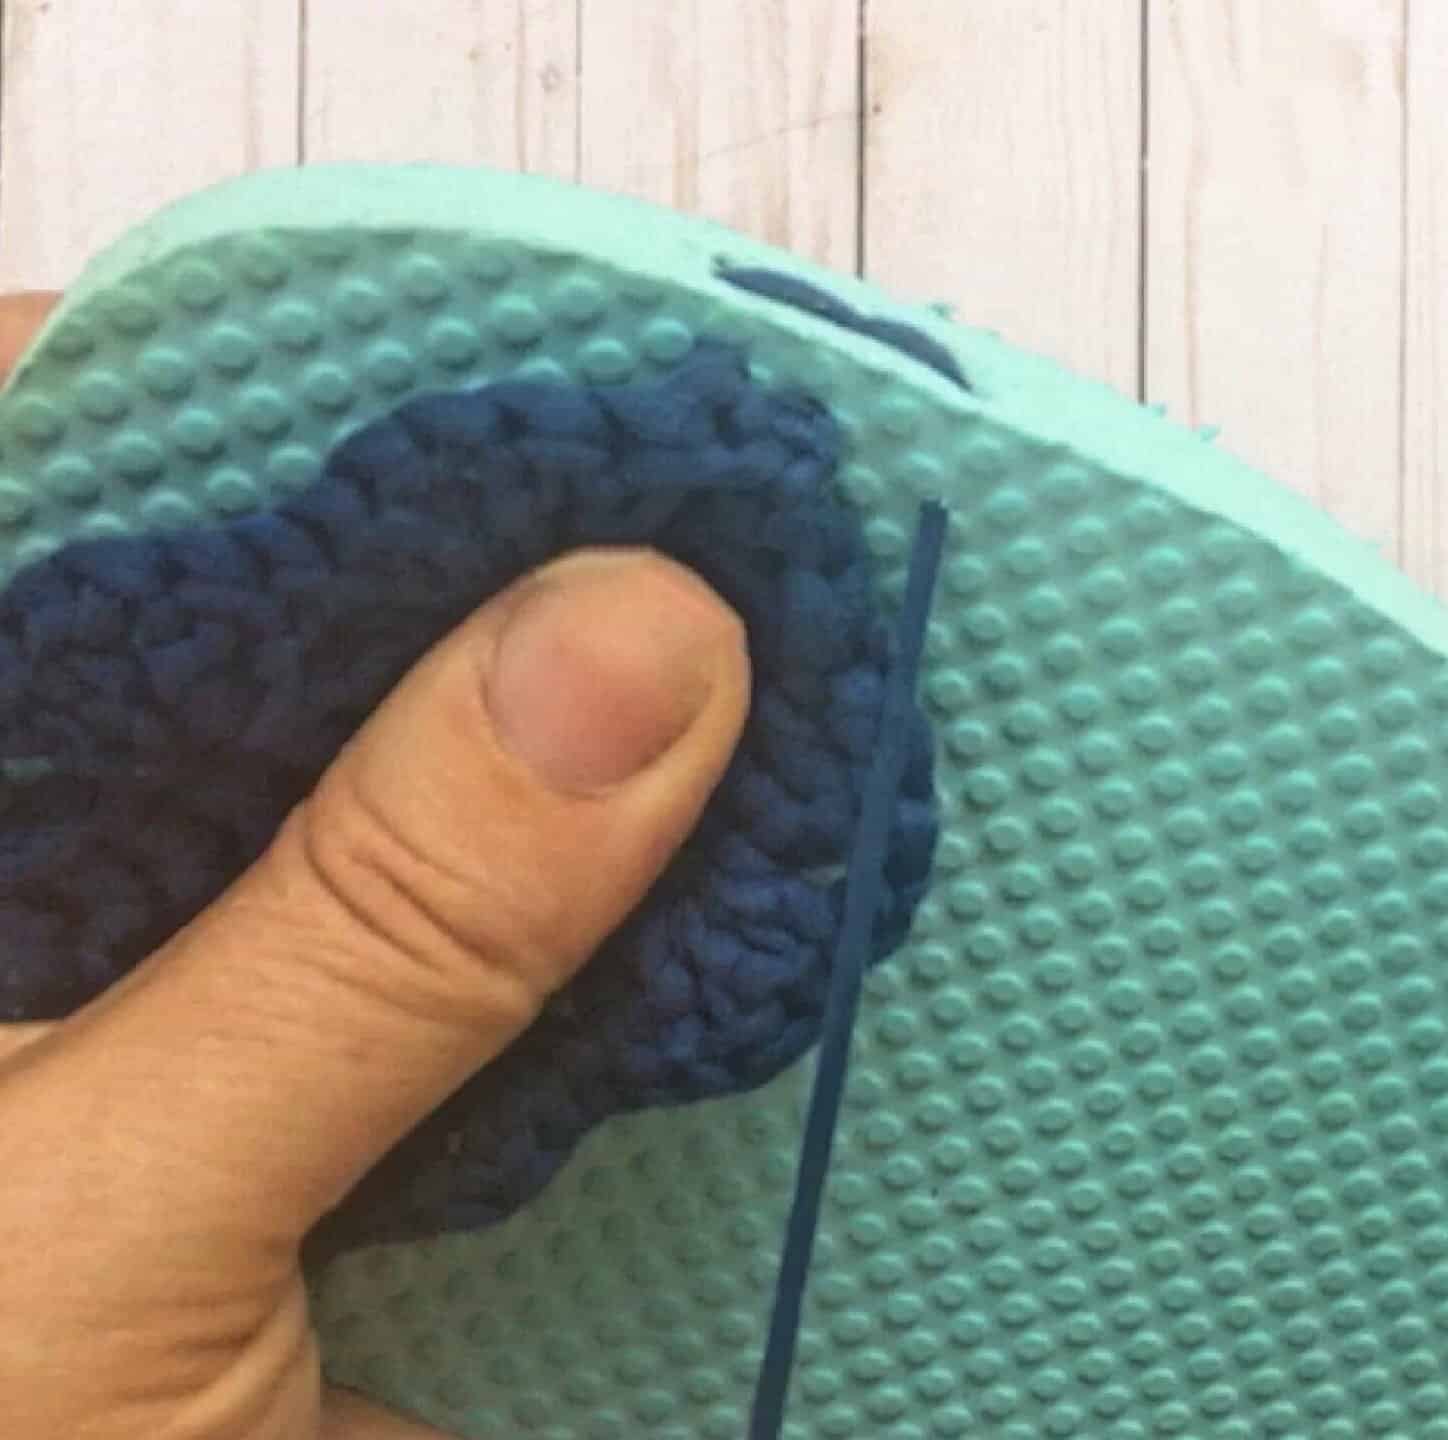
Then loop around the crochet band twice before going back into the same hole with the needle.
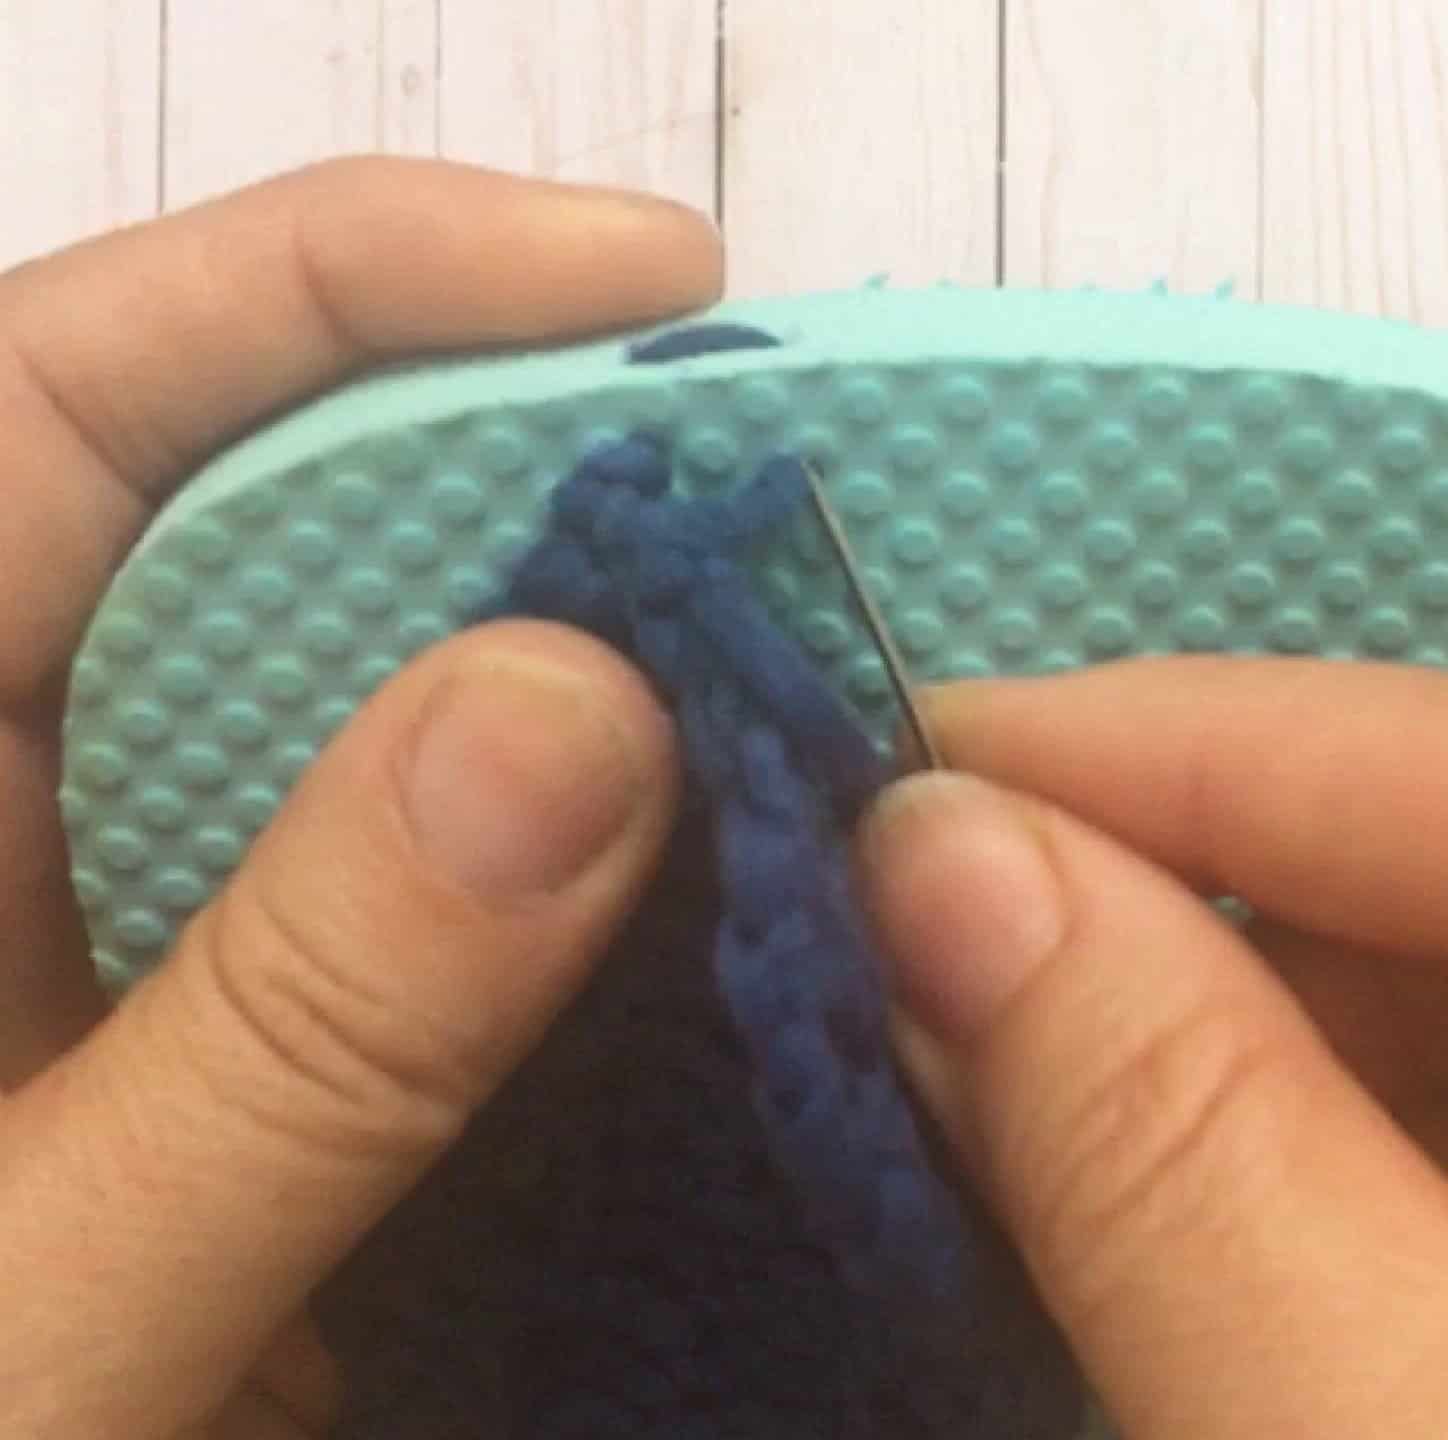
Space your stitches about 3/8″ apart.
Do the same for all 4 sides of each flip flop. You can see the whole process much better in the video below.
In this video I show you the start and how to work attach the crochet band to the flip flops.
https://www.youtube.com/watch?v=mfRQ8dJQAJQ
And that’s it! You can create a pair of comfortable sandals from flip flops in an afternoon.
Pro Tip!
Make matching pairs for all your outfits by using different color combinations of flip flop sols and crochet yarn. An ombre yarn must look amazing as well for these easy flip flop crochet sandals. A perfect project for summer crochet.
I hope you find this a fun pattern and as easy to work with as I do. Comment below if you have any questions and show off your creations here and on Instagram #kaileacrafts