
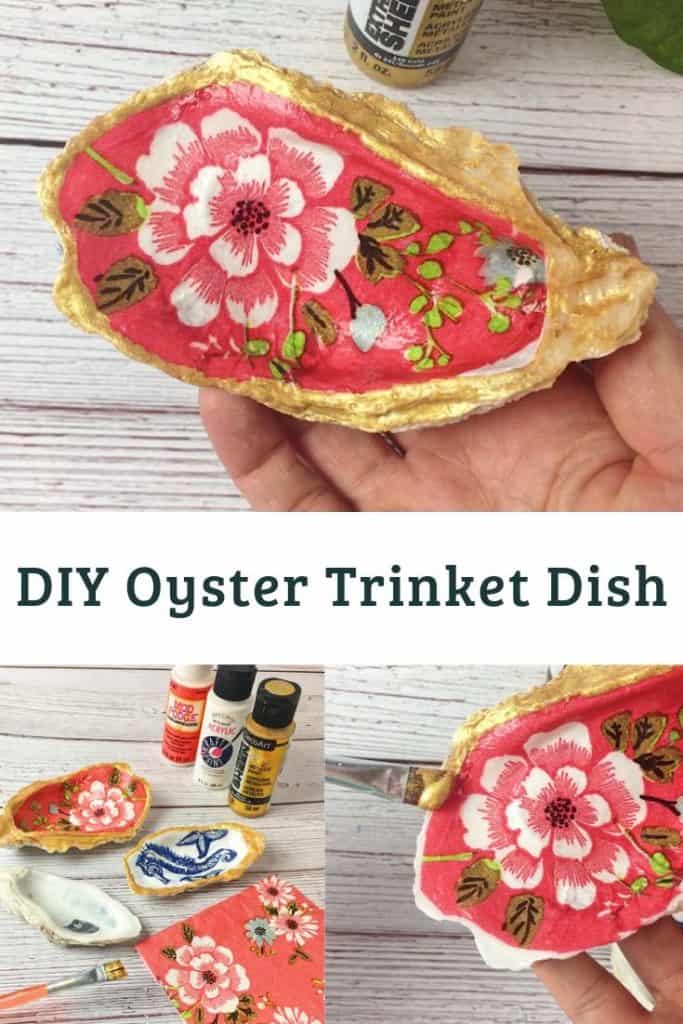
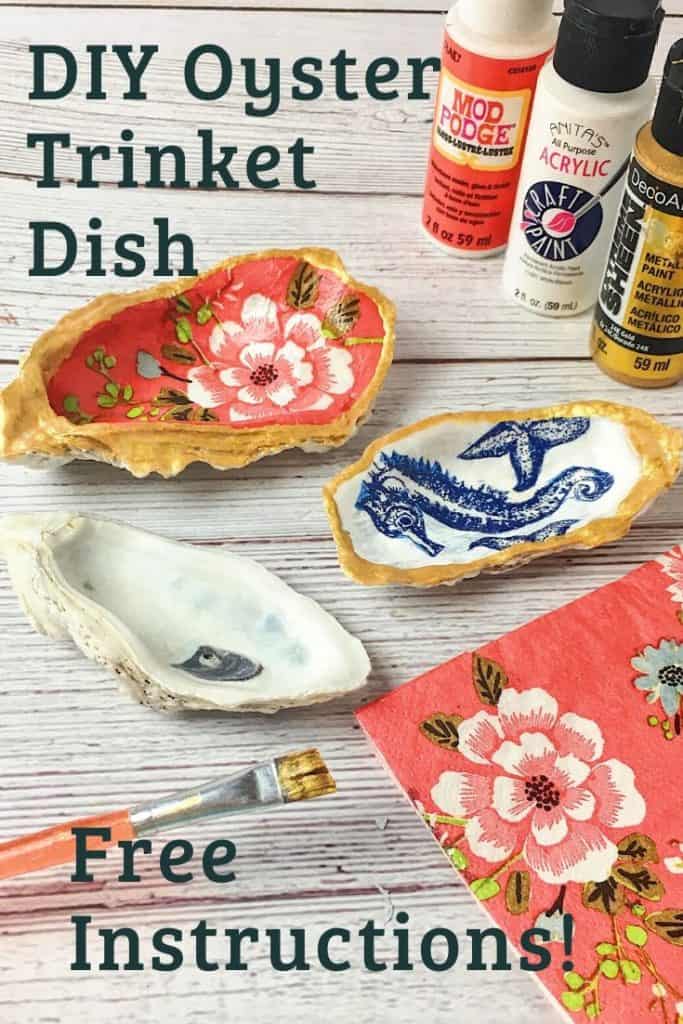
Learn how to make an Oyster Ring Dish
This is one of my favorite DIY projects for the home so far! These ring dishes are easy to make and look like they are right out of Anthropology! They make perfect little gifts and with all those napkins out there they can be personalized to no end. Can you tell I’m excited!
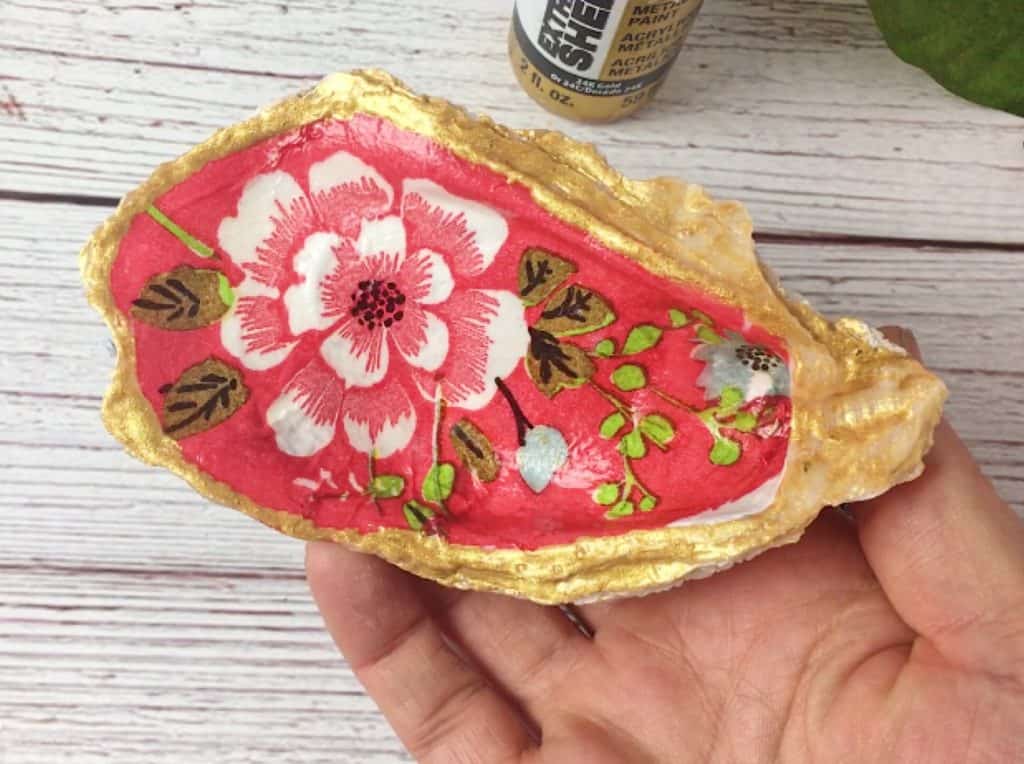
These DIY Oyster Shell Trinket Dishes truly look hand painted but don’t worry, you need no painting skills. Just be able to add the gold border paint. And if gold isn’t your thing, just use silver or even rose gold metallic paint instead. Mhmmm, I think I have to get some of those ….
“As an Amazon Associate I earn from qualifying purchases. If you make a purchase through my link, I will make a small commission with no extra cost to you. “
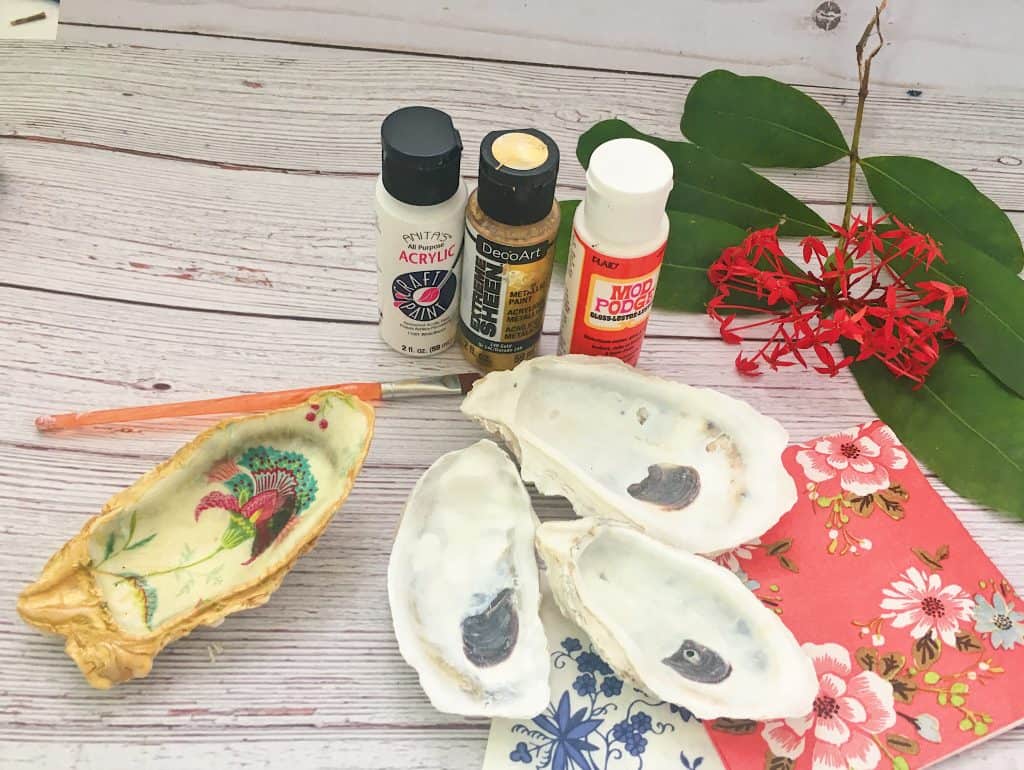
Oyster Ring Dish Materials:
- Oyster Shells (I ordered my first batch from Amazon but now I found out that I can also get them from my local Asian Buffet. I just asked and they give me their “trash”. It’s fantastic!)
- Napkins (any great pattern you can find. Most of mine I had in my closet for a long time because I loved the pattern so much. Finally I can use them!)
- Mod Podge
- White Acrylic Paint
- Gold Metallic Paint
- Paint Brush
- Scissors
Here is a short video on how to make your Oyster Ring Dish!
Ready to start!
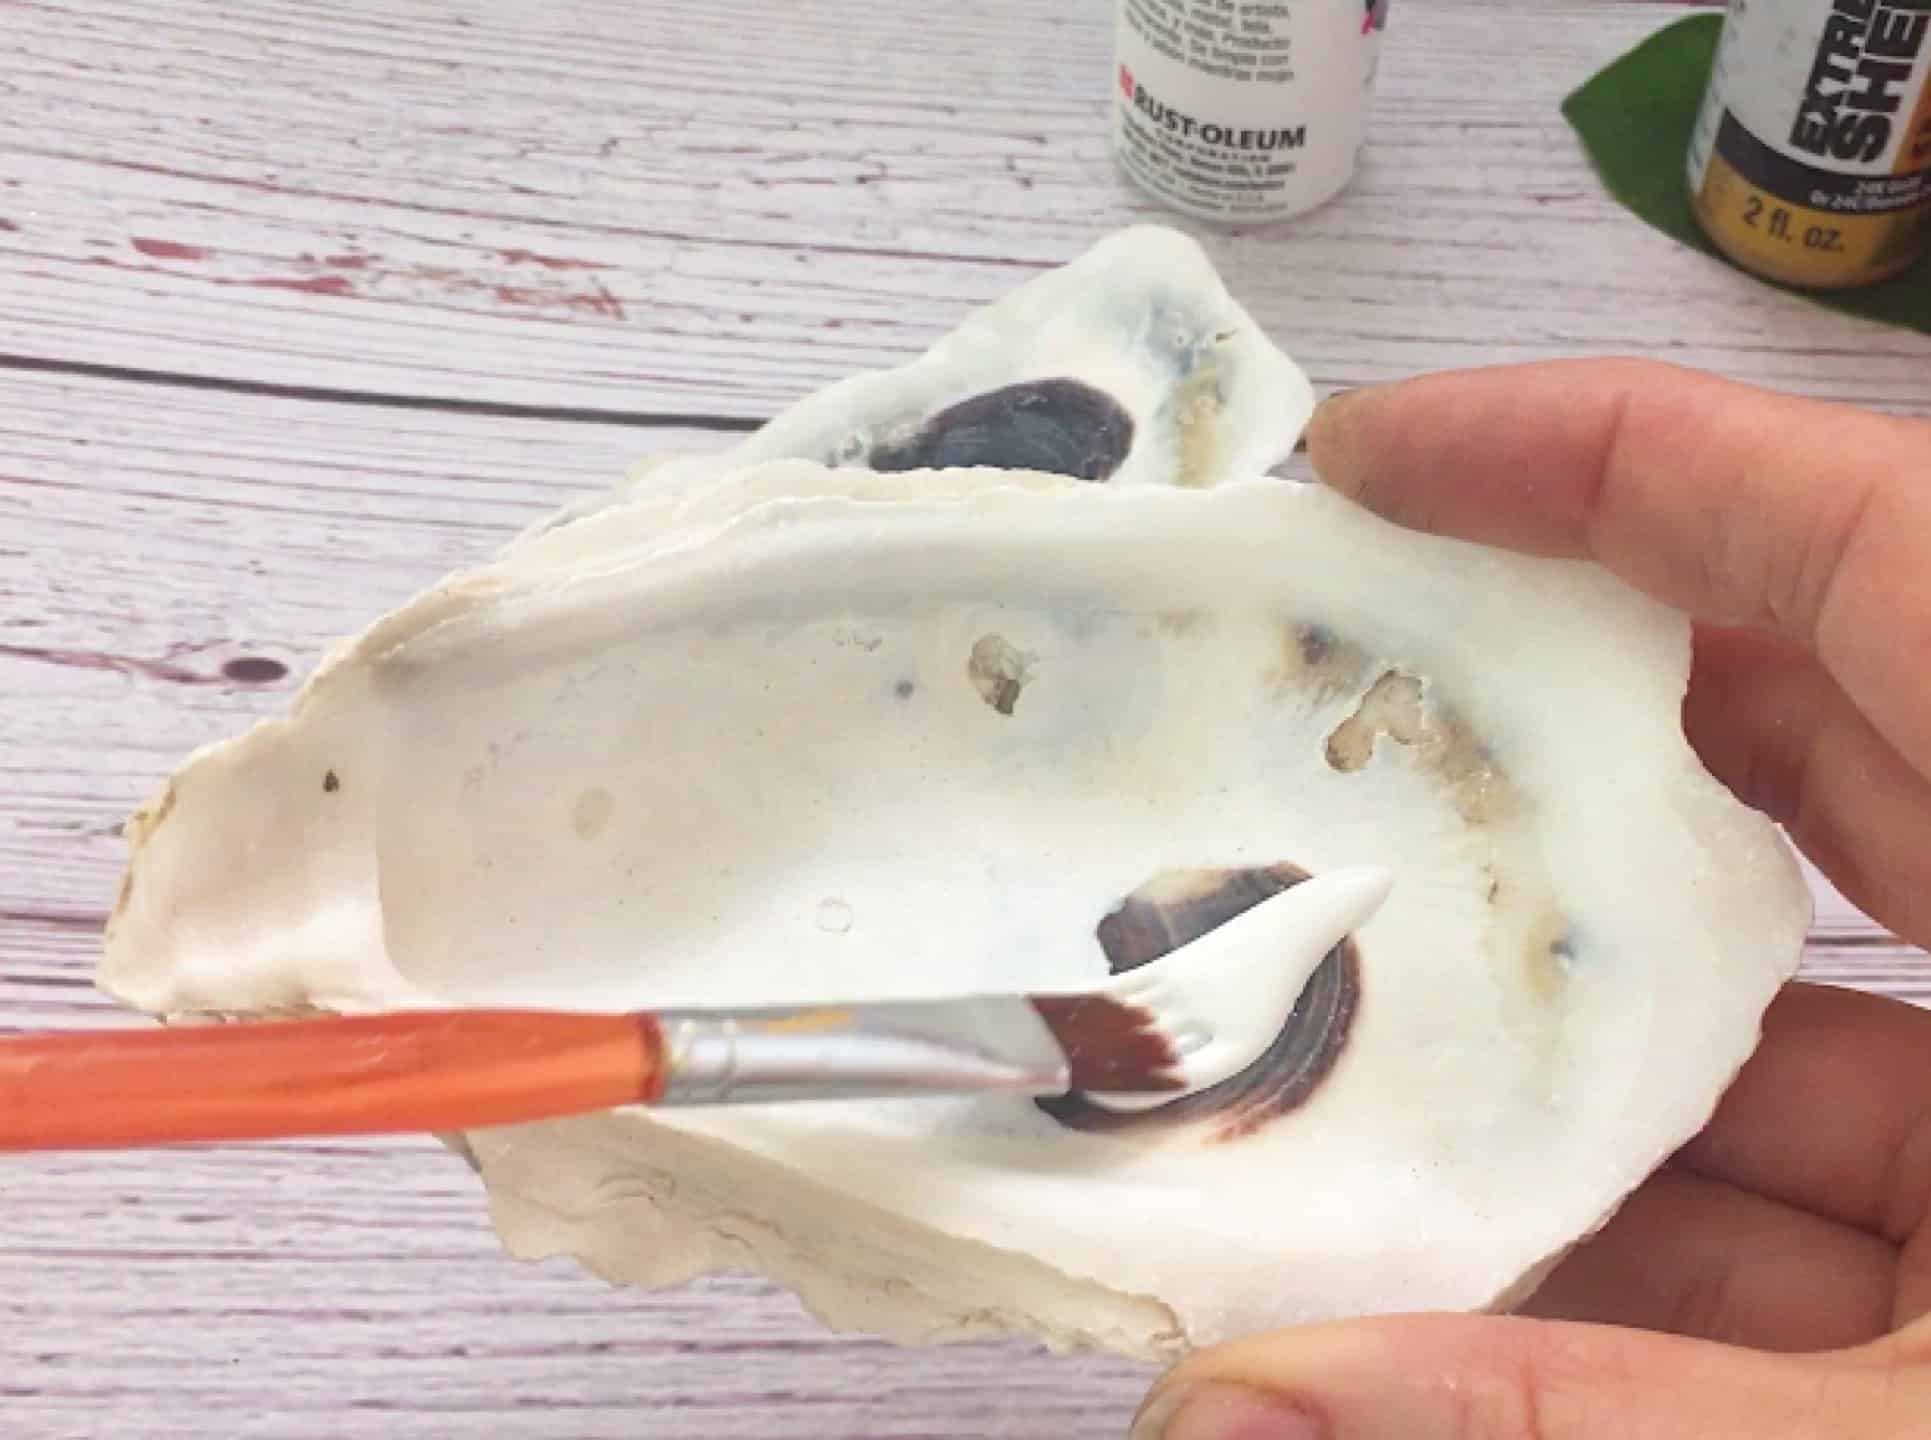
First, take a clean oyster shell and paint all the dark spots with white paint and let it dry.
I didn’t do that step on my first oyster dish thinking that the tissue paper will cover it up, it does not! Don’t make the same mistake. The tissue is really so thin that it does not cover up any dark spots. But the beauty of those tissue papers is that they really look like you just painted on the shell. No one will think that it is tissue paper. Everyone who sees all of my finished oyster shells asks how I painted them so perfectly 😉
Now select the motive for your oyster dish. There are so many beautiful napkins and tissue paper out there. I found it hard to choose. But it all also depends on the size oyster you get. That is why it is nice to have a few to select from since they are all different size and shapes and yo have to move your napkins around to find the best angle.
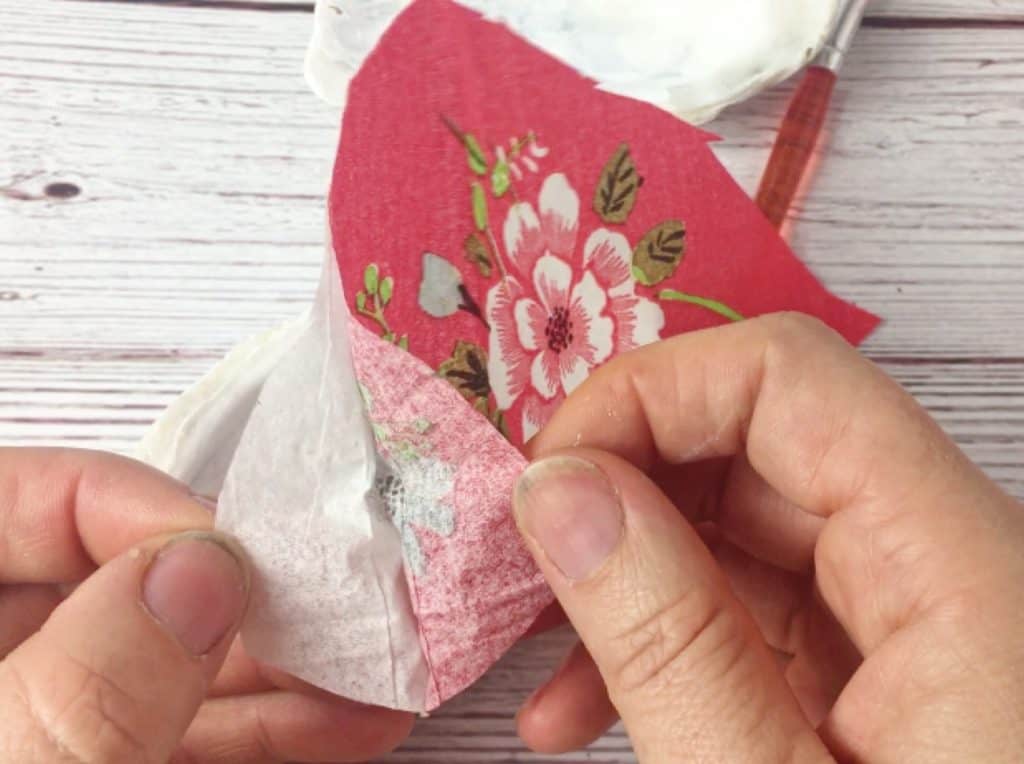
Once you made your selection, cut it a loosely around and take off the top most layer. You only will be using this very thin top layer to glue to the oyster shell.
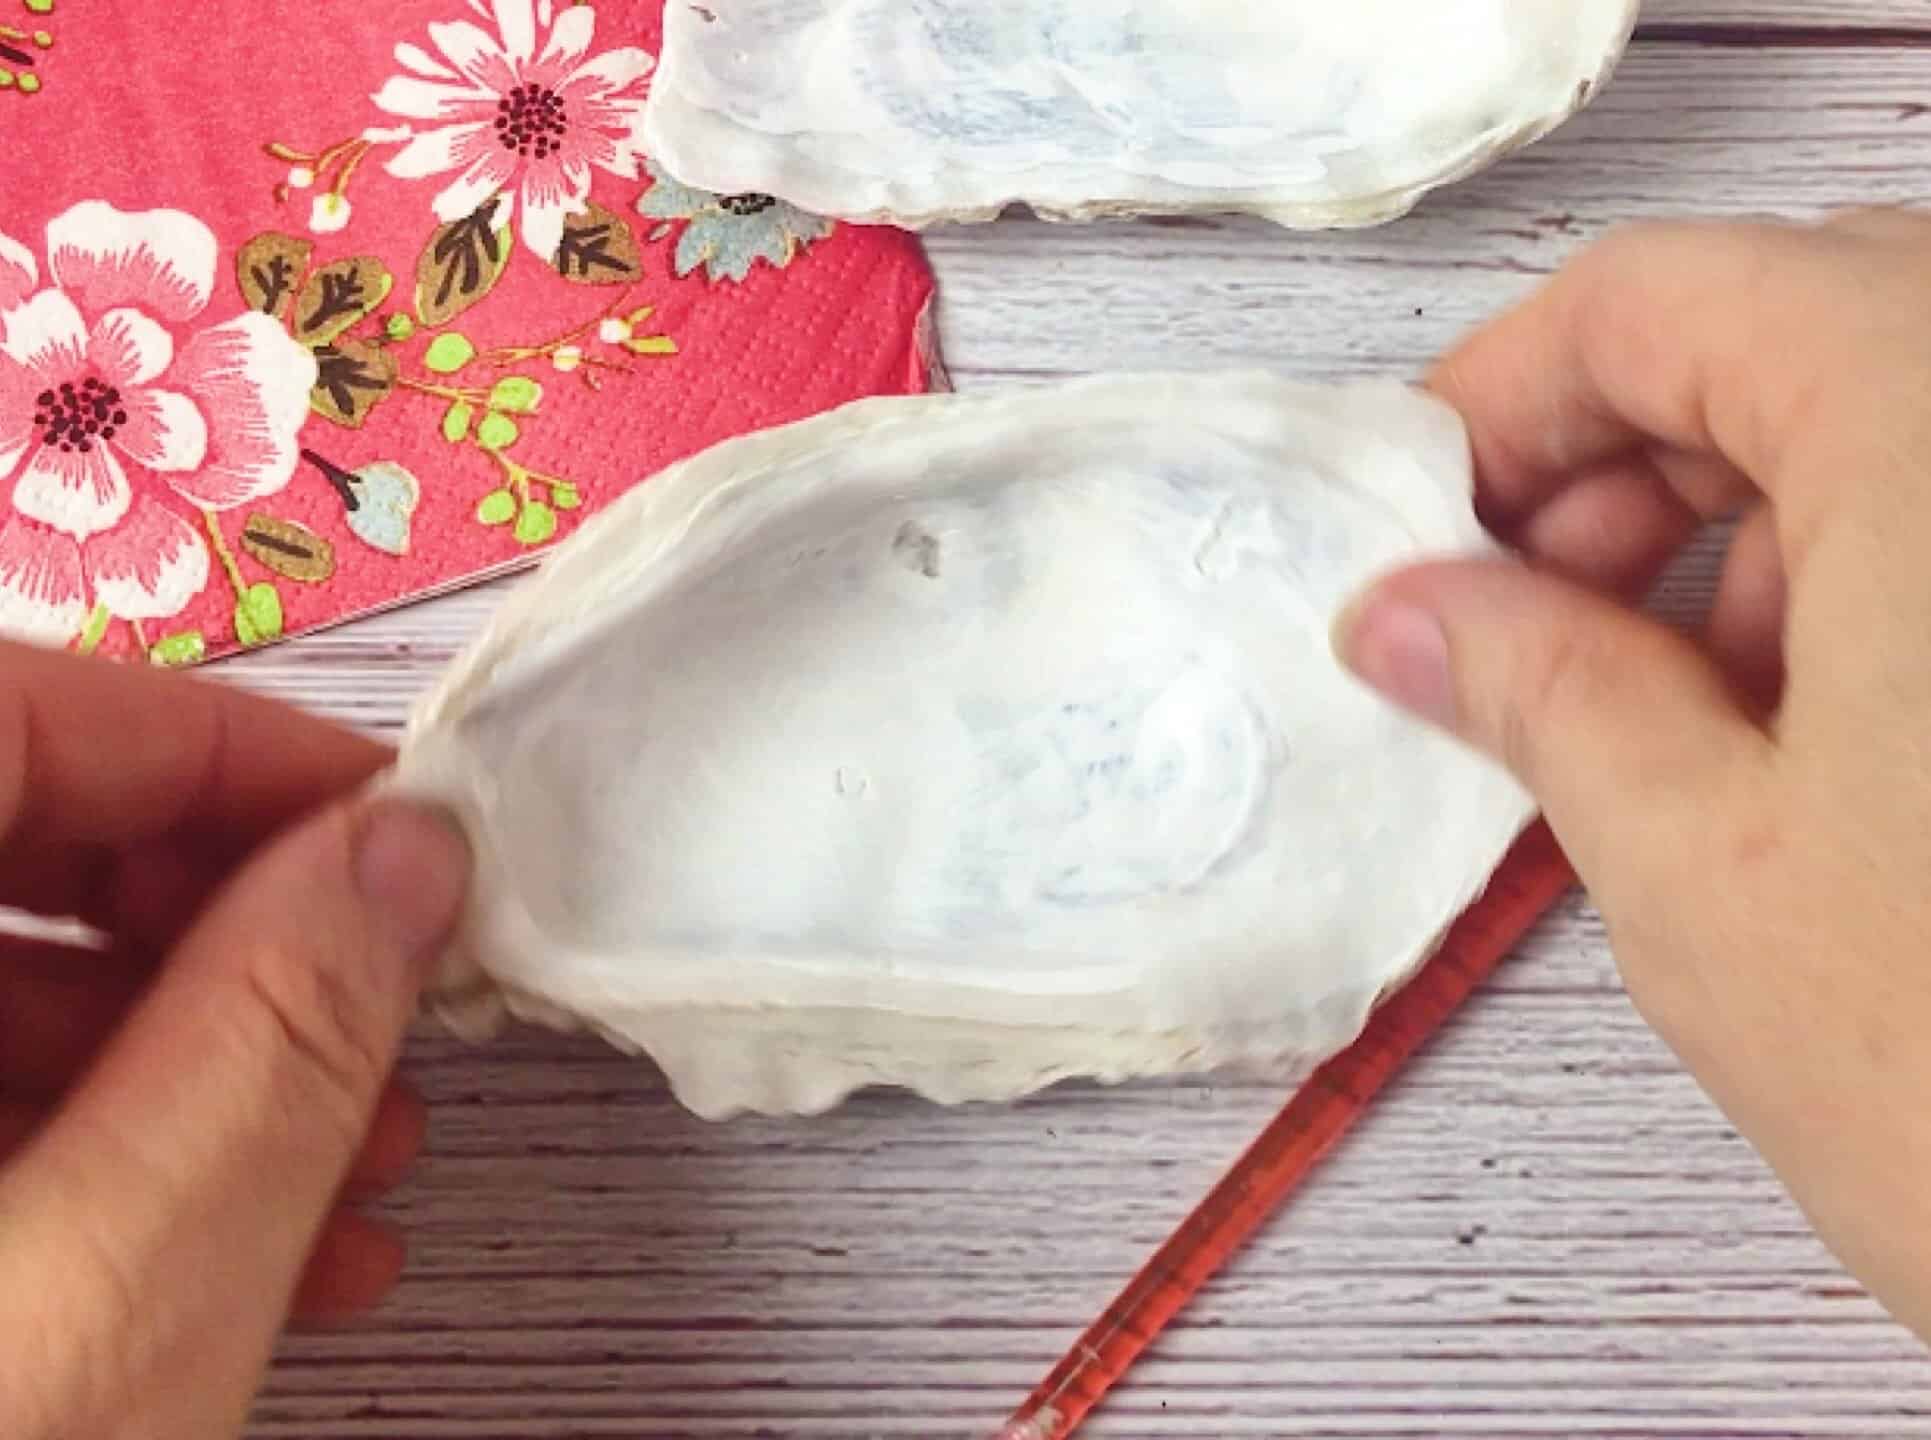
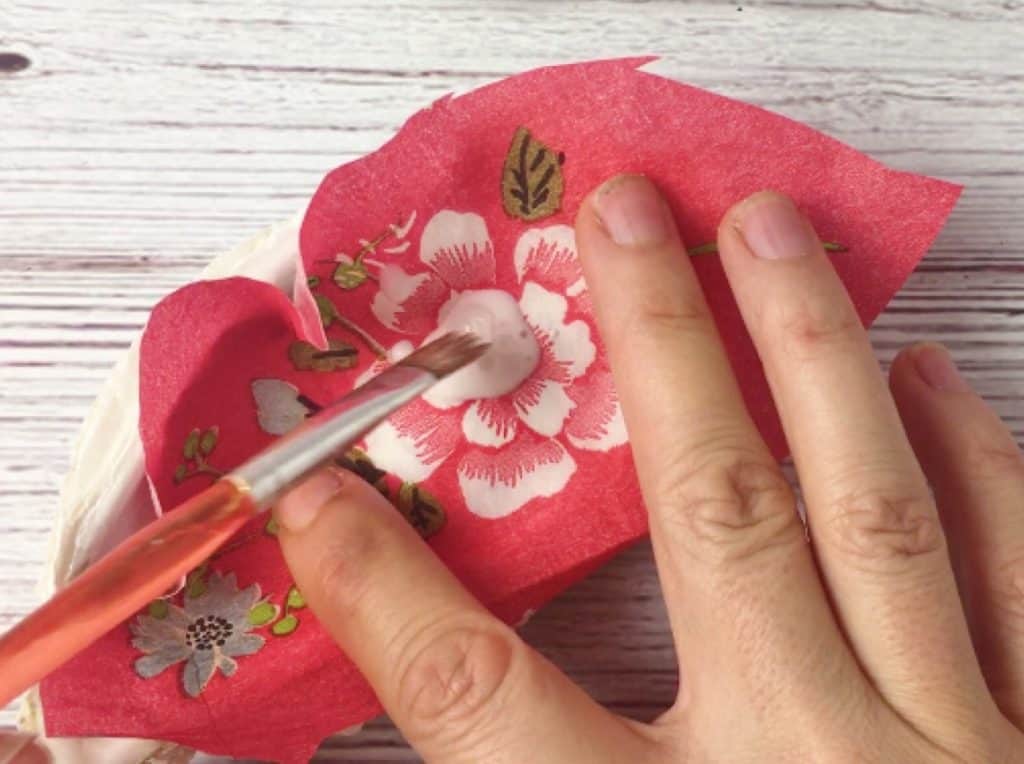
Now place it on the shell and put a blob of ModPodge right on the napkin. Since the napkin is so thin, the glue will go right through it. Just spread the glue all around being careful not to rip the thin napkin. You can just fold the napkin over itself in the crevices of the shell. You won’t be able to see it once it is dry.
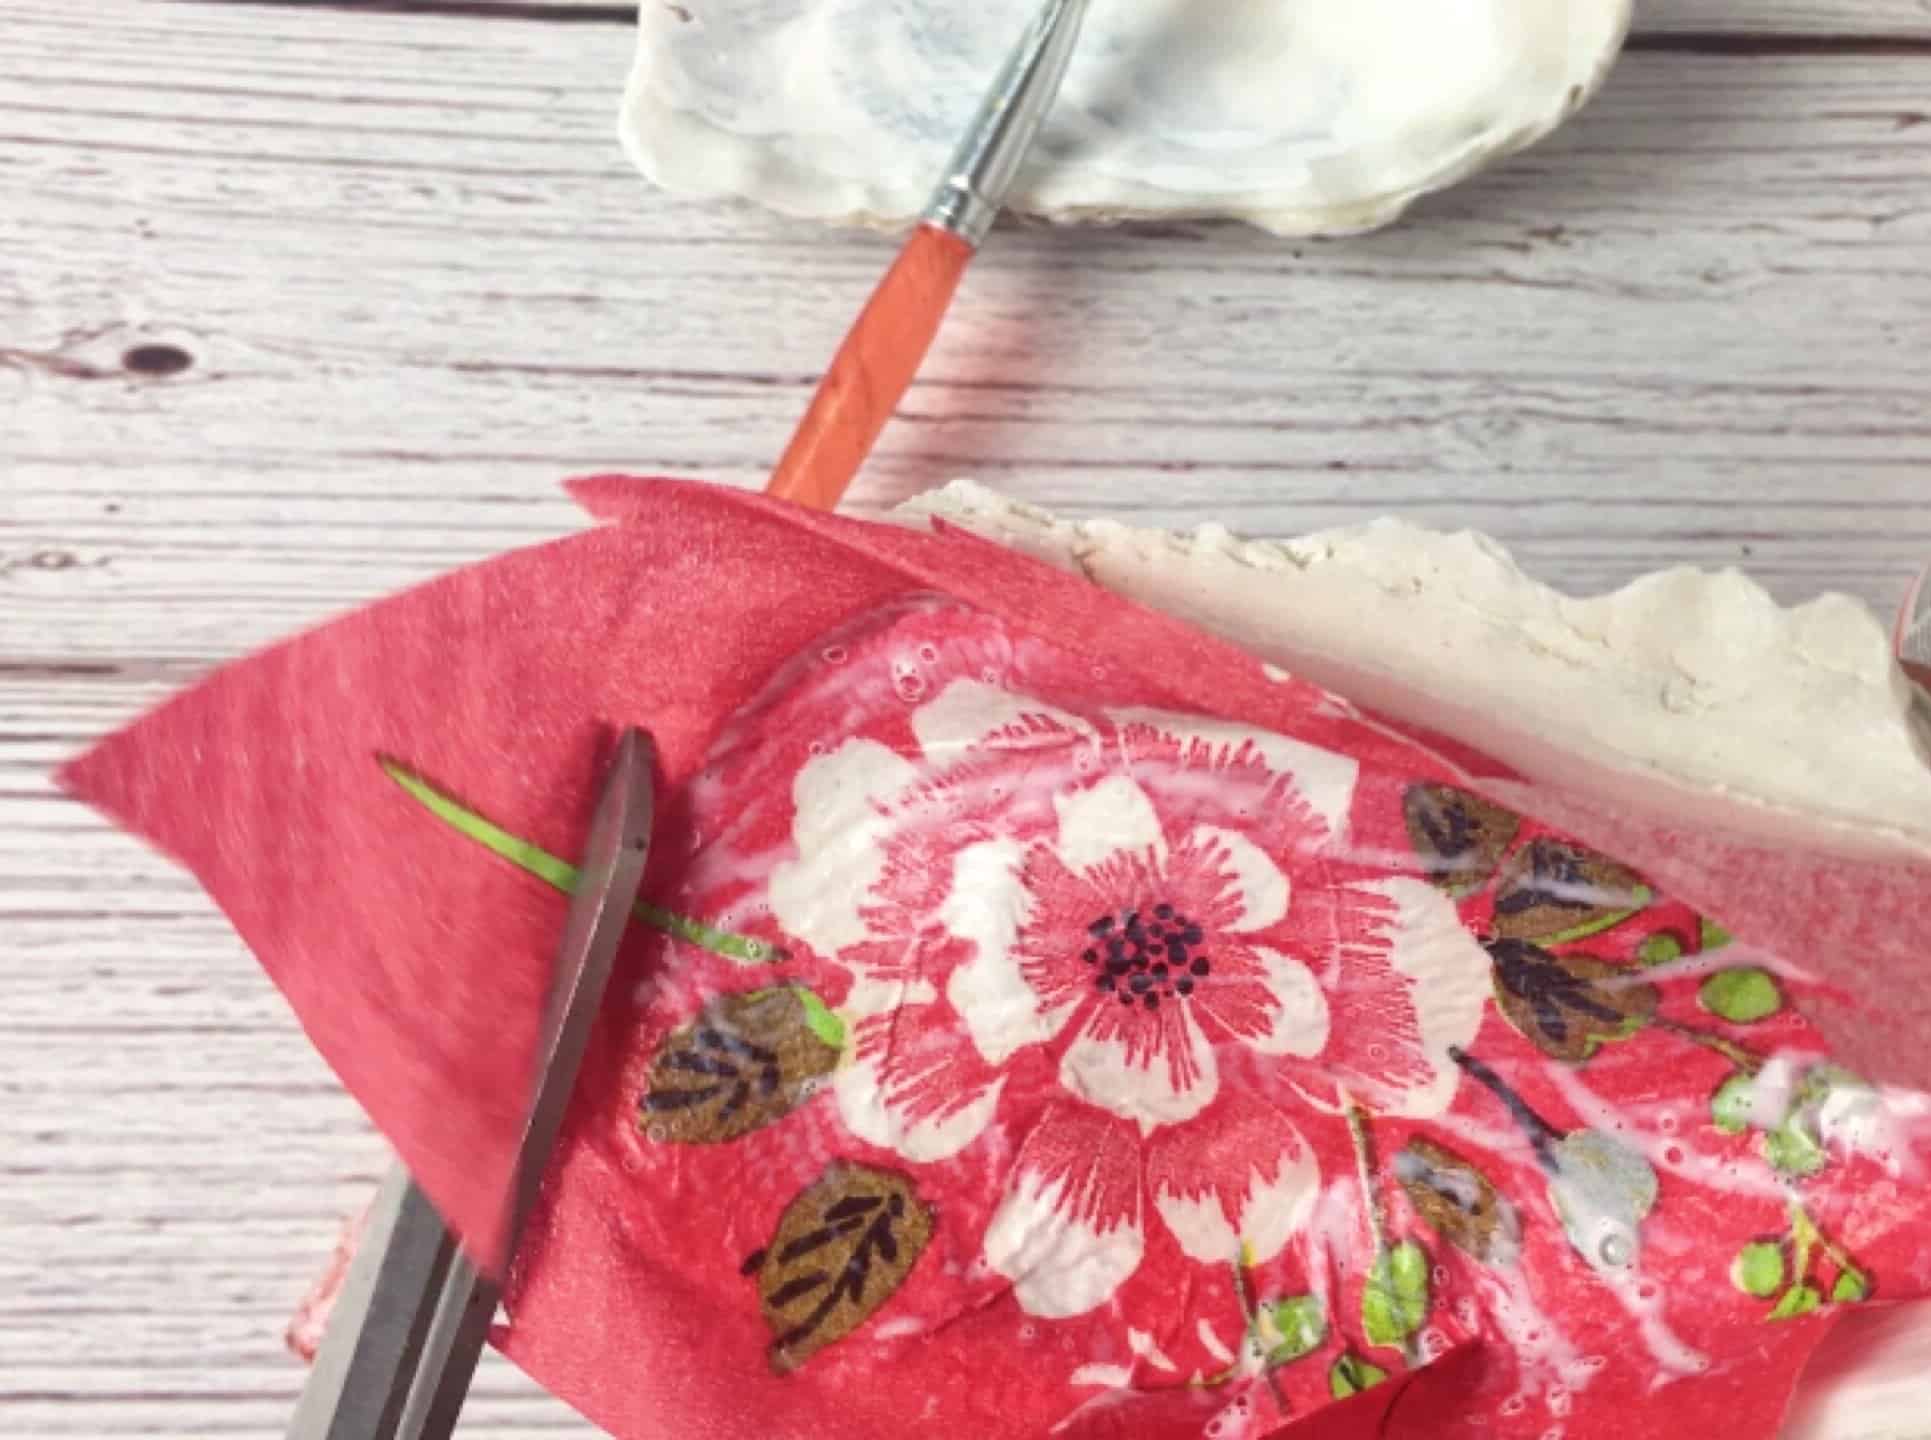
When you covered most of the inside, you can use scissors to cut the napkin around the rim of the shell. cut it about 2-3mm from the edge of the shell. This does not have to be too neat since it will be covered by the gold paint later on.
Let it dry and give the entire napkin another even coat and let it dry again.

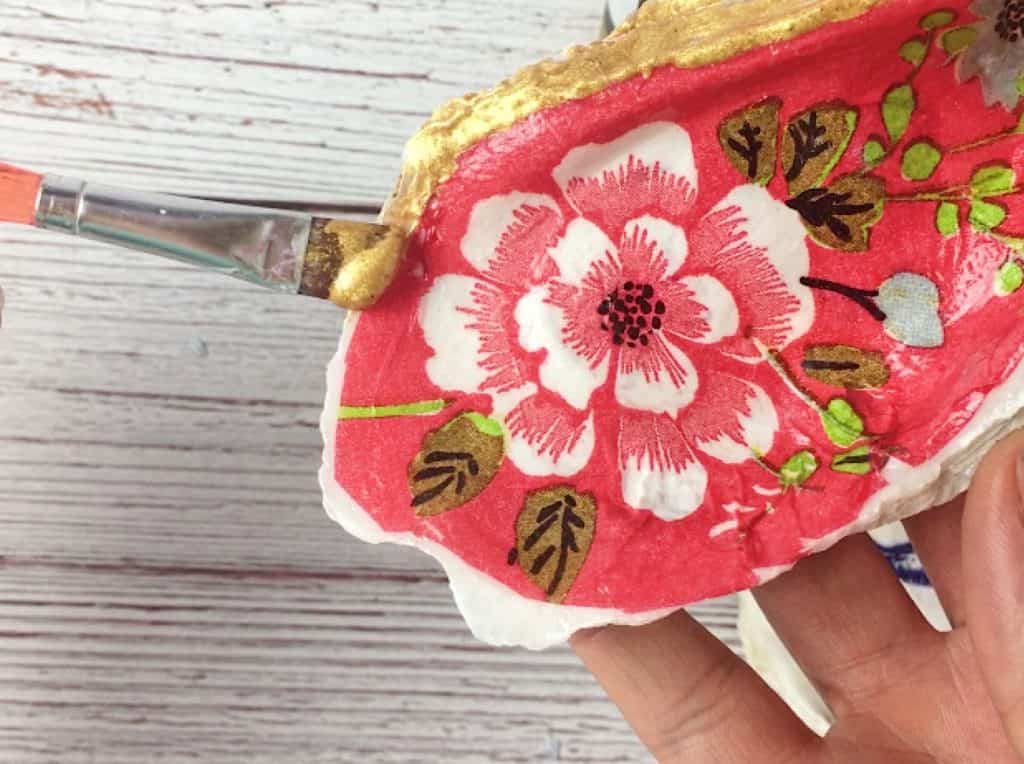
All that is left now is adding the gold trim! So exciting!
Give the paint a good shack so it is truly mixed and comes out thickly. Then just paint around the rim of the oyster shell dish.
Now just one more time waiting for it to dry and…..
Voila!!!!
So easy, right!
I made a bunch already in may different colors. I even made one using my sister’s napkins she special ordered for her wedding with their names and wedding date on it and transformed it into a lasting keepsake! Now she uses it every day to hold her wedding ring. Ahwww…..
I hope you find this a fun tutorial and as easy to work with as I do. Comment below if you have any questions and show off your creations here and on Instagram #kaileacrafts