
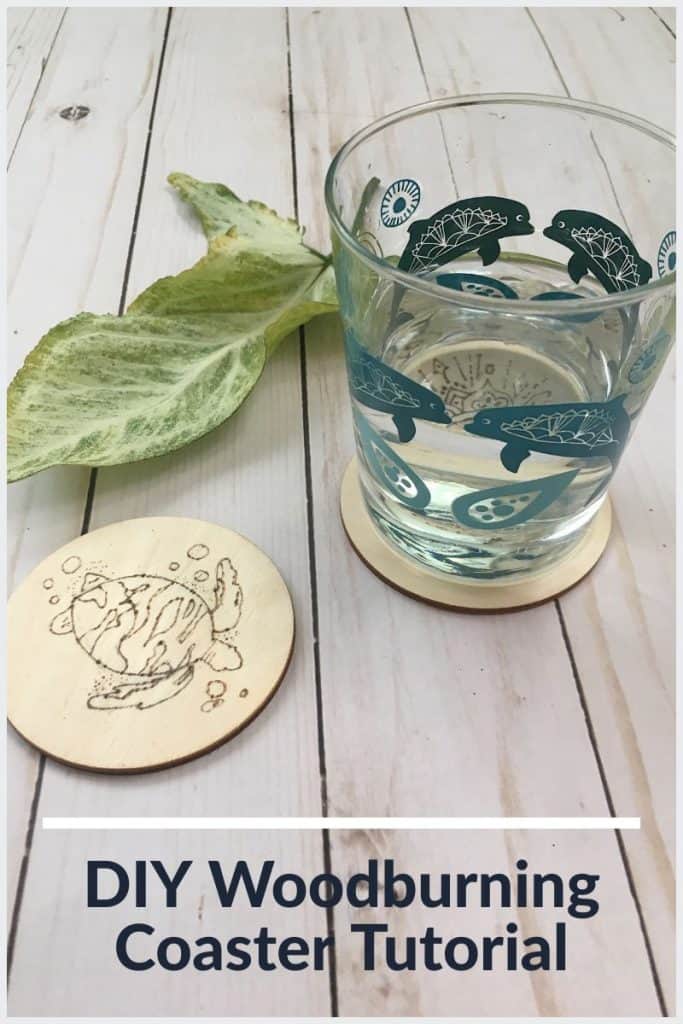
I found these beautiful dolphin glasses at Ikea and wanted to create some coordinating coasters for them to use by my pool.
These wooden circles are perfect for them! And using a woodburner to draw the design make them look more natural and also impervious to water damage and such.
As an Amazon Associate I earn from qualifying purchases. If you make a purchase through my link, I will make a small commission with no extra cost to you. “
Woodburning Coaster Materials:
- 3″ Wooden Circle Cutouts
- Wood burner
- Mod Podge for outdoor use
- Brush
- Pencil
- Design
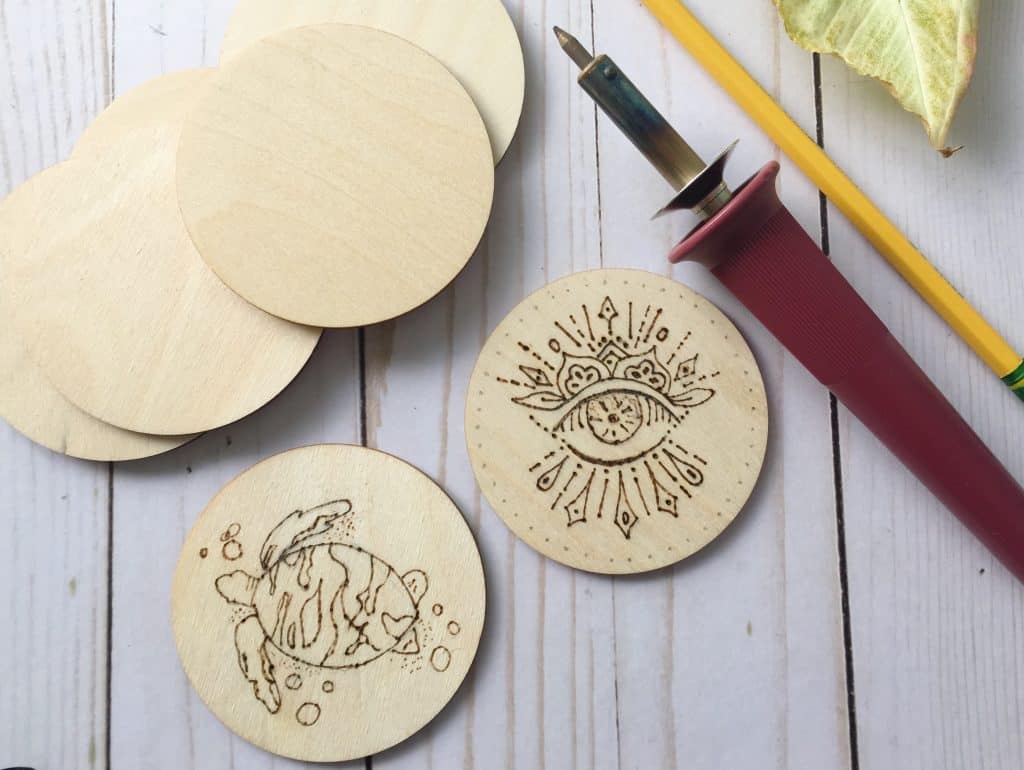
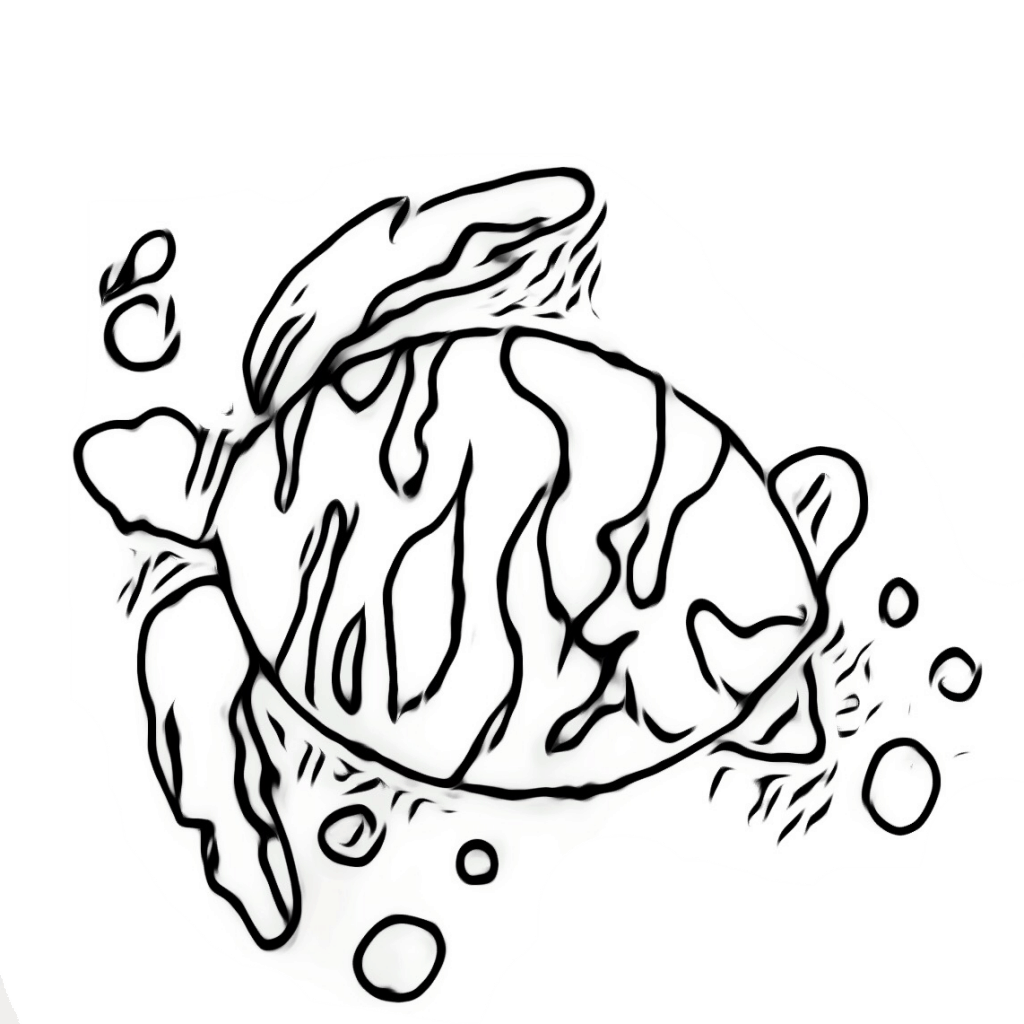
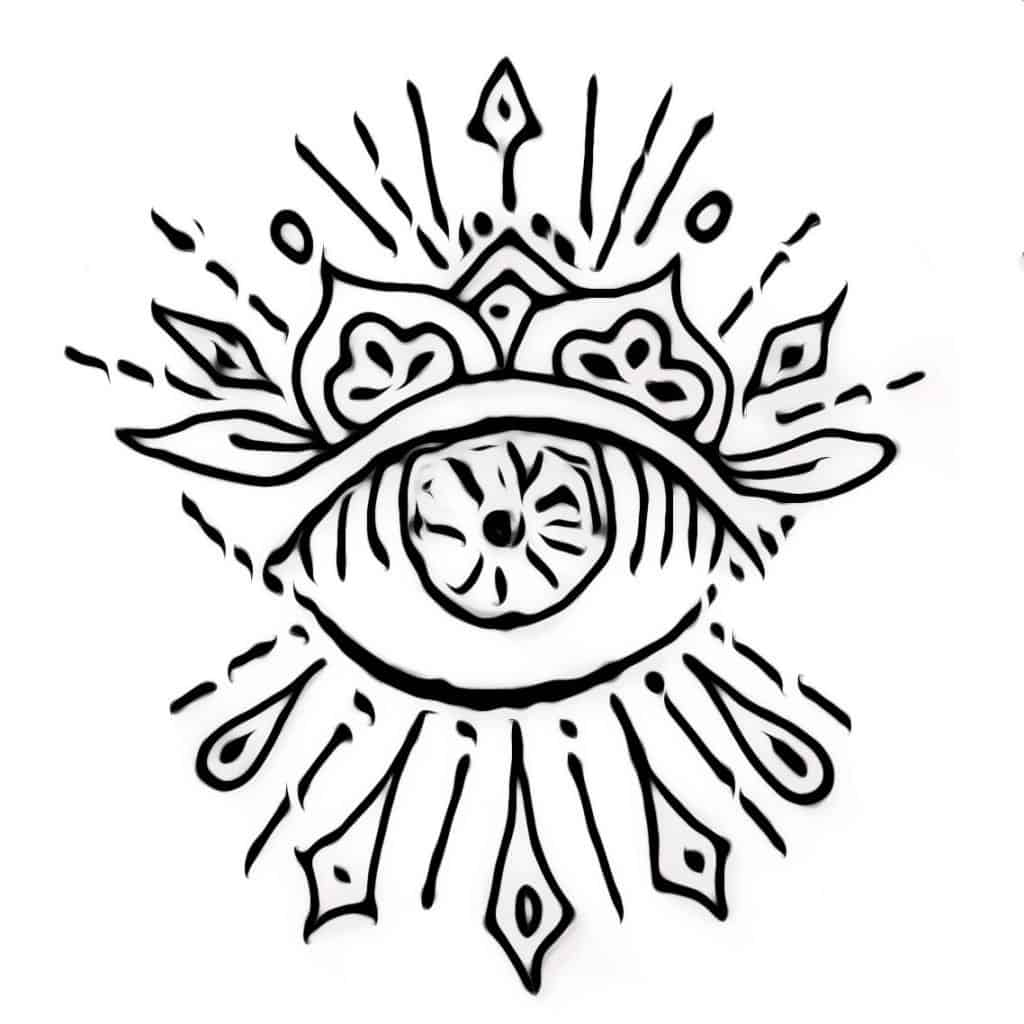
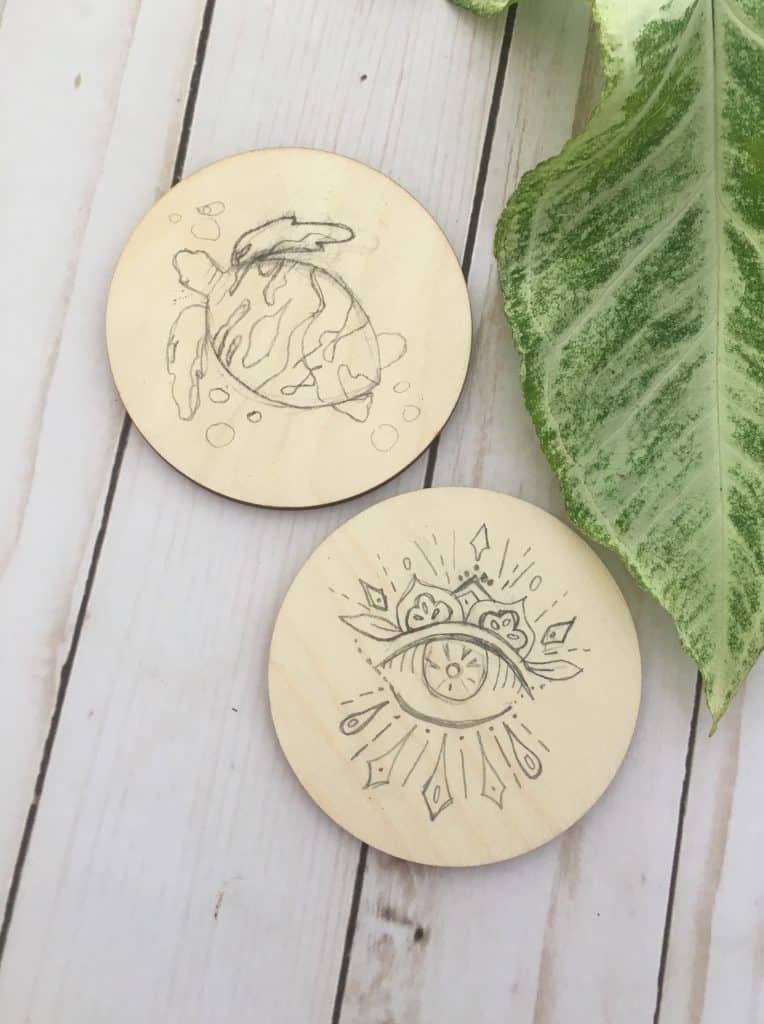
First you need to decide on a motif or your coasters. I wanted some ocean related designs and started with this turtle. Then I got sidetracked and made the all seeing eye coaster. But now it is time to get back to a few more ocean themed ones.
You can print the 2 designs I created and copy them for your personal use only.
Here is a quick video of the actual woodburning. As you can see, it’s almost like drawing but oh so smooth!
1. Trace Design
Now that you decided on a design, you can either go ahead and sketch them right onto the wood coasters or using tracing paper to copy the design. Don’t worry, you can always erase any pencil marks after the woodburing.
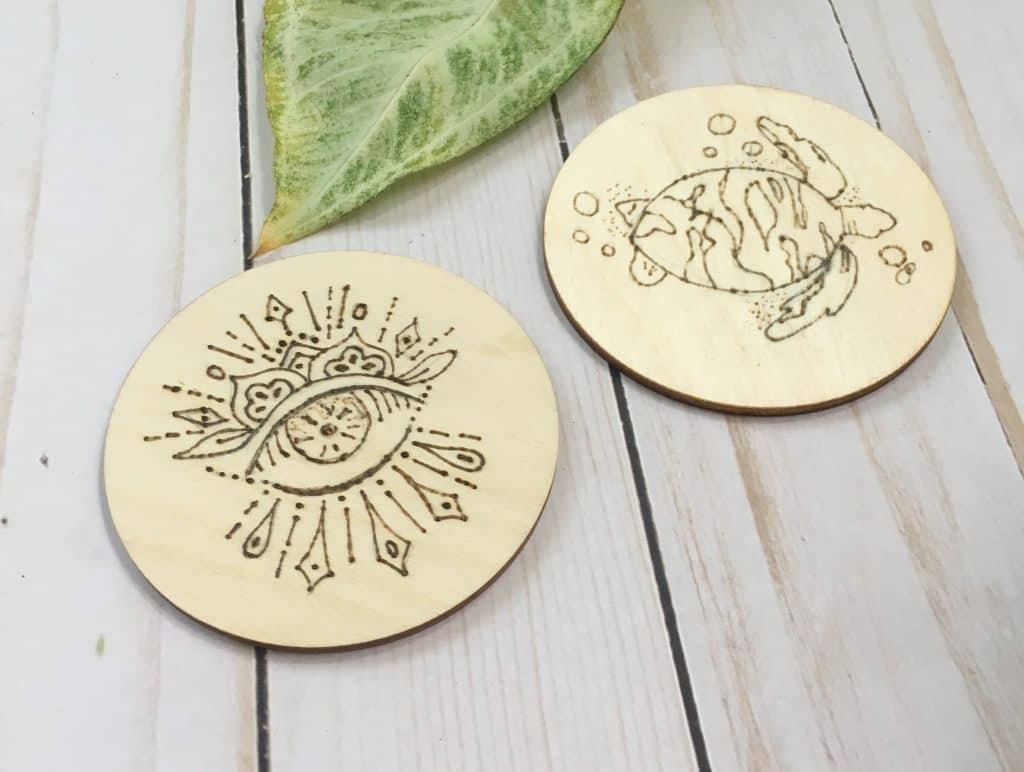
2. Woodburn design into coaster
Now take your woodburner and put it on the lowest setting. Wait until it has completely warmed up.
Then carefully start with the easiest line. Most likely that is a straight line close to the center. It is good to start there to get a feel for how quickly the woodurner heats up the wood you are using.
Trace all the lines carefully with the woodburner until you complete the design.
3. Erase pencil marks
Now erase any pencil marks you can see. Go over your project several times to make sure it is clean of any markings.
4. Seal the coaster with Mod Podge
For this project, I used the outdoor mod podge since it is water repellent and that is what you need in a coaster.
Just use a brush and coat the coaster in an even layer. Let it dry and repeat one more time. Both on the front and back.

Pro Tip!
I found these beautiful leather coaster and can’t wait to make more coasters with those! You can use your wood burner the same way on the leather as you do on the wood.
I hope you find these woodburning coasters as fun to make as I do. Comment below if you have any questions and show off your creations here and on Instagram #kaileacrafts