I always look for new ideas to decorate for Easter. It is so much fun to create your own Easter Decorations. Especially things that can be hung from a fresh plant or some budding twigs from the yard.
I have been making new Easter Egg Decorations each year to add to my Easter Decor Collection. These Felt Easter Eggs are easy to make and older kids can help and make their own Easter craft.
“As an Amazon Associate I earn from qualifying purchases. If you make a purchase through my link, I will make a small commission with no extra cost to you. “
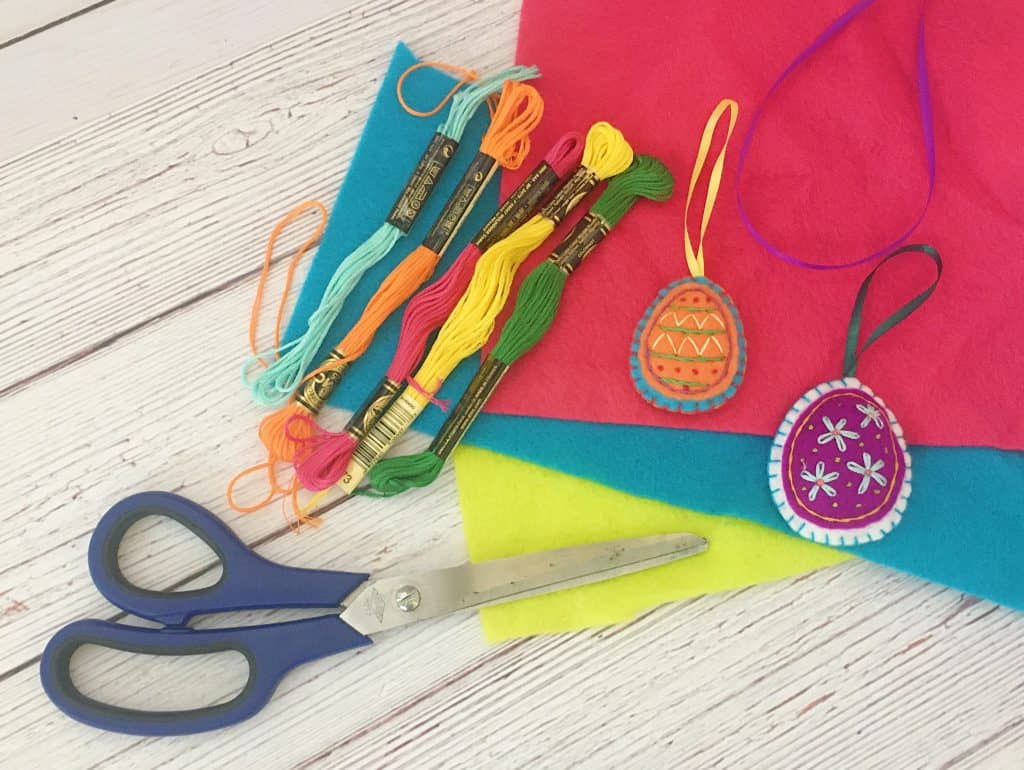
Materials:
There are just a few beginner embroidery stitches you need to complete this Easter craft for each Easter Egg. I will show you step by step which stitches to use so you can easily follow along to make your Felt Easter Eggs.
Here is a video of each step or you can follow along with the photos!
First, choose 2 felt colors that go well together and give you some contrast. I chose yellow and pink.
Now cut an egg shape out of both of them. Since you need a front and a back for these 3D Easter Eggs, fold over the felt and cut a 2″x 3″ rectangle.
Then cut an oval egg shape. Now you should have 2 egg shapes that are the same size.
Do the same for the other color but cut it about 3/8″ smaller all around than the first shapes.
Now put the bigger one aside and work with the 1st smaller egg.
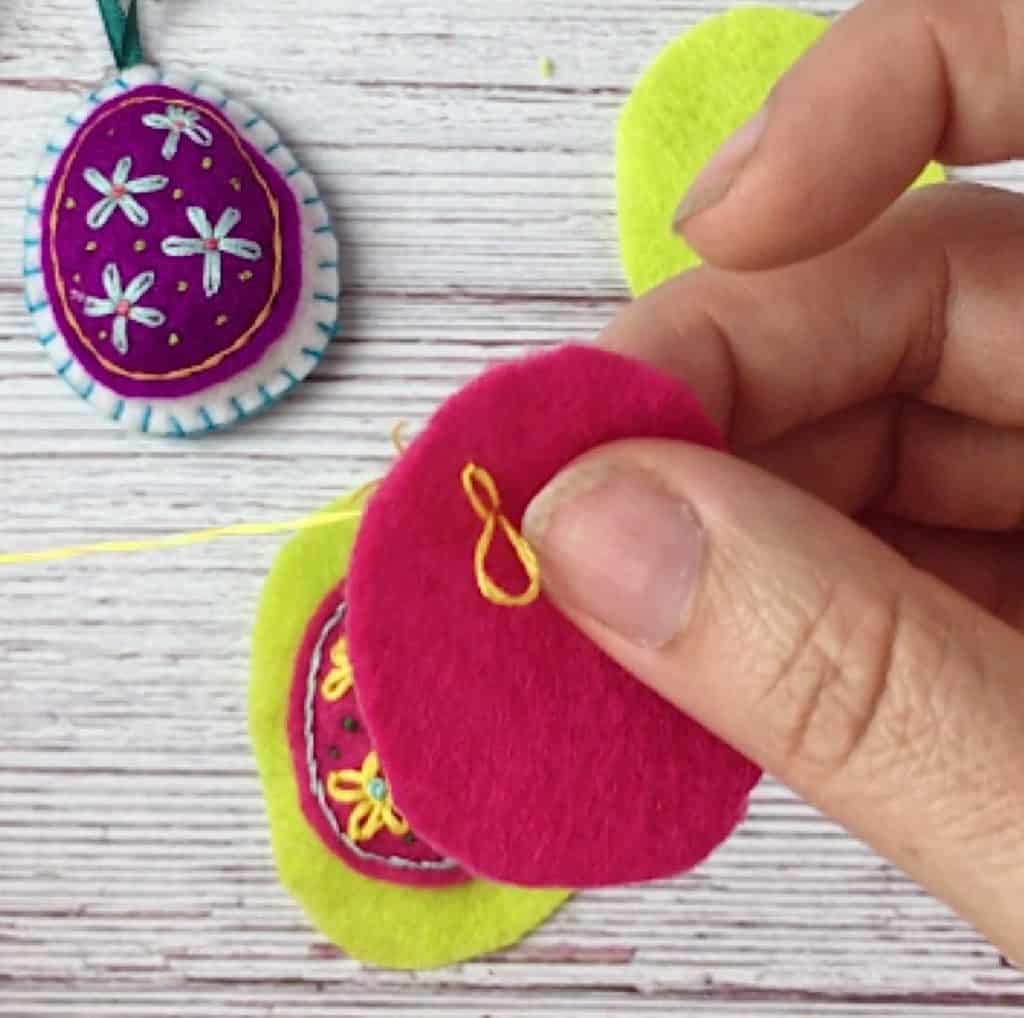
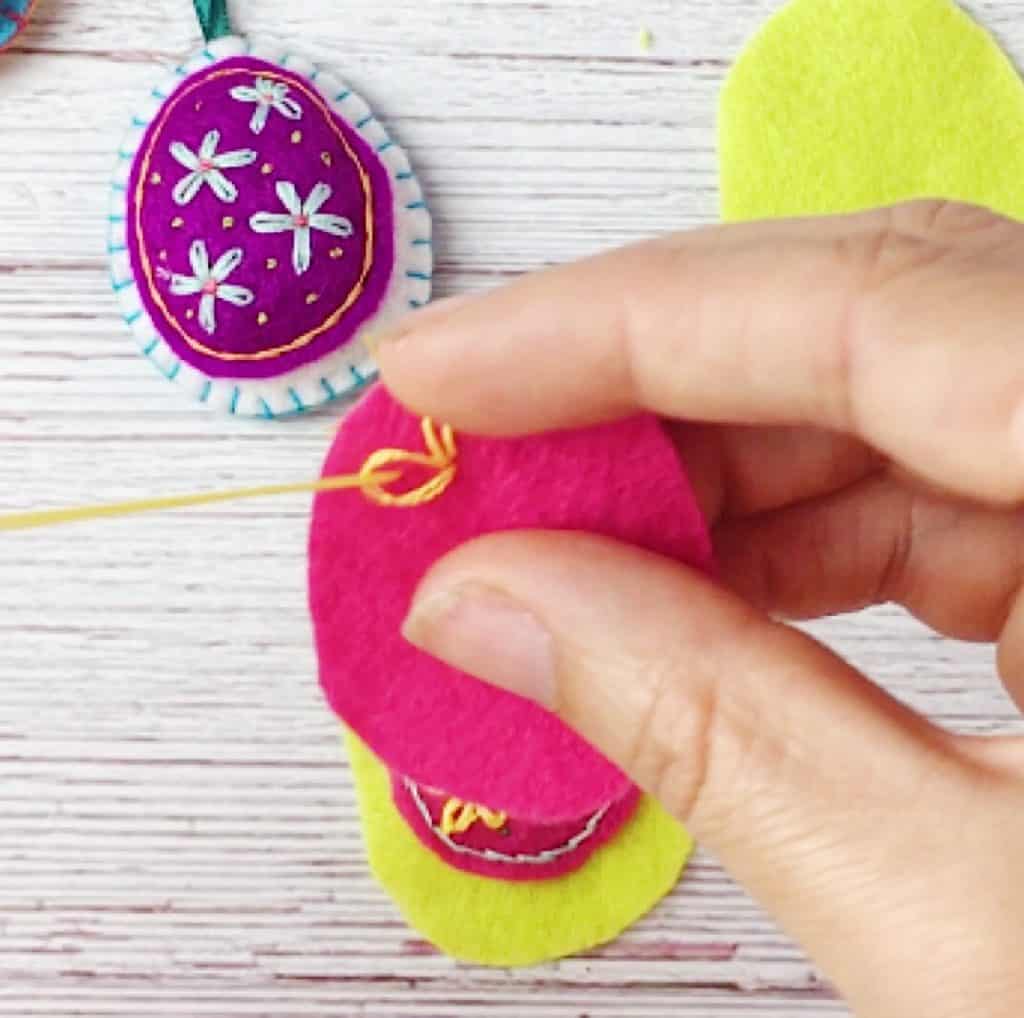
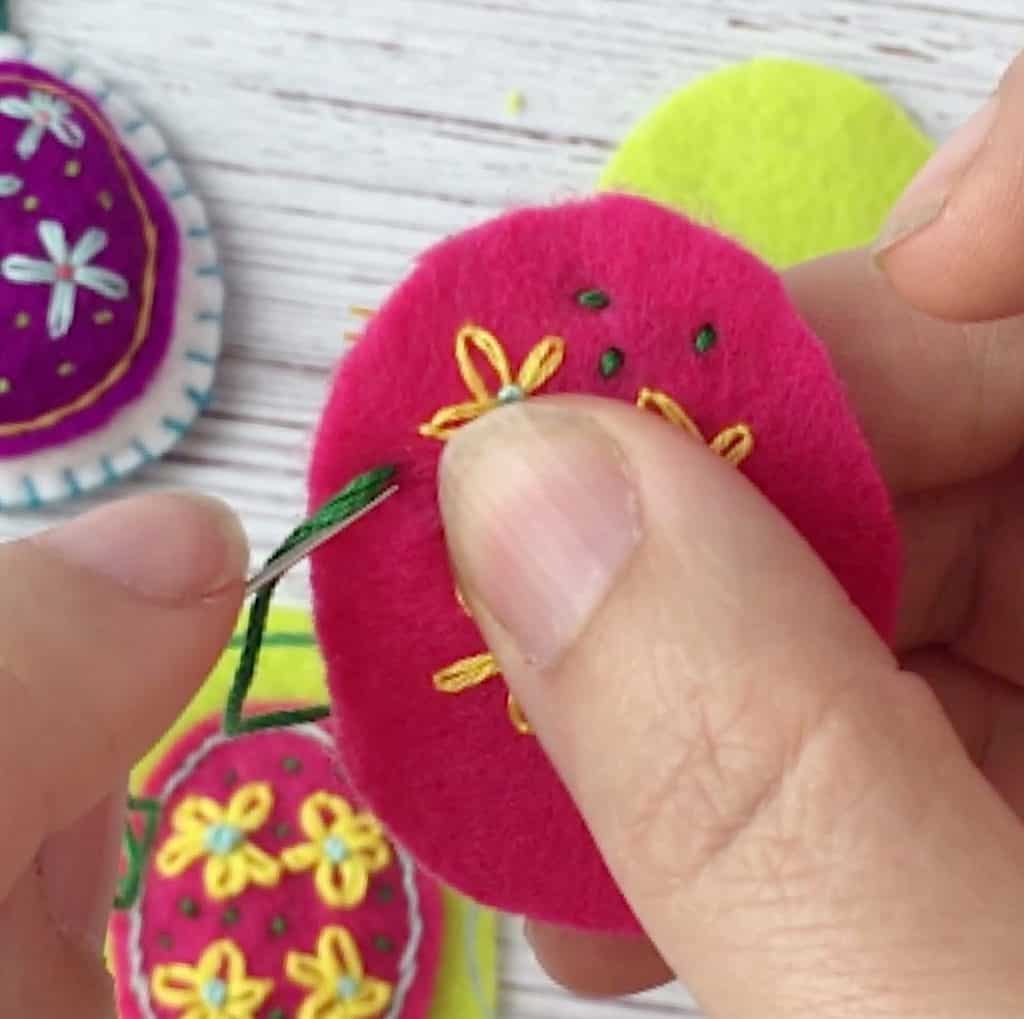
Start in one corner with the flower pedals. You will make a total of 4 flowers on this egg. So think about your spacing.
For all stitches, we are using 2 strands of the embroidery floss. So divide your cut strand up in 3 sections of 2 strands each.
Come in from the back side and go back in just a little off so it forms a loop.
Now come in agai nfro the back a little to the die and catch the loop and go back in on the other side of the loop.
Now pull everything tight and you see that you formed the first pedal.
Do that all around until you have 5 pedals.
Then go on and make 3 more flowers just like that.
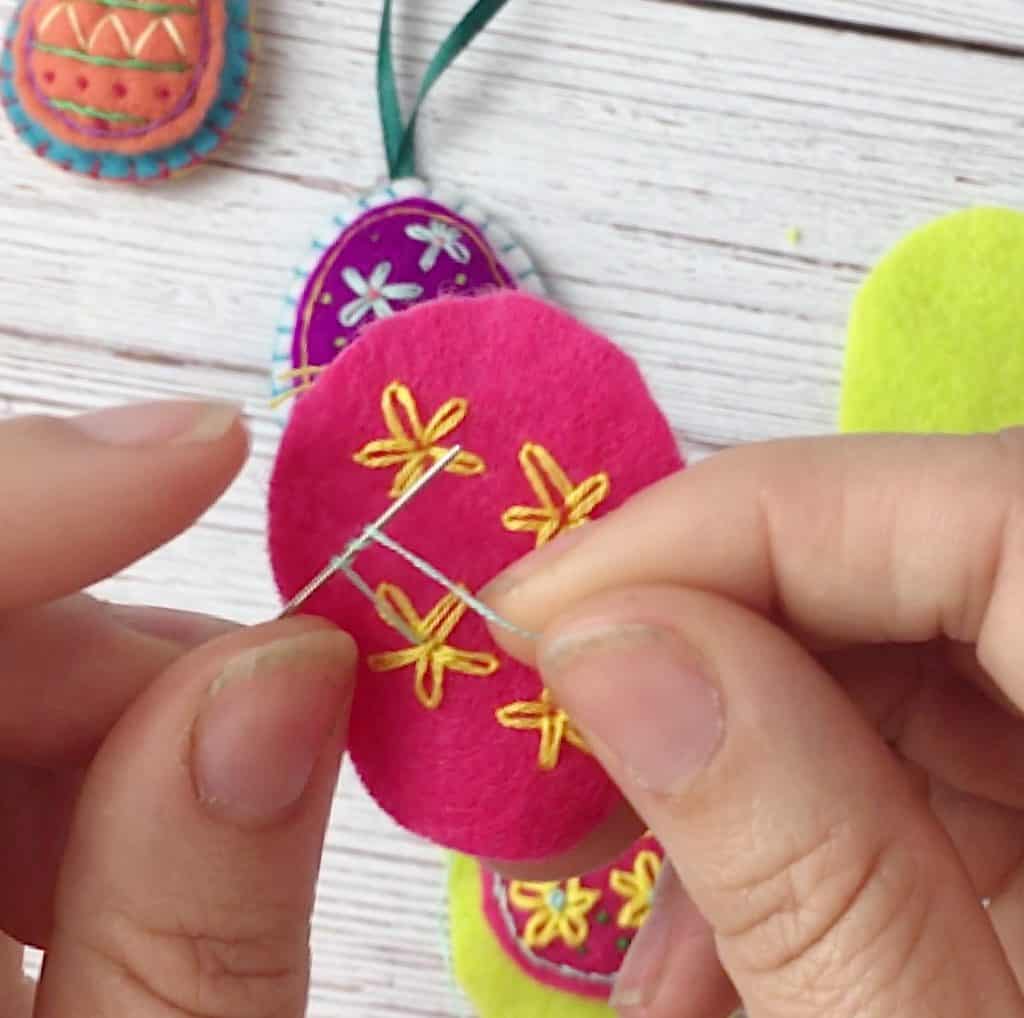
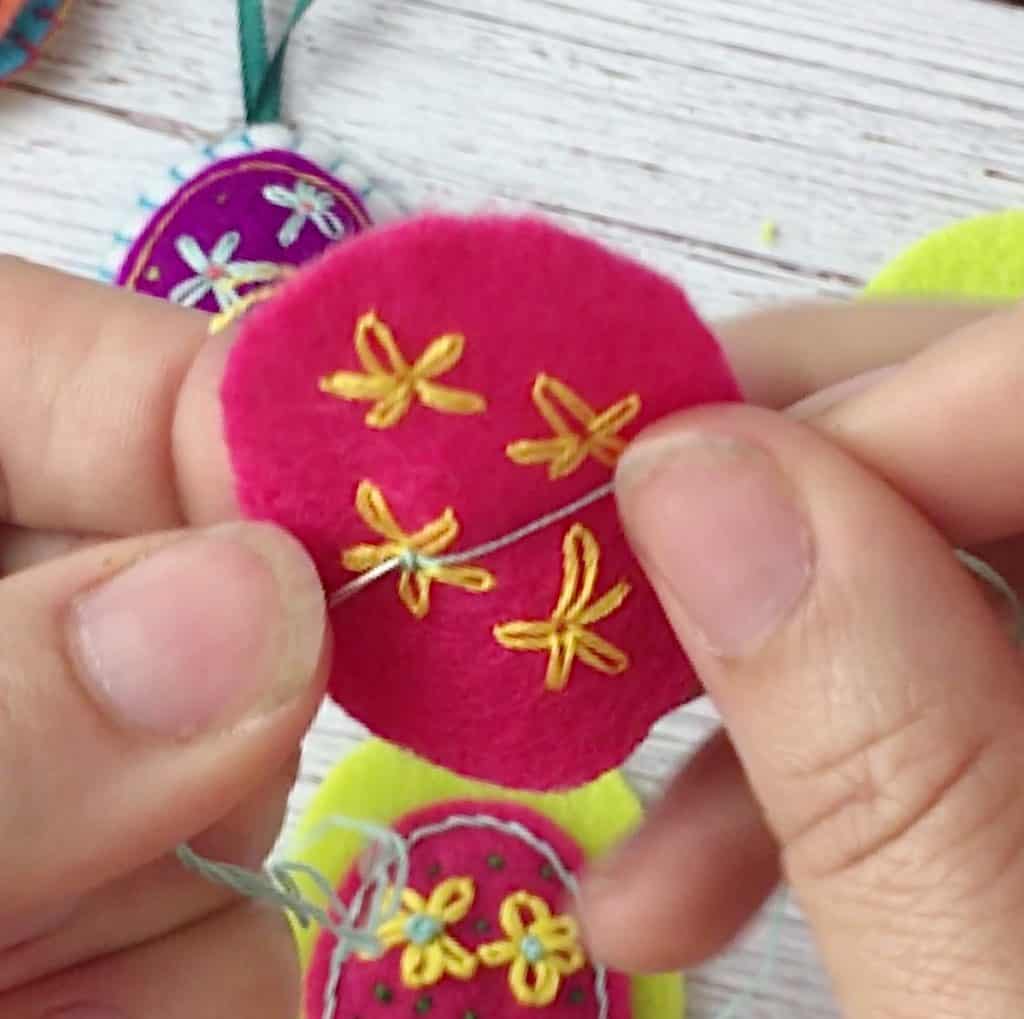
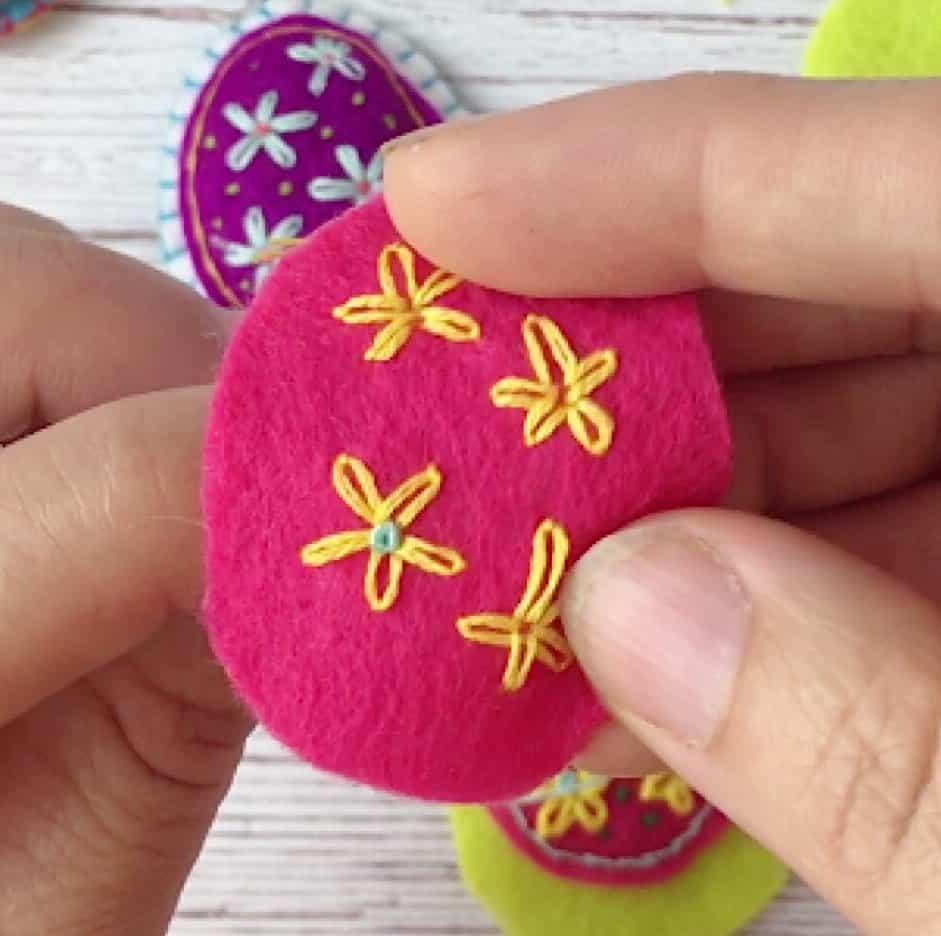
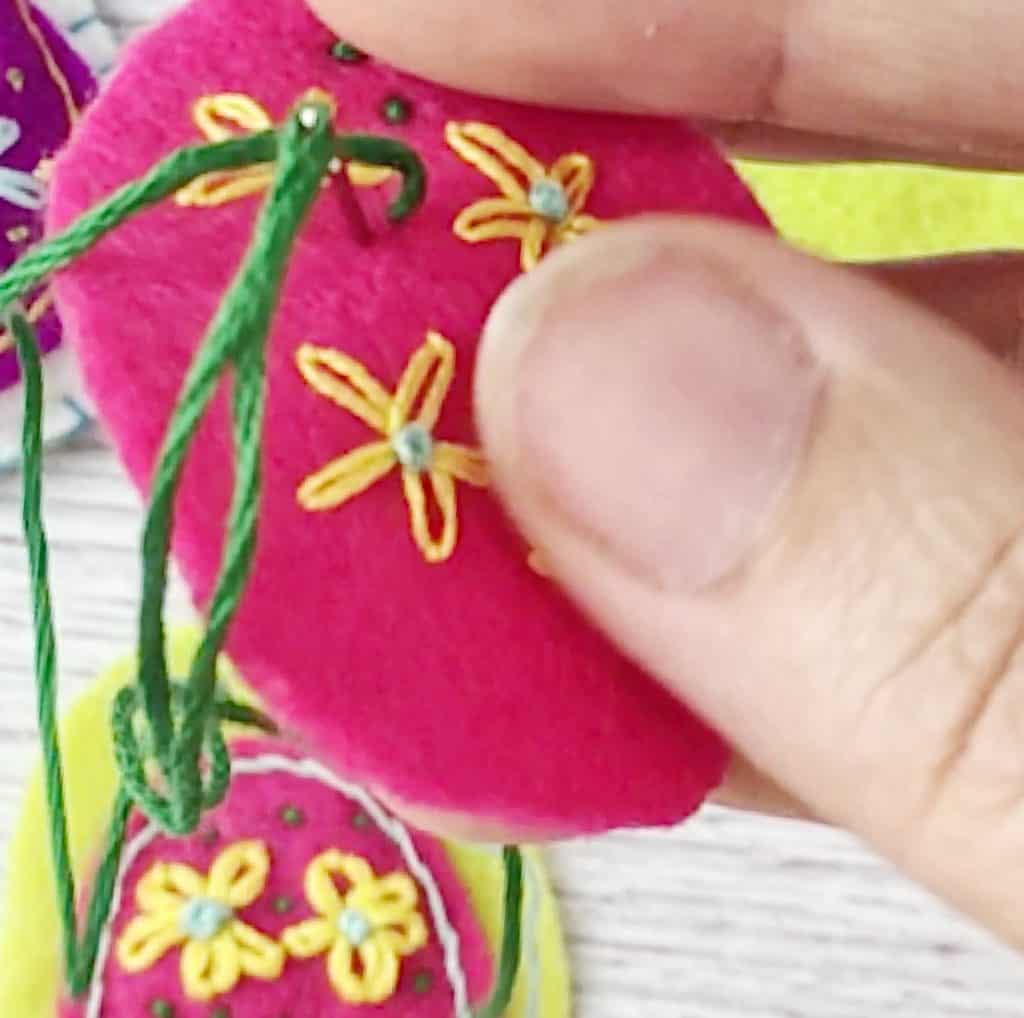
Now it is time to add some centers to the flower with French Knots. Use a different color floss for that.
Come up in the center of the flower, wrap the floss around the needle 3 times, go back in with the needle right next to it, gather the floss tightly right on the felt and pull the floss through the felt.
Do that for each flower.
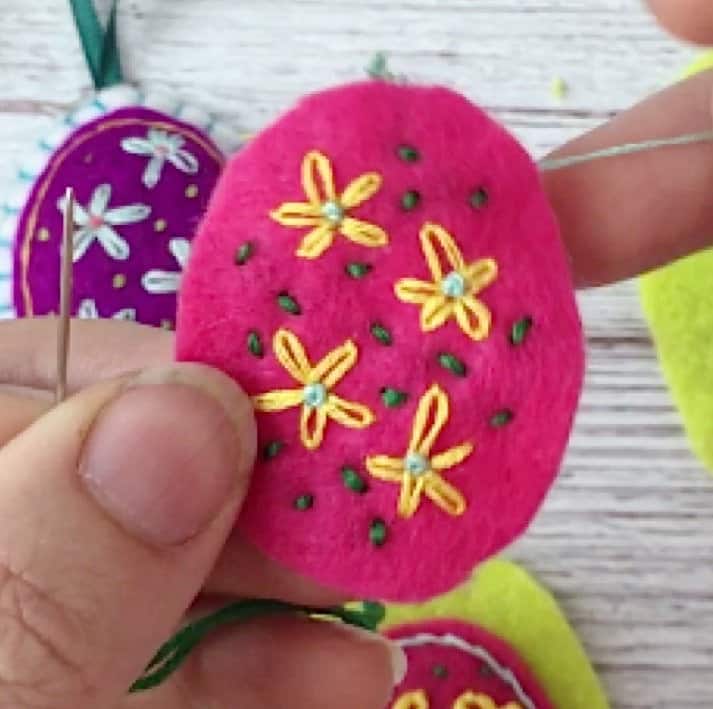
The last section on this egg is the little excitement to add to the background. It is almost like a little grass or I think if it as confetti!
This is really easy. Use a different color. Maybe green for grass if it works with your color scheme.
Come in from the back and just go back out a little bit to the side. Then keep doing that all around the background.
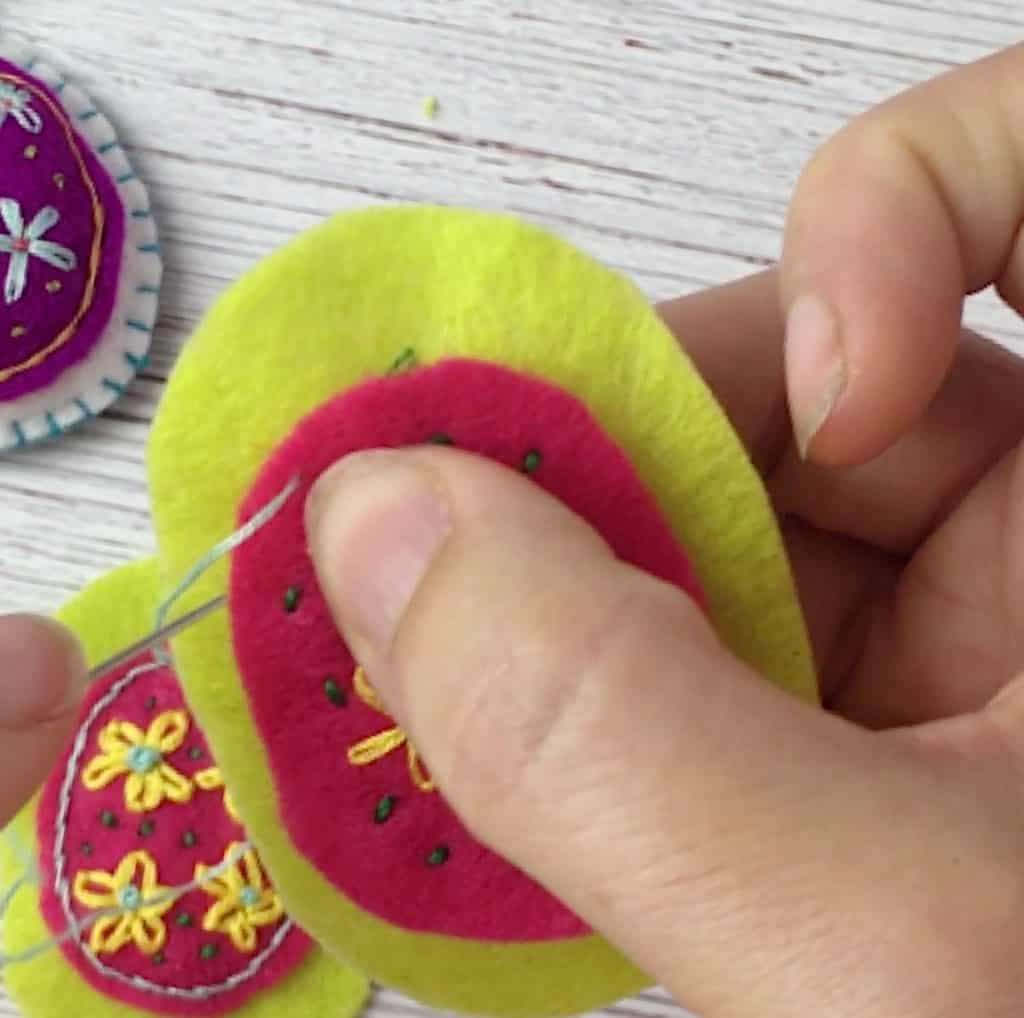
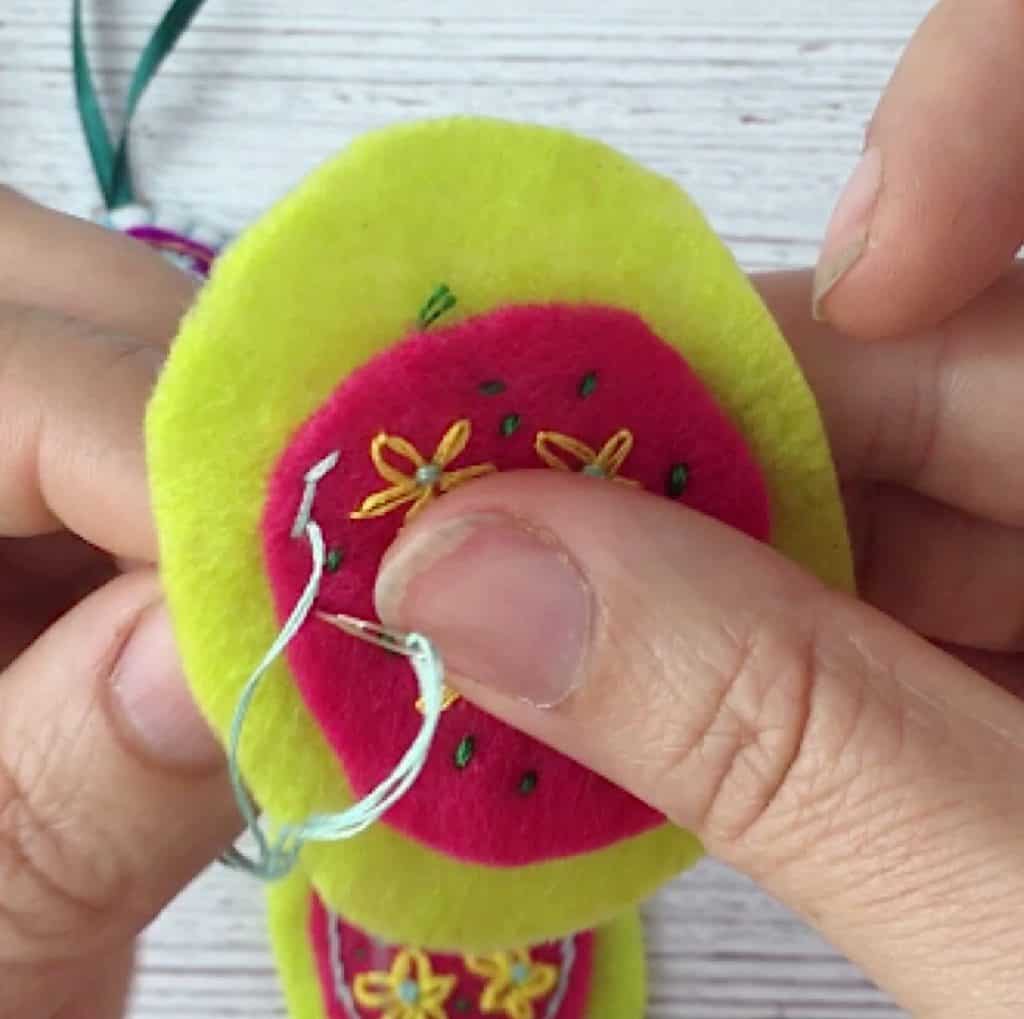
Now take the larger egg and center it under the embroidered egg you just created.
Take another color and stitch them together with a stem stitch.
Come in from the back about 1/8″ from the edge of the smaller egg.
Stitch along the edge coming back in from the back about half way down the previous stitch so that they slightly overlap. Do that all around the egg.
And this completes the double egg. Do the same for the back side.
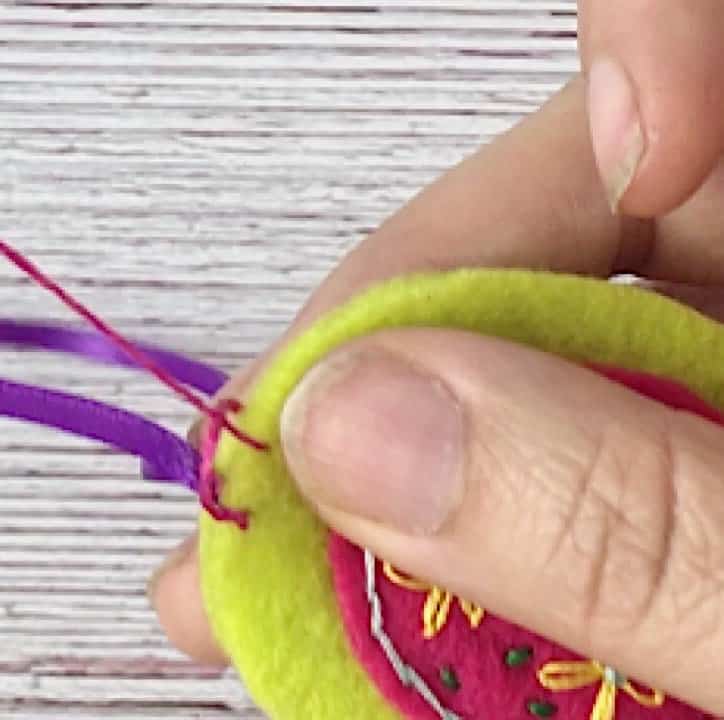
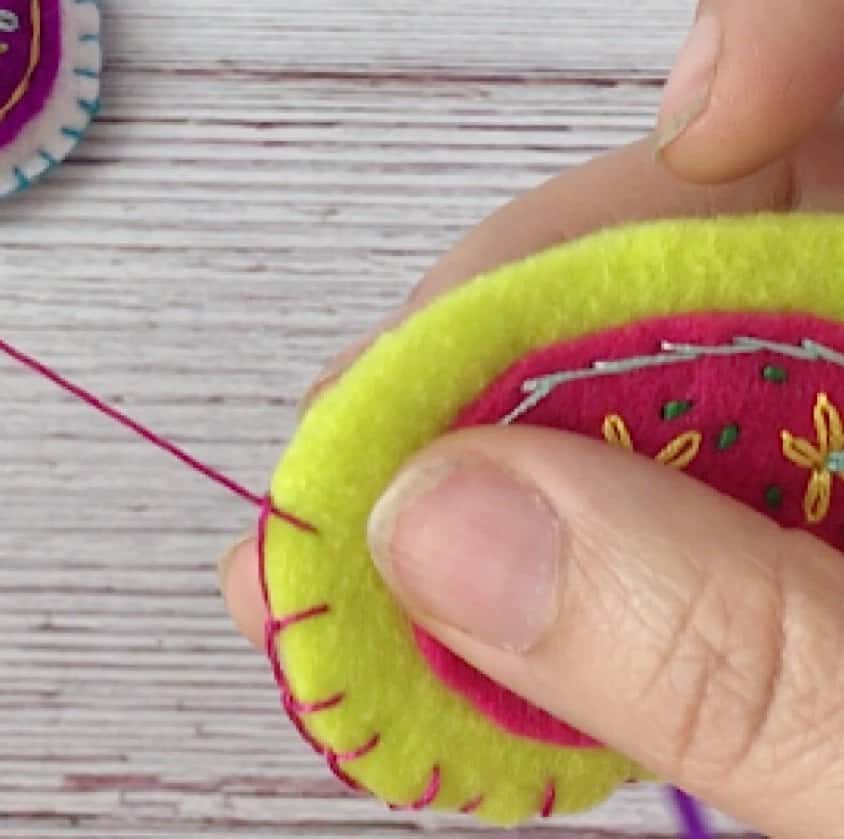
Now you need to add a little ribbon to hand them and stitch the 2 egg halves together back to back.
Cut a piece of ribbon about 8″ long and fold it in half. Now secure the ends with the floss you want to use around the 2 egg halves.
Start at the top of the egg and place the ribbon in between the 2 halves and stitch it in place.
Now use the Blanket Stitch around the edge of the egg to stitch the halves together.
You can see in the first photo how to catch the sting and go in and out with the yarn from the same side.
This might be easier to see in the video.
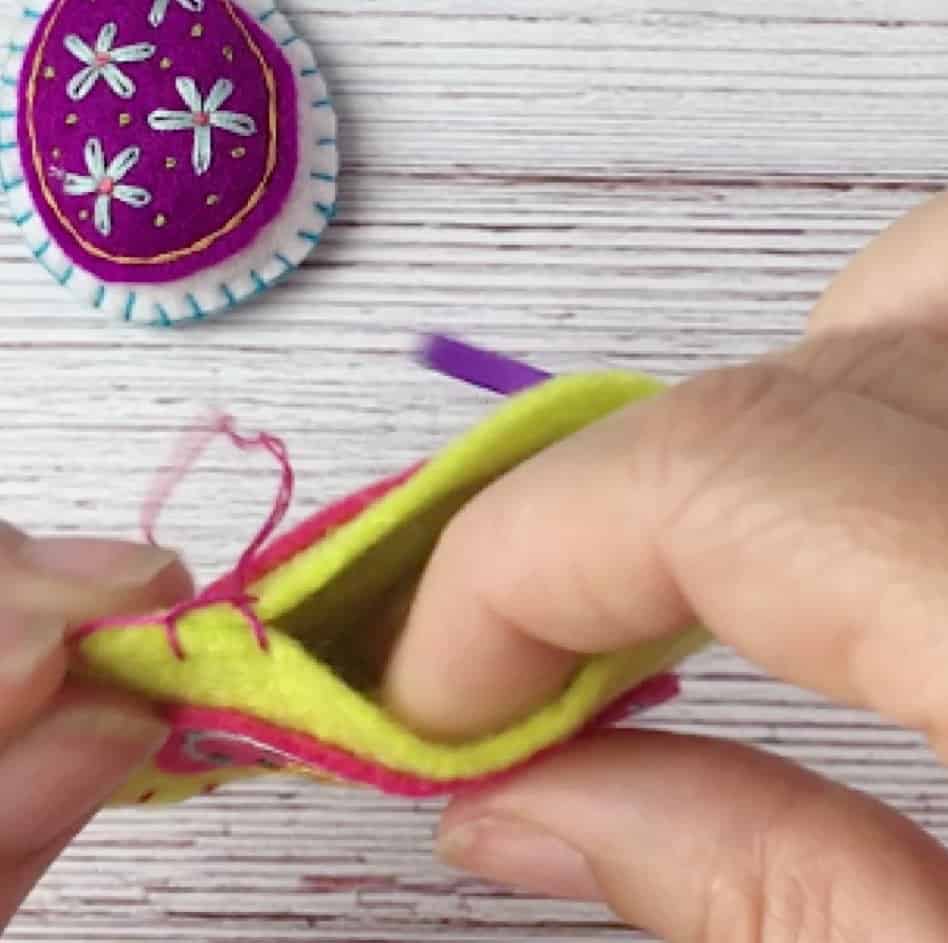
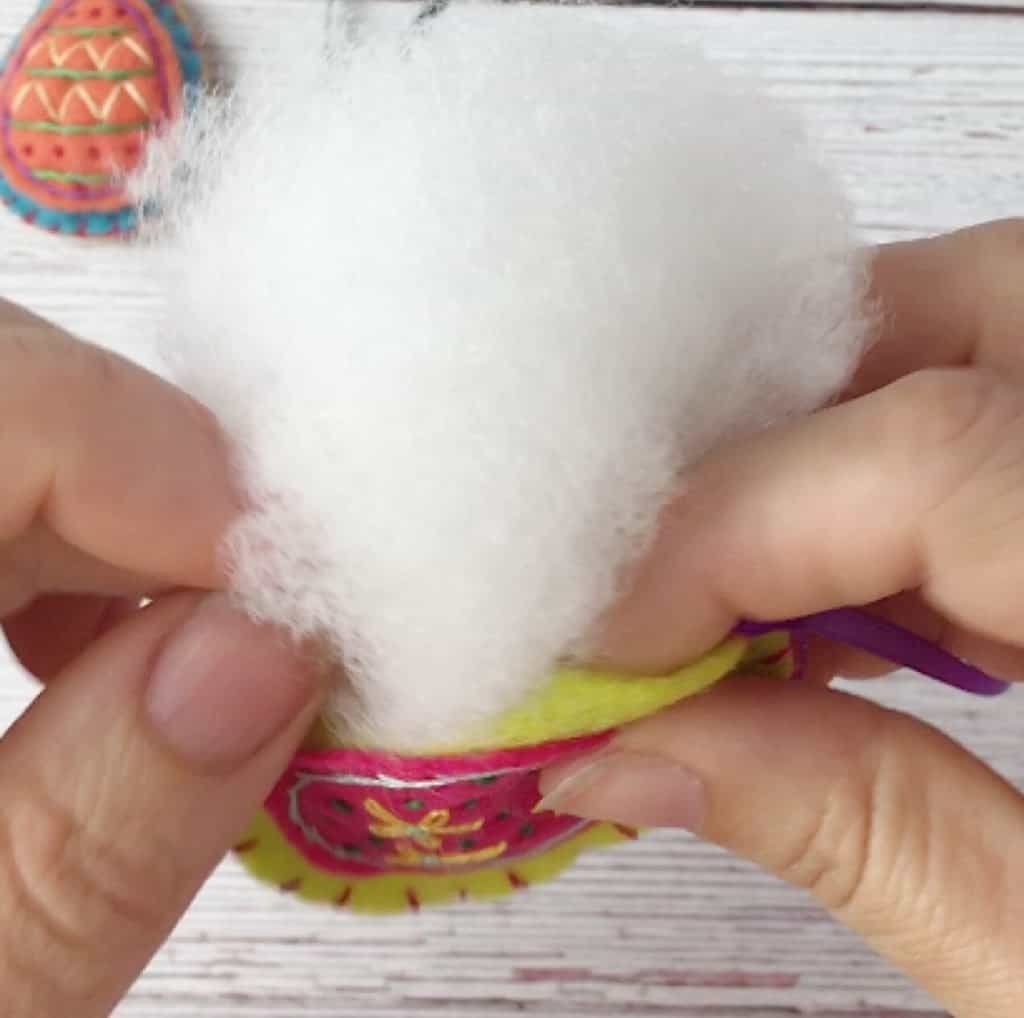
Don’t go all the way around but leave some room on the top to add the stuffing to make your egg round and actually egg shaped.
Once you added enough stuffing, continue around the egg with the blanket stitch until it is all closed up and ready to hang!
Then I added another 2 rows of Half Hitch Knots.
To complete the Macrame Keychain, I tied regular knots in the ends using 2 strings for each knot.
Pro Tip!
Now just keep going with all the different color felt and embroidery floss you have! There are so many fantastic combinations!
Once you are comfortable with the stitches, you can also try a different pattern for the center.
I hope you have fun making this Easter project. Comment below if you have any questions and show off your creations here and on Instagram #kaileacrafts

