
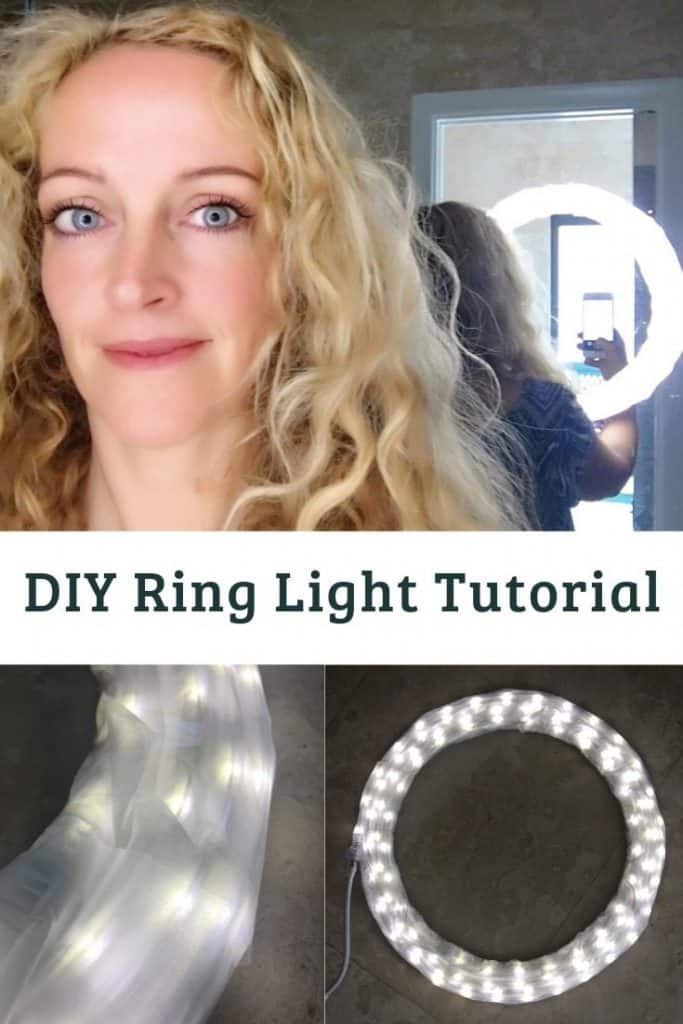
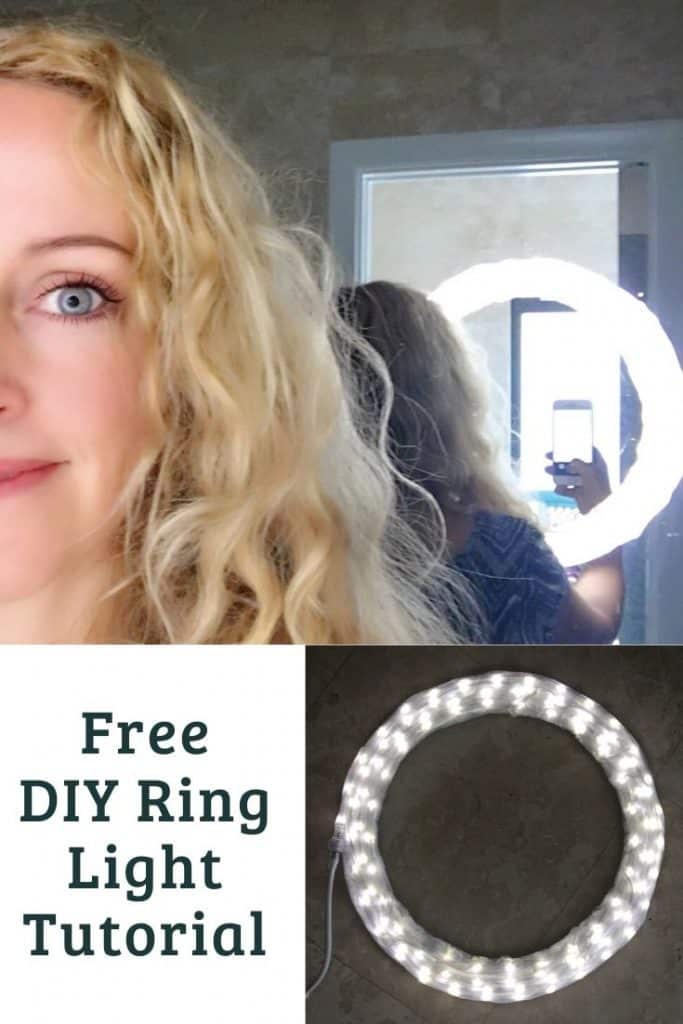
Want to take selfies with that glowing skin and sparkling eyes? To get that perfect lighting for make up tutorial and other you tube videos, you need a bright LED right light.
Luckily, you can make your own perfect right light at a fraction of buying a professional selfie ring light!
I made mine in no time and there are just a few supplies needed.
“As an Amazon Associate I earn from qualifying purchases. If you make a purchase through my link, I will make a small commission with no extra cost to you. “
Materials:
- LED Rope Lights in Daylight White
- Metal Floral Wreath
- Zip Ties
- Scotch Tape
- Parchment Paper
- Aluminum Foil
- Scissor
- Cardboard from a large box you can cut apart
![]()
Ready to start!
First, use the metal wreath and trace the shape onto a large piece of cardboard. I just used a large Amazon shipping box and traced the ring onto the side.
Then use scissors to cut out the ring. This will be the back of your light.
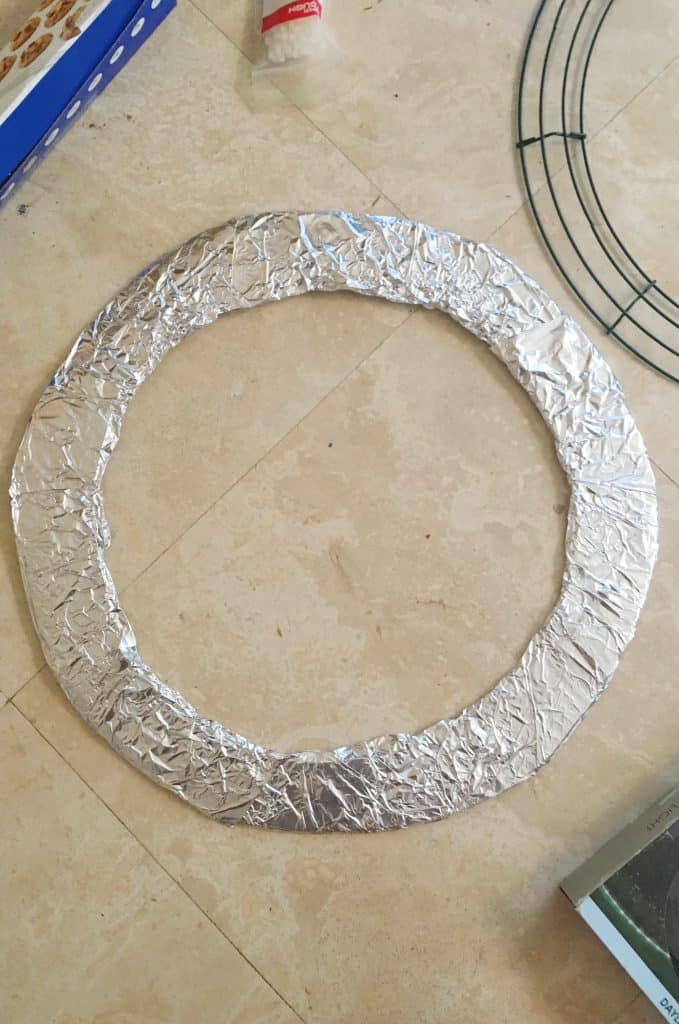
Now take the aluminum foil. Cut several pieces off that are about 5″ wide and wrap them tightly around the cardboard ring. The aluminum foil will reflect the light back and make it appear brighter. Try to get the front smooth, but it does not have to be perfect as you can see from my photo!
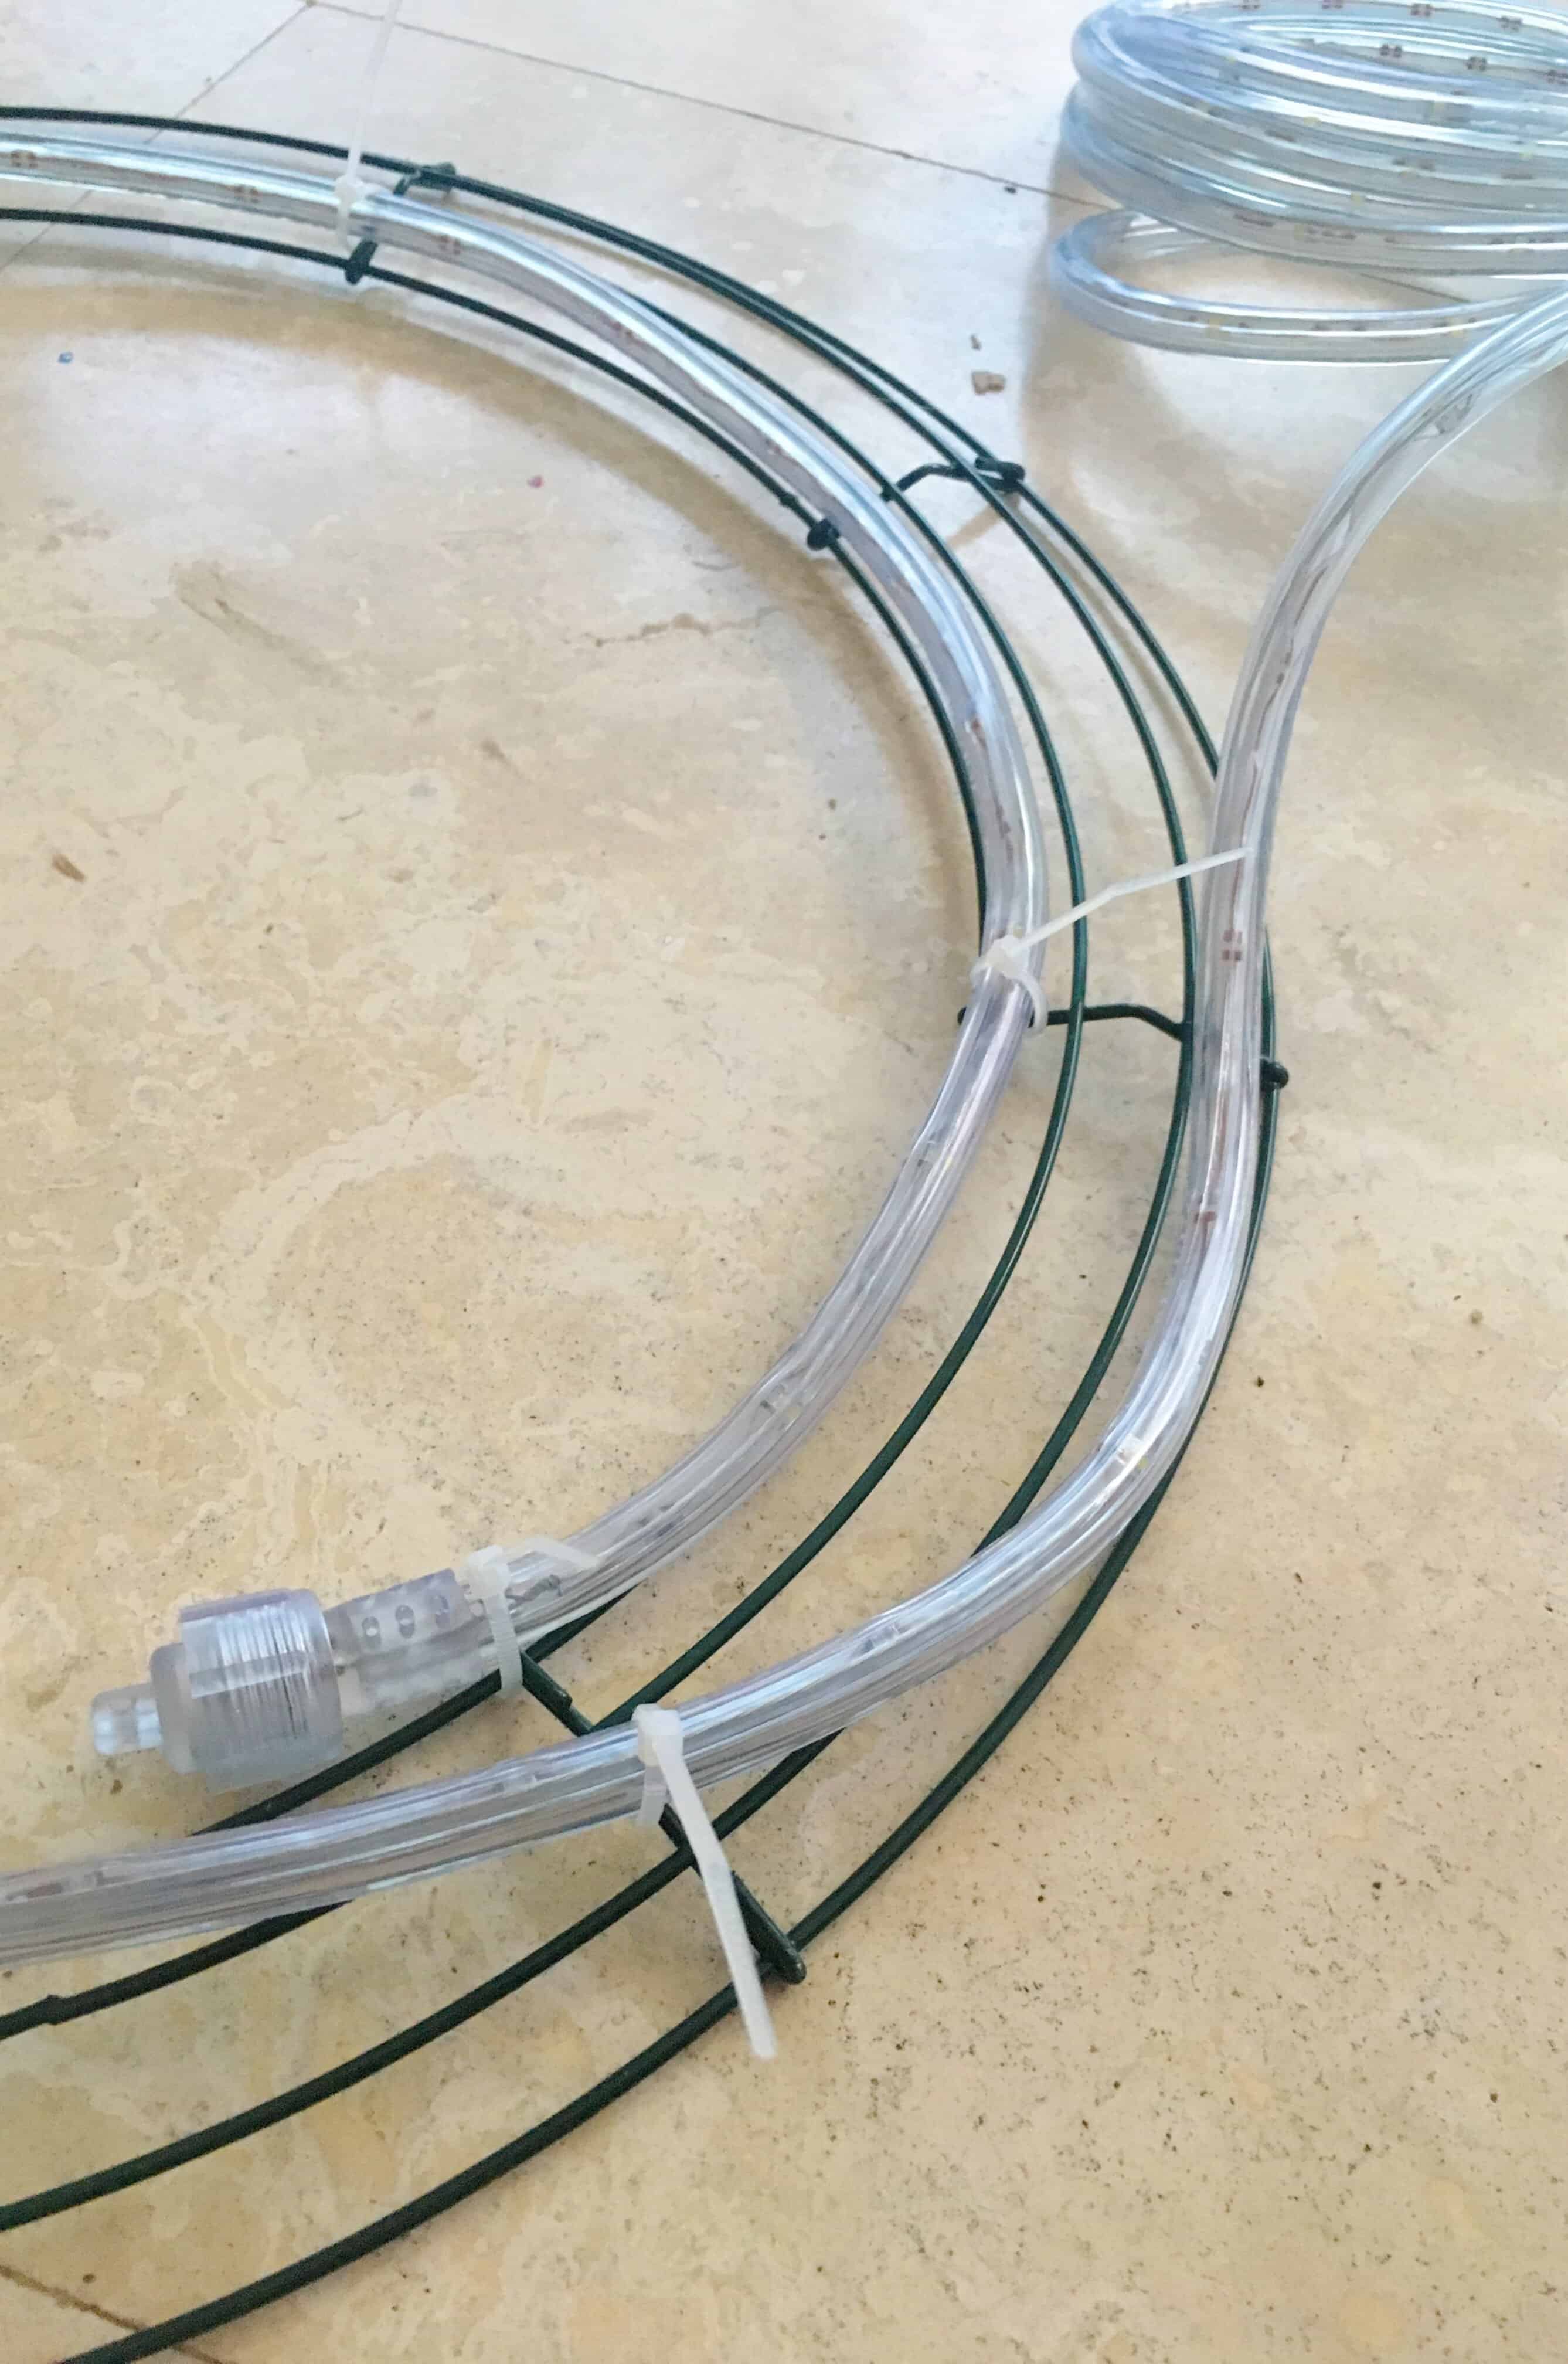
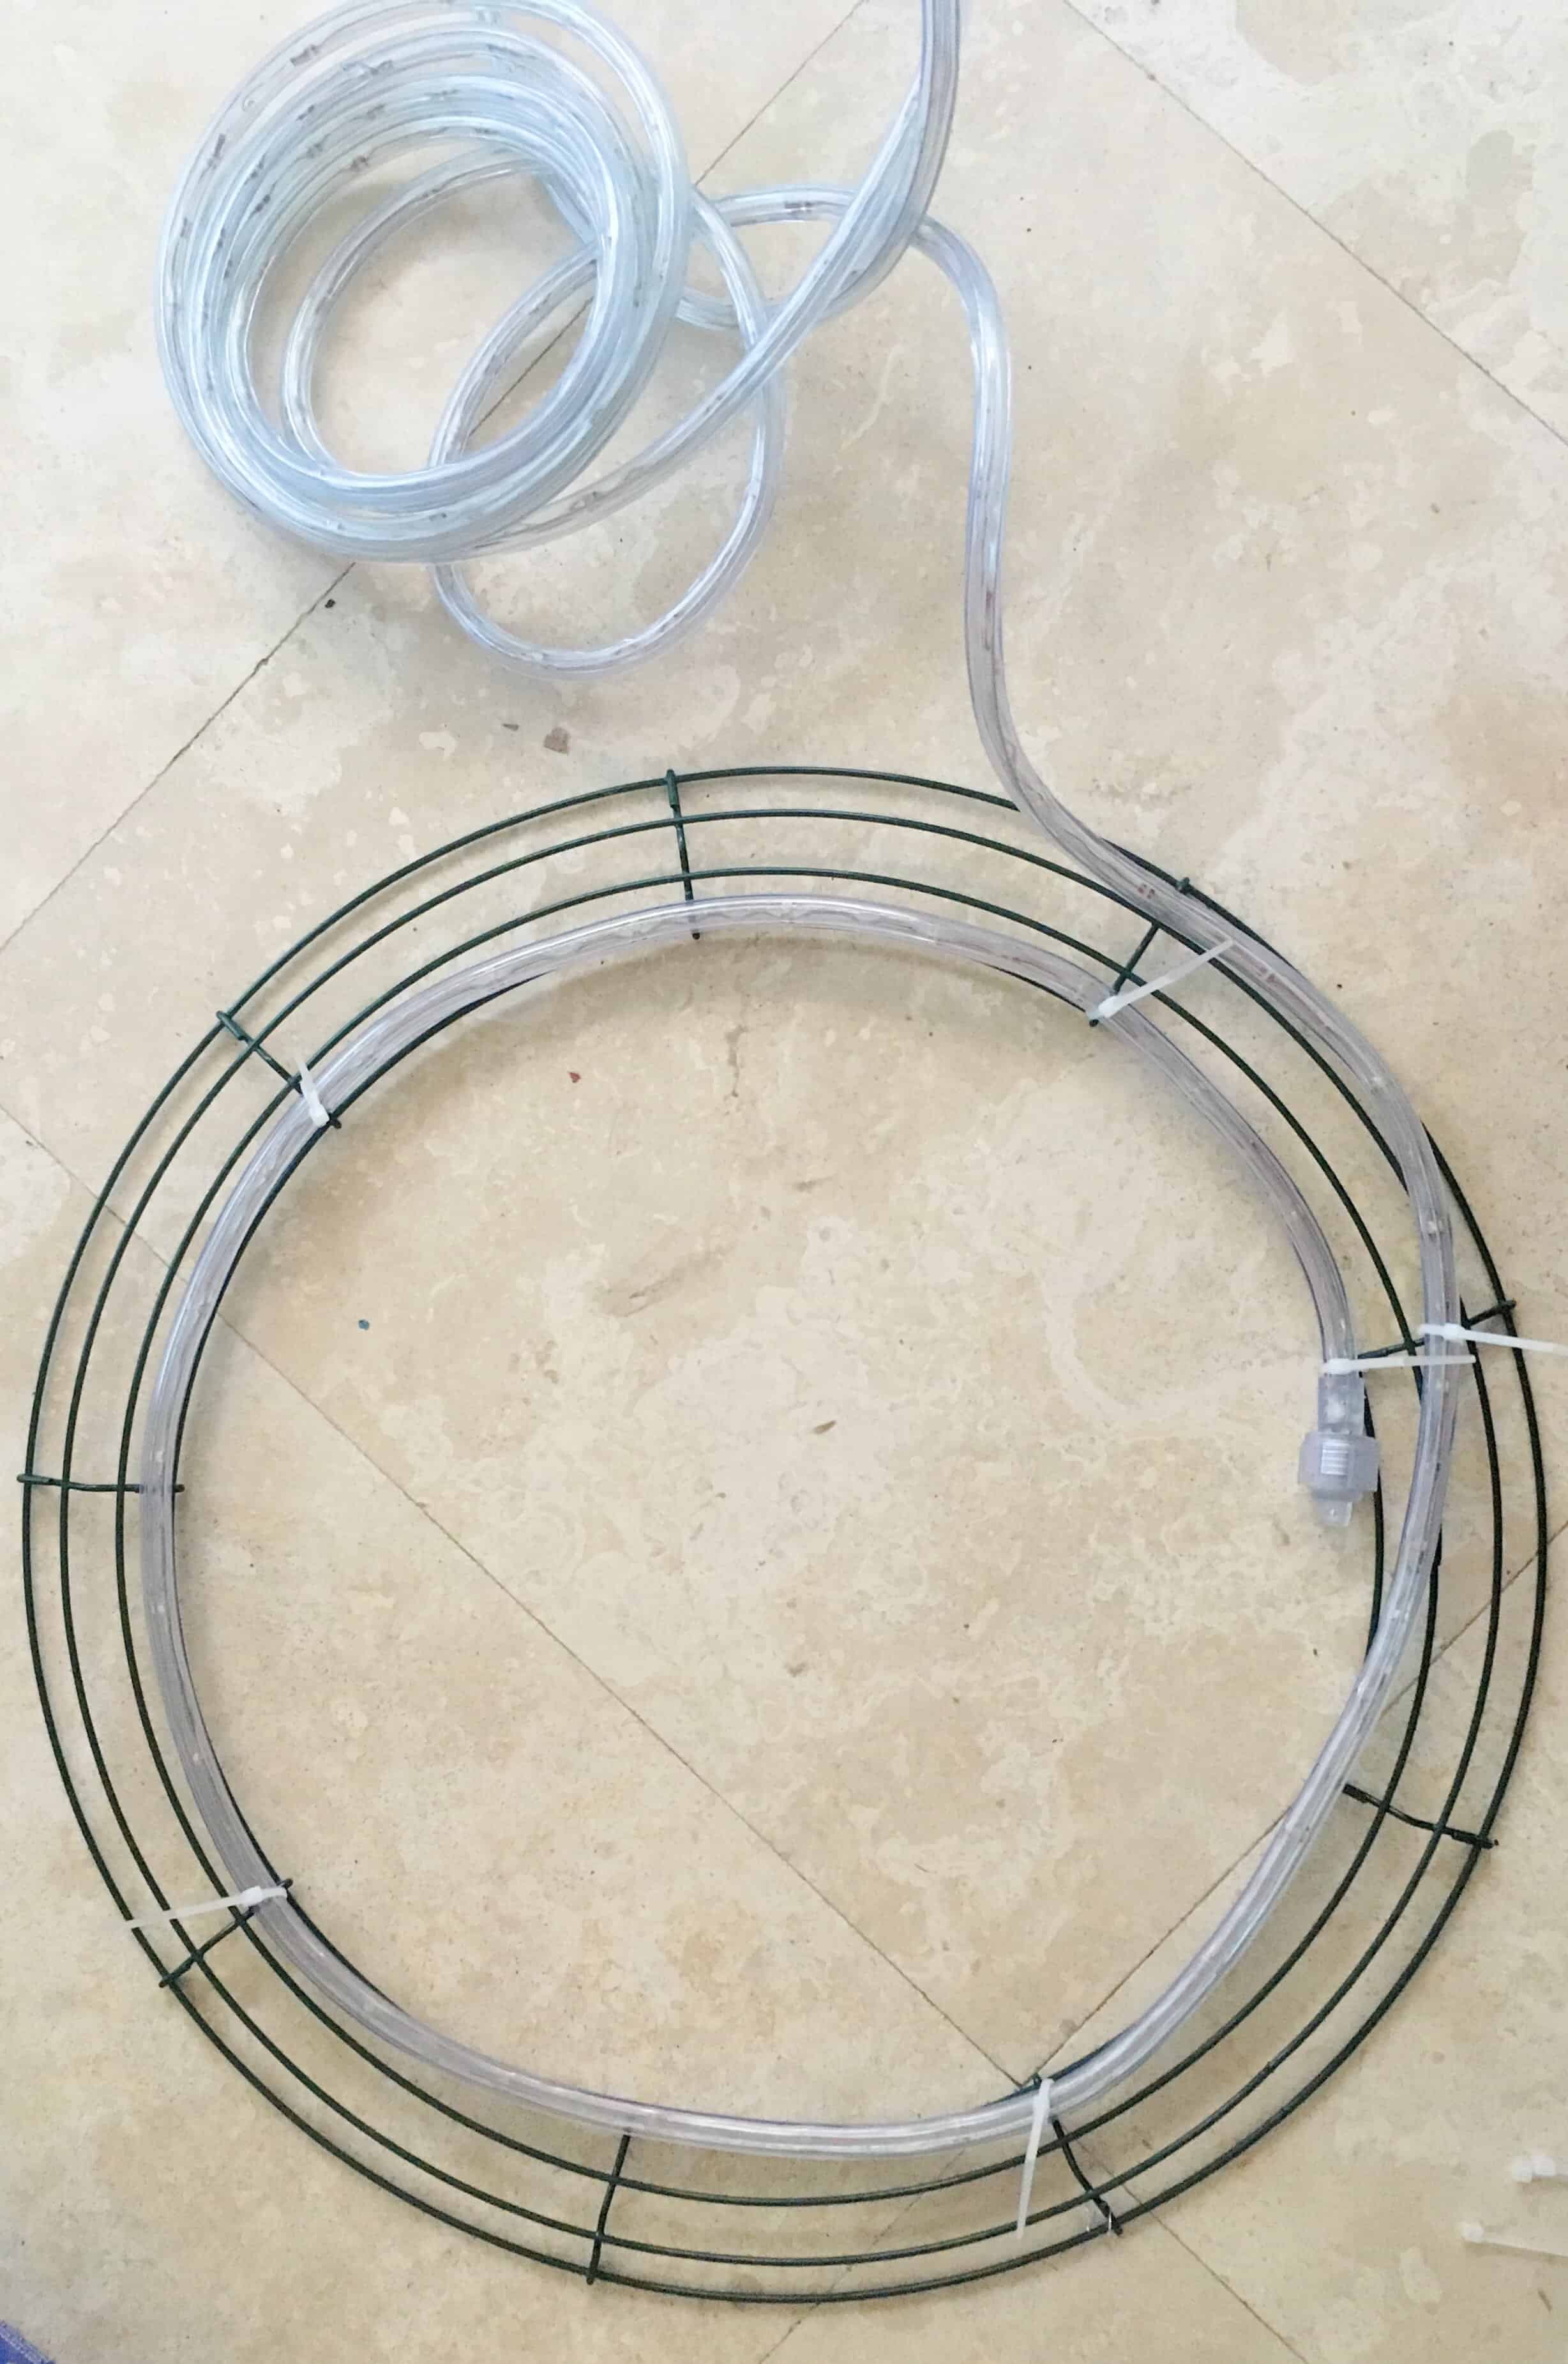
Next, you have to attach the light rope to the wire frame. Start with the loose end, not the one that connects to the outlet, and use the zip ties to attach the light firmly to the wire frame starting from the inside of the ring. The part closest to the center.
Attach the light on top of the curve of the wire frame.
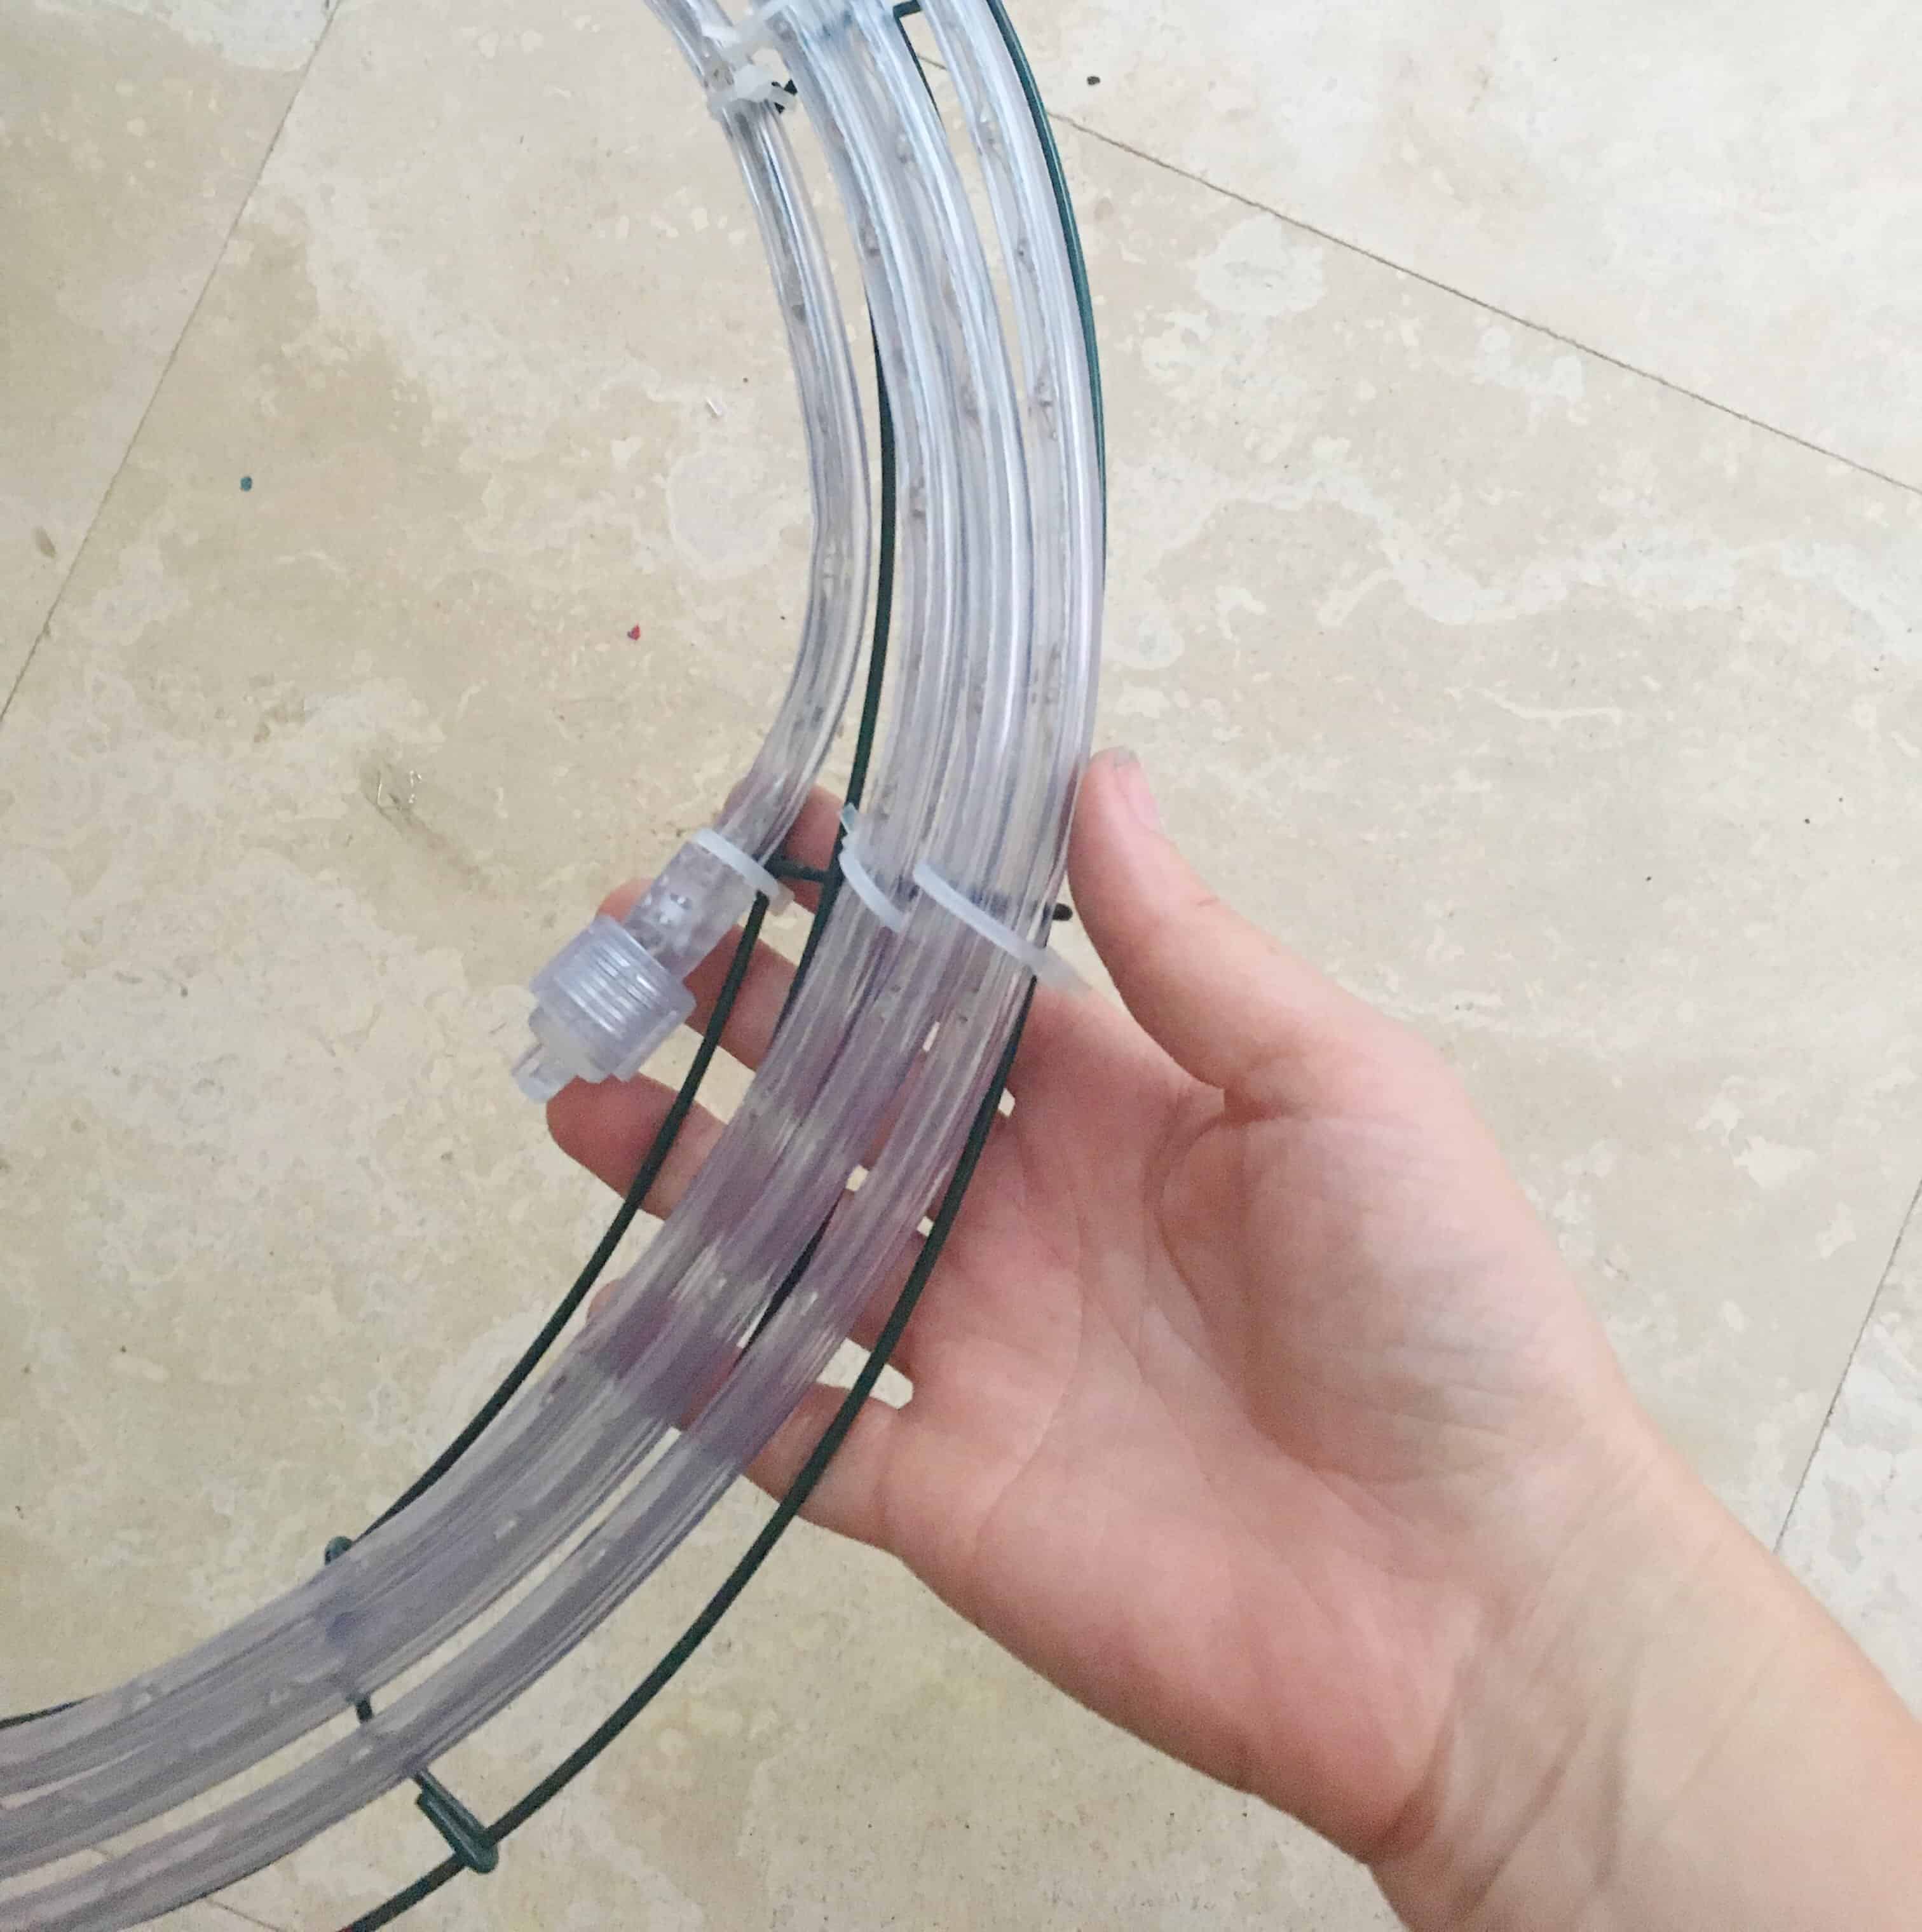
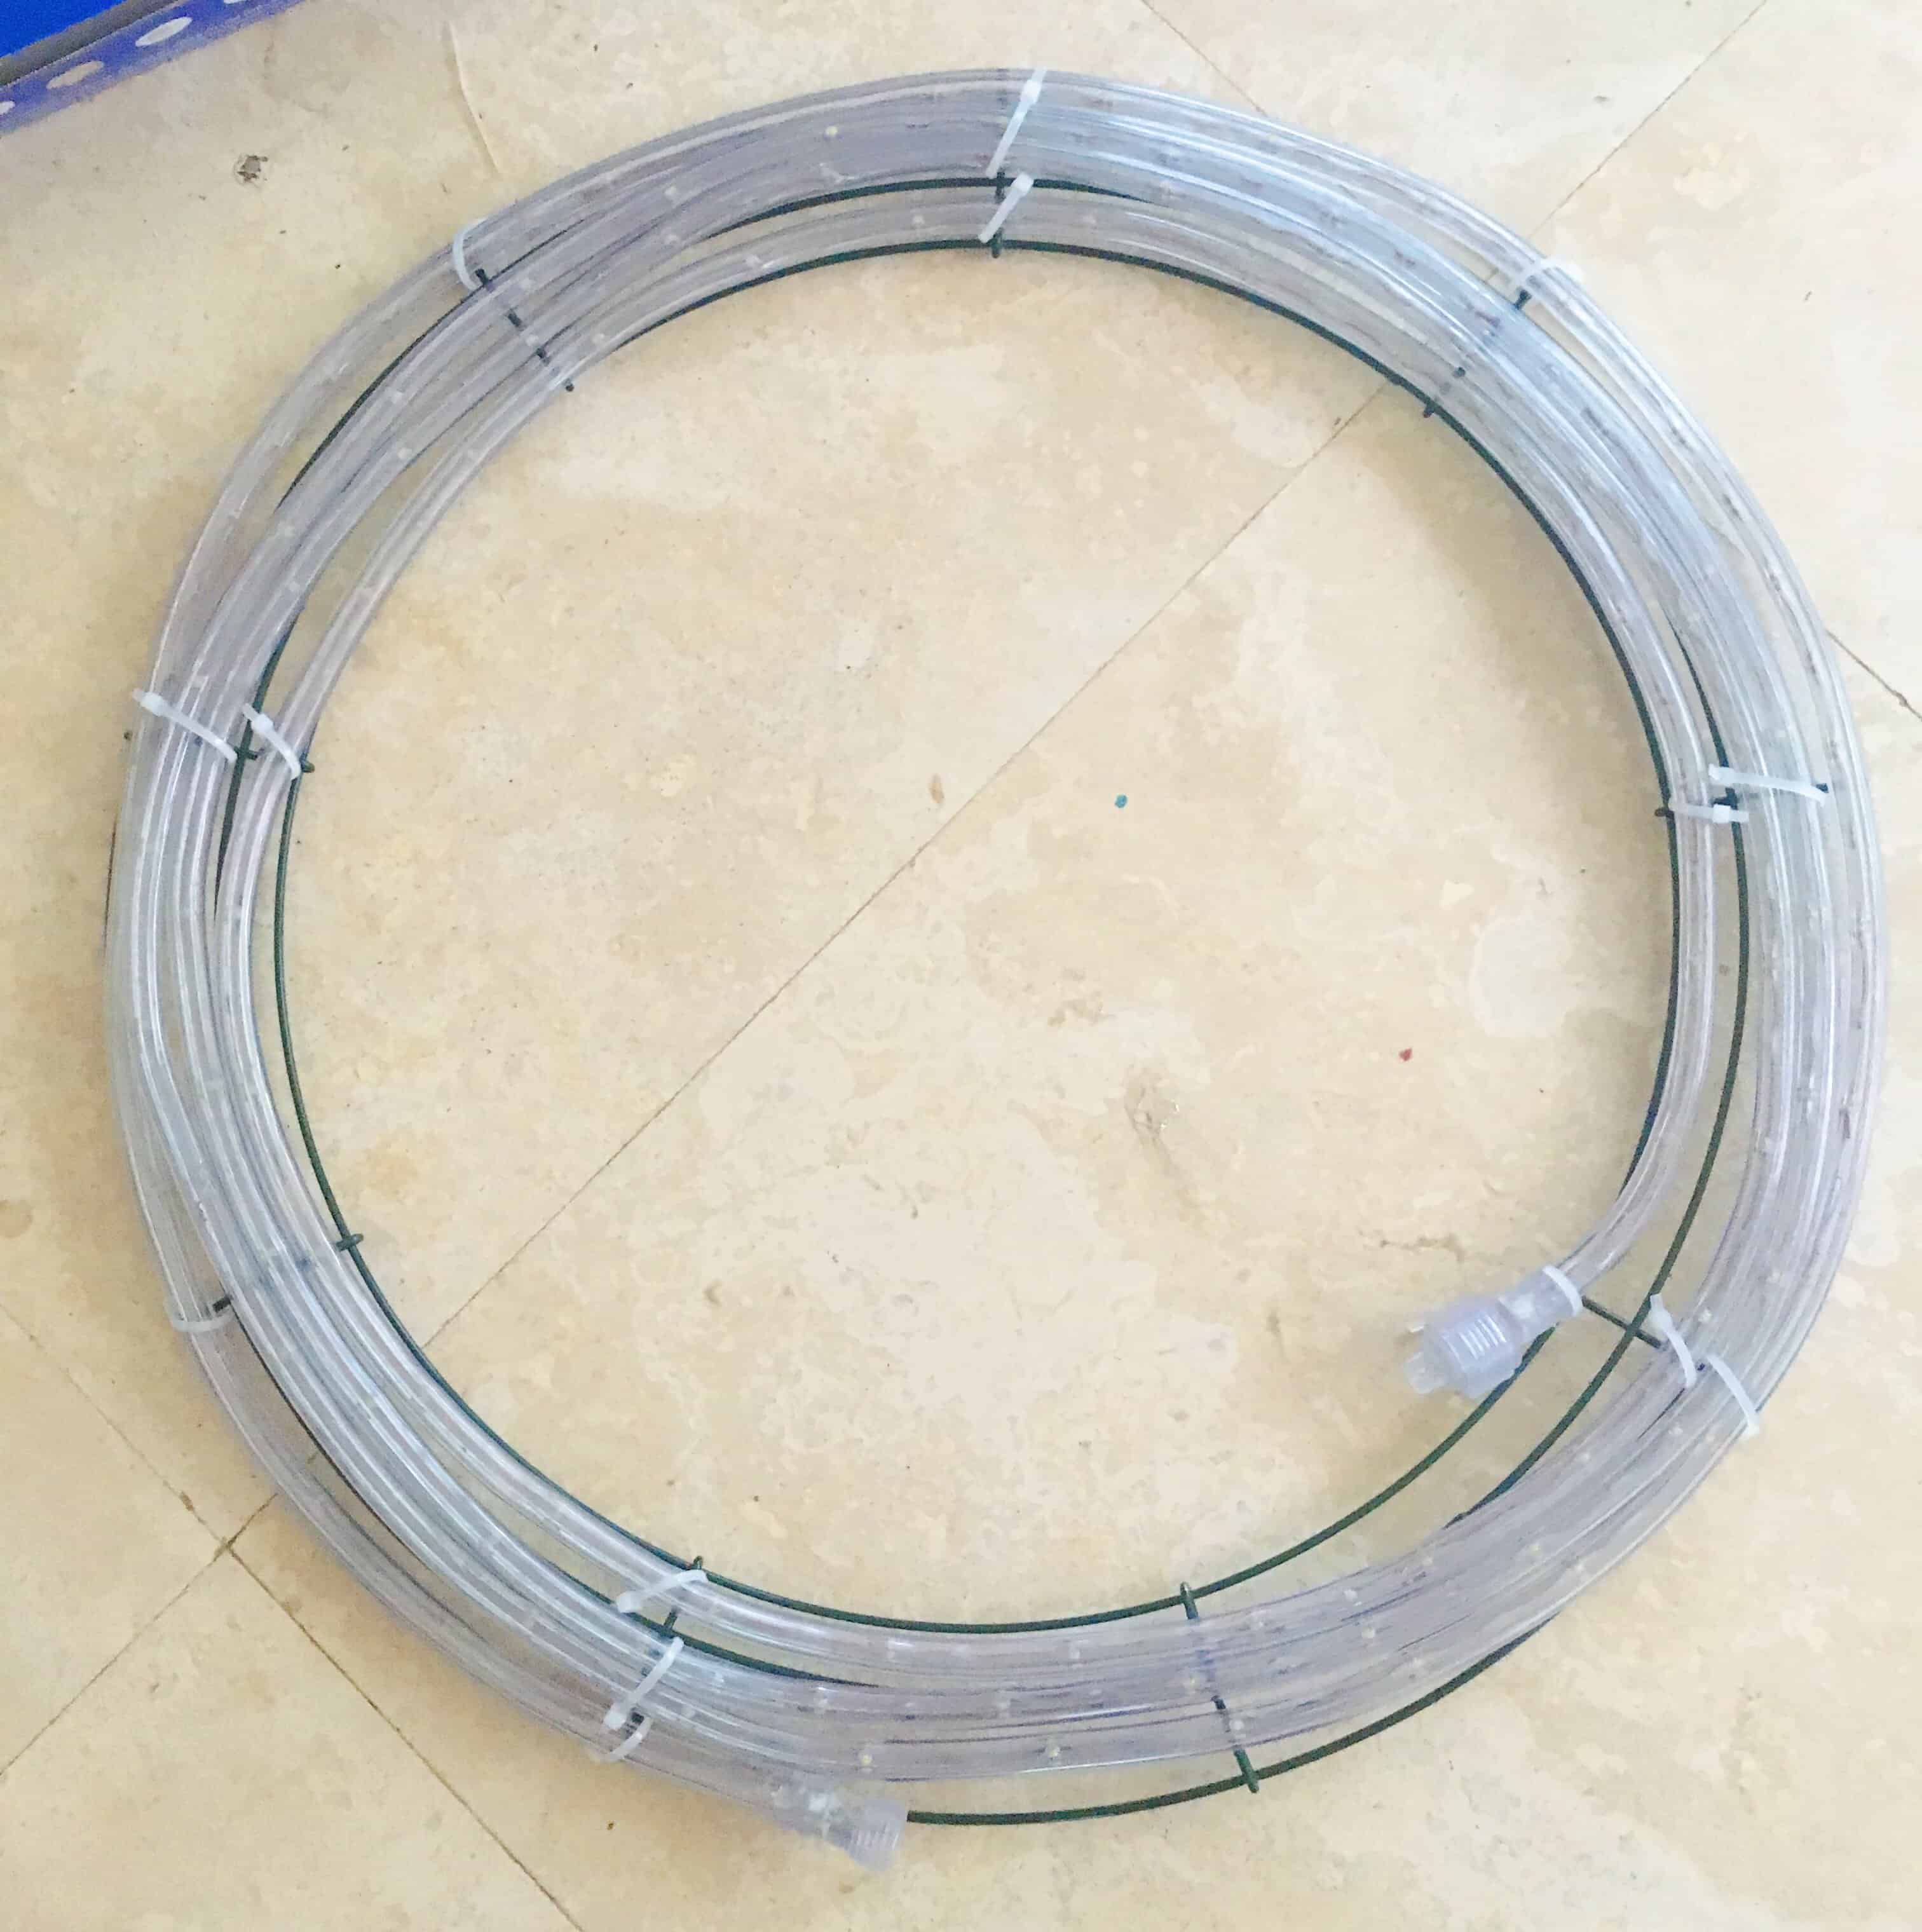
Now work your way around the ring towards the outside of the ring attaching the lights tightly to the frame with the zip ties as you go along.
Once that is done, attach the frame to the cardboard frame. Use the zip ties to go over the back o the cardboard circle and through the bottom of the wire frame to connect them securely on 4 parts.
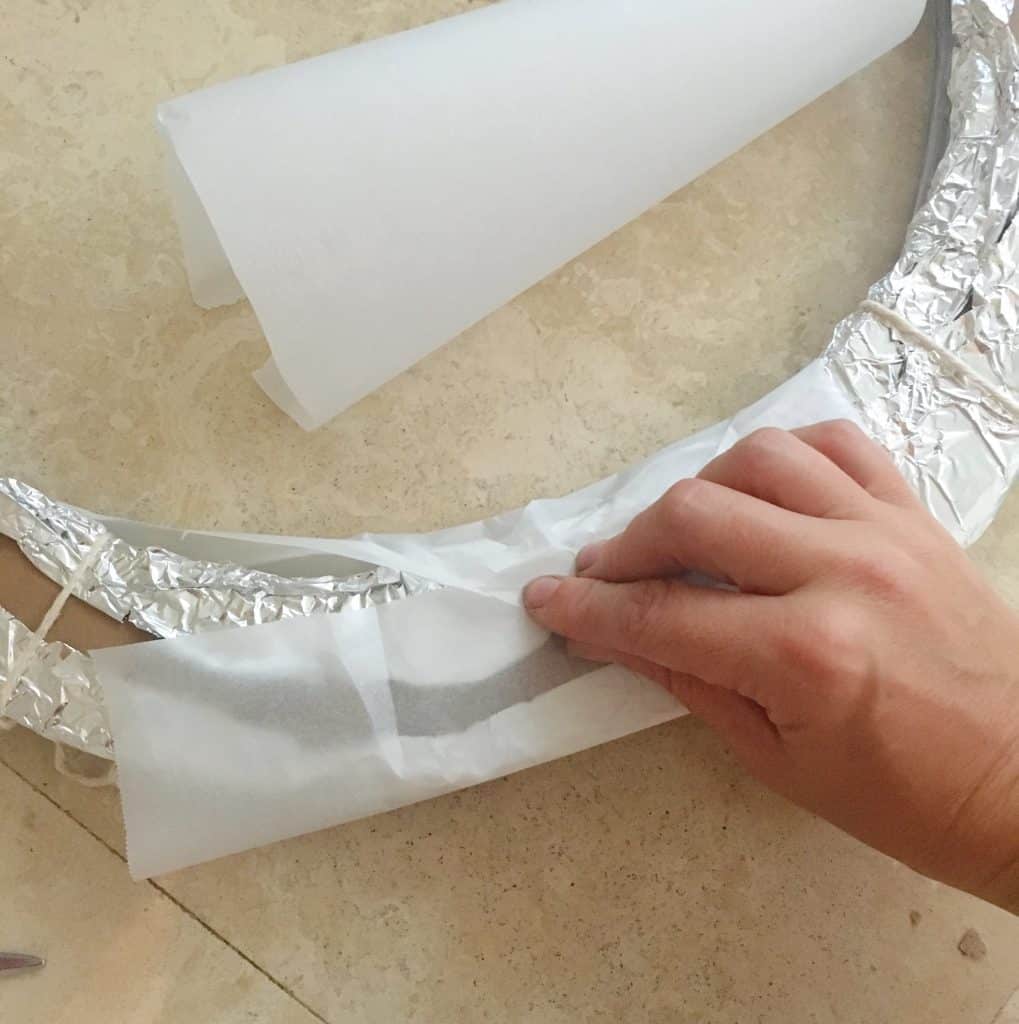
All that is left now, is to cover the lights with the parchment paper to diffuse the light of the ring light and give you that glow!
This is the trickiest part because you need to bend the square paper around the curve of the ring. And, of course, the paper does not really want to bend! But I found an easy way to work around that.
Cut pieces of parchment paper large enough to fold over the lights in the front and touch in the middle of the paper in the back. Right where my pointy finger holds the paper together.
That is where you start wrapping the scotch tape over the parchment paper along the bend of the ring.. Don’t cut the scotch tape, just keep wrapping it around over the parchment paper to make the paper conform to the bend of the ring. Keep adding parchment paper sections along the way until you covered the entire ring.
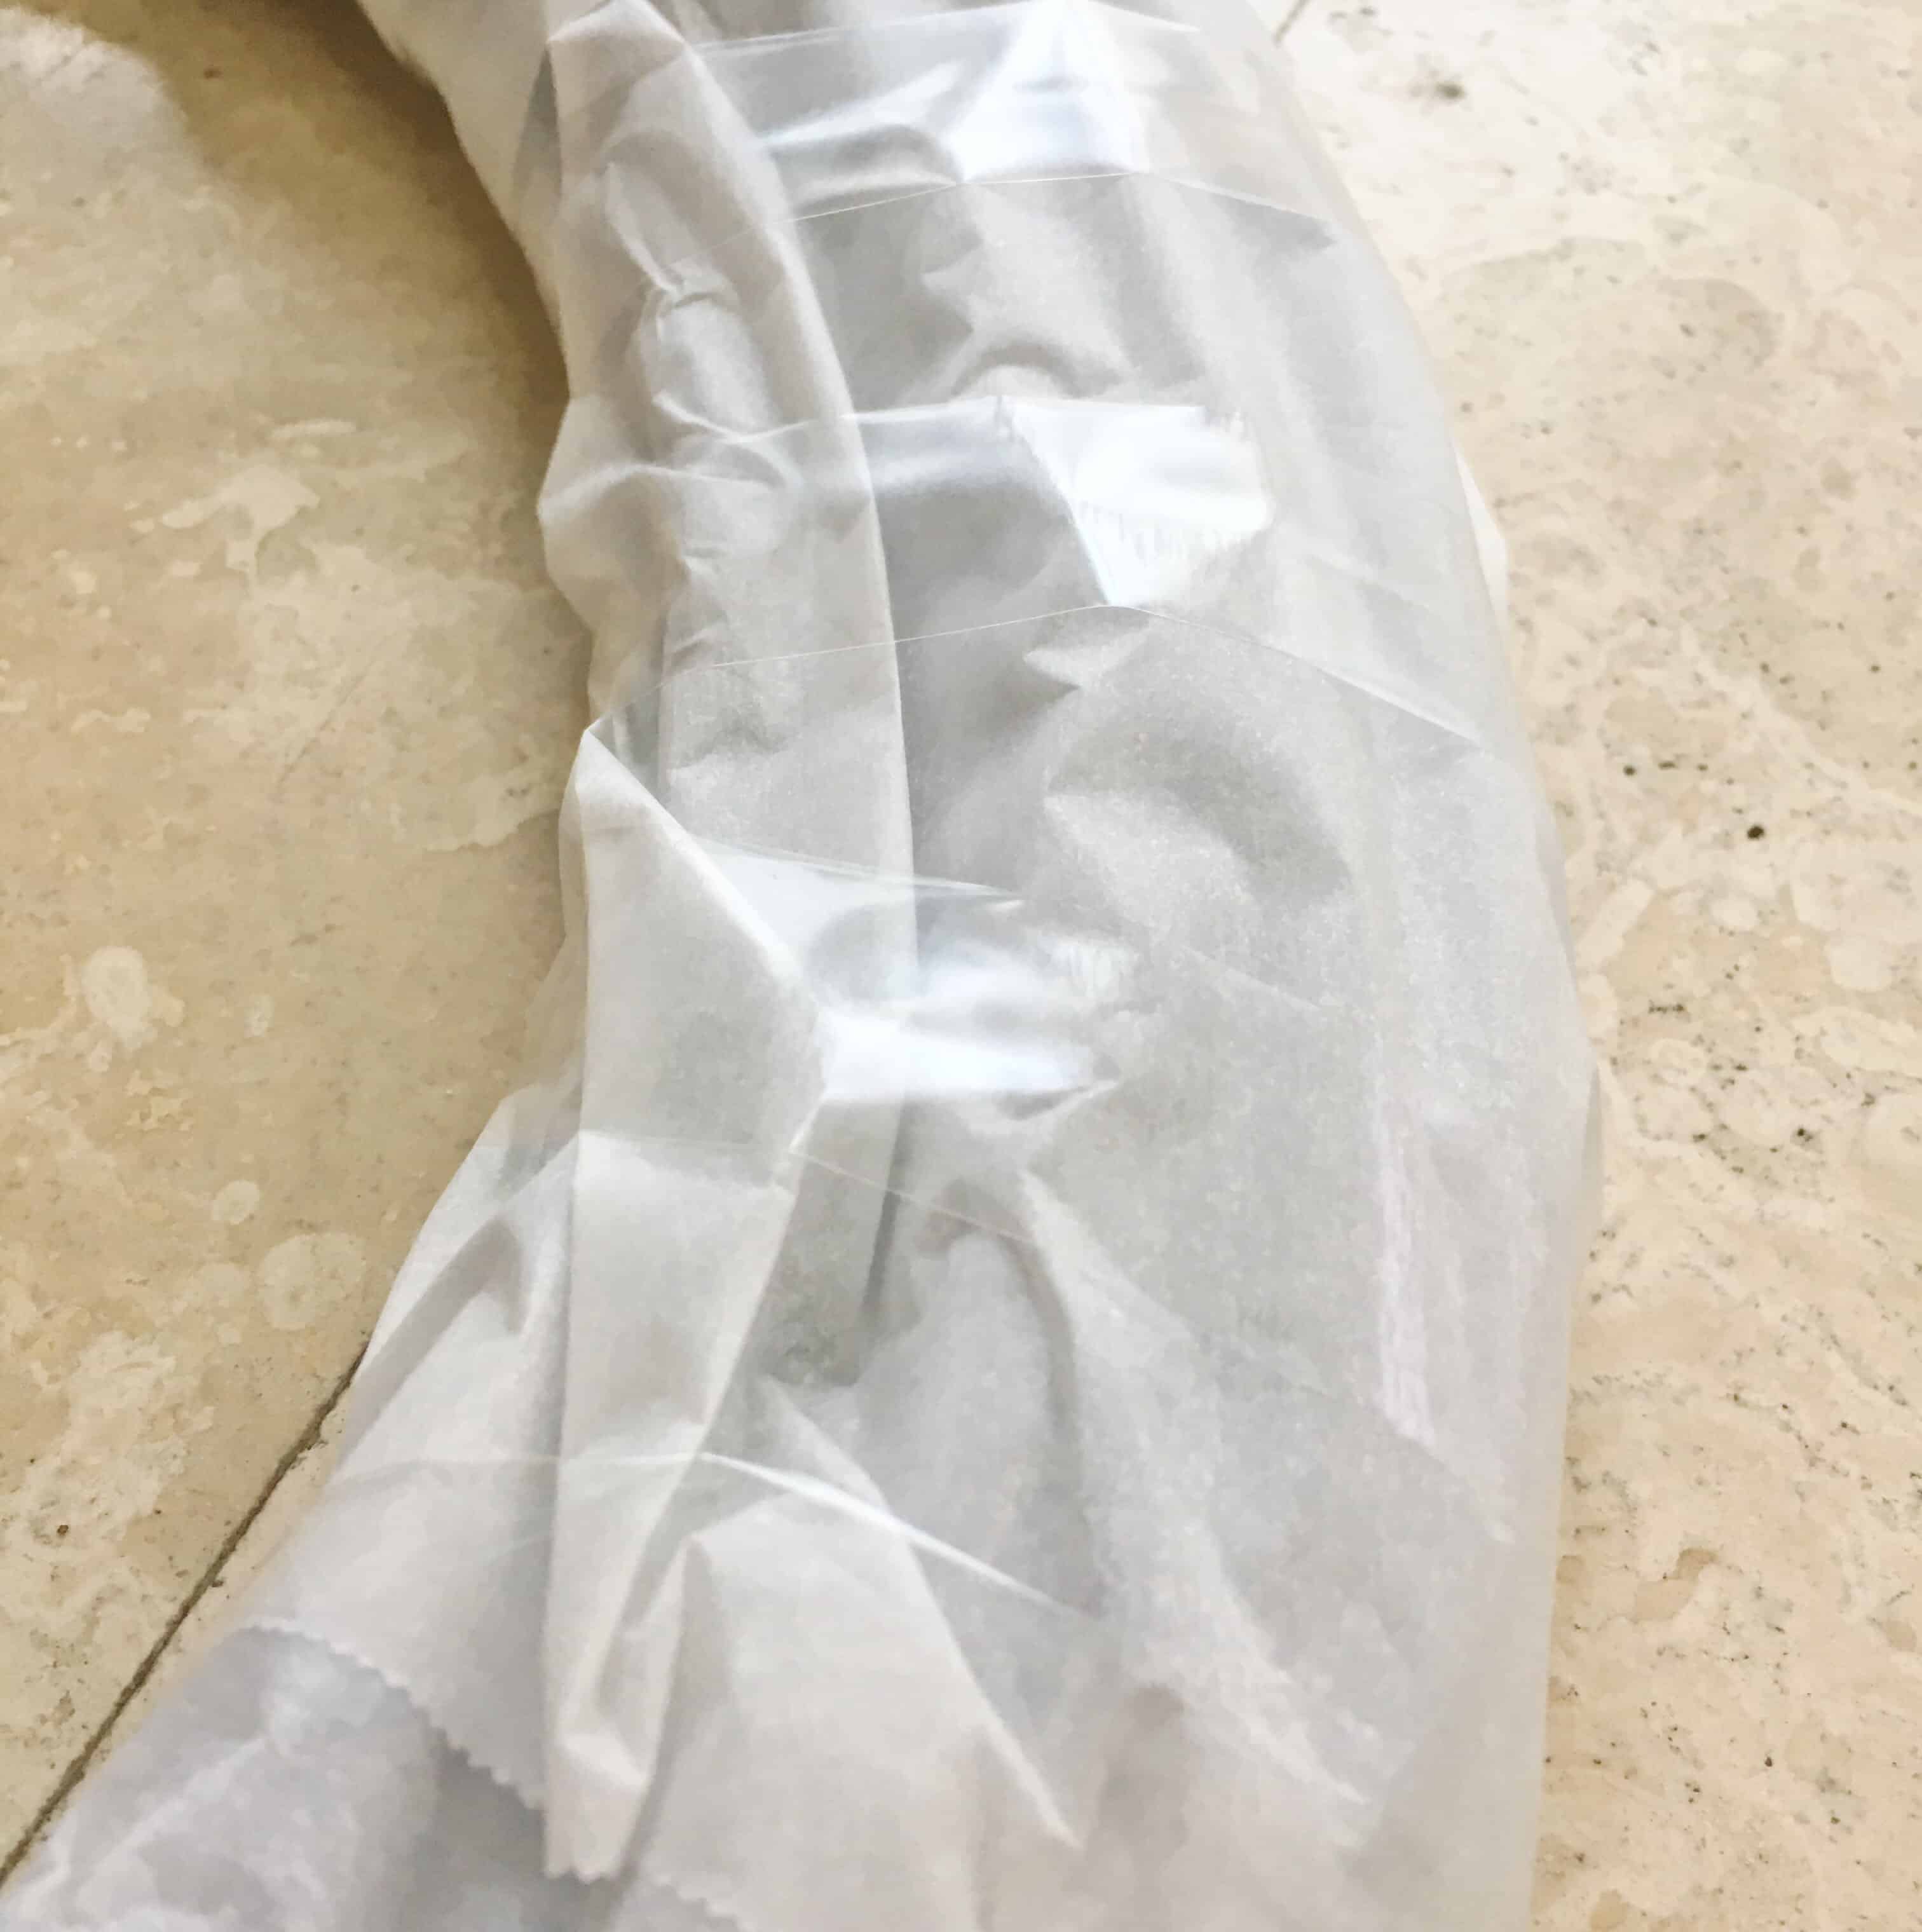
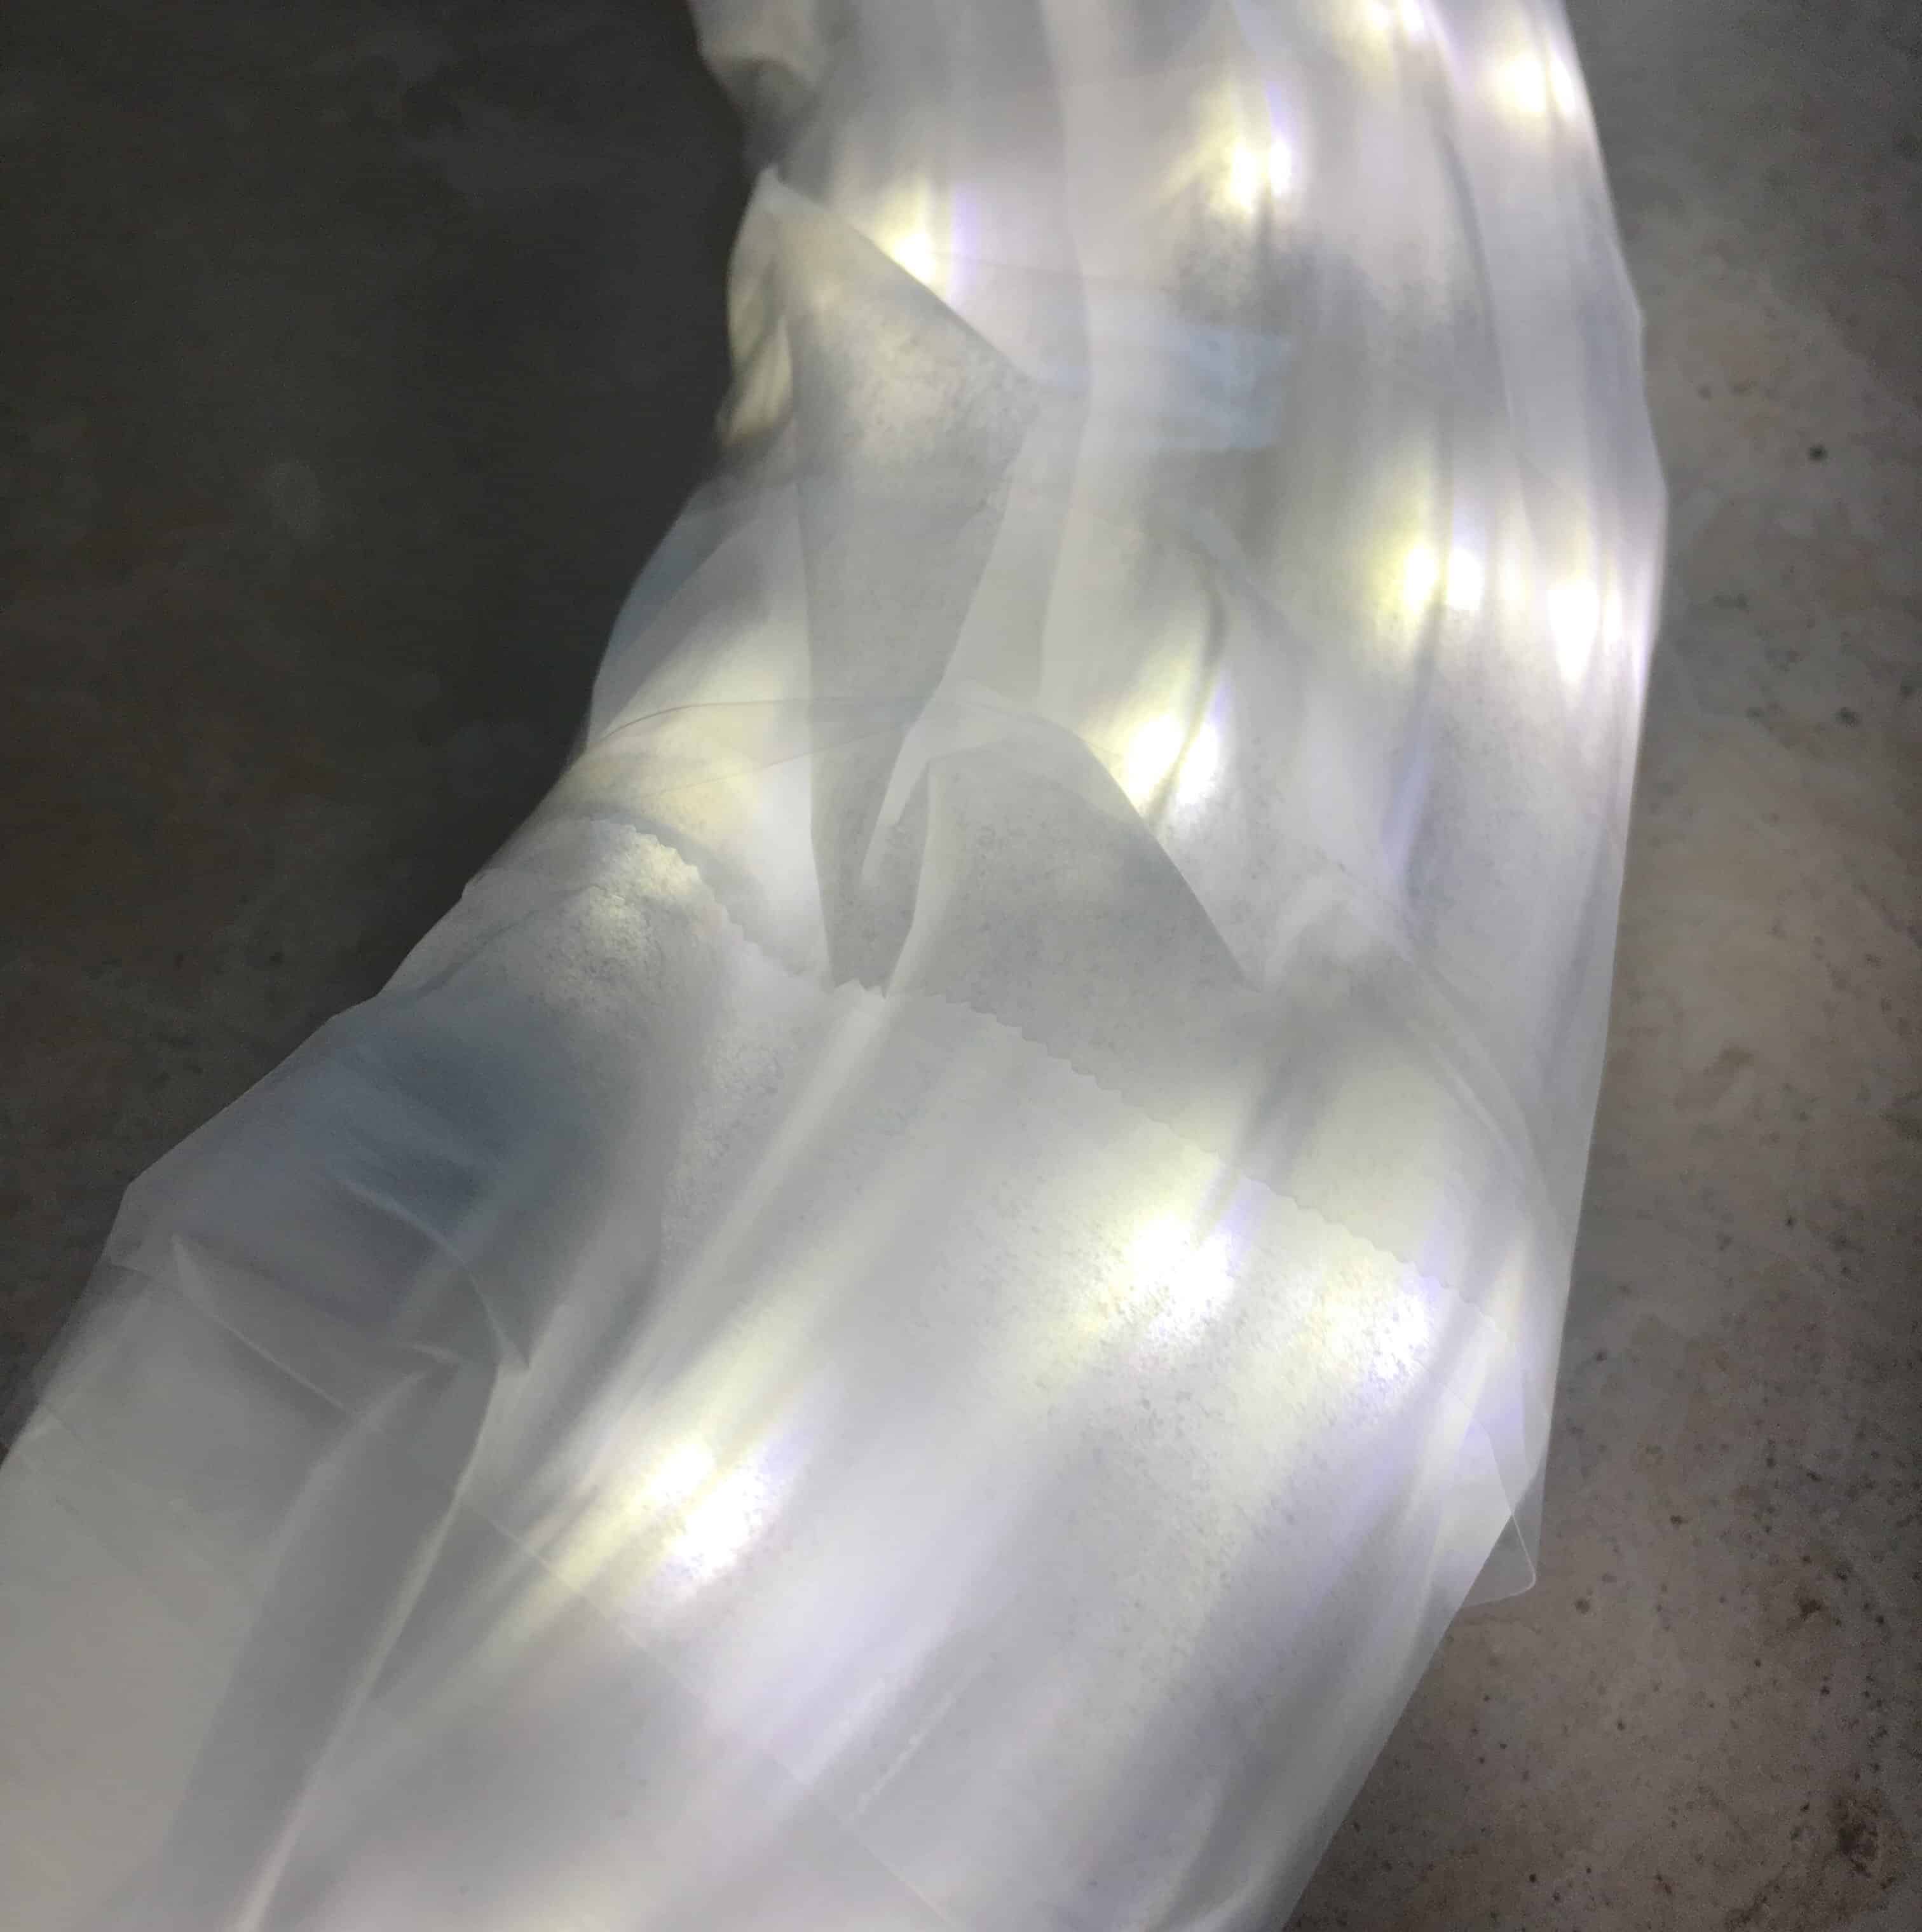
In these photos you can see how I wrapped the scotch tape around the parchment paper in about 1″ intervals. The parchment paper will crinkle up a bit, but that does not matter.
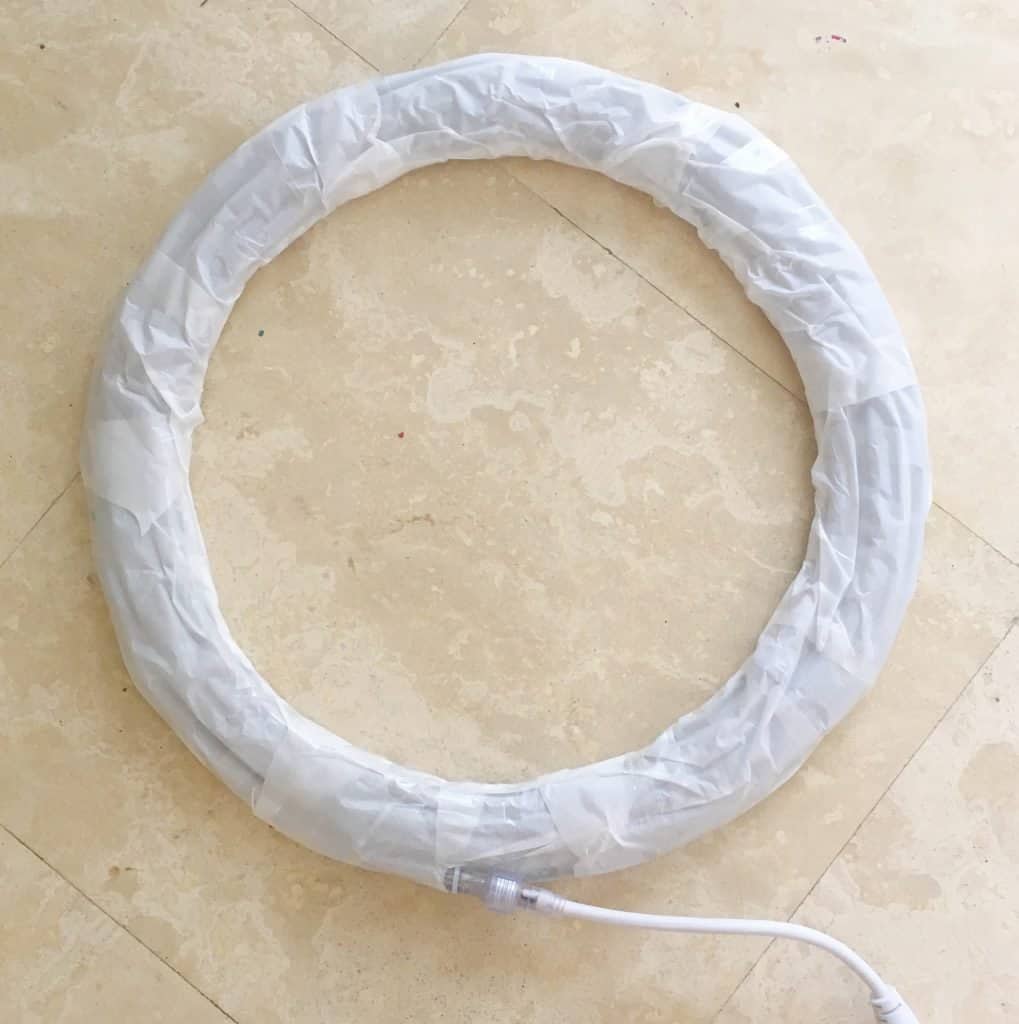
And then you just need to connect the lights and you are ready to shine with perfectly diffused light!
![]()
Pro Tip!
You can make different size light with different wreath sizes. They come smaller and larger as well!
I hope you find this a fun tutorial and as easy to work with as I do. Comment below if you have any questions and show off your creations here and on Instagram #kaileacrafts