
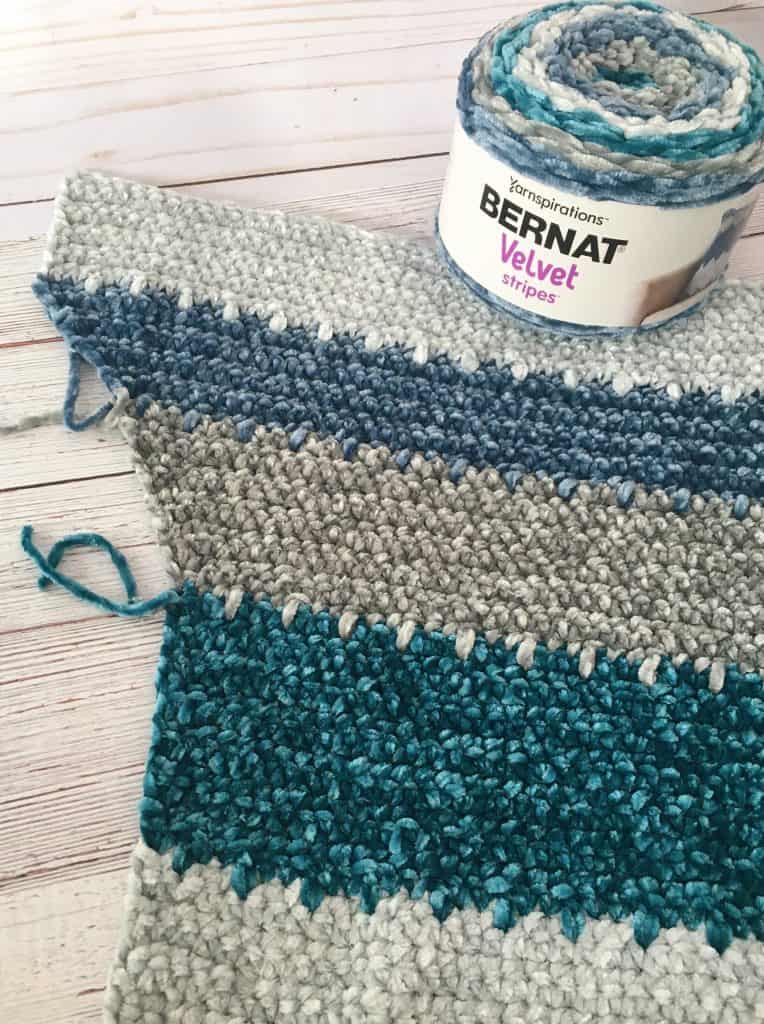
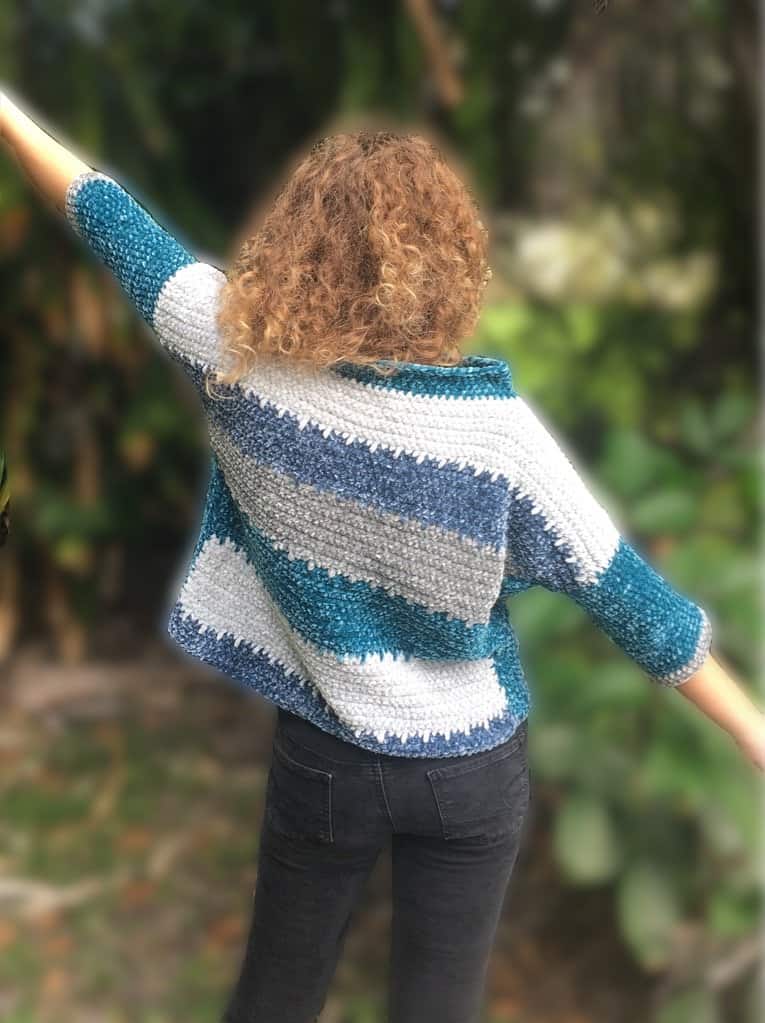
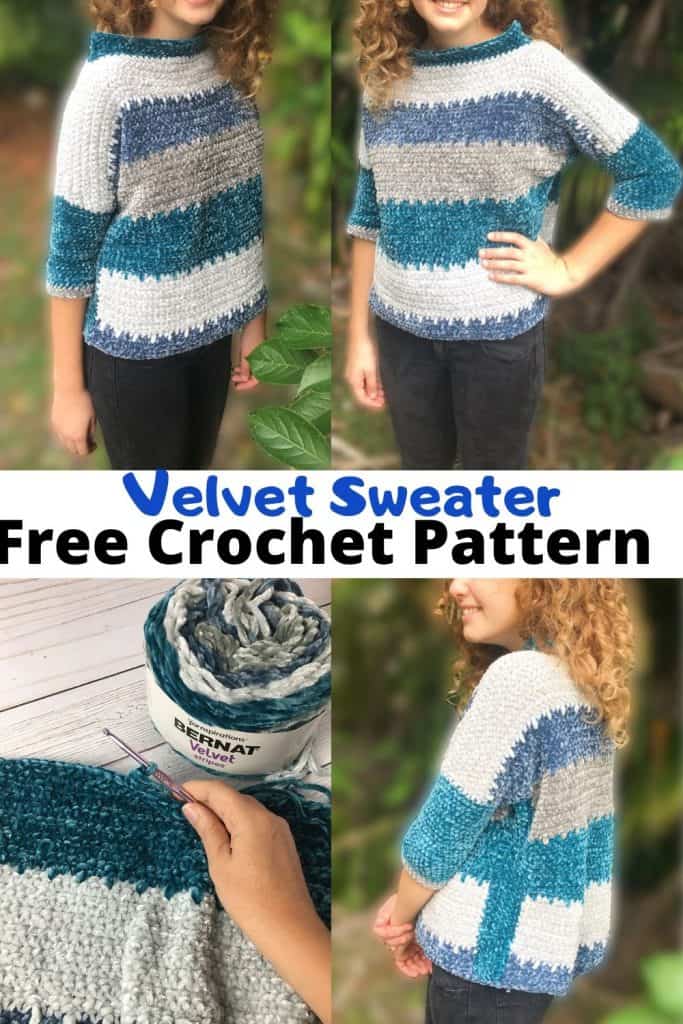
This velvet is soooo comfy! I just love velvet and when I saw this velvet yarn by yarninspiration I new this will be my favorite sweater! So I started working right away on a sweater crochet pattern with a loose upper arm that gets tighter around the elbow. This sweater pattern is a size small, but you can easily make it larger for your needs. I also love the different color combinations this velvet yarn comes in. Perfectly curated for you!

“As an Amazon Associate I earn from qualifying purchases. If you make a purchase through my link, I will make a small commission with no extra cost to you. “
Materials:
- Bernat Baby Blanket Stripes Yarn in color stonewash: 3 balls
- Crochet Hook Number 6mm
- Scissors
- needle
Crochet Terms (US):
- Ch- Chain
- Sp – Space
- St – Stitch
- SC- Single Crochet
- DC- Double Crochet
- Sl St- Slip Stitch
- Inc – Increase
Special Abbreviation:
- MDC – mosaic double crochet: work a dc in the missed st of the same color two rows below, working the dc in front of the chain row.
Explanation:
This crochet sweater is worked from the bottom up. 2 identical pieces are made for the front and back. Then side pieces are added to each side of the front panel and then wip stitched together.
Finally, the neck and arms are added in the rounds.
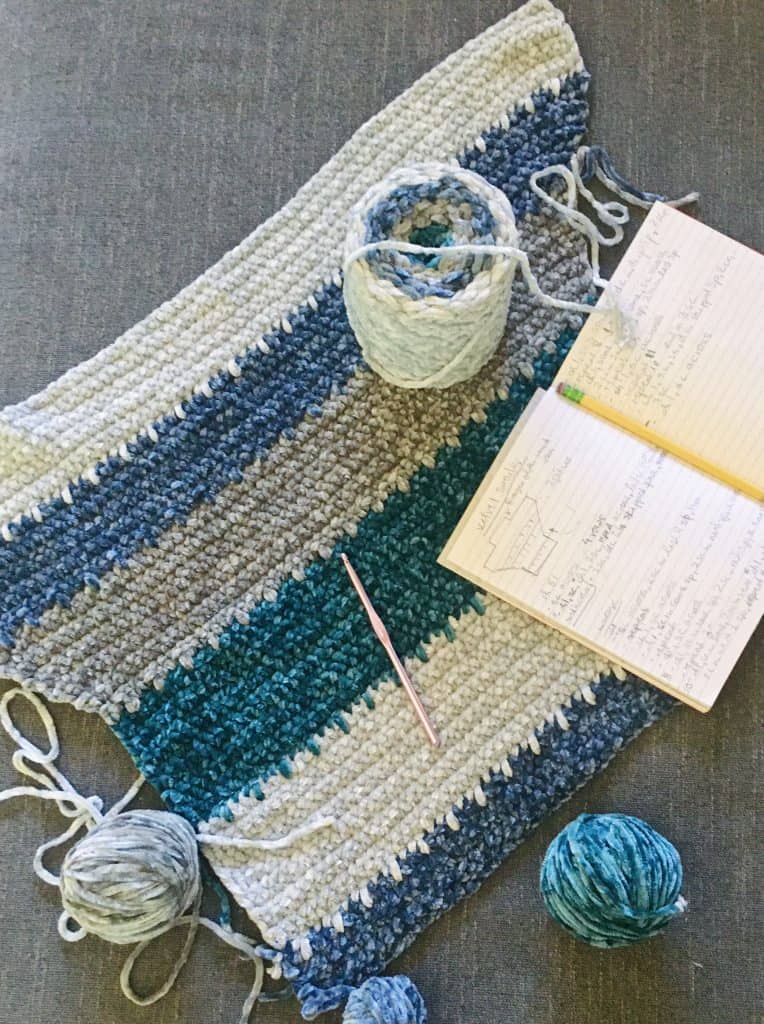
The main stitch used is a single crochet. To change color, work the last stitch of the row in the old color up to the final two loops on your hook, drop the old color, yarn over with the new color and draw the new color through the loops on the hook to finish. Then turn your work and carry on.
You will have to cut off yarn to switch color. Make sure the 3 balls you are getting have all colors twice and most of the blue since it is being used for the arms, sides and neckline.
This pattern uses concise crochet terms, so 5dc means make 1dc in each of the next 5 sts.
Pattern:
Make 2 pieces, front and back
Foundation: start with navy blue, ch 61
ROW 1: 1 sc in 1st ch from hook and in each ch across
ROW 2-4: ch1, 1sc across
ROW 5: ch1, 1sc, *ch1, 2sc, repeat from * across
ROW 6:(switch to white, follow switch color directions from explanations) ch1, 1sc, 1mdc, *2sc, 1mdc, repeat from * across
ROW 7-12: ch1, 1sc across
ROW 13: ch1, 2sc, *ch1, 2sc, repeat from * across
ROW 14:(switch to blue green, follow switch color directions from explanations) ch1, 1sc, 1mdc, *2sc, 1mdc, repeat from * across
ROW 15-25: ch1, 1sc across
ROW 26: ch1, 1sc, *ch1, 2sc, repeat from * across
ROW 27:(switch to gray, follow switch color directions from explanations) ch1, 1sc, 1mdc, *2sc, 1mdc, repeat from * across
ROW 27-36: ch1, 1sc inc, 1sc across
ROW 37: ch1, 2sc, *ch1, 2sc, repeat from * across
ROW 38:(switch to navy, follow switch color directions from explanations) ch1, 1sc, 1mdc, *2sc, 1mdc, repeat from * across
ROW 39-44: ch1, 2sc inc, 1sc across
ROW 45-46: ch1, 1sc across
ROW 47: ch1, 1sc, *ch1, 2sc, repeat from * across
ROW 48:(switch to white, follow switch color directions from explanations) ch1, 1sc, 1mdc, *2sc, 1mdc, repeat from * across
ROW 49-58: ch1, 1sc across, fasten off leaving long tail to stitch to other side
In this video I show you how to change color in this pattern.
Adding side panels on both sides of front piece:
ROW 1: attach blue green yarn at bottom side, ch1, 37sc evenly along the edge, turn
ROW 2-5: ch1, 1sc across
ROW 6: repeat row 2, fasten off with a long tail to whip stitch to back panel along the side
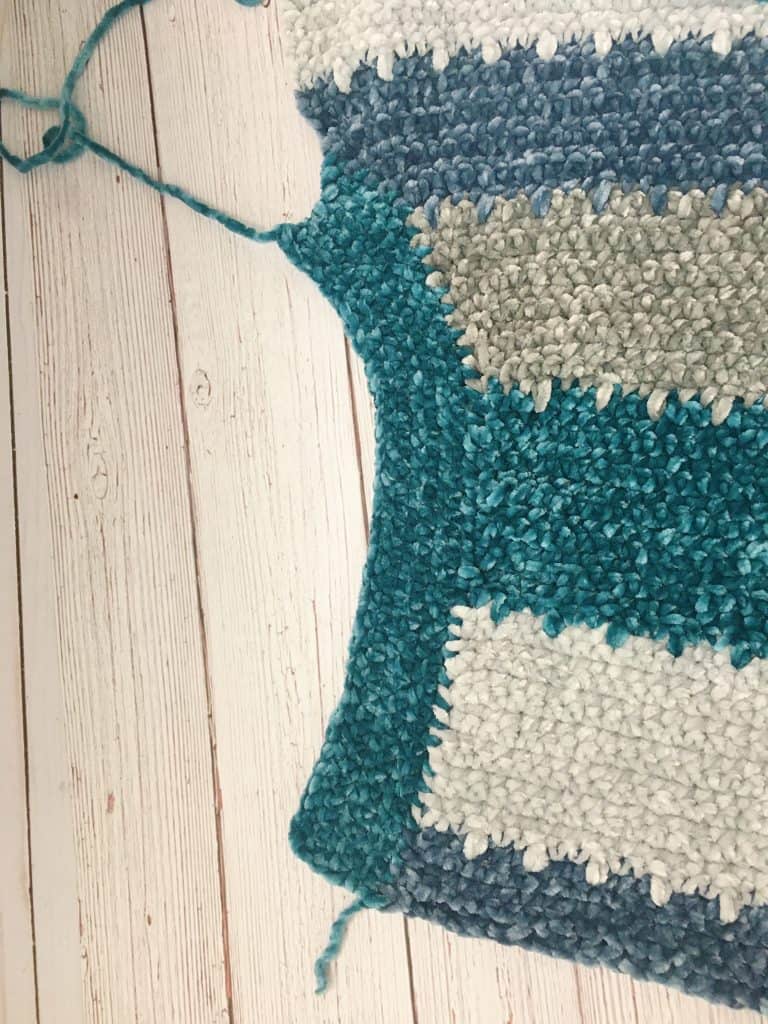
This shows the side panel. Now whip stitch both sides to the back piece.
Then whip stitch along the top of the sweater 9″ from both sides, leaving only the center open for the neckline.
I also added a row of 80 sc along the bottom of the sweater in the navy to pull it all in.

Now all that is left is adding rounds to the arms and neckline!
Both arms, use stitch markers to count each round:
ROUND 1: attach blue green yarn under the arm, ch1, 33sc evenly around, slst to start
ROUND 2-22: ch1, 1sc around, sl st to start
ROUND 23-25-:(switch to gray) repeat round 2, fasten off
Neckline:
ROUND 1: attach blue green yarn in back, ch1, 66sc evenly around, slst to start
ROUND 2: ch1, 1sc around, sl st to start
ROUND 3-6: repeat round 2, fasten off
Weave in all yarn. Make sure to really weave it back and forth since the velvet can unravel easily.
Pro Tip!
This velvet yarn comes in many different color ways. And since it works up to quickly, you can make several in all the different colors!
And you can also make the arms longer by adding more rounds. Or make a turtleneck by adding more rounds to the neckline!
I hope you find this a cozy pattern and as easy to work with as I do. Comment below if you have any questions and show off your creations here and on Instagram #kaileacrafts