
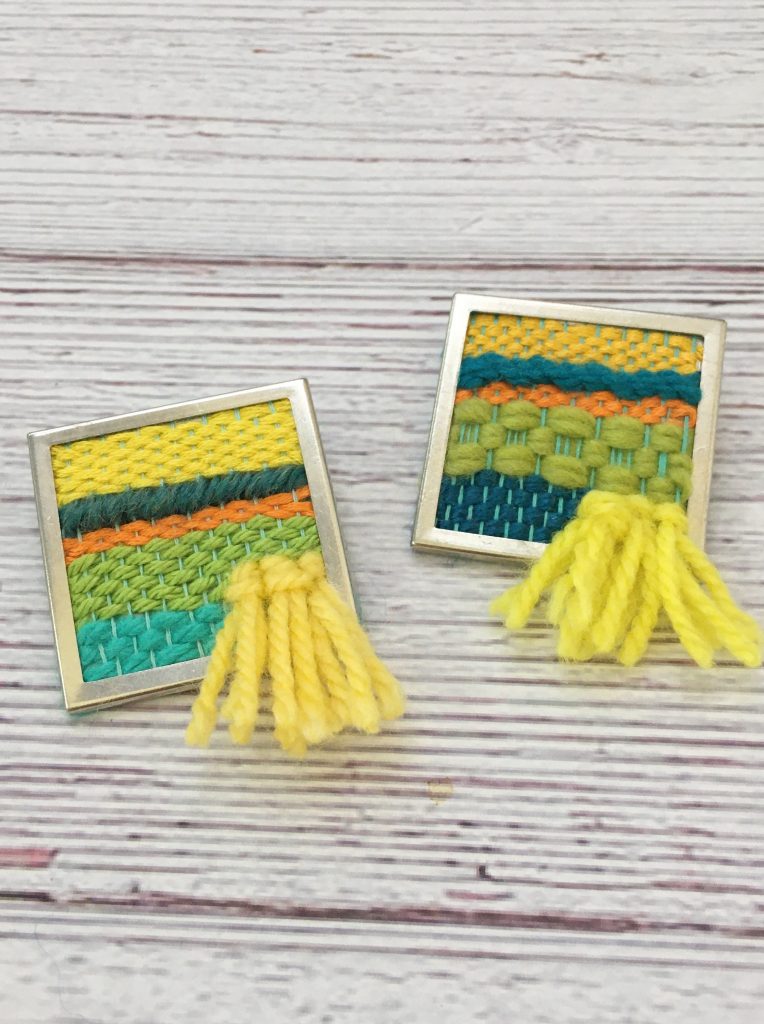
Being able to wear your own creations is one of the most rewarding things. So I was excited to create my own mini weaving and wear it as a pin with my favorite sweater! The settings I used for the pin weaving is easy to put together and give the miniature weaving a finished look with the sleek frame. And they also come in different sized or even in pendant form! This is also a great project to use up some of those tiny bits of leftover yarn.
You can buy the ad-free printable PDF for this Weaving Pin Pattern on Etsy. Thank you for your support!

Each Pin setting comes in 3 parts
- outer frame
- inner curved plate
- back panel with pin fastener
These settings normally are used for a piece of fabric to be placed around the inner curved plate. For this weaving tutorial, we can use the inner part as our weaving frame and weave directly onto it.
As an Amazon Associate I earn from qualifying purchases. If you make a purchase through my link, I will make a small commission with no extra cost to you. “
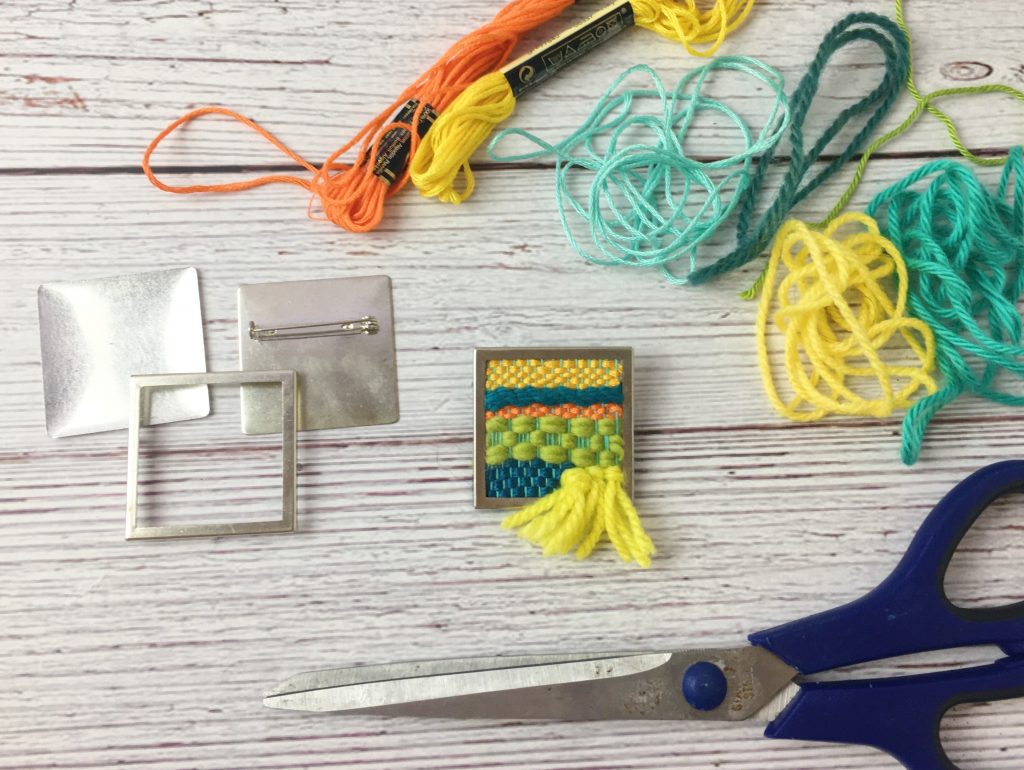
Material for Pin Weaving
- Pin setting
- various pieces of yarn. You can use some leftover yarn of different thicknesses including embroidery yarn and medium size knitting or crochet yarn.
- blunt needle
- scissors
- tape
You can buy the ad-free printable PDF for this Granny Square Bag Crochet Pattern on Etsy. Thank you for your support!
How to Weave a Mini Pin
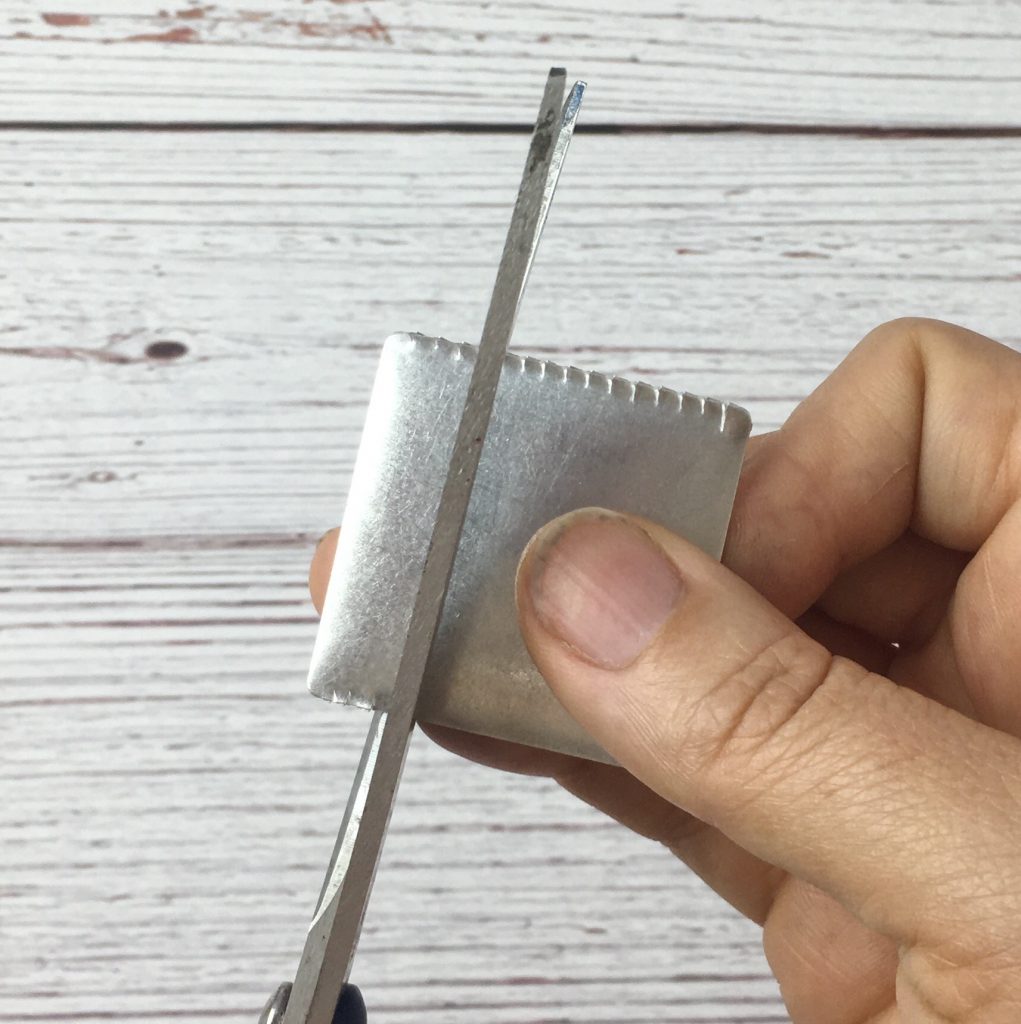
You start by taking the inner curved plate and cutting small ridges across from each other with scissors. You need stronger scissors, but it is surprisingly easy to cut. Keep the slots about 1/8″ apart.
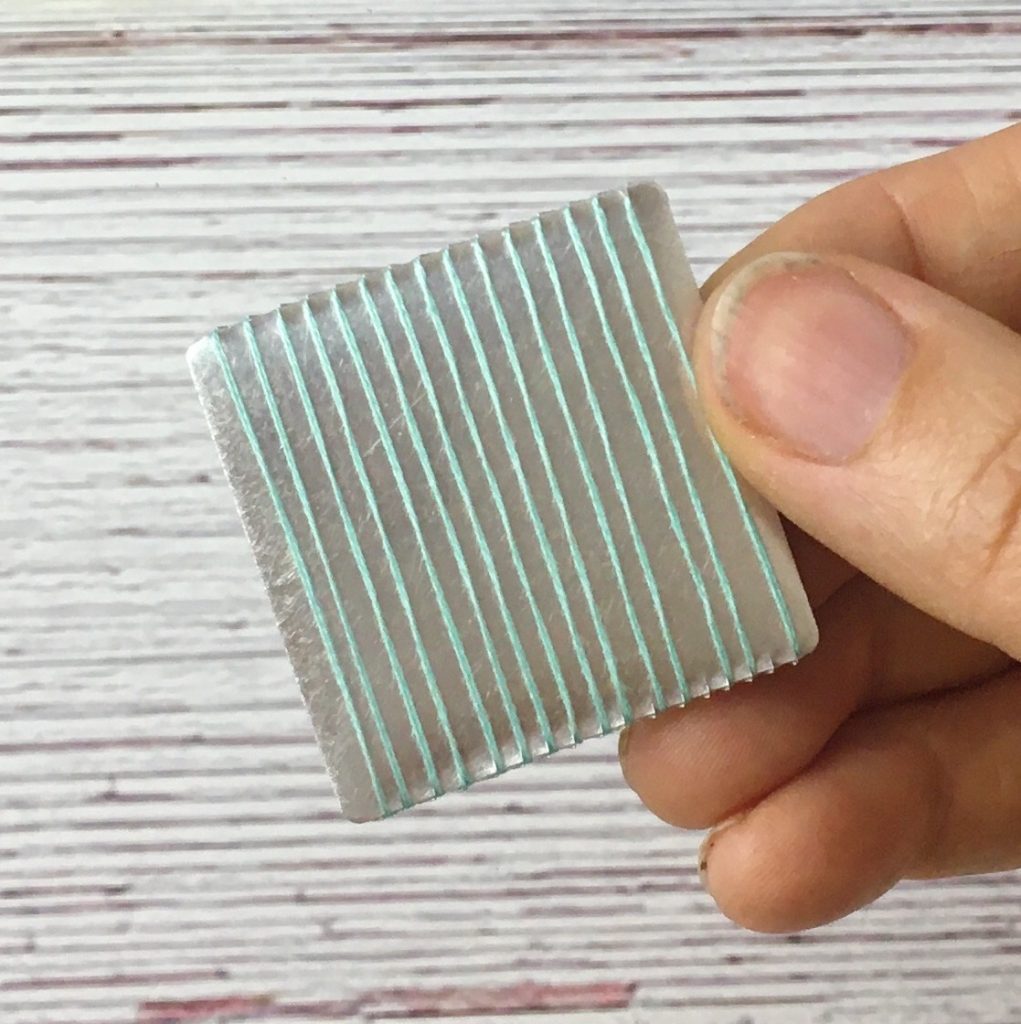
Then take 2 strands off from a 6 strand embroidery yarn and wrap it around the plate through the ridges.
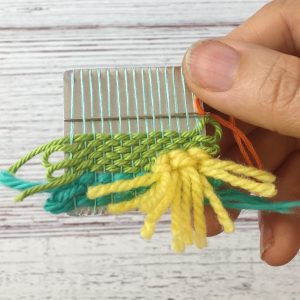

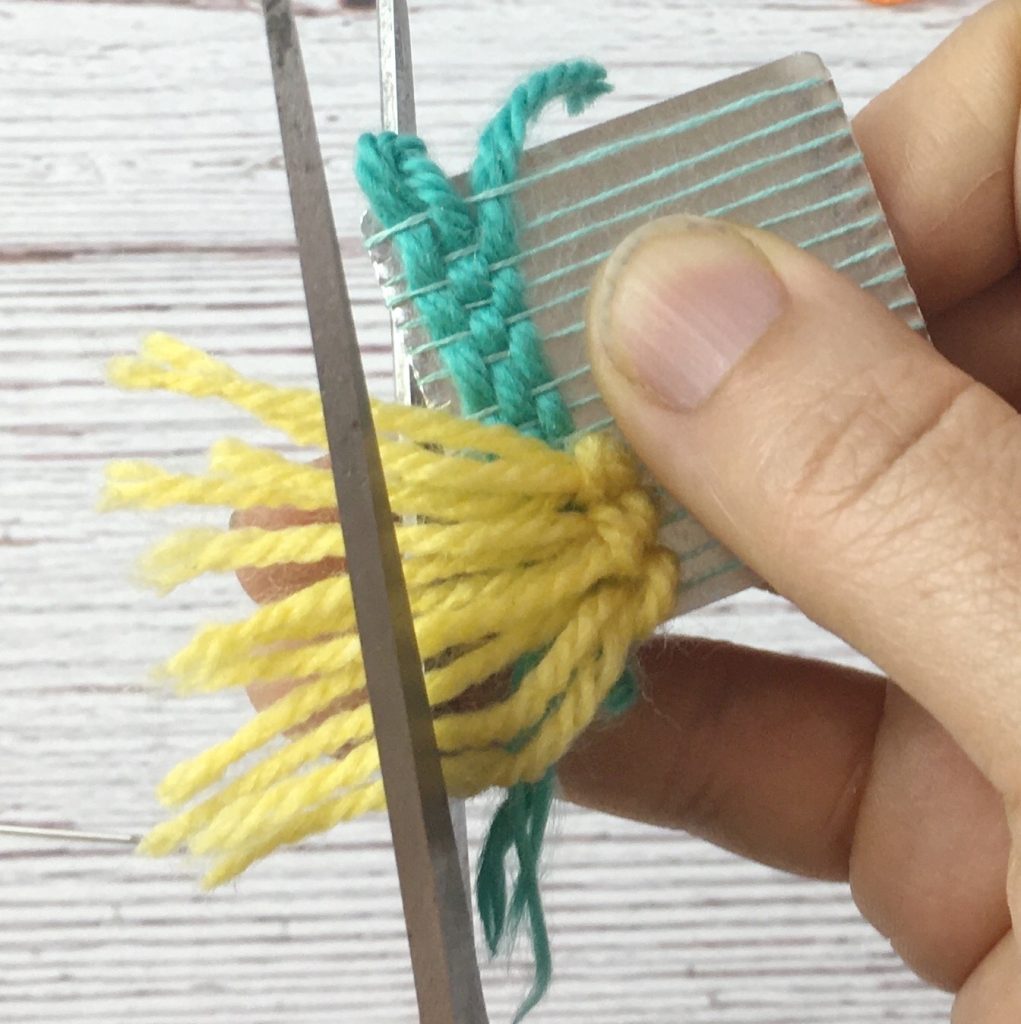
Now you can start weaving by going over and under your blue string with the needle and pulling the yarn through. leave a little of the yarn hanging over the frame on both sides. You will later tape that to the back so you have a clean front.
On the way back, go under and over with your needle so the pattern is reserved and each row locked in by the next. Push the yarn down towards the bottom of the pin between each row with your needle. You can see it all in action in my full YouTube video tutorial.

Play with different colors, thicknesses of yarn and how many rows to weave in each color.
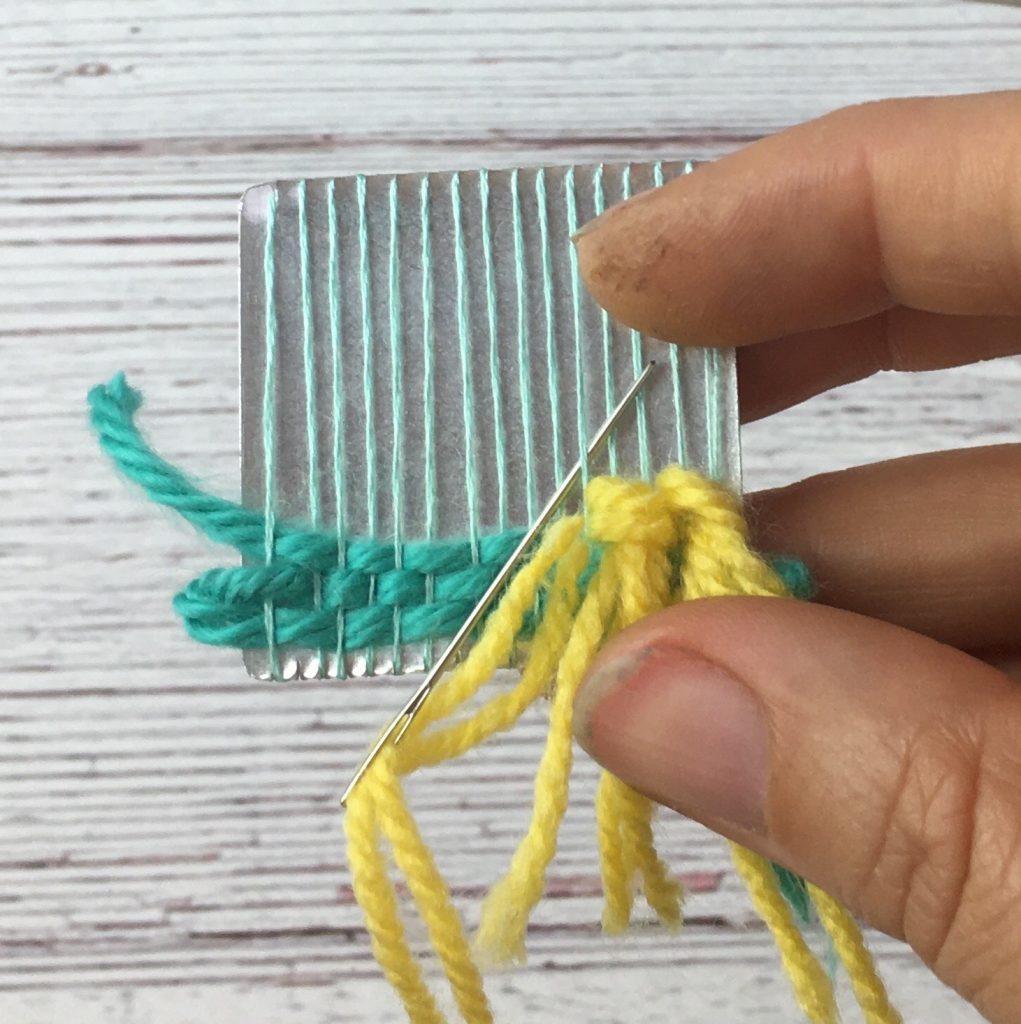
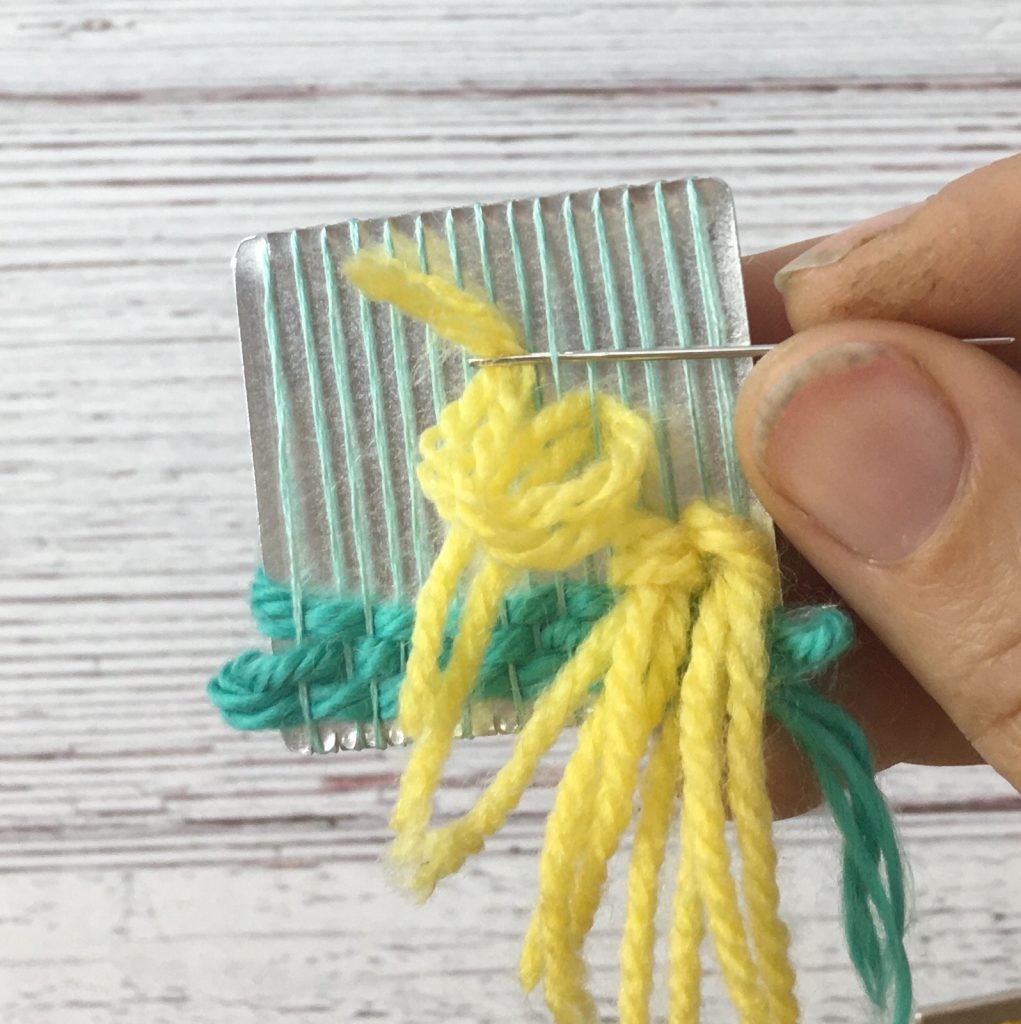
To add a little fringe like the yellow I did, you need to cut about 4″ of 2 or 3 pieces of thicker yarn for each fringe. The fringe goes over 2 weaving strings. you start from the inside to the outside to the right, then again from the left to the right and under the loop. This way both ends are under the loop you formed. Now you can pull the ends tight and finished the fringe. You can create 3 like I did or just 1 or 2.
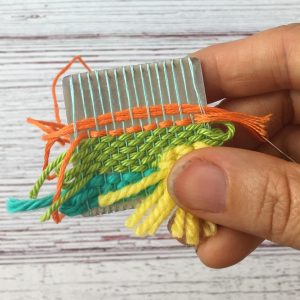
Finally, cut the ends flush with each other. Continue filling your weaving with different colors and textures until the very top.
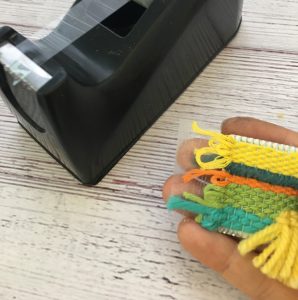
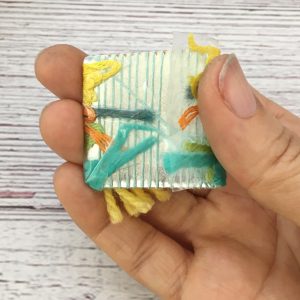
Use tape to catch all the ends on both sides and tape them to the back. This gives you a flush front.
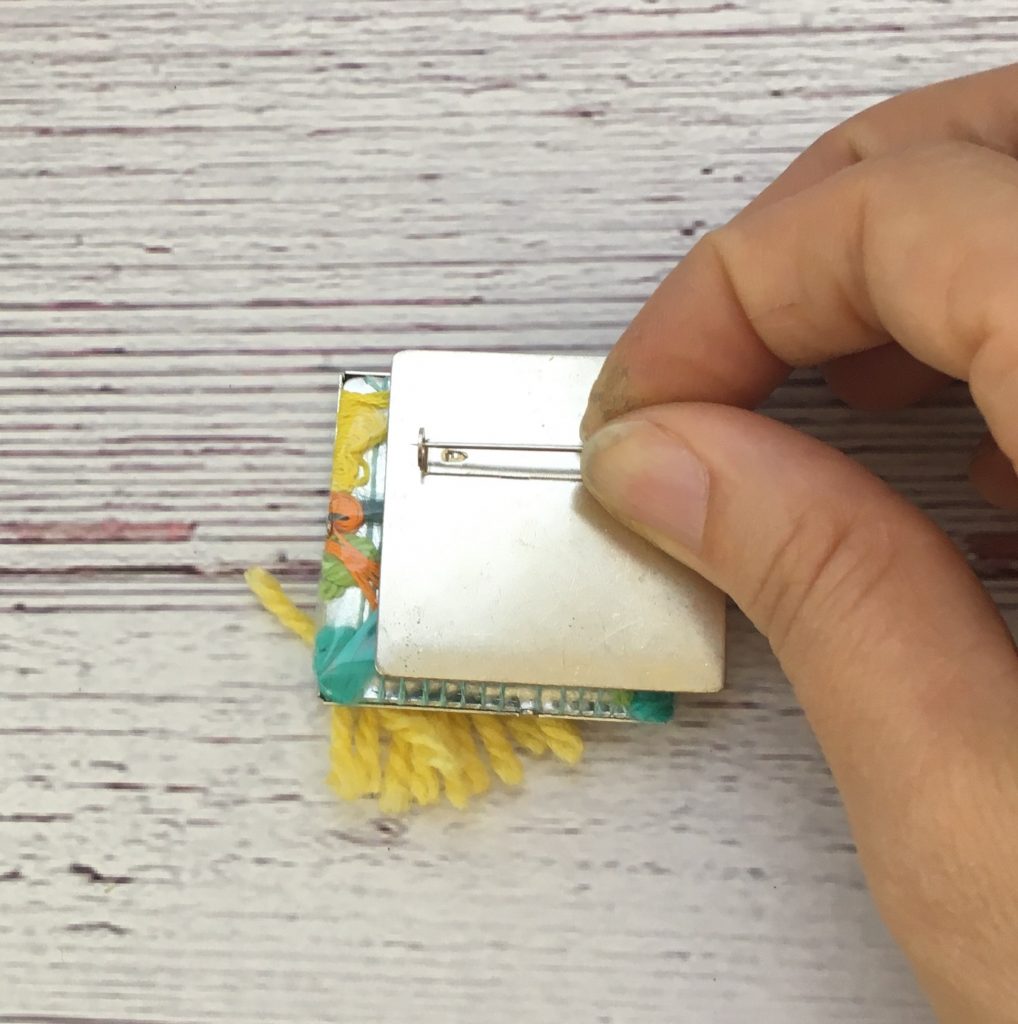
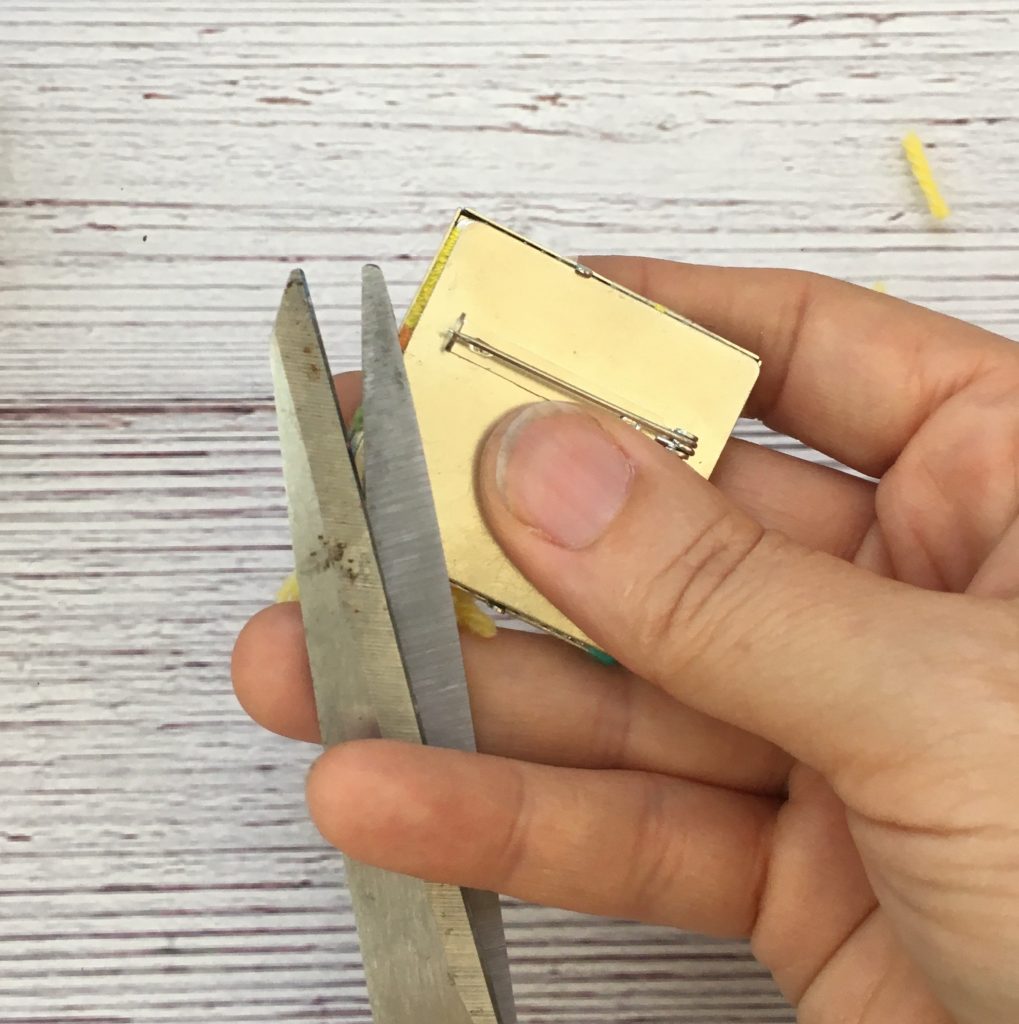
Place the weaving into the frame. You might have to press a little to get all the yarn in there. Then cover it with the back panel and bend the 4 prongs from the front frame over the back panel. Use your scissors or pliers to close them tightly. And that’s it!

I hope you will enjoy this Woven Pin as much as I do. Comment below if you have any questions and show off your own Pin Weaving Creations here and on Instagram #kaileacrafts