Every time I see Washi tape I get really ecited! The color, the pattern and all the shiny gold and silver accents on them! So I have to buy them and now I amazed quite a collection but never really know what to do with them.
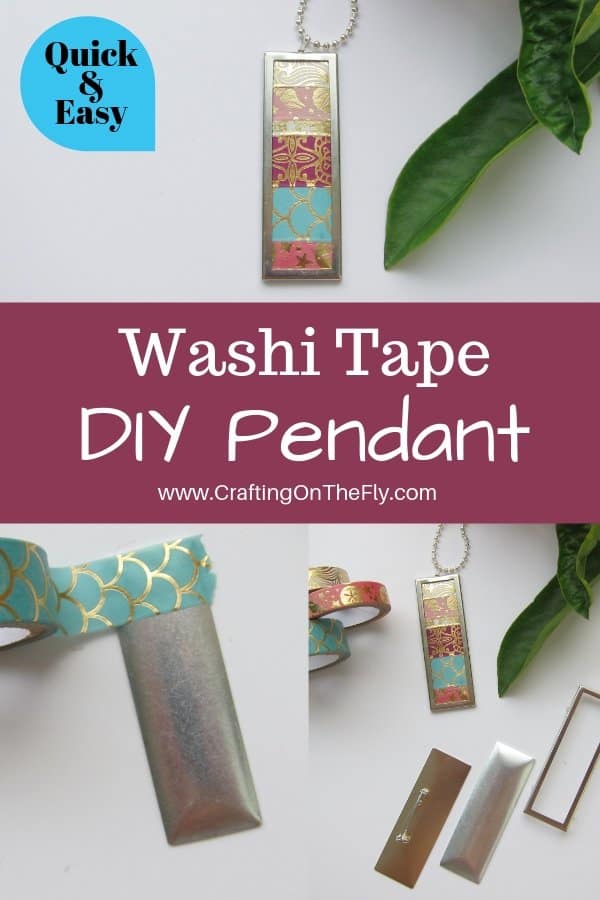
Enter this DIY Pendant!
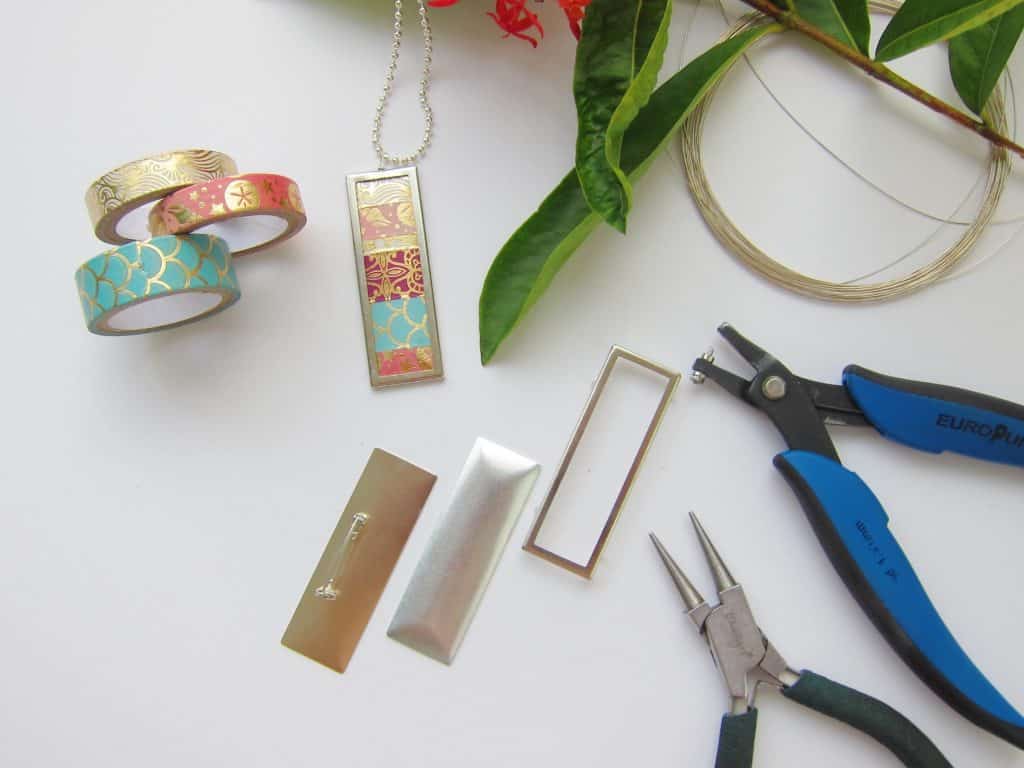
Materials
- Several Washi tapes
- Kailea Jewelry Frame
- Wire
- Hole Puncher
- RoundNose Pliers
- Necklace
This is a really easy and quick project and I am sure once you made one, you want to make some more for your friends and for all your different outfits!
In my Kailea shop on Etsy, I also have many different frames so you can even make some earrings, different size pendants and pins.
I actually made this one from a pin and turned it into a necklace. You can leave it as a pin to save the extra steps wit the hole puncher and wire. That will actually make this project so super easy, the kids can do it as well!
First, choose a few different washi tapes that look good together. This should be fun!
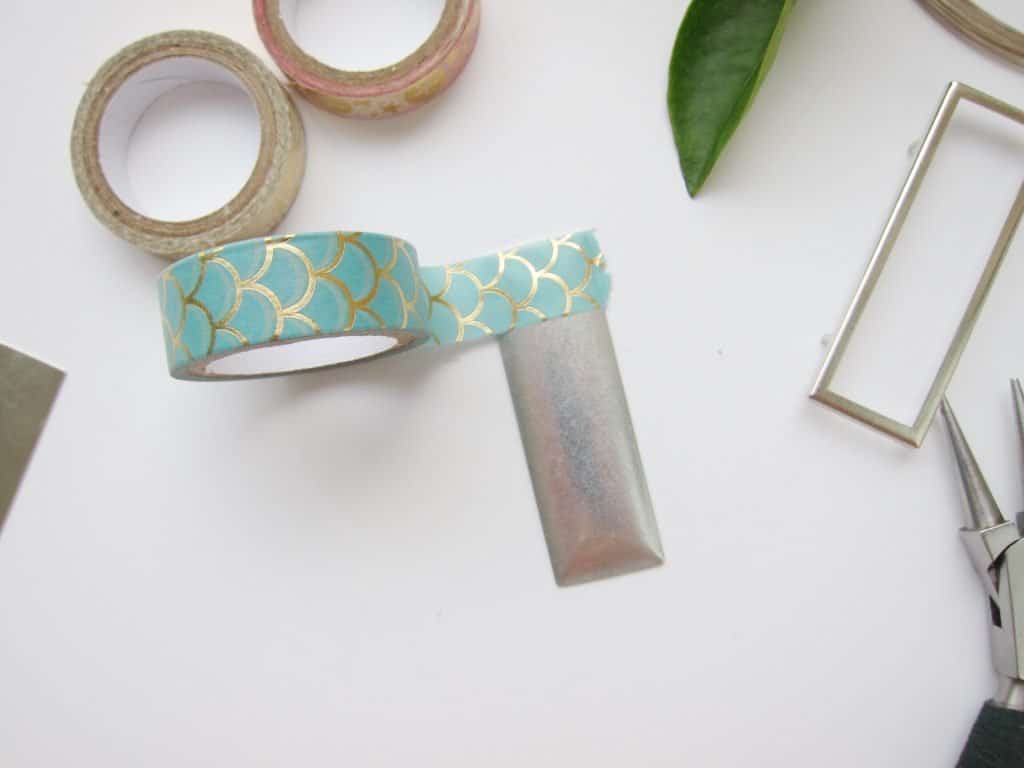
“The frame comes in 3 parts, the top one that is the actual frame, the centerpiece, and the back.”
Take the centerpiece and start taping the washi tape right onto it overlaping the edges to fold over onto the back.
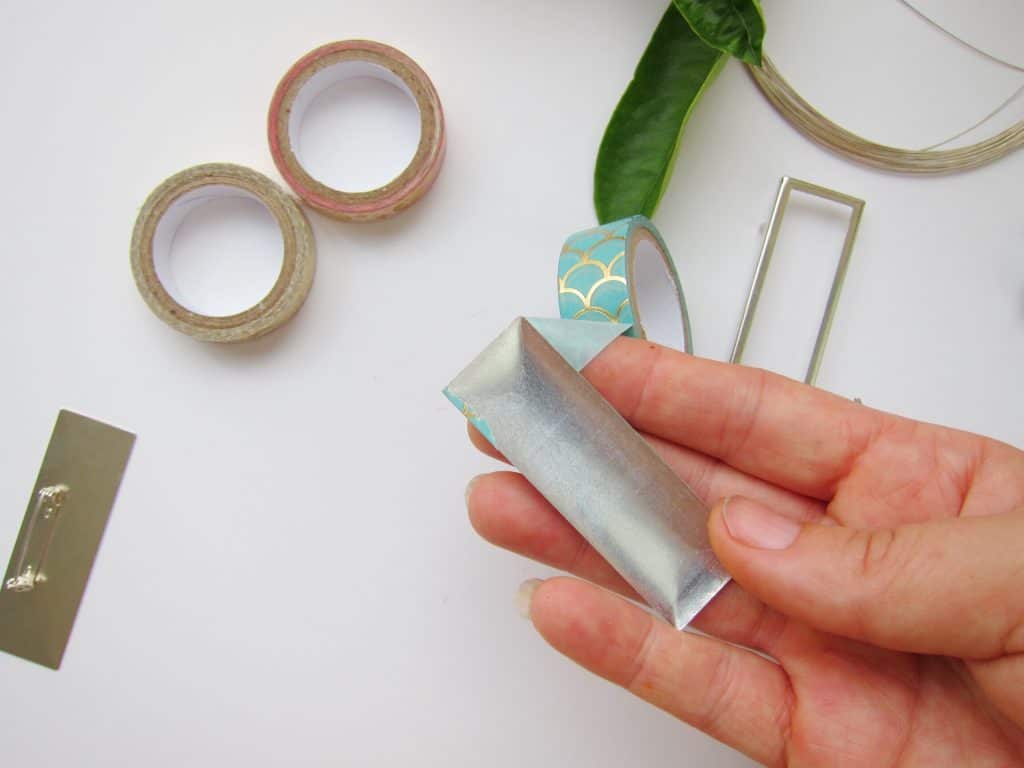
Do this until the entire from is covered. You can go in any direction you like. work on it until you are happy with the front of you pendant.
![]()
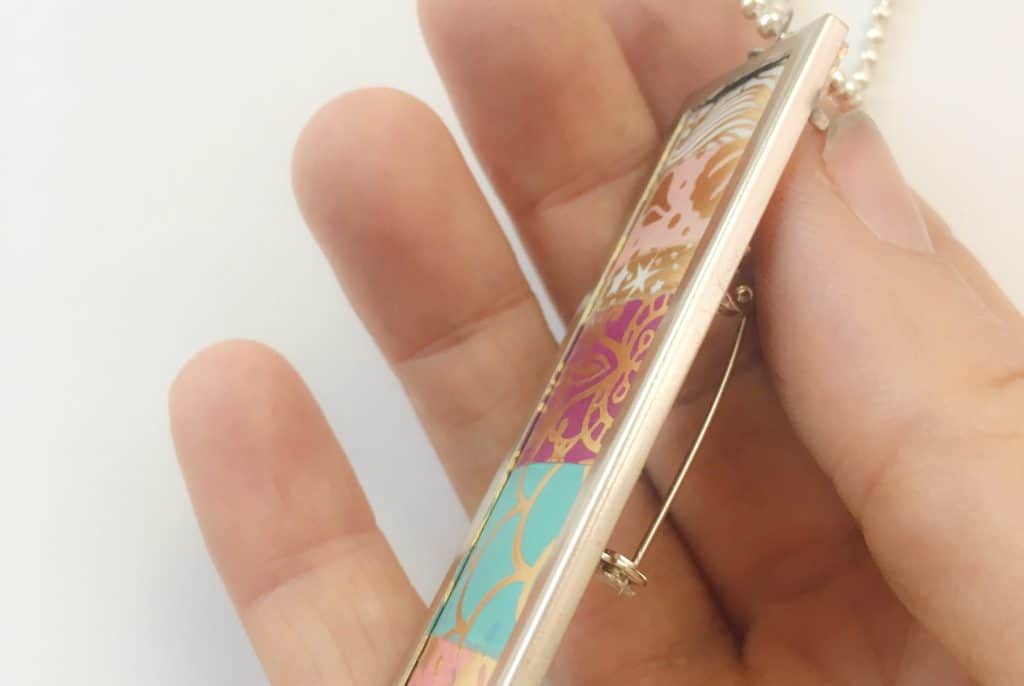
Now, if you want to convert your pin into a pendant, you just need to punch a hole into the top of the frame.
Then use some wire and twist it into a bail with round nose pliers.
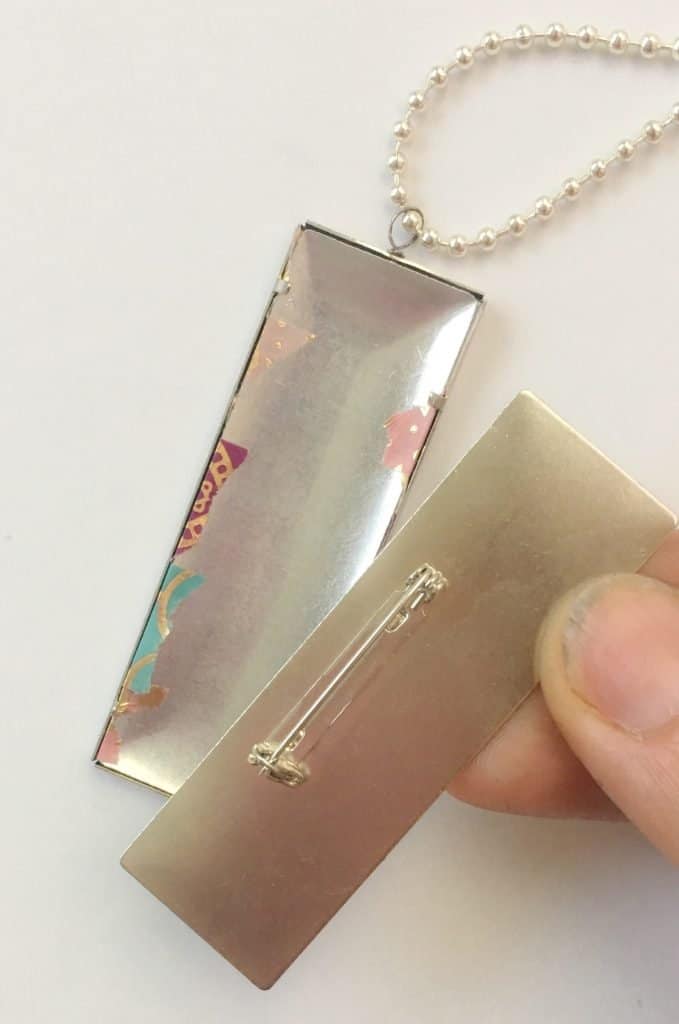
Now you are ready to attach the backing to the pendant. I decided to leave the pin part on my pendant so I can switch between pendant and pin.
First, place the centerpiece with your washi tape design facedown into the frame.
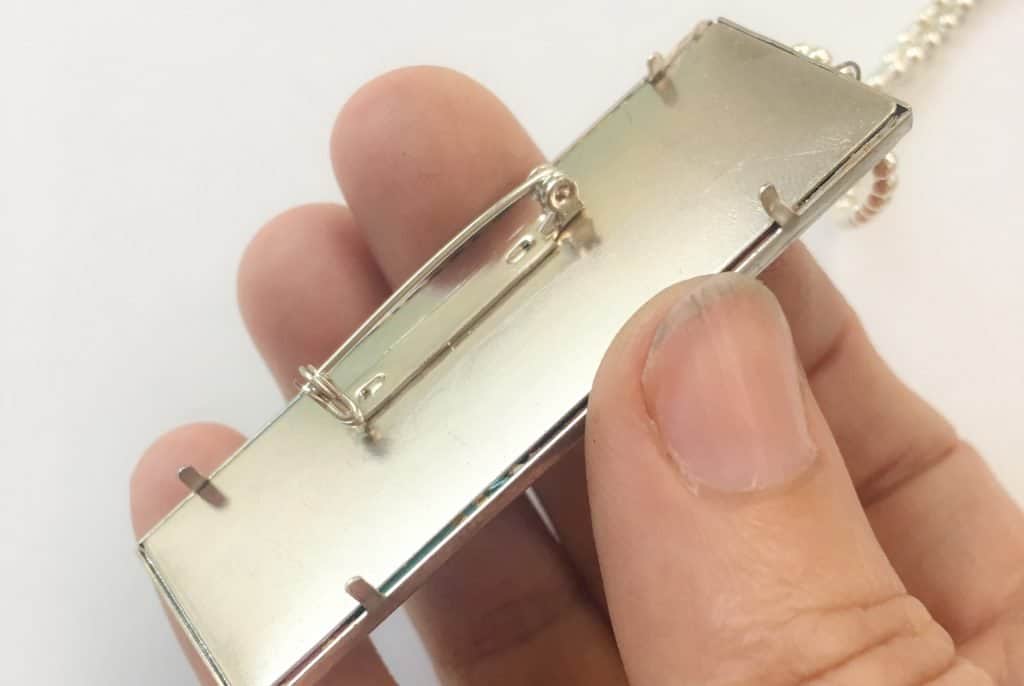
Then just push the little taps on the frame over the backing. I always like to use some flat pliers for that but you can use your hand as well. Get them as flat and tight to the frame as possible.
And that is really it! Now your new colorful necklace is ready and you can show off all that nice washi tape you have!
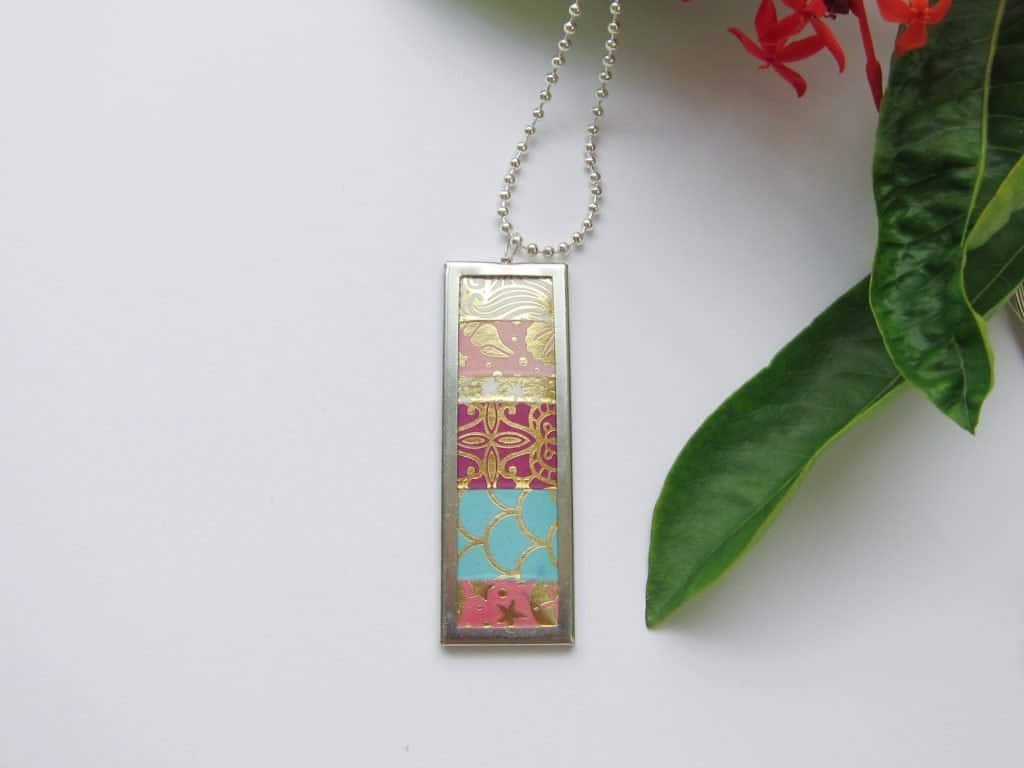
So here is my final version! I am really pleased with the blue and gold and shell motifs. Maybe I make my next one with a diagonal design.
I would love to see your creations! Please comment below and post pictures!