
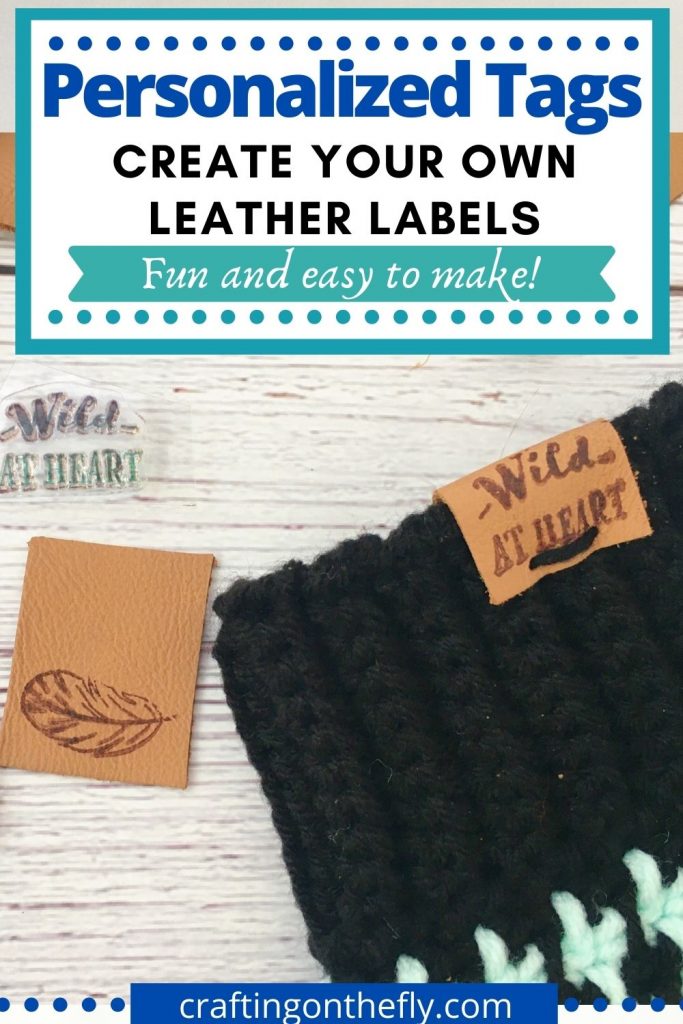
Learn how to make Personalized Leather Labels and Tags for your handmade pieces
It is so much fun to make your own handmade crochet and knit garments and accessories. And what better way to make them even more special with your own custom label tags! These are so easy to make with any stamp design you like or your name or even your personalized logo. Make them in any size to fit perfectly for each project. Maybe some snowflakes for winter gloves or leaves for autumn boot cuffs. The sky is the limit when you make your own labels and tags instead of buying a bunch of the same generic premade tags.
You can buy the ad-free printable PDF for this Leather Label Tutorial on Etsy. Thank you for your support!
As an Amazon Associate I earn from qualifying purchases. If you make a purchase through my link, I will make a small commission with no extra cost to you. “
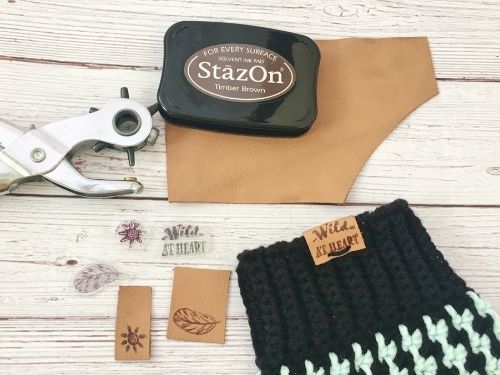
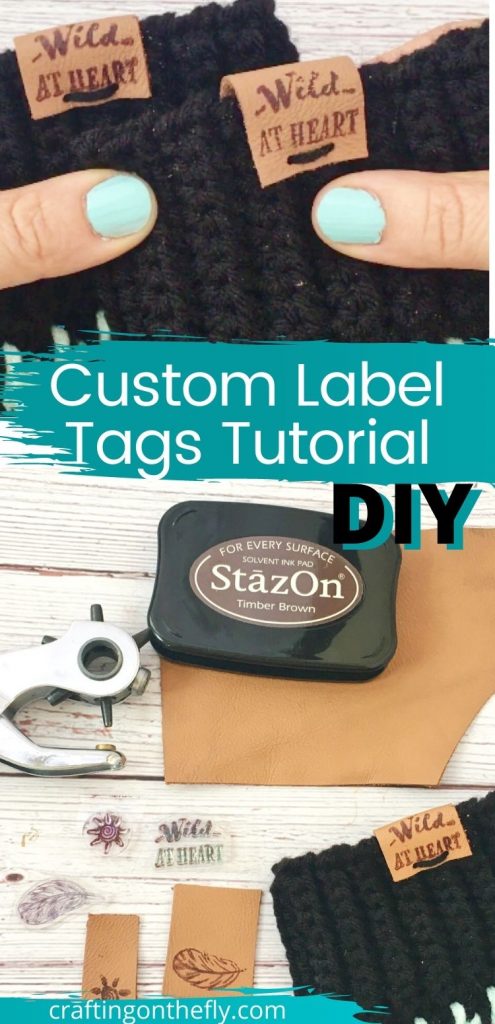
Leather Label Tags Materials
- Leather Scraps – I try to avoid using new leather whenever I can. These scraps are perfect for tags and labels
- Various stamps
- StazOn ink pad for every surface
- Leather Hole Punch
- Scissors
Label Tags Tutorial:
I used regular stamps such as the sun, leaves and this wild at heart stamp. And the beauty of making your own labels is that you can use a different motif for each project instead of having to use the same one for all your pieces when you order them pre-made. Of course, you can also use a nice stamp such as these handmade with love stamps or you can have a custom stamp made for you with your name or business name or something like handmade by grandma. Then you can also use these stamps for the packaging or envelopes.
You can use any leather for these custom labels. I like to use scrap leather since they are better for the environment and cheaper as well. You can also use faux leather or cork leather. There are really some nice options available.
The most important part is the ink to use on your label. I found this amazing StazOn ink pad that will work on almost any surface. It really works perfectly on leather and looks as if it has been branded into the leather. I used this timber brown, but it is also available in black. It dries really quickly and will not smutch once it is dry.
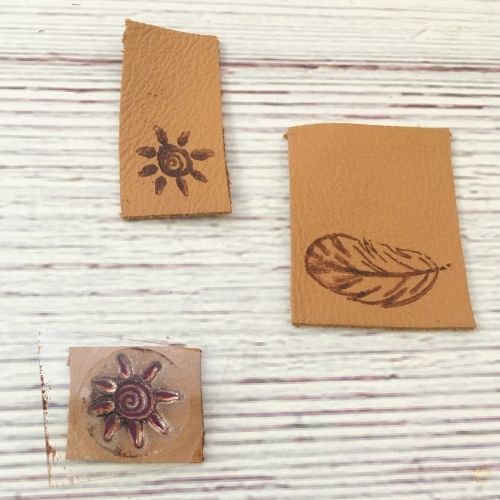
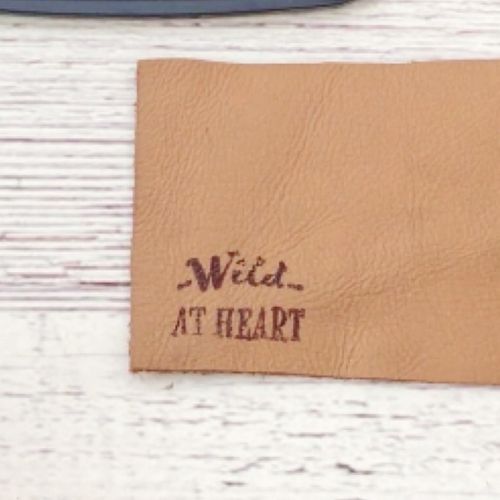
Take your label material (leather, faux leather, cork fabric) and select the stamp you would like to use. I had these clear stamps that worked perfectly since I could see right through them where to place the stamps.
Then just ink up your stamp with the stamping pad and press the stamp on your label material. Let it dry completely. This should only take a few minutes.
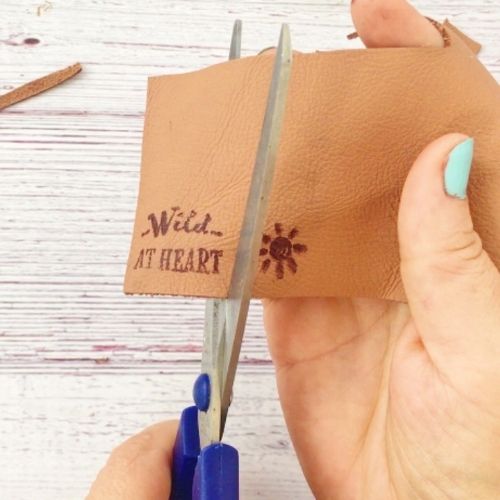
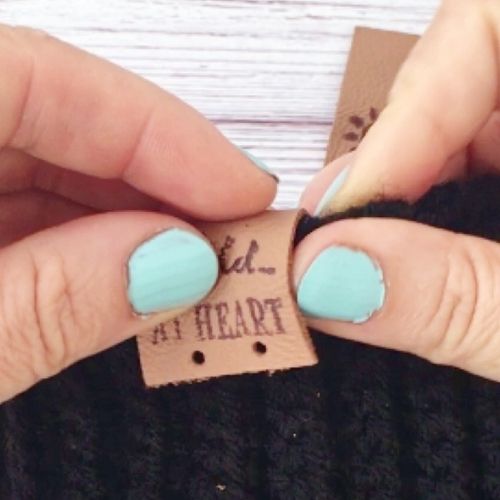
Then cut it out to the size you need. You can make labels that are just the size of the stamp or you can make tags that go around the edge of your crochet or knit pieces. Then you have to make it twice as big as your stamp design so it is double sided to fit over the edge.

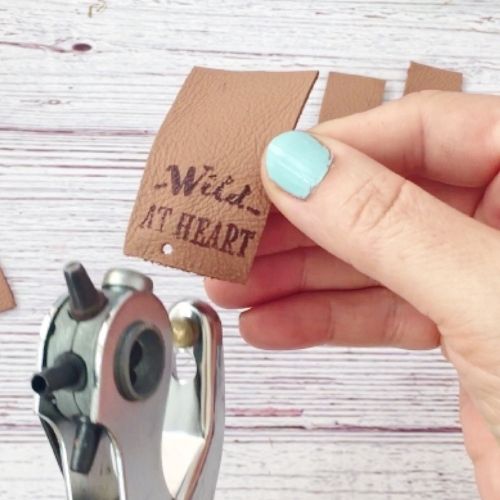
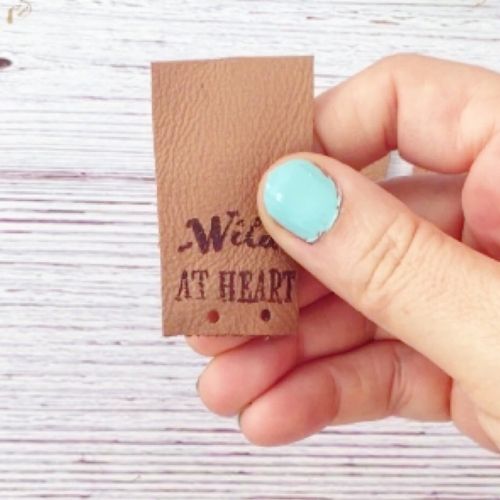
Finally, use a hole puncher on the smallest hole and punch a hole either on each end or 2 closer in the middle like I did. It really depends on how you want to sew on your label.
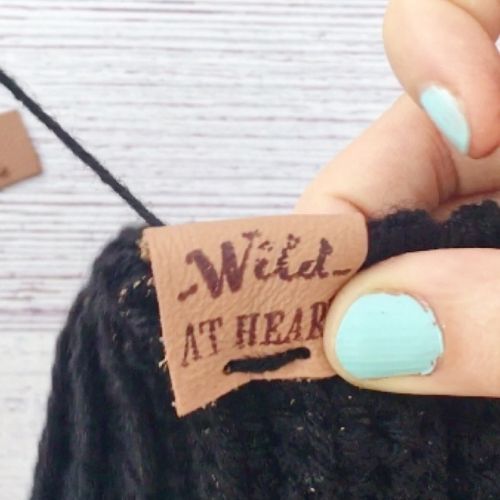
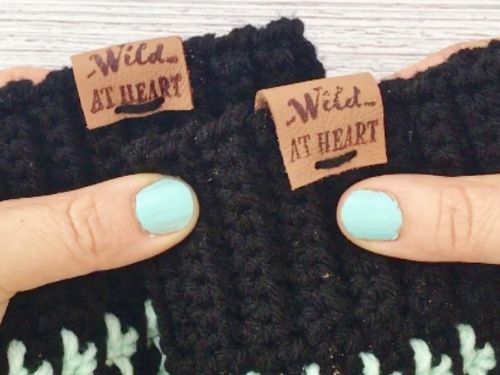
Now all that is left is to sew on your label! I added these wild at heart labels to my new Houndstooth boot cuffs and they really made such a difference for the overall look of these boot cuffs. So much more polished and professional looking.
I hope you will enjoy this custom Label Tags tutorial as much as I do. Comment below if you have any questions and show off your own labels here and on Instagram #kaileacrafts
More Free Tutorials
Want to make even more crochet accessories? Check out these Crafting on the Fly creations!
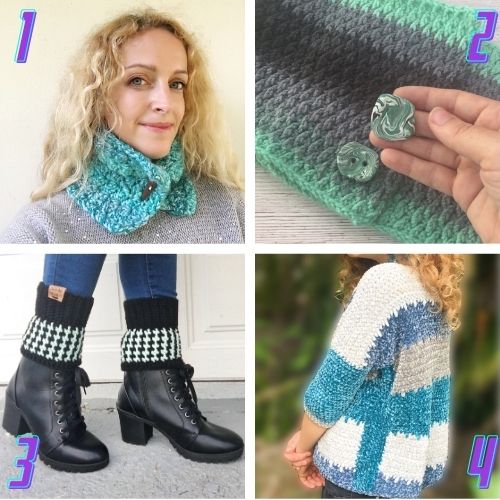
- Icicles Cowl Crochet Pattern – Create this elegant cool weather cowl with a soft but thick bulky yarn.
- Custom Button Tutorial – Make your own custom buttons to add to all your crocheted pieces.
- Boot Cuffs Crochet Pattern -Make these houndstooth boot cuffs and add your new custom leather labels to them.
- Velvet Sweater Crochet Pattern – This cozy velvet sweater is perfect for the colder months.