How to sew a summer dress with a shirred back
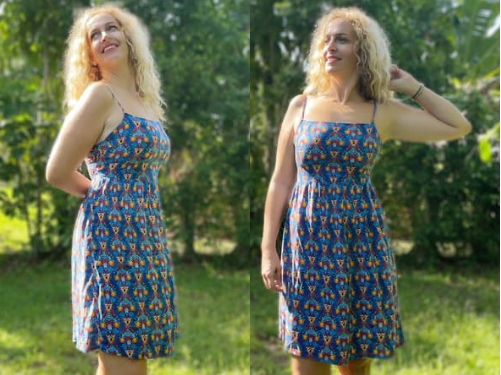
This is my go to summer dress pattern and is quick to sew and looks flattering and breezy. Just perfect for a stroll on the beach or getting some ice cream. The shirred back makes it easy to put on and gives you breathing room. From this basic shape I created, you can venture out with ruffled sleeves, different necklines and different length. You can even add a few tiers to the skirt part! The possibilities are endless to create many different versions of this dress. And, of course, there are so many different fabrics and patterns to choose from!

As an Amazon Associate I earn from qualifying purchases. If you make a purchase through my link, I will make a small commission with no extra cost to you. “
Summer Dress Materials:
- Unfortunately, the fabric I used is no longer available, but I found these options that are similar. You will need 1.5yards: Spanish Tile Fabric, Blue Kaleidoscope Fabric, Retro Flowers Fabric, Abstract Geometric Fabric
- Elastic Band
- Elastic Thread
- Soft Tape Measure
- Sewing Clips
- Sewing thread
- Scissors
- Needle
Main pieces to cut:
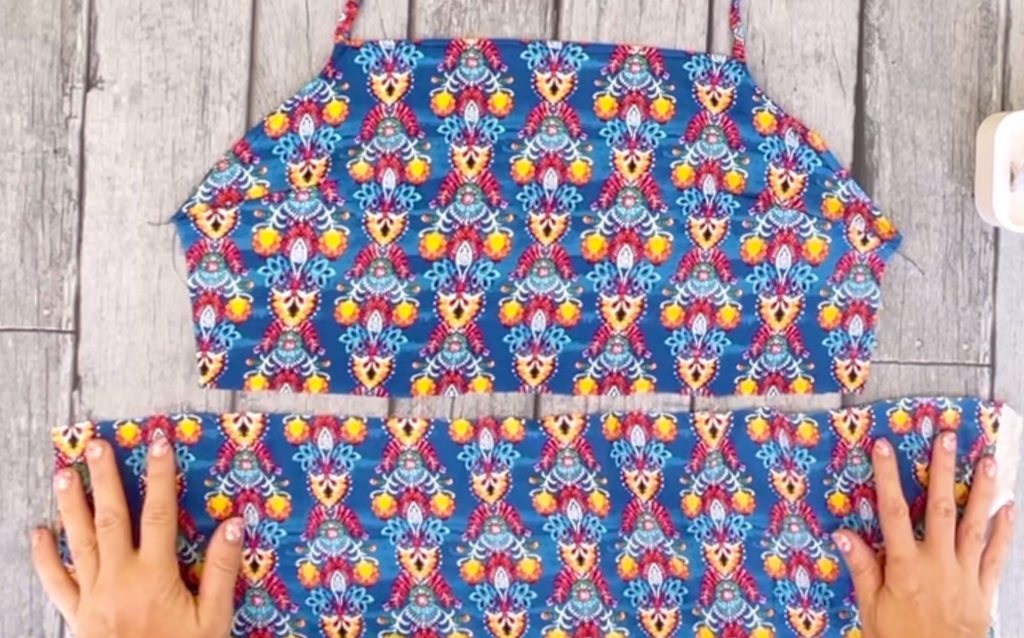
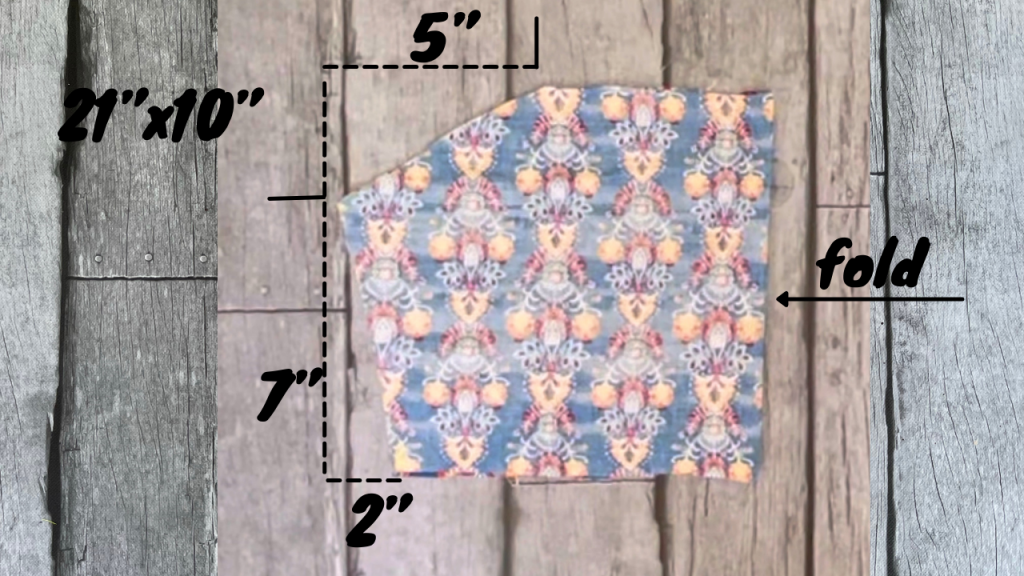
For this summer dress, it is best to start by cutting 2 of the same pieces at 30″x27″. Then take one of the pieces and cut it at 10″ from the 30″ length. Now use the small piece and cut it to 21″x10″. This is your front top piece. You will also need 2 pieces at 15″x1″ for the straps.
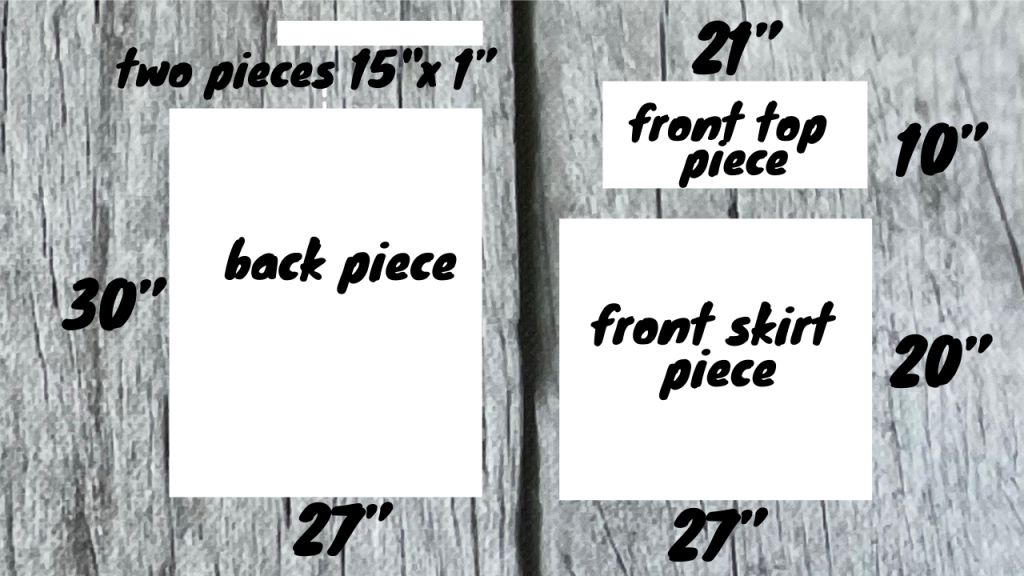
Then fold the top piece in half and cut off the 2 triangles as shown in the photo below.
You can also follow along with me in sewing this summer dress in this YouTube video.
Explanation:
The measuremtns for this dress are based on my bust circumference of ….. If yours is smaller or bigger, adjust acordingly.
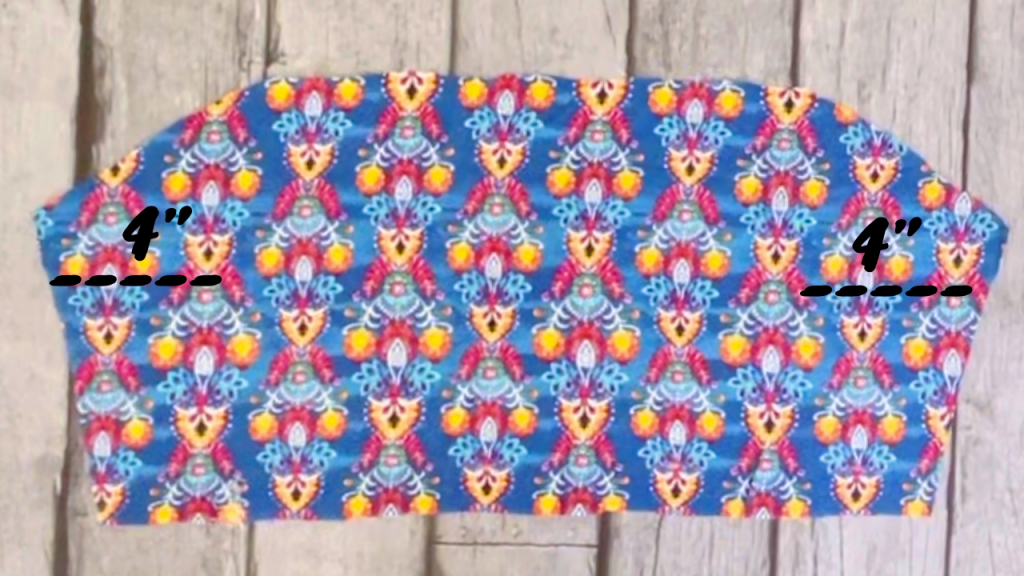
Front Top Piece:
Starting with the front piece and sew the darts on each side. They are 2″ down from the tips on the left and right side and 4″ towards the center. Make them 1″ wide on the edge.
Next, fold over the top of the front piece twice and sew along the edge for a finished top edge.
Now it is time to sew the straps. I normally start with a 15″ by 1″ piece of fabric. Then fold it along the long edge with the pretty side inside. Use a safety pin to turn them inside out.
The straps are attached to the short sides of the top. lay them on top of the side halfway down and with most of it sticking out on the top. Then fold the sides over twice with the straps encased by the fold. Sew along the edge.
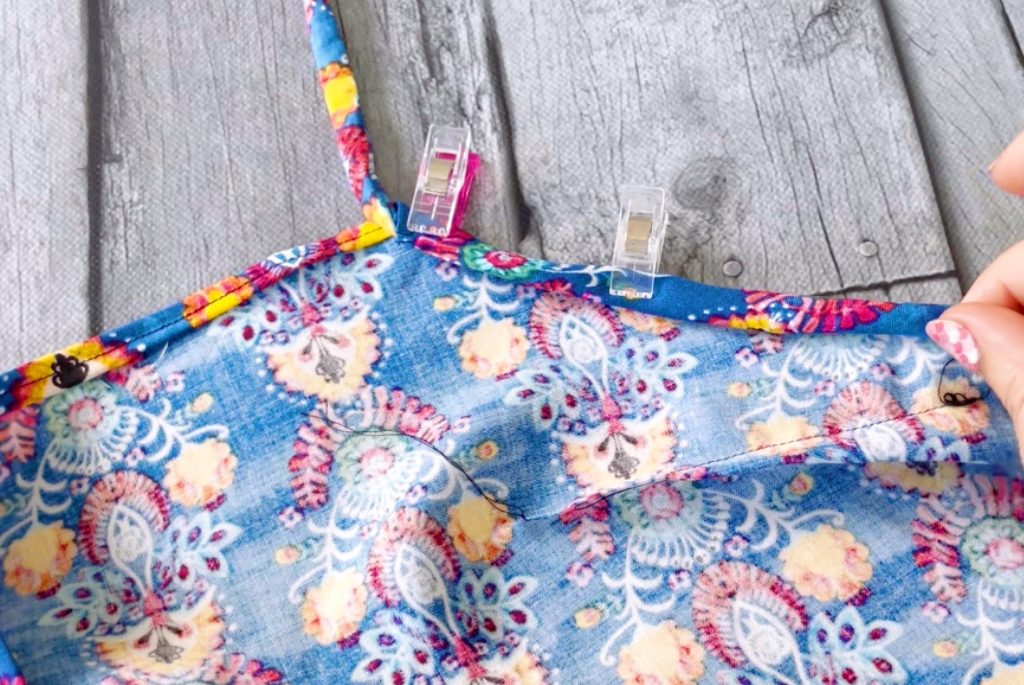
Now the front top piece is complete and we can add the skirt part.
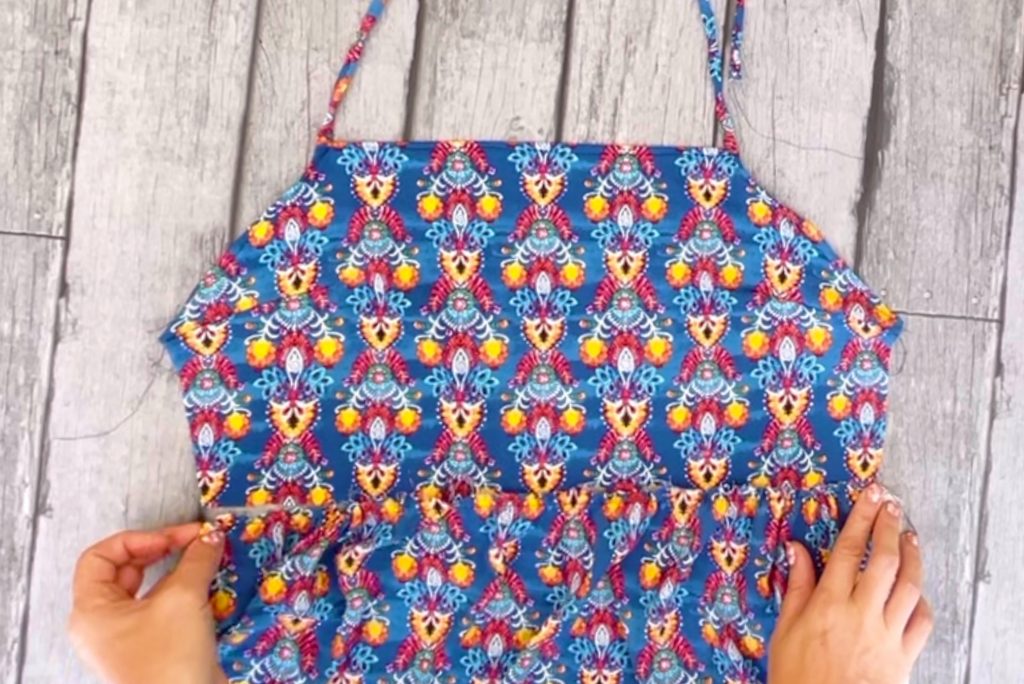
Since that one is wider, we need to run a basting stitch along the top edge to gather it up. Then pull the stitch to fit the top. Pin them on top of each other with the pretty side on the inside and sew along the edge.
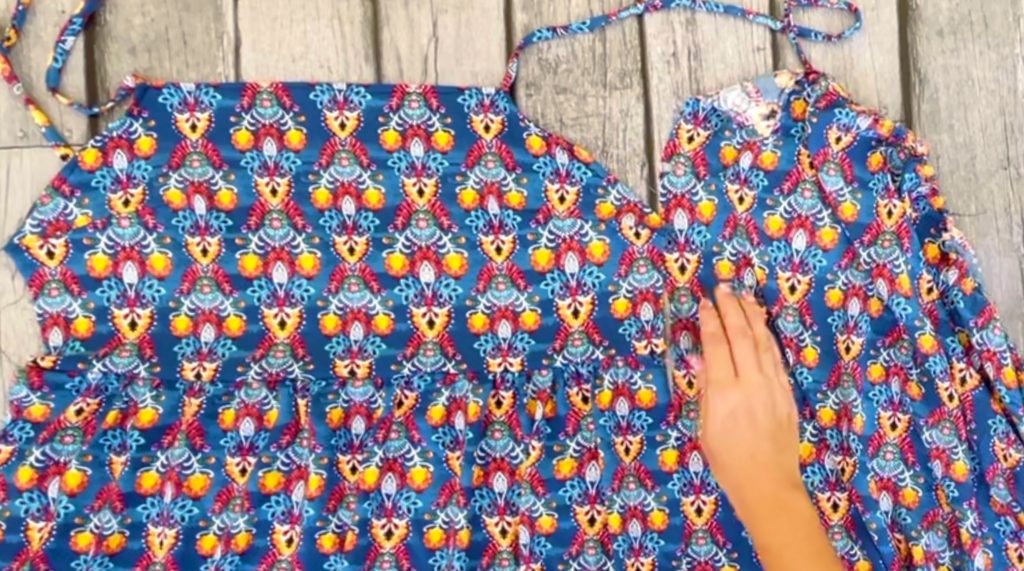
Now the front part is complete and we can work on the back. Since this fabric has a pattern, I wanted to match it with the back piece. So I lined the pattern up and cut the top off with enough extra for the seam allowance. Also mark where the shirring should end so it lines up with the gathered part of the front piece.
→
Start with the back piece by first sewing a channel along the top for the elastic band to go in after you finished shirring.
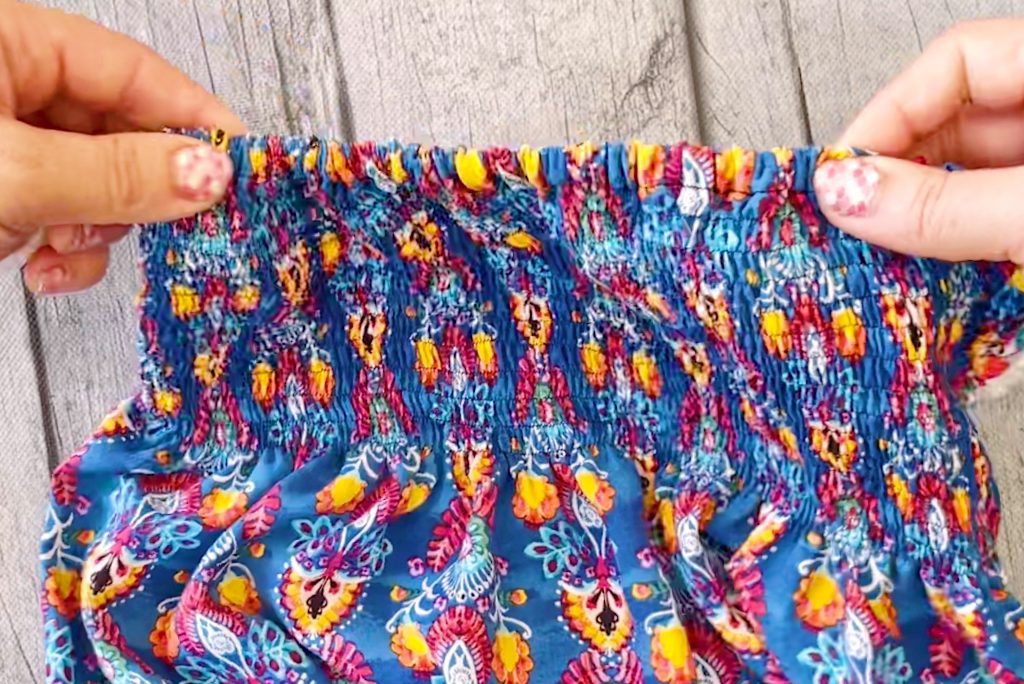
Now to the fun shirring part of the back. I love to use shirring because I don’t need to add a zipper and the dress is a lot more flexible. And even though the shirred part really looks impressive, it is actually quite easy to do.
All you need is some Elastic Thread. This will be at the back of your dress. So either black or white works. You have to wind it on a bobbin, but do not pull it tight! Just leave it at the un-stretched consistency that it is on the main cone.
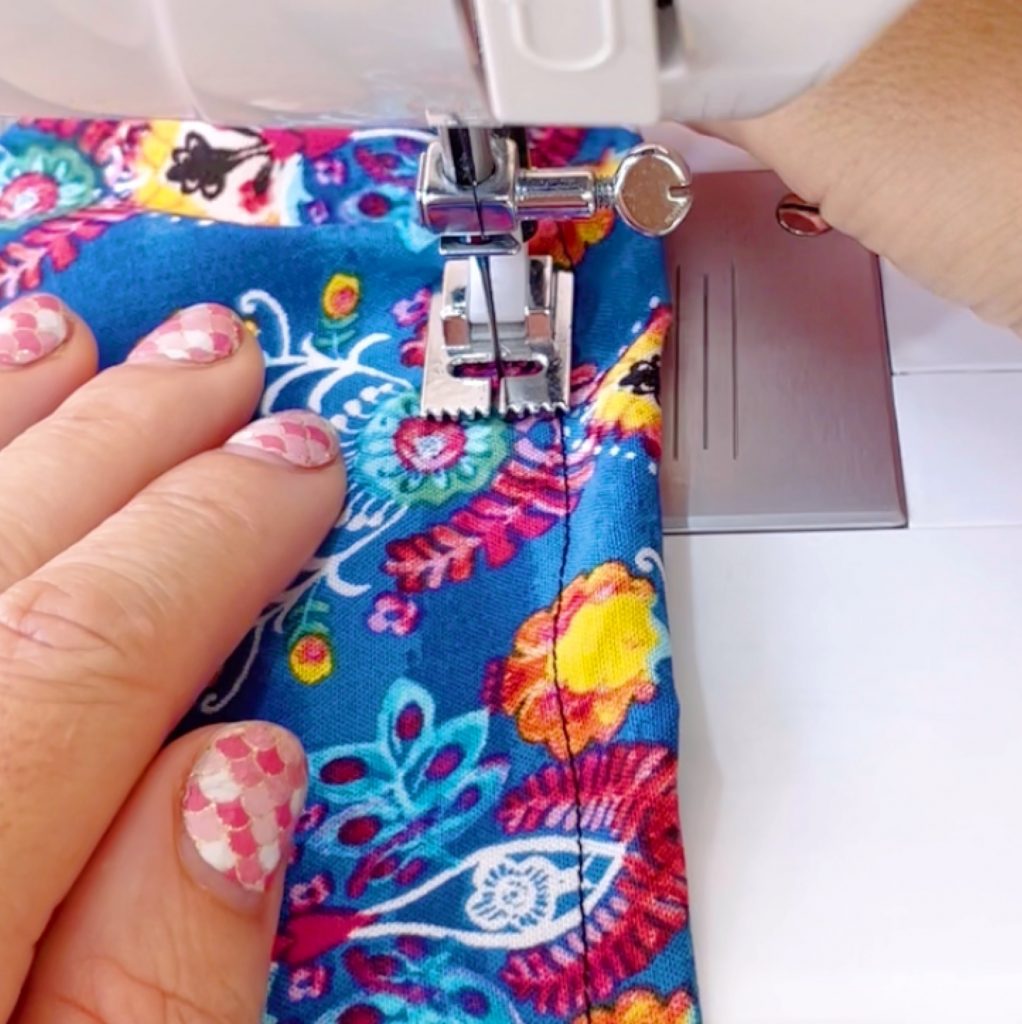
For the shirring, always work on the pretty side so the elastic thread is underneath. Use the sewing line of the channel you created as your guideline. Keep it along the edge of your foot. This way you will have a consistent spacing among all your shirred lines.
You also need to adjust the spacing of your stitches. For my machine, changing from 4 to 6 and from the smallest stitch to the middle one is best. But it might be different from your machine. Practice on a piece for scrap fabric to see how you get the best gathering. You wont really know after just one line. Do a few in a row to really see the shirring.
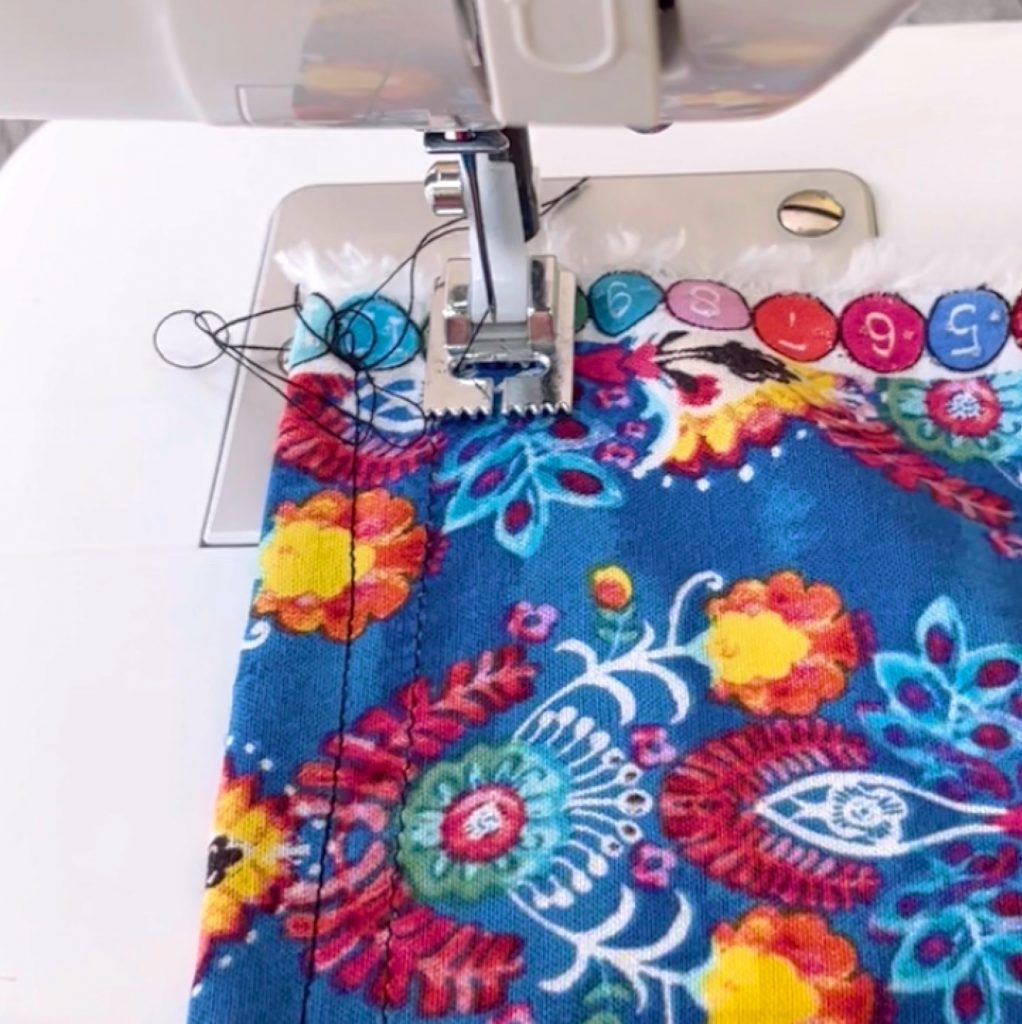
Once you did your first line, do not cut but just lift the foot and needle, turn the fabric 360 degree, move the foot over so the edge lines up with the previous stitch and put it down. Now follow along the previous stitch to the bottom. Then lift the foot and turn it around again without cutting and just moving it over a bit. By not cutting the elastic on each turn, you won’t risk it unraveling on you since it is stretched. Plus, the shirring will go much faster!
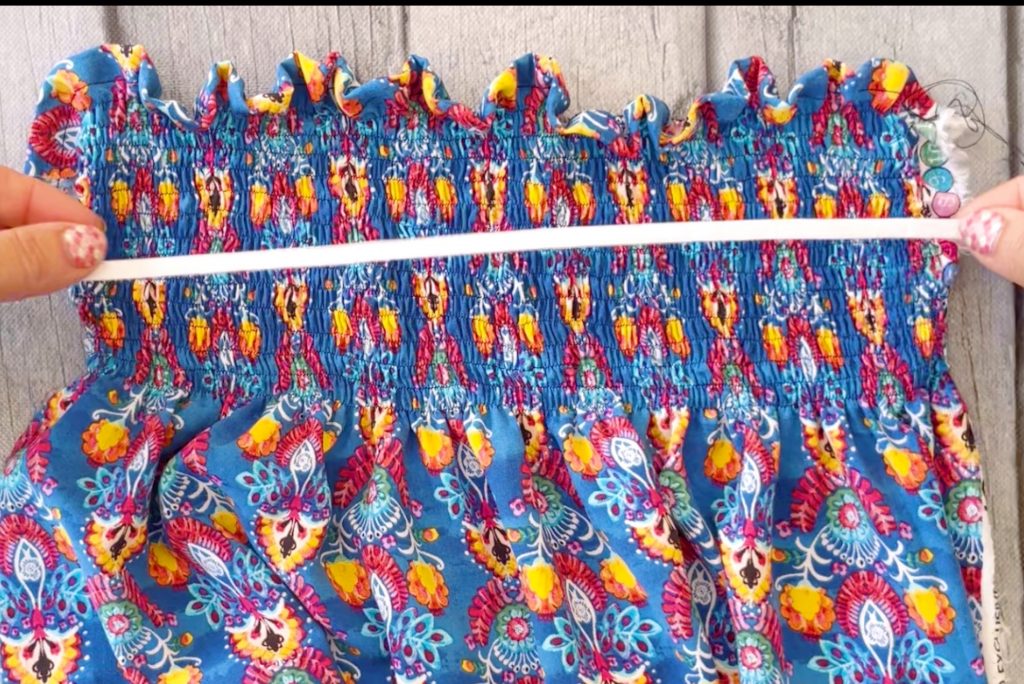
Once you completed the shirring, it is time to put the elastic band in the op channel so it lays flat. Measure out the band by placing it on the shirred piece. Then use a safety pin to place it inside the channel. Sew over the ends to keep the elastic band in place.
Now that the front and back pieces are complete. all that is left is to sew the two pieces together on both sides. Lay them on top of each other pretty side in the inside, pin and sew along the edge.
It is time to try on your dress and pin the straps to the back to sew the at the correct length for you. Now you can also adjust the length of your dress. See if you need to cut it shorter. Then fold the bottom over twice and sew the finishd edge.
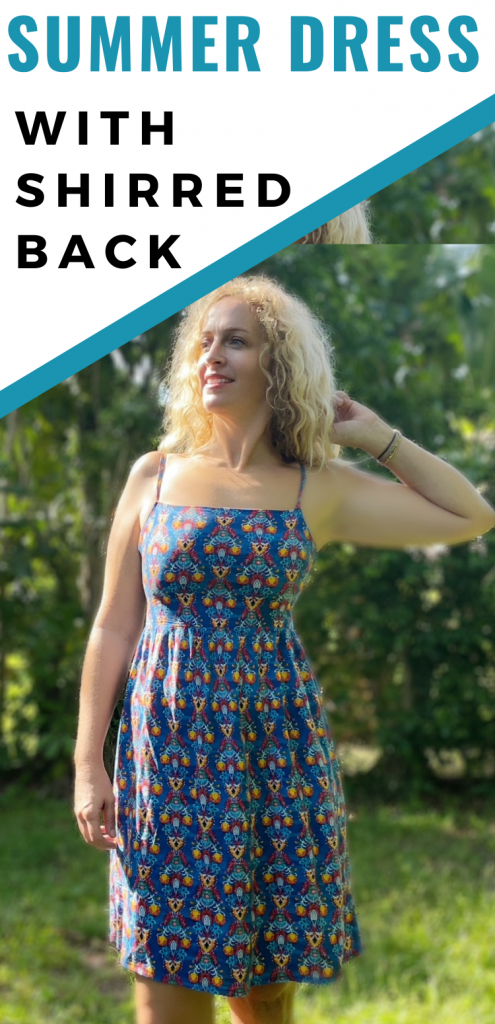
I hope you will enjoy this Summer Dress Pattern as much as I do. Comment below if you have any questions and show off your own summer dresses here and on Instagram #kaileacrafts
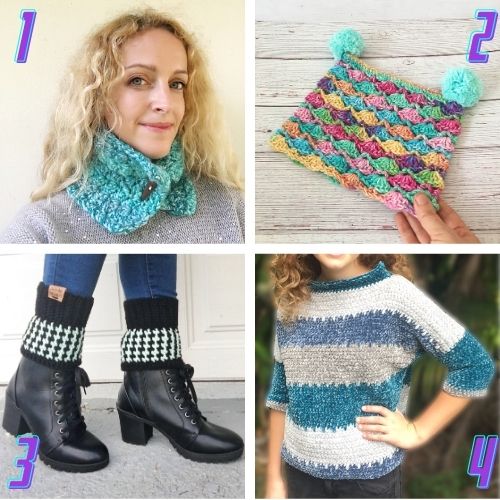
- Icicles Cowl Crochet Pattern – Create this elegant cool weather cowl with a soft but thick bulky yarn.
- Rainbow Hat Crochet Pattern – Crochet this fun rainbow hat for the cold weather months..
- Houndstooth Boot Cuffs Crochet Pattern – Create this intricate yet easy pattern to warm up your legs.
- Velvet Sweater Crochet Pattern – Crochet this velvet sweater to cuddle up in during the colder months.

