
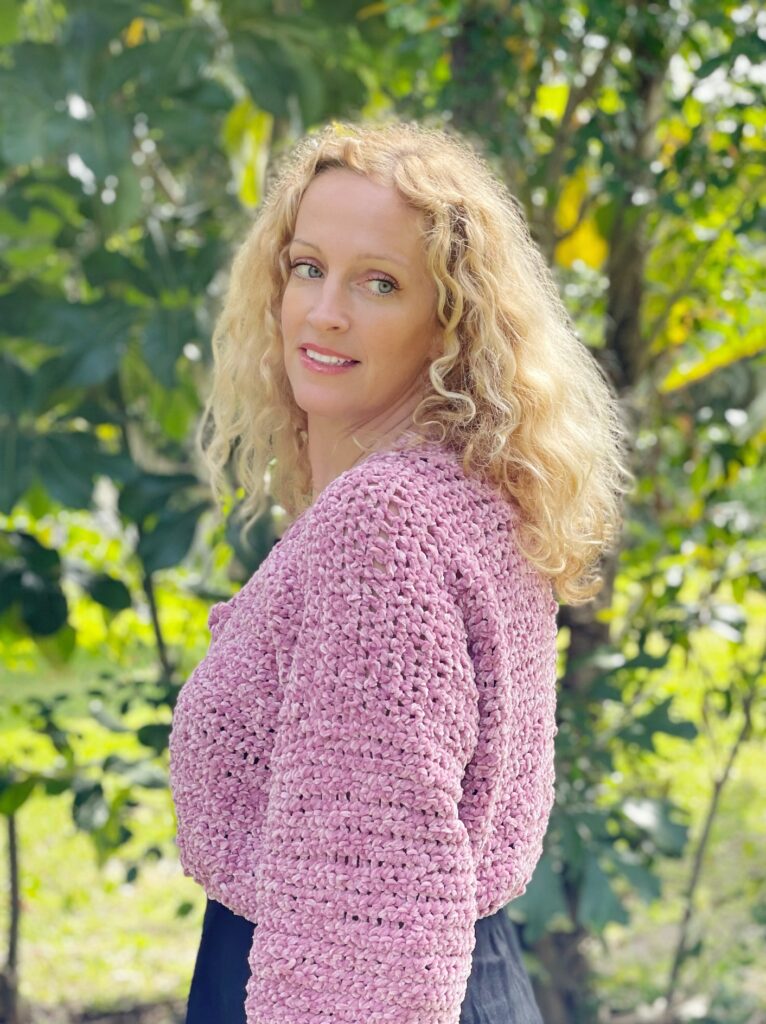
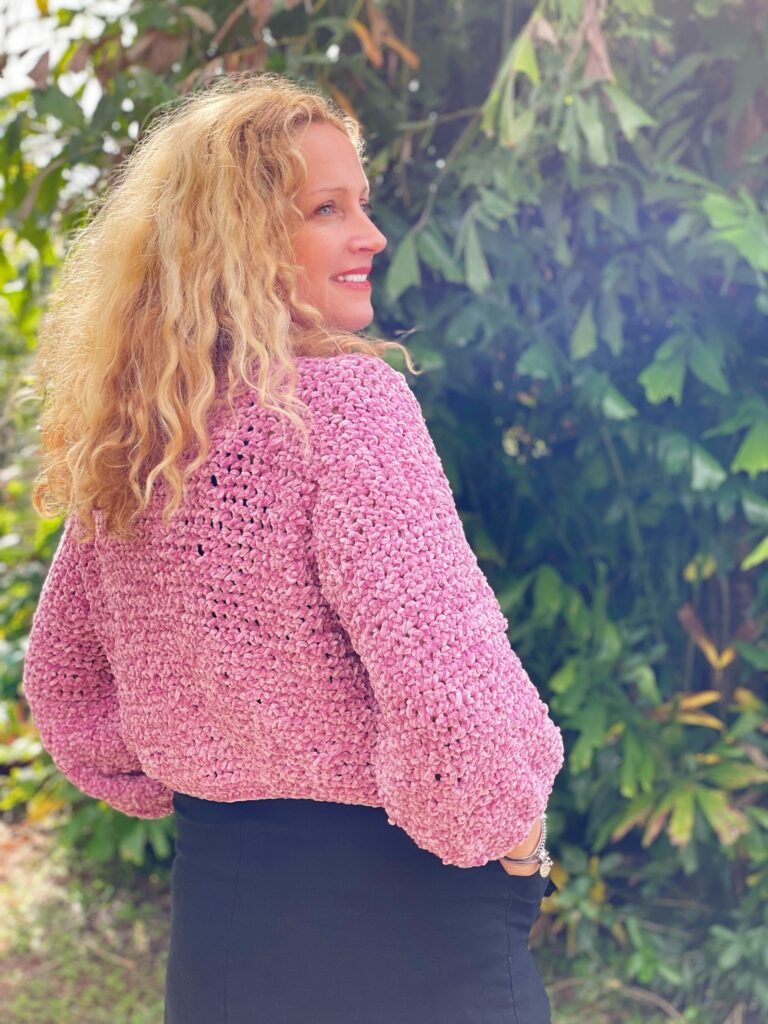
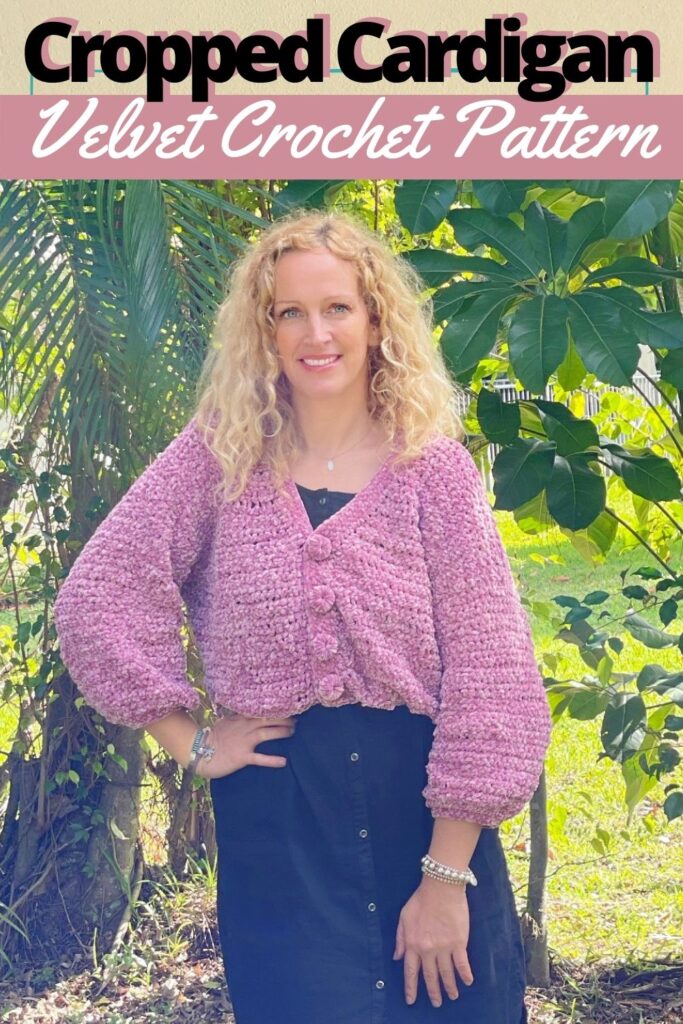
How to crochet a loose cropped cardigan with velvet yarn
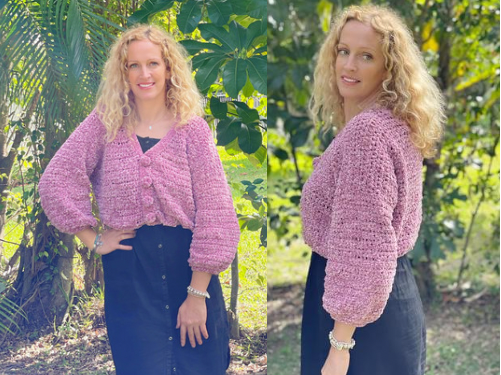
I have to say it right from the start, this cropped cardigan is my favorite piece so far! I wanted to create a cozy and soft cardigan jacket that I could wear with all my dresses. So It needed to be short and cropped to hit high at the waist. I also wanted it flowy and added big balloon arms that are 3/4 sized to keep my hands free.
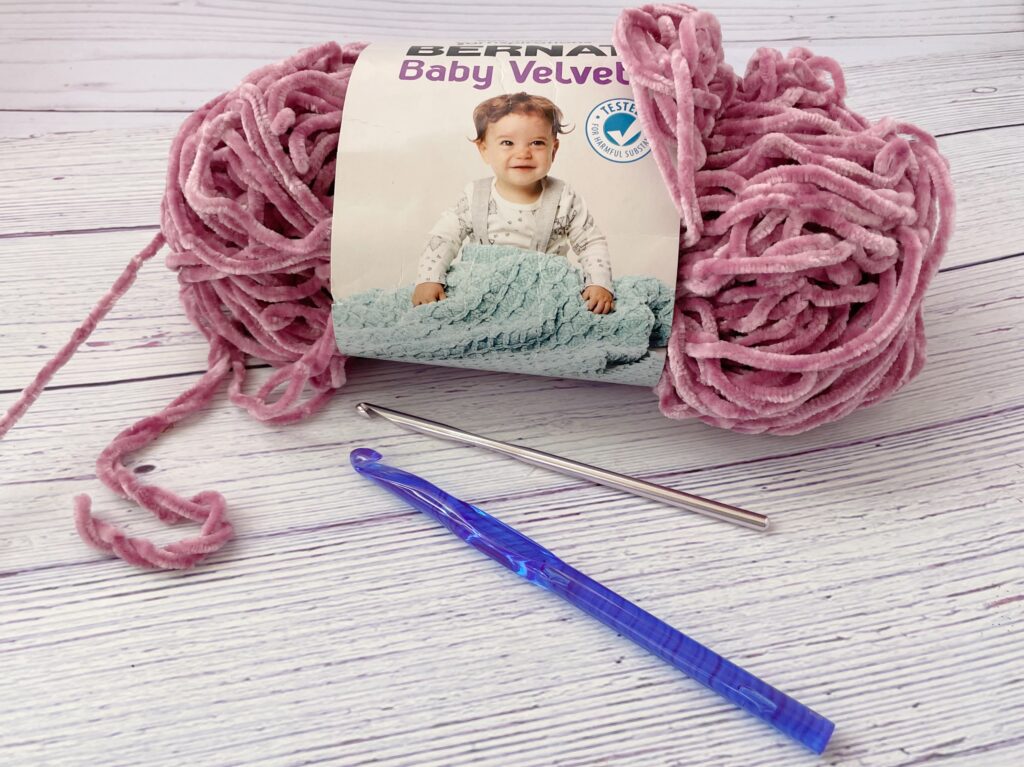
for the yarn, I chose this beautiful soft velvet from Bernat. It is thinner than your regular velvet to keep this cropped crochet cardigan cozy but still lightweight and airy. Perfect for a cool supper breeze.

As an Amazon Associate I earn from qualifying purchases. If you make a purchase through my link, I will make a small commission with no extra cost to you. “
Cropped Cardigan Materials:
- Bernat Baby Velvet Yarn – Fairy Lavender – 2 balls
- Crochet Hook Number 3mm, 5mm & 8mm
- Scissors
- Needle
Crochet Terms (US):
- Ch- Chain
- Sp – Space
- St – Stitch
- SC – Single Crochet
- sc2tog – using single crochet to join two stitches together. Single Crochet 2 Decrease Insert hook into stitch and draw up a loop. Insert hook into next stitch and draw up a loop. Yarn over, draw through all 3 loops on hook.
- Sl St- Slip Stitch
Measurements
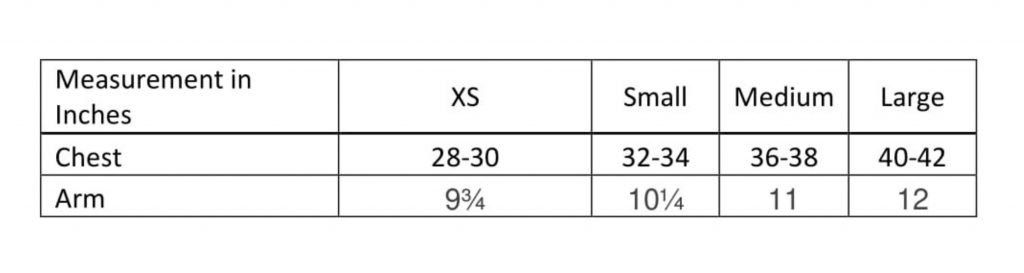
This Cropped Cardigan has a relaxed fit. The pattern is made for small to medium size.
Gauge
10 sts x 9 rows = 4“ x 4“ (10 x 10 cm)
Explanation:
This cropped cardigan is made from a back piece, 2 mirrored front pieces and 2 matching arm pieces. The front trim and buttons are added at the end.
Cropped Cardigan Crochet Pattern:
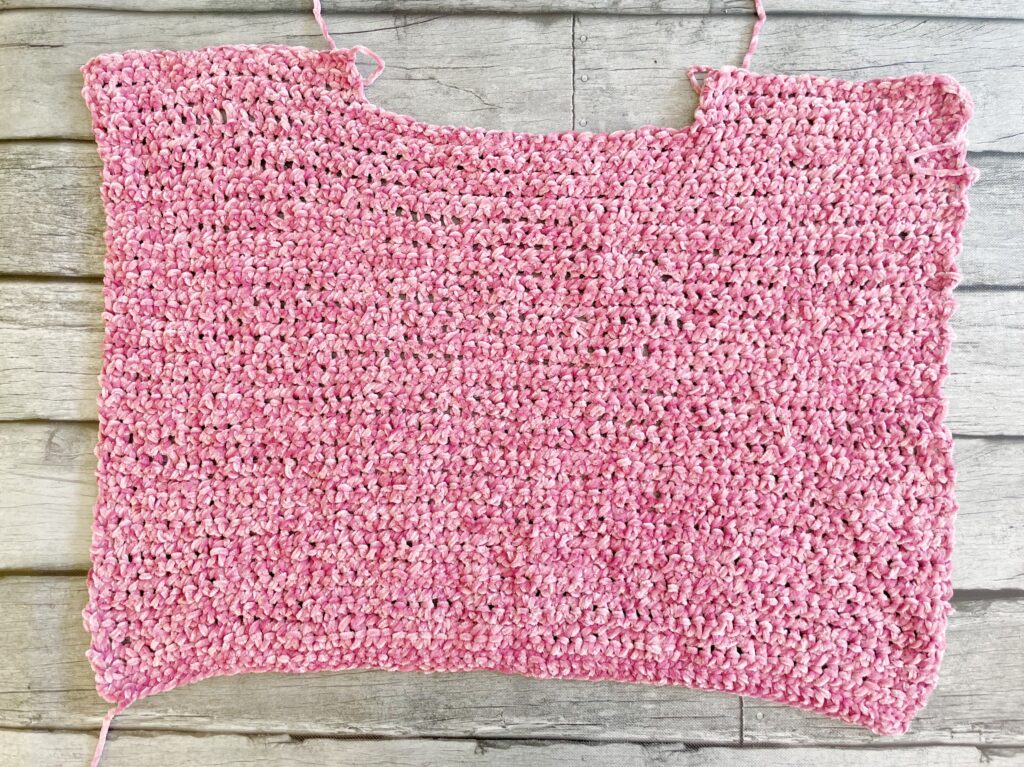
Back piece:
Magic ring, ch46 using 5mm hook
Row 1: Sc in 2nd ch from hook and across, turn
Row 2: ch1 (does not count as st here or throughout), sc across, turn
Row 3: ch1, *2sc, 1sc, rep across from*, turn
Row 4-37: ch1, sc across with 9mm hook, turn
Row 38-39: ch1, 20sc across, turn
Row 40: ch1, sc across, fasten off
Attach on opposite site: ch1, 20sc across, turn
Rep for 2 more rows so that there are 3 rows of 20sc on each side of back
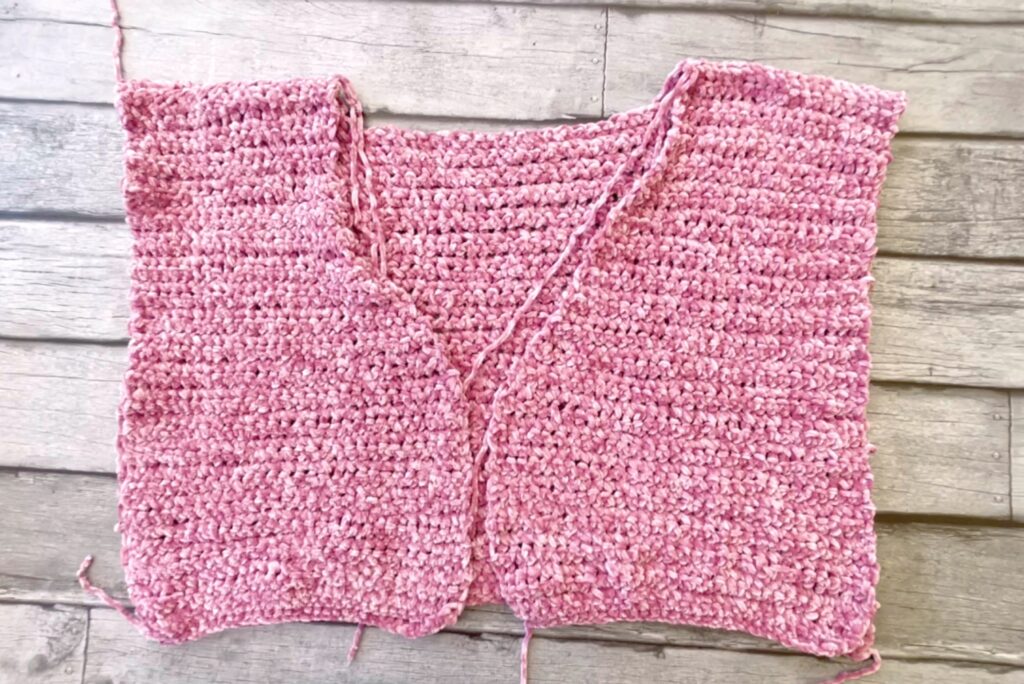
Front pieces (make 2):
Magic ring, ch23 using 5mm hook
Row 1: Sc in 2nd ch from hook and across, turn
Row 2: ch1, sc across, turn
Row 3: ch1, *2sc, 1sc, rep across from*, turn
Row 4-17: ch1, sc across with 9mm hook, turn
Row 18: ch1, sc2tog, sc across, turn
Row 19: ch1, sc across, turn
Row 20-36: alternate row 18 & 19
Row 37-40: rep row 19, fasten off
Arms (make 2):
Magic ring, ch31 using 5mm hook
Row 1: Sc in 2nd ch from hook and across, turn
Row 2: ch1, sc across, turn
Row 3: ch1 *2sc, 1sc, rep across from*, turn
Row 4-33: ch1 sc across with 9mm hook, turn
Row 34: ch1, sc across, fasten off leaving long tail
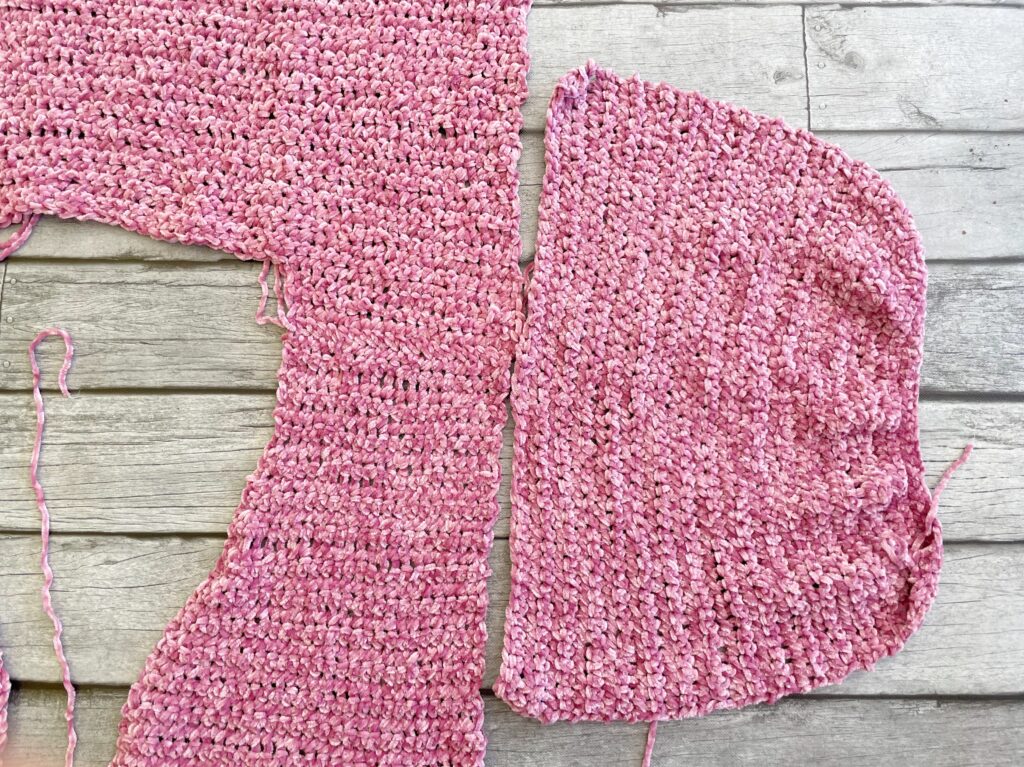
Now it is time to put all the pieces together. First, whip stitch the front and back pieces together at the top. Then lay the combined piece out as seen in the photo above and whip stitch the arms to the main piece. The center of the arm piece should line up with the top where the front and back pieces have been sewn together.
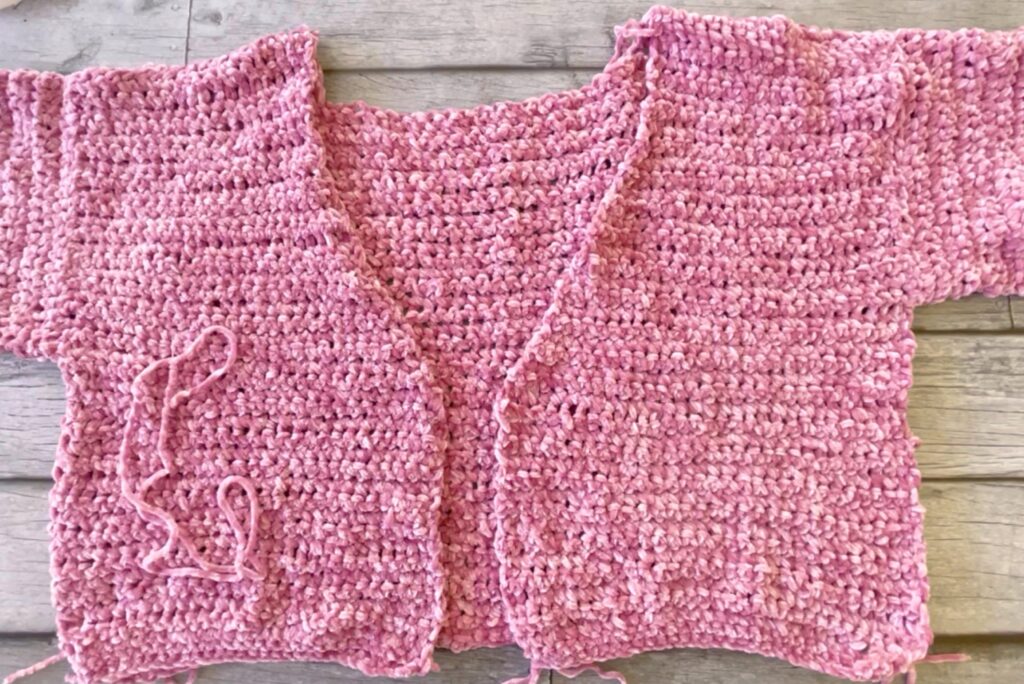
Then fold the piece together and whip stitch under the arm and along the side of the cardigan on both sides.
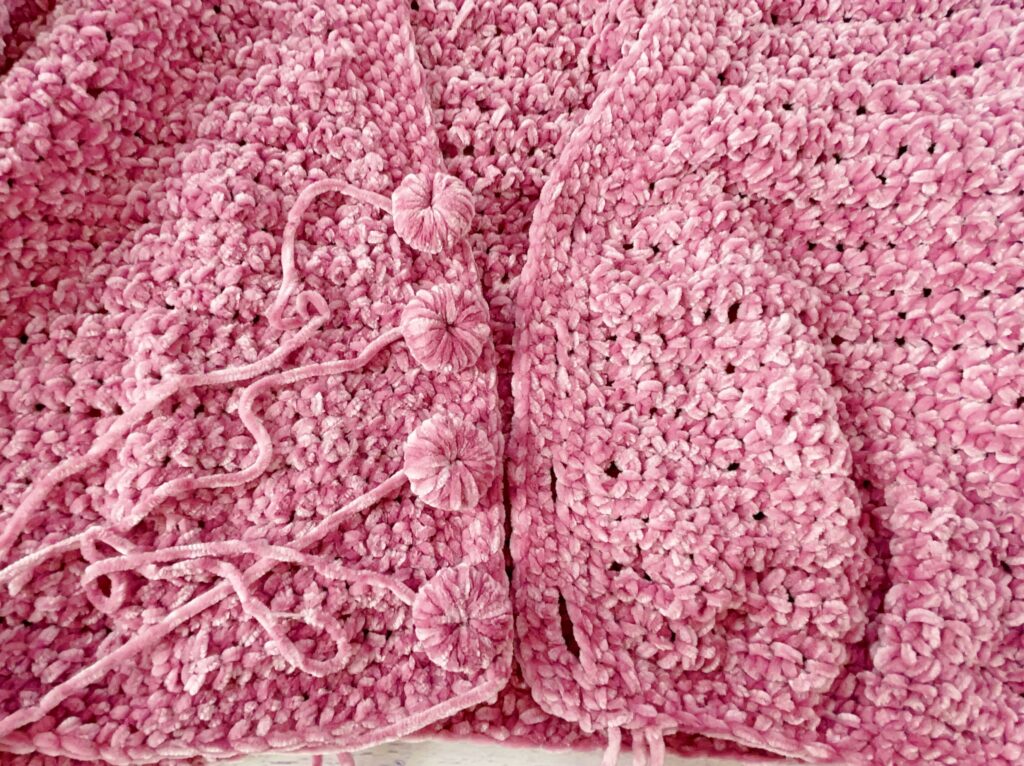
Finishing the band:
Starting on the RS bottom front corner, attach yarn with 5mm hook
Row 1: Ch1, sc along the edge evenly (1st per st) to opposite bottom front corner
Row 2: ch1, sc to end, turn
Row 3: ch1, sc2, ch4, skip 3st, sc3, ch4, skip 3st, sc3, ch4, skip 3st, sc3, ch4, skip 3st, sc to end, turn
Row 4-5: rep row 2, fasten off
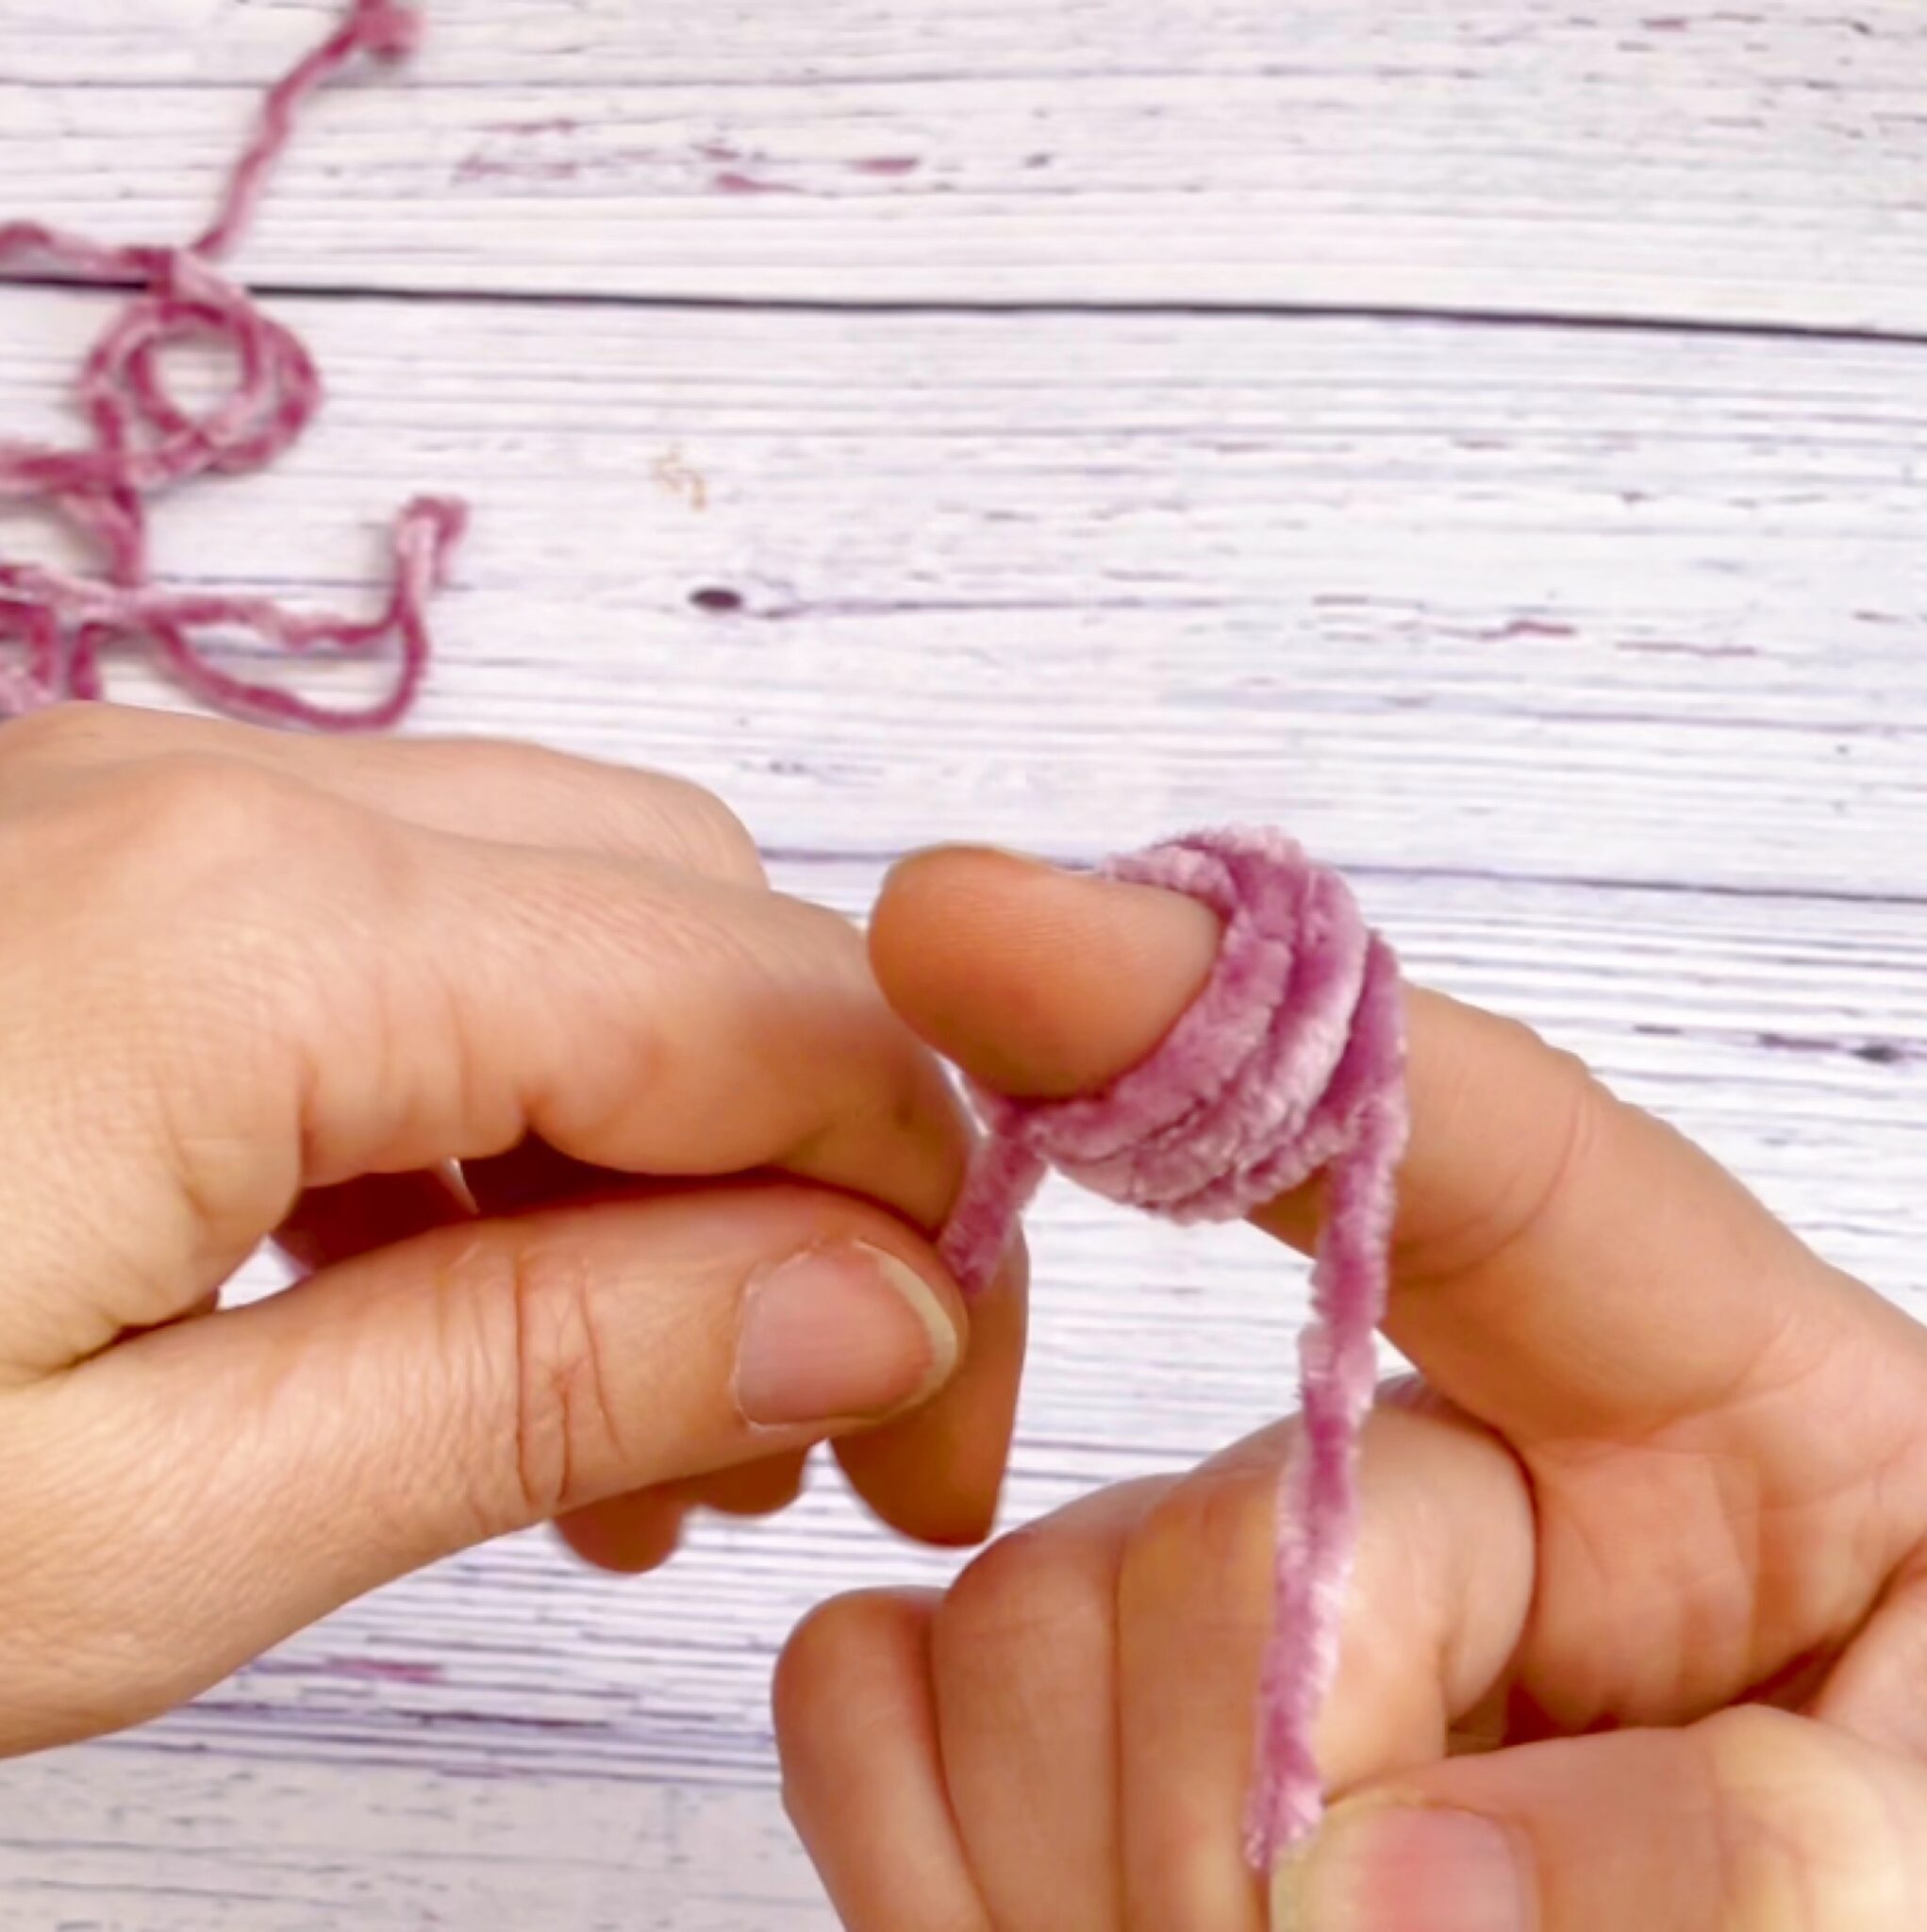
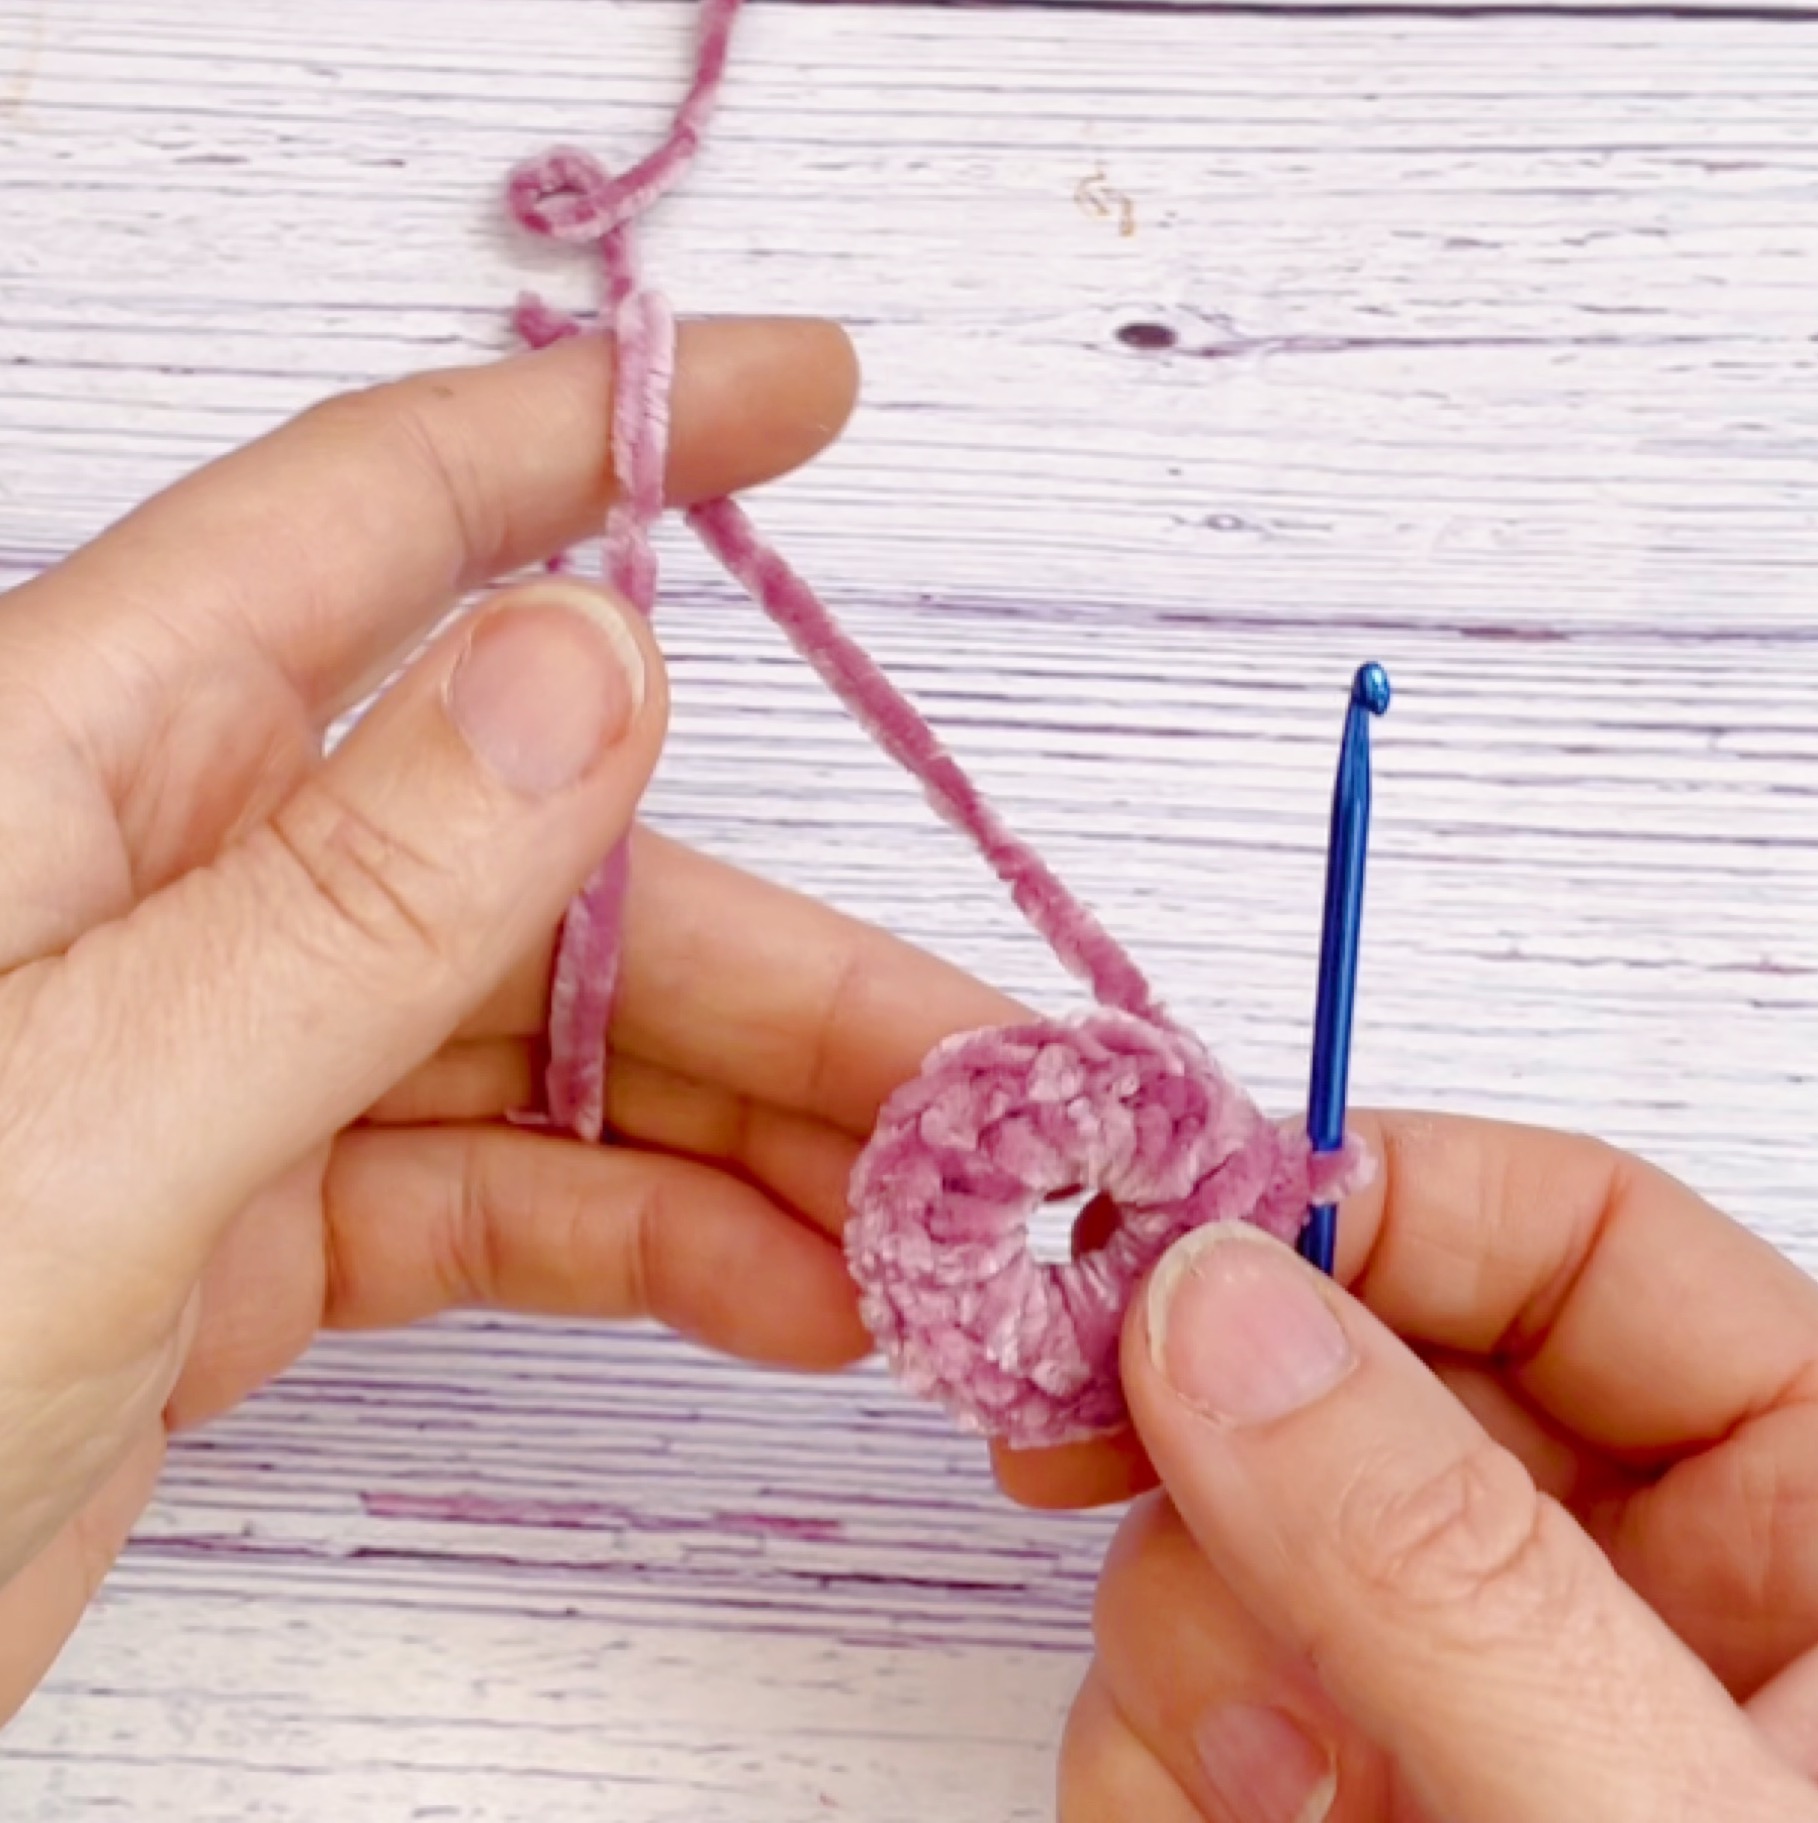
Buttons (make 4):
Wind yarn around pointy finger 7 times, using a 3mm hook, sc into this loop 17 times (this should cover entire loop. If not, add more sc)
Round 2-3: sc over previous sc 17 times, fasten off leaving long tail
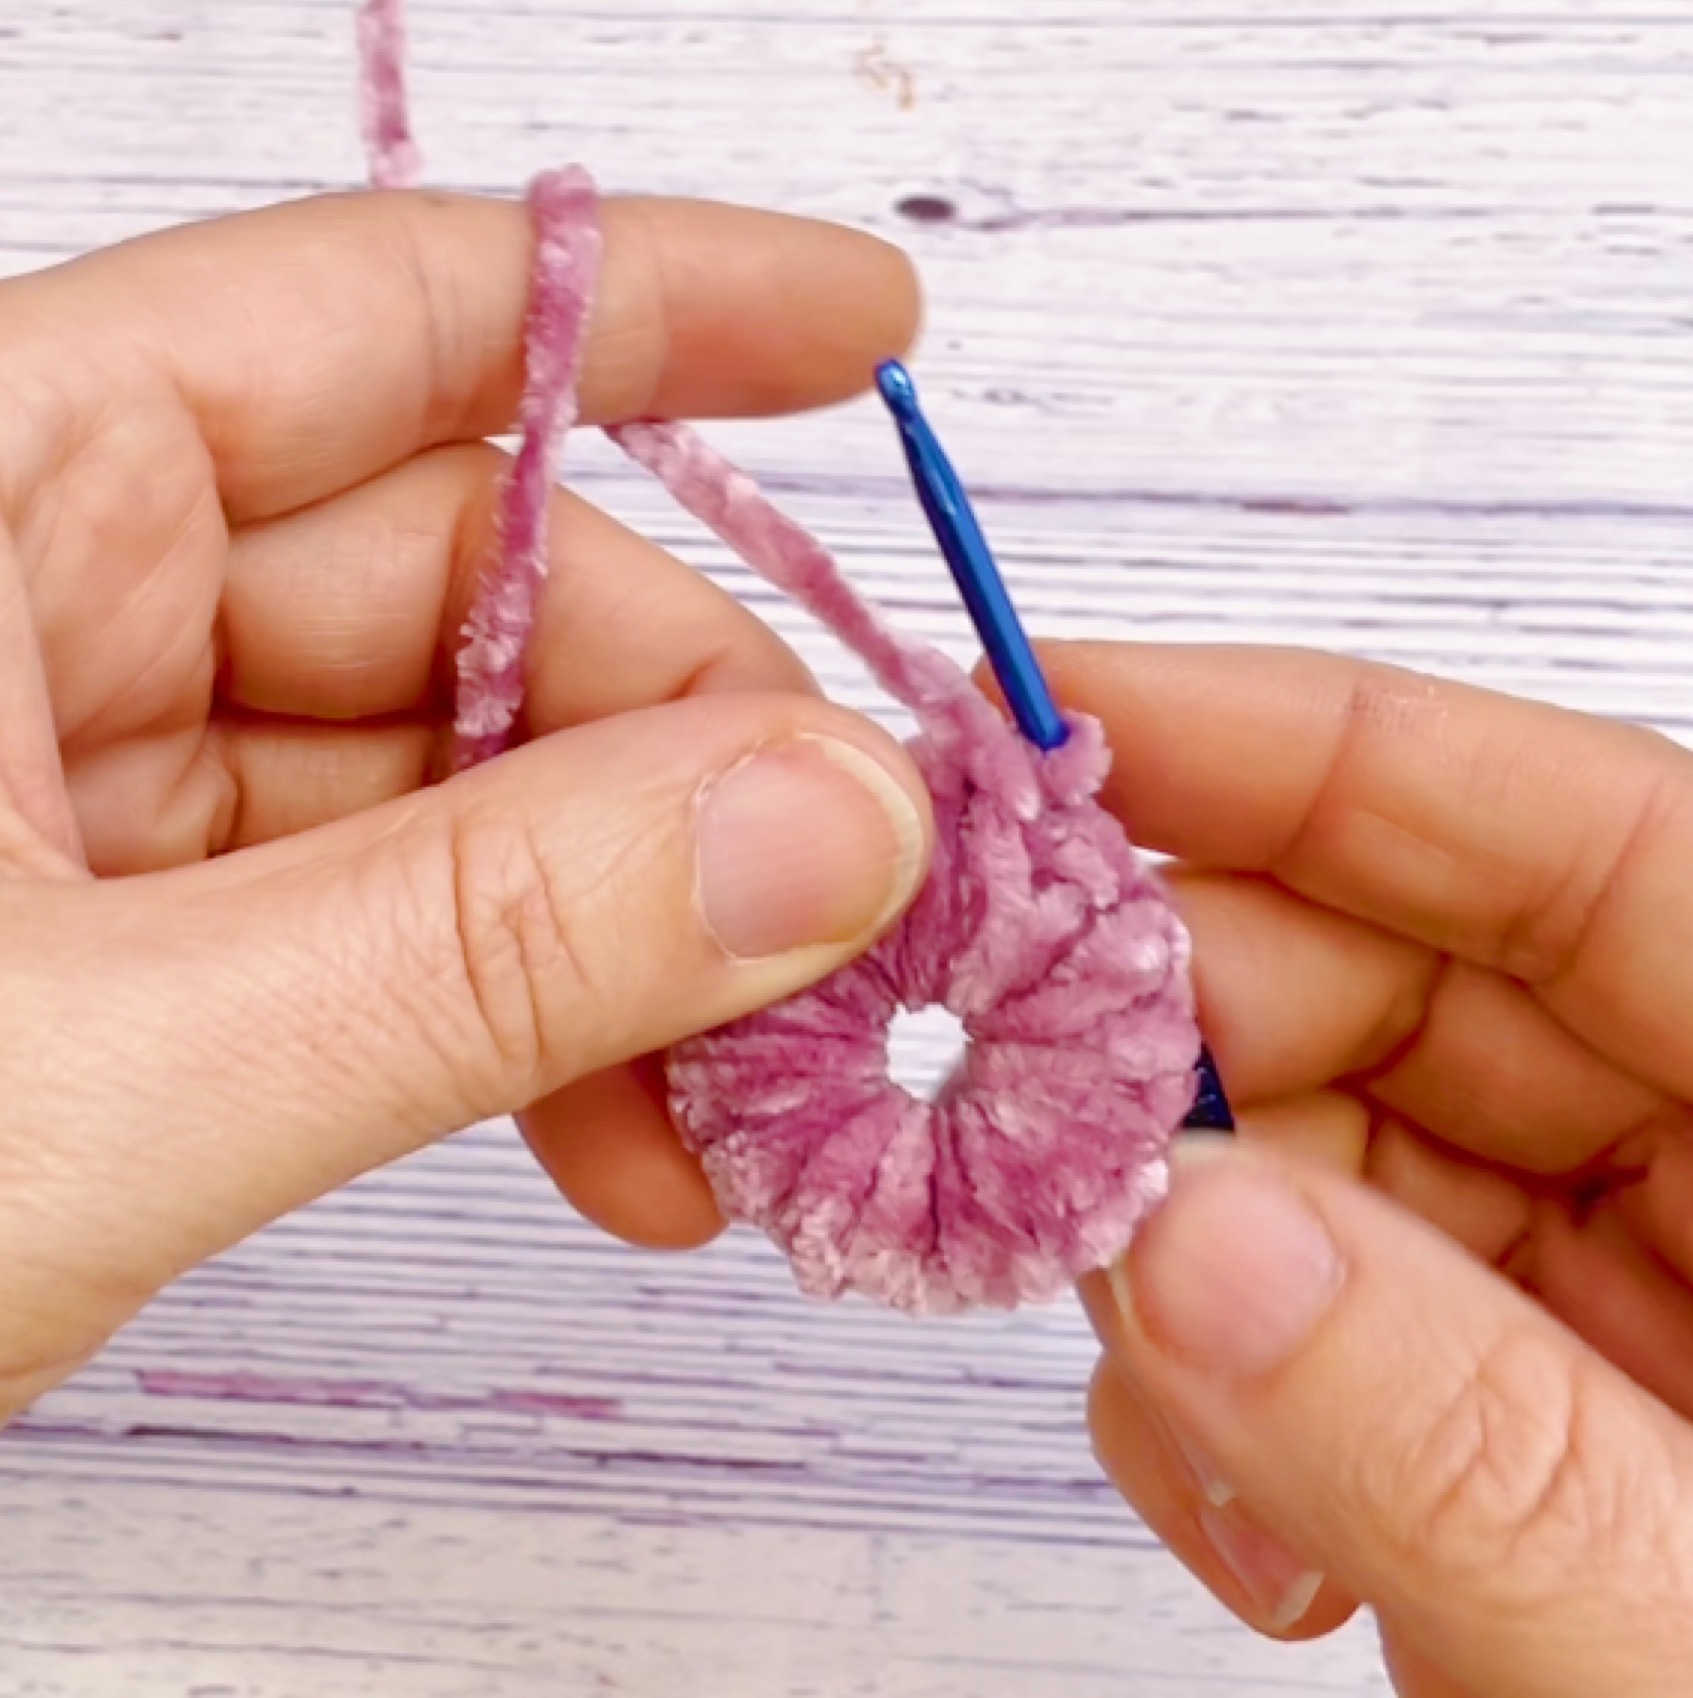
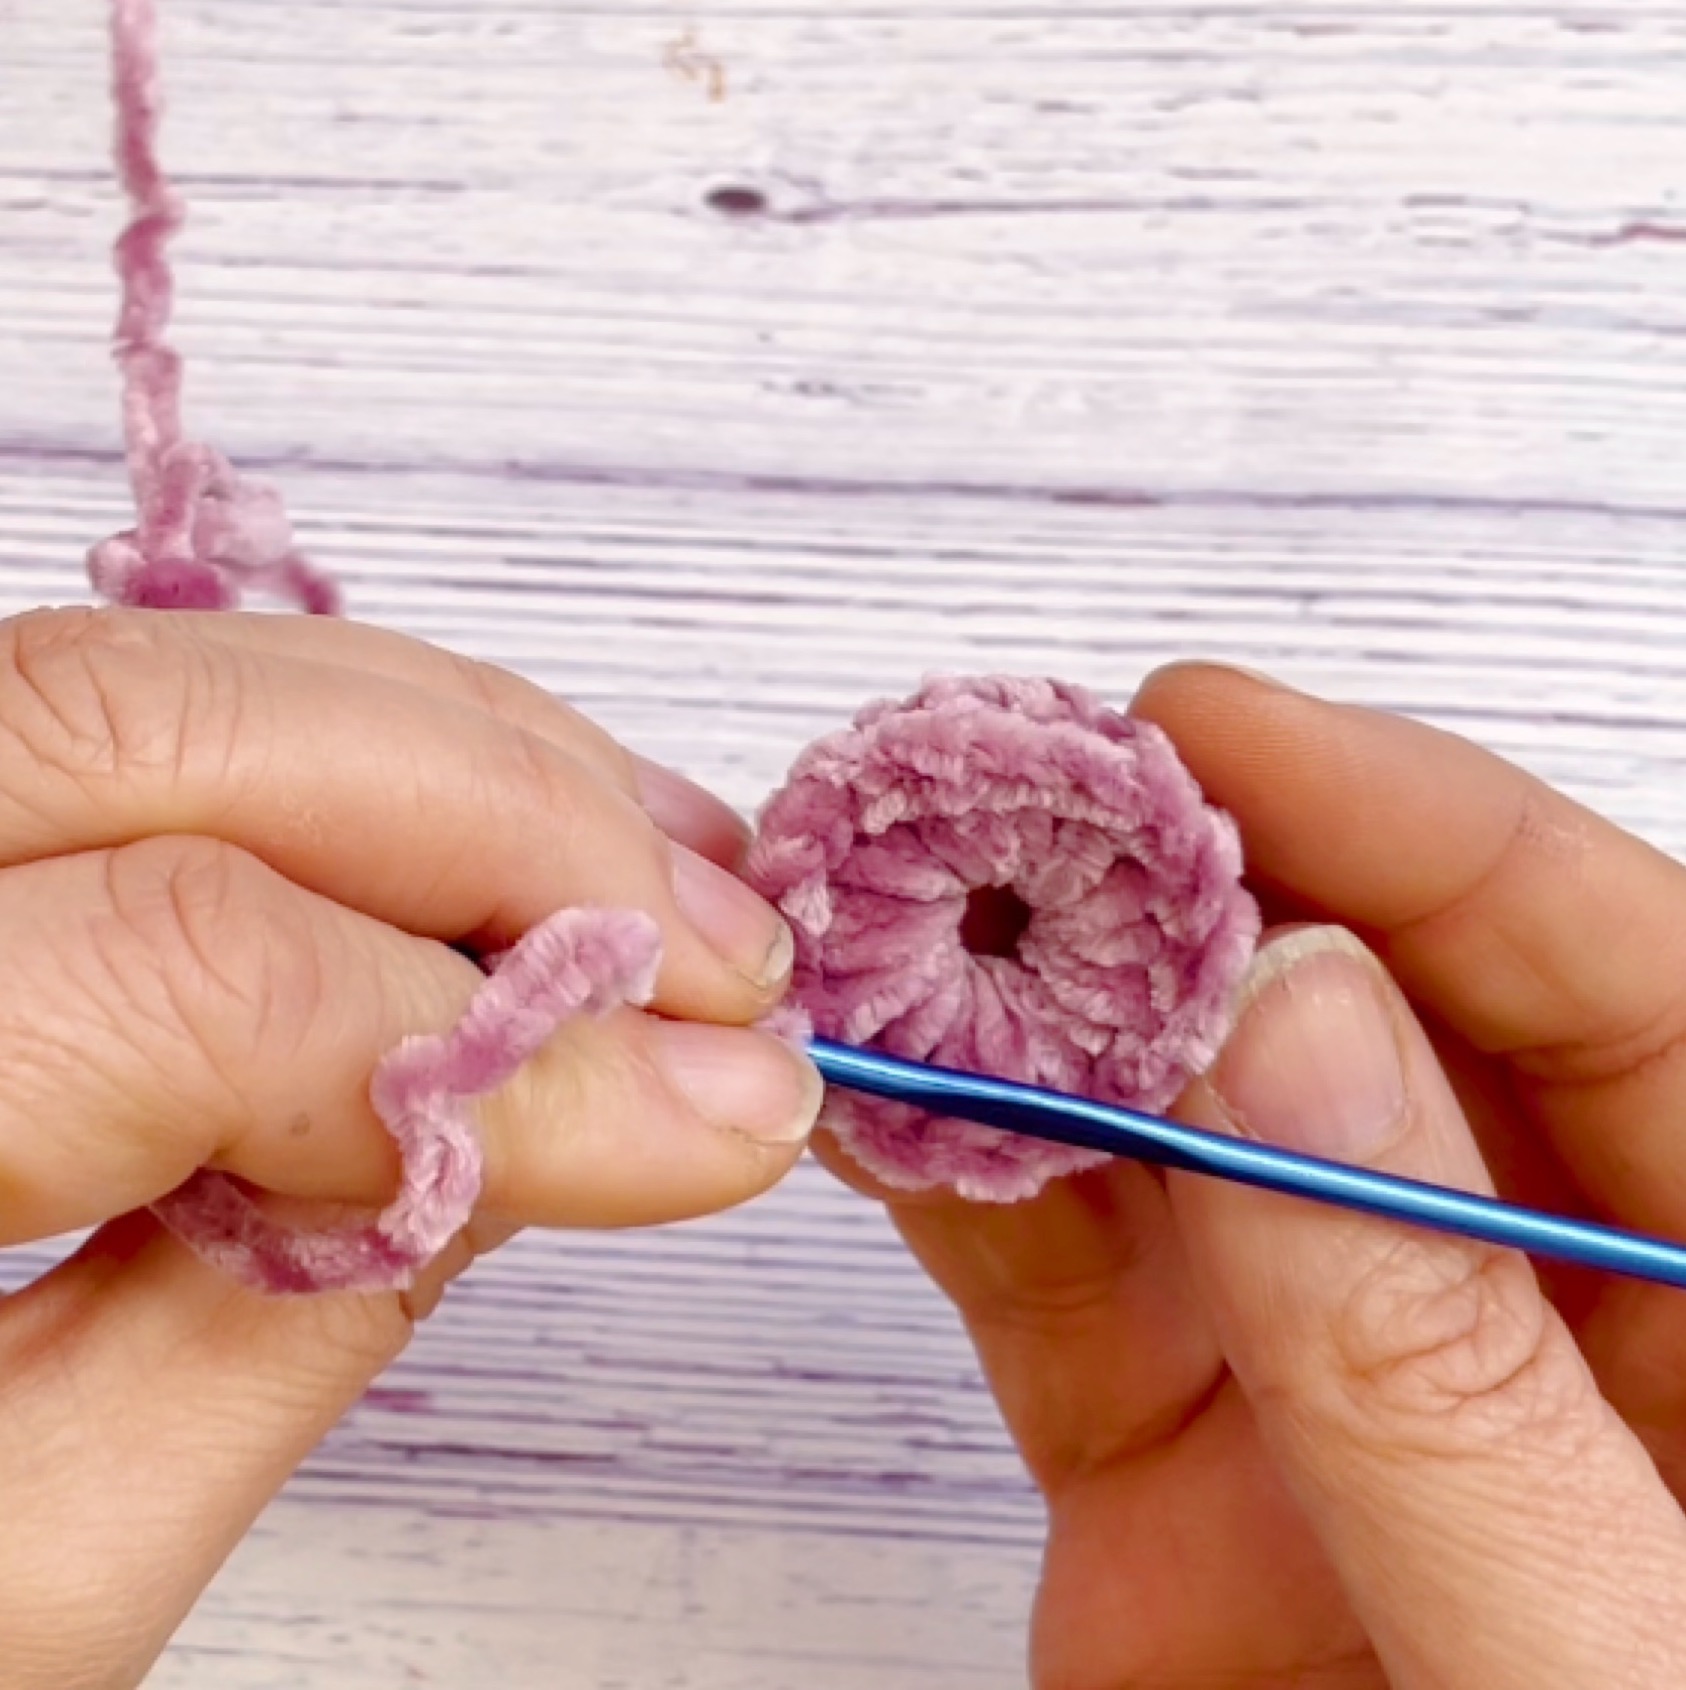
Using a needle, weave the tail back and forth through the tops of the 17 scs to pull them together in the center. This will be the back center of your button. Use the rest of the tail to attach the button to your cardigan opposite from the button holes.
You can get creative and make several different versions of this cardigan with longer arms and longer jacket part by adding more rows to all the pieces in the beginning.
I hope you will enjoy this Cropped Cardigan Crochet Pattern as much as I do. Comment below if you have any questions and show off your own crochet crop top here and on Instagram #kaileacrafts

- Icicles Cowl Crochet Pattern – Create this elegant cool weather cowl with a soft but thick bulky yarn.
- Rainbow Hat Crochet Pattern – Crochet this fun rainbow hat for the cold weather months..
- Houndstooth Boot Cuffs Crochet Pattern – Create this intricate yet easy pattern to warm up your legs.
- Velvet Sweater Crochet Pattern – Crochet this velvet sweater to cuddle up in during the colder months.