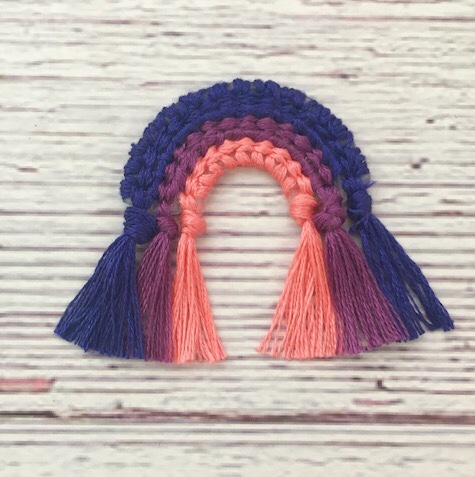
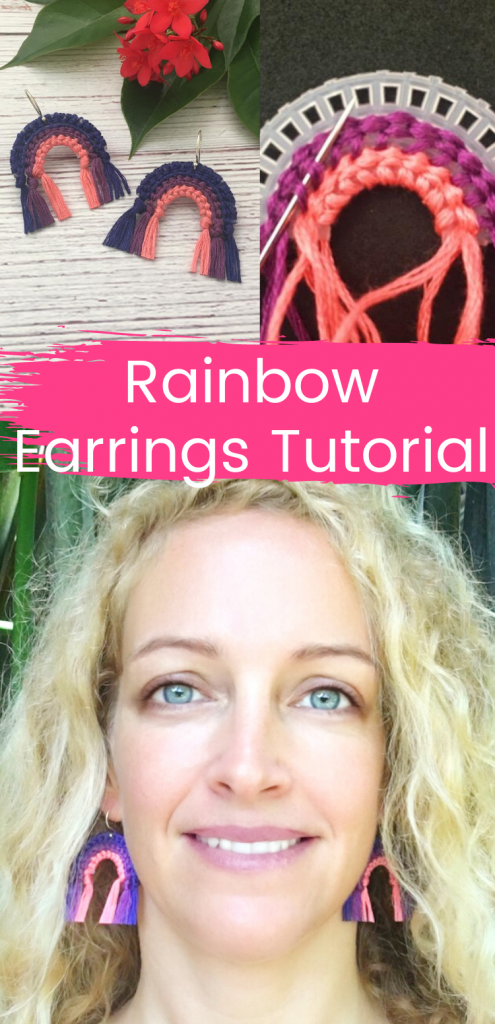
How to Make Rainbow Earrings in under 1 hour
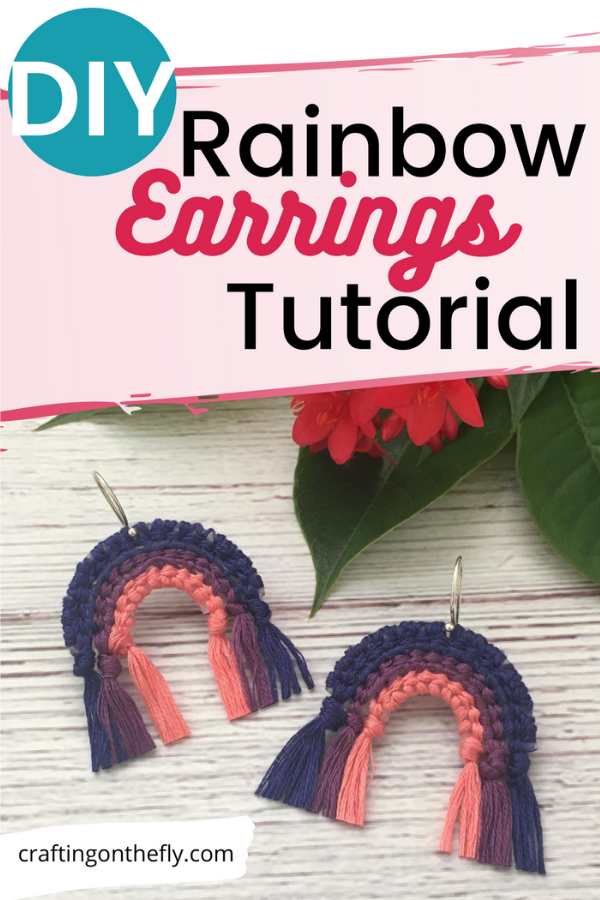
Rainbows can be found everywhere! And they put a smile on your face. Why not wear a little bid of that happy rainbow phenomena but with a twist in color choice. These easy DIY rainbow earrings can be made in any color combination. You can go for the traditional primary colors or a subtle combination that matches your favorite outfit.
The best part, they are so easy to make you don’t have to decide on just one color combo – just make a few different rainbow earrings.
Everyone knows how rainbows are formed, but I like how National Geographic describes it as “a multicolored arc made by light striking water droplets. The most familiar type rainbow, is produced when sunlight strikes raindrops in front of a viewer at a precise angle. The colors on a primary rainbow are always in order of their wavelength, from longest to shortest: red, orange, yellow, green, blue, and violet.”
As an Amazon Associate I earn from qualifying purchases. If you make a purchase through my link, I will make a small commission with no extra cost to you. “
Looking for more DIY jewelry tutorials?
You can also make some macrame feather earrings by following along with my Macrame Feather earring tutorial.
Or try my Macrame Necklace tutorial.
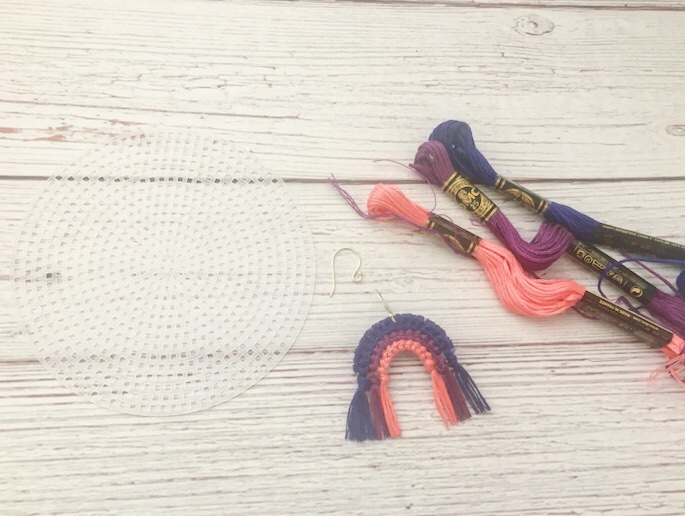
DIY Rainbow Earrings Materials
- DMC Embroidery Yarn in colors 791, 327 and 3706
- Plastic Canvas, 4.5″ round
- Fabric Stiffening Spray (or you can use sugar water)
- Earwires in Gold Tone or Stainless Steel
- Needles
- Comb
- Scissors
How to Make Rainbow Earrings
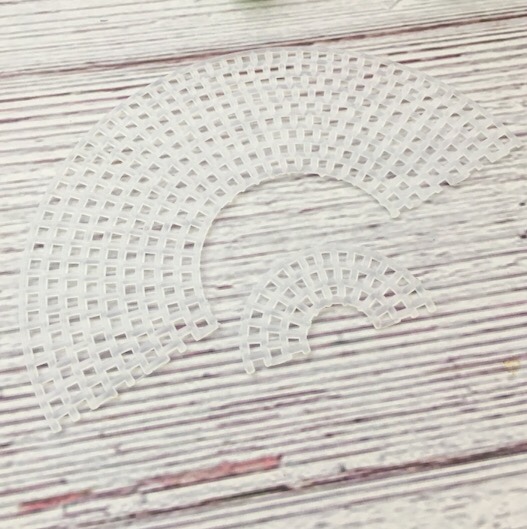
For this tutorial, I cut the plastic canvas across the middle along the straight line. Then I cut the inner 2 rows out, leave 3 rows for the earring and cut along the 4th row. This gives you 2 rainbows. A small one for the earring and a larger one that can be made into a rainbow wall hanging. I hope you can see the 2 cut pieces in the photo. I used a dark background for the rest of the tutorial once I saw that the canvas blends into the light wooden background 🙂
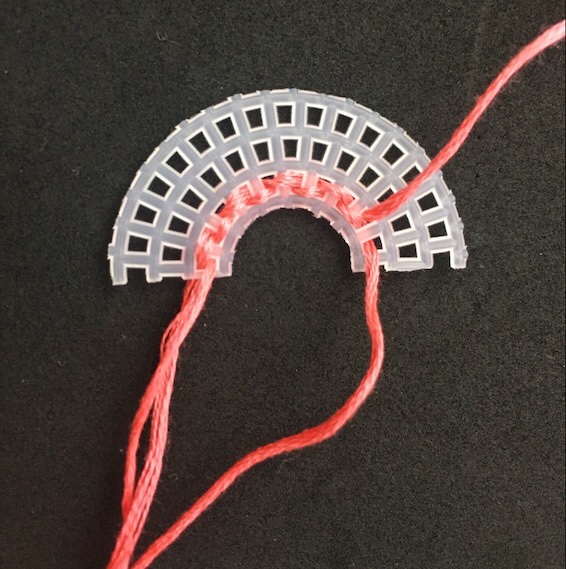
Start on the inside of the rainbow with a long strand of color 3706.
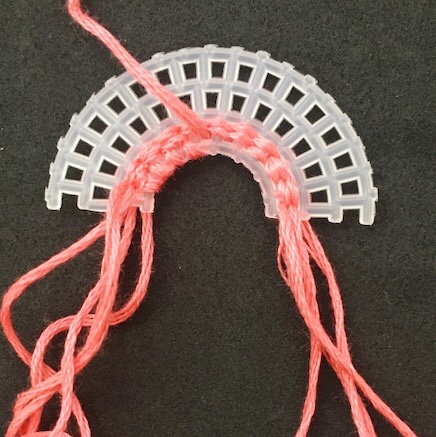
Let about 3″ hang from the end and weave in and out of the bottom row. Go back and forth 4 times. Twice for each way so you cover up the plastic slots from both sides. Leave a 3″ tail hanging on both sides that will later make up the end of the rainbow.
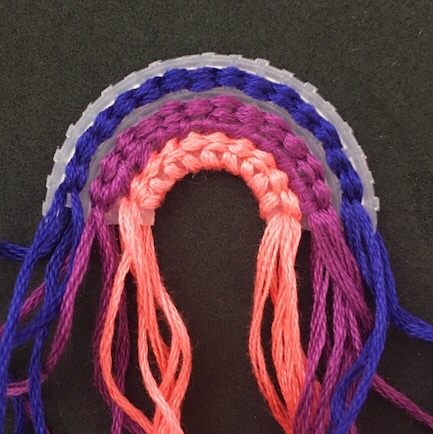
Then go around the bottom part of the plastic canvas to cover up that edge. I went into each slot twice so it all got covered.
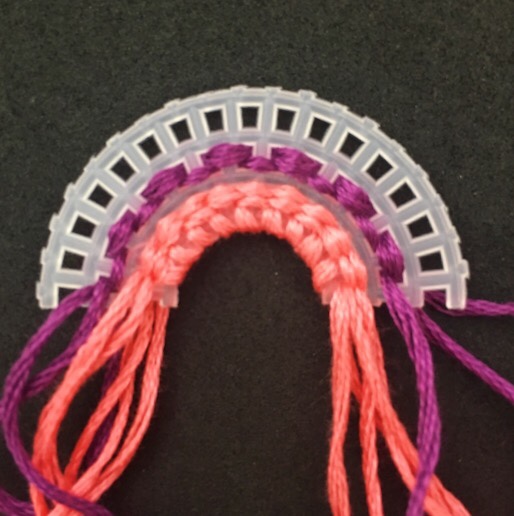
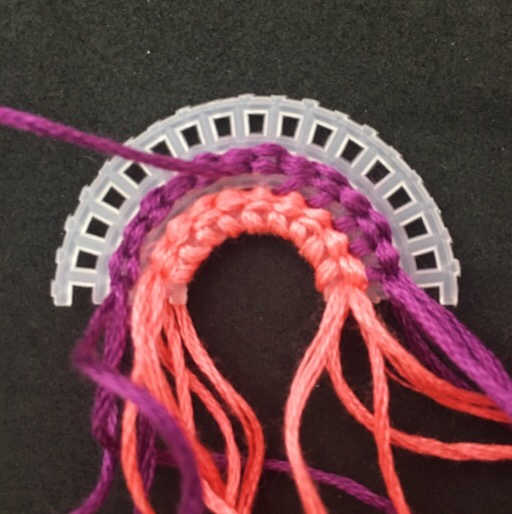
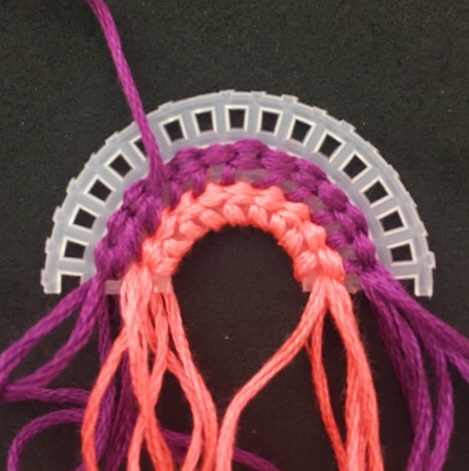
Then do the same for the next color. Weaving in and out 4 times to cover the plastic canvas.
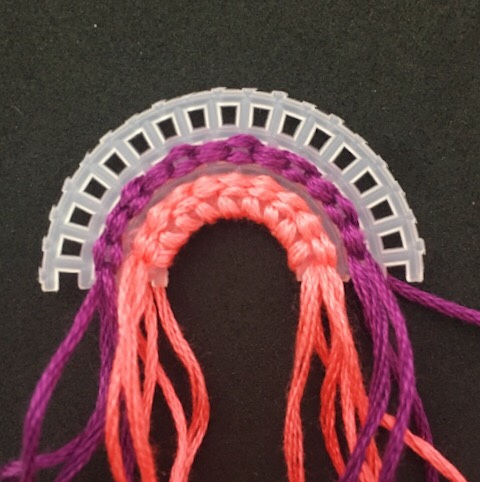
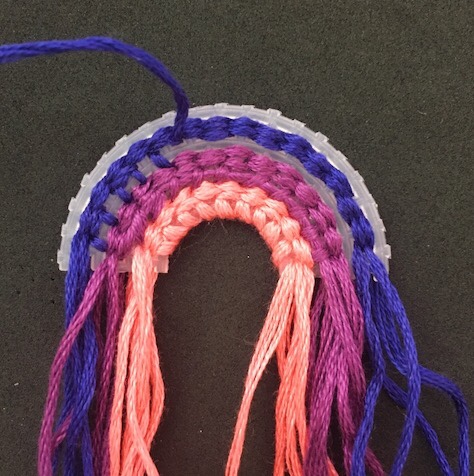
To cover the plastic canvas edge in between the 2 colors, make a row between the light and the dark color(1). Then weave back through that row(2,3)
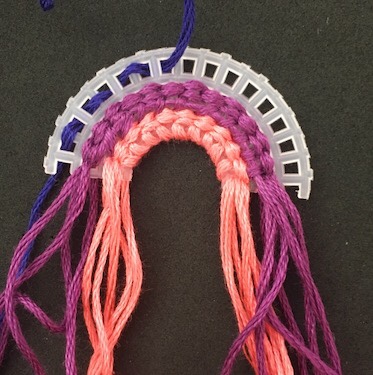
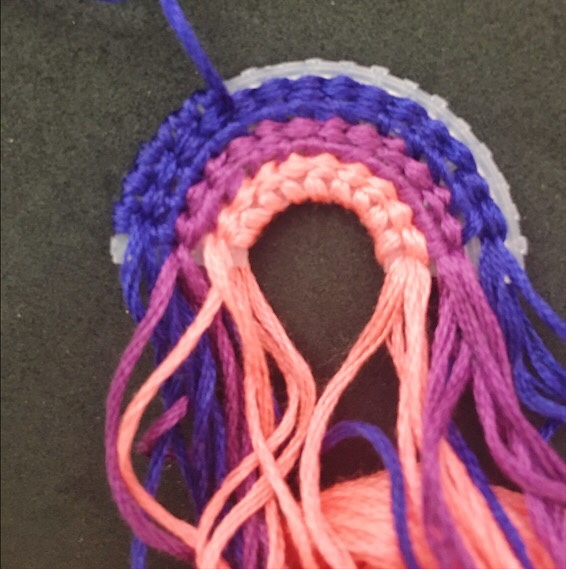
Do the same with the last color. First, weave in and out the slots 4 times (1.2) Then go back and forth between the blue and the purple (3) and fill in along those lines. Finally, weave around the top just like you did at the bottom (4)
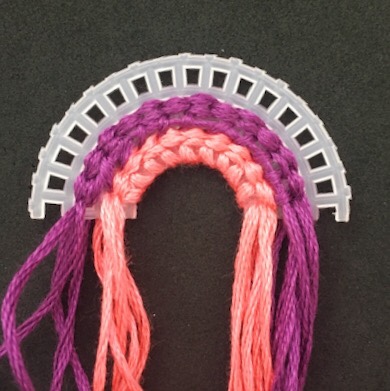
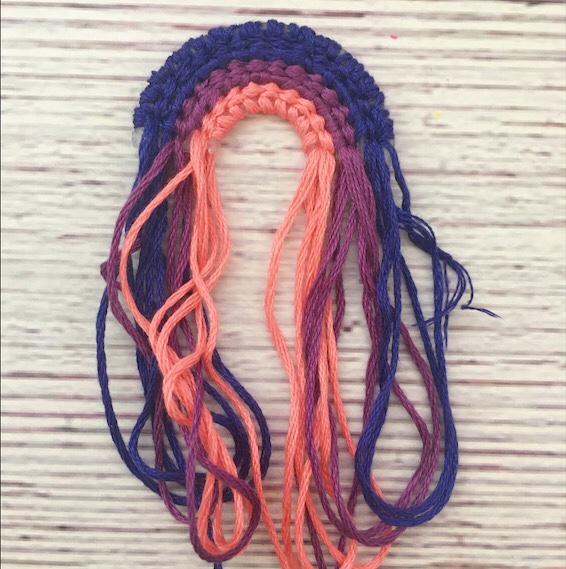
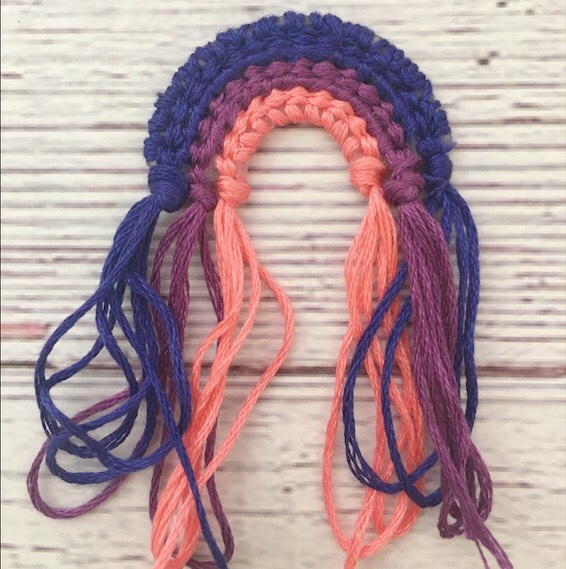
Then you have your filled in rainbow with long strands hanging below. Now you need to gather all strands of 1 color and tie a knot. So you end up with 6 knots.
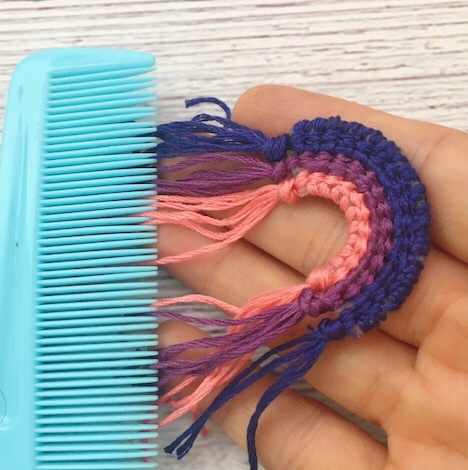
It’s time to cut the loops and comb out the strands so all the yarn pieces are separated.
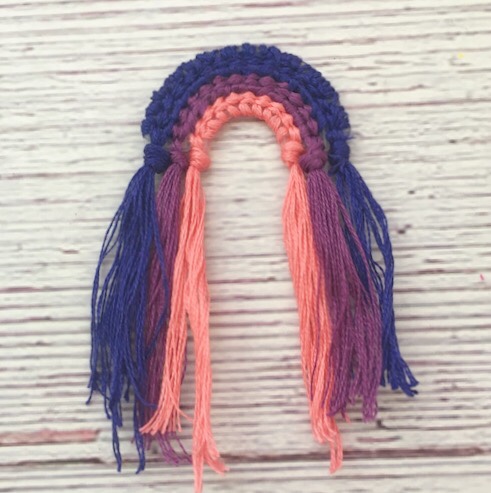
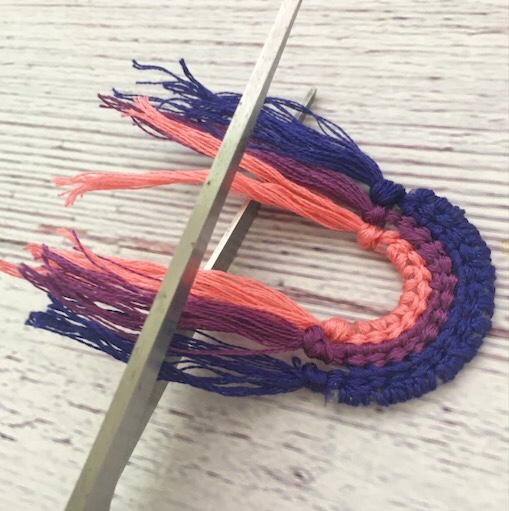
Now cut them to the length you like. At this point, it is great to spray it with the stiffening spray or dunk it in some sugar water. Lay it out nicely to dry flat. Make sure all the strands lay perfectly because the will become stiff. Once it is dry, give it another final precision cut.
All that is left is adding the ear wire to the top and your new rainbow earrings are ready to be worn!
More Free Jewelry Tutorials
Want to make even more fiber accessories? Check out these Crafting on the Fly creations!
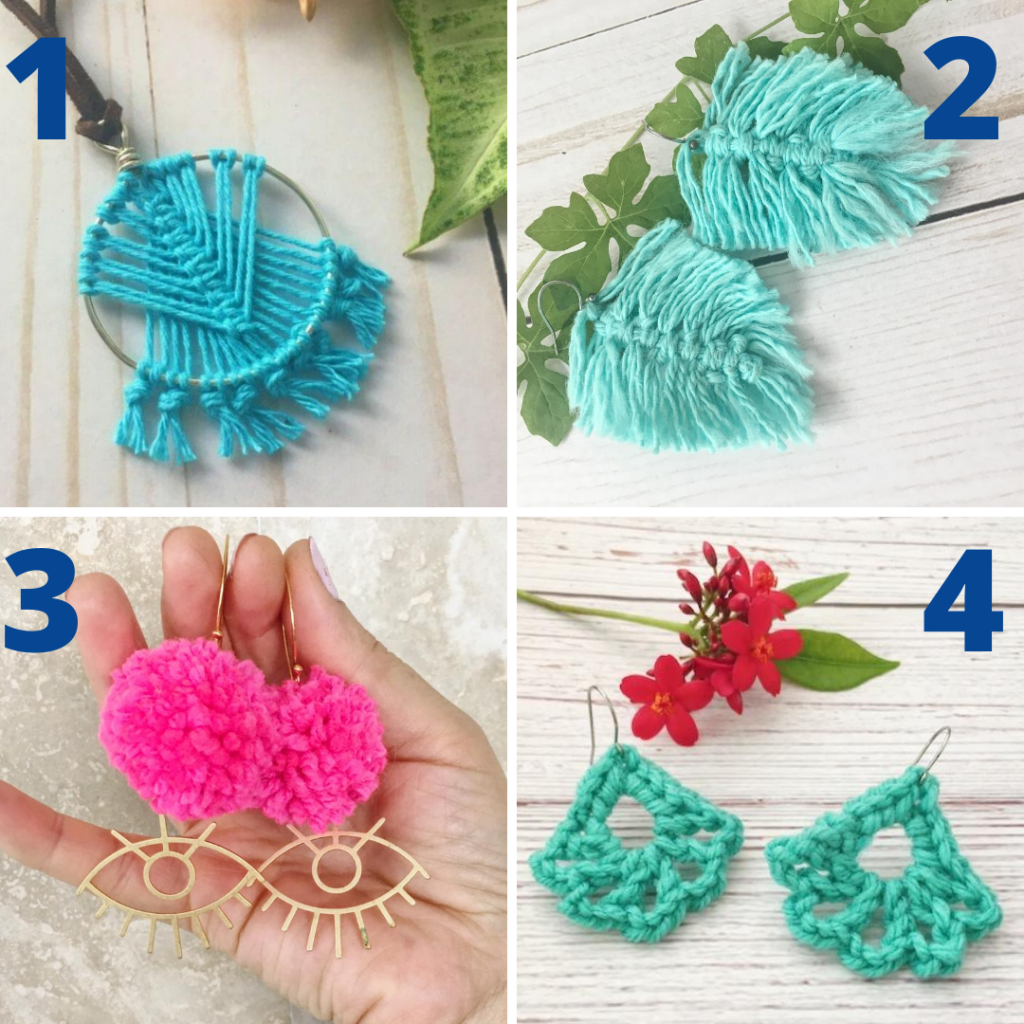
- Macrame Necklace – Create a stunning geometric macrame necklace.
- Macrame Feather Earrings – Easily create macrame feather earrings using a single macrame knot.
- Pom Pom Earrings – Add a pop of color with these ey opening pom pom earrings.
- Crochet Statement Earrings – These crochet earrings are quickly made with some leftover yarn and will complete your summer outfits.

