
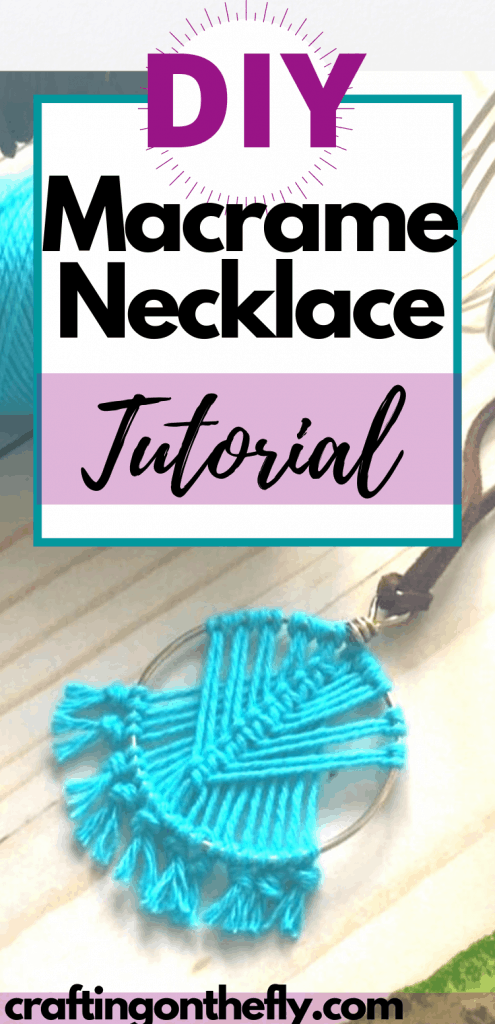
Macrame is all the rage nowadays! And I do love creating macrame pieces such as this Hair Pin since it is such an easy and fast craft. This macrame necklace really only uses one macrame knot, but the finished piece of jewelry looks much more complicated. It is one of those pieces where strangers will ask you how you did that and you just smile…

As an Amazon Associate I earn from qualifying purchases. If you make a purchase through my link, I will make a small commission with no extra cost to you. “
Macrame Necklace Materials:
- 3mm macrame cord
- 16g wire to make the 1.5″ round frame or use a pre-made frame
- Pliers to bend the wire into a circle
- leather cord for the necklace part
- clipboard to easily hold the top of the wire frame so you have your hands free to knot
1. Make the frame & cut 10 12″ long strings
For the base of the necklace, you need to make a 1.5″ round shape with the wire and twist the top into a loop. Alternatively, you can also use these 40mm hoops.
Then you also need to cut the string into ten 12″ long pieces. Now you are ready to start your macrame necklace.
2. Attach strings to frame with Larks Head knot
Fold the 12″ pieces of macrame string in half and loop them onto the round wire frame with Lark’s Head knots as shown below.
Here is a quick video of the Lark’s Head knot and how to add the string to the frame!
3. Set up the strings

Place 5 strings on the left side and 5 on the right.
Secure the top of the wire frame in a clipboard so you have your hands free to tie the knots.
Then single out 1 string from the left and 1 from the right in the center. So the 2 strings that meet in the center. And then also the one string to the left and 1 to the right. This is where you start with your first square knot.
4. Make 9 Square knots down the center
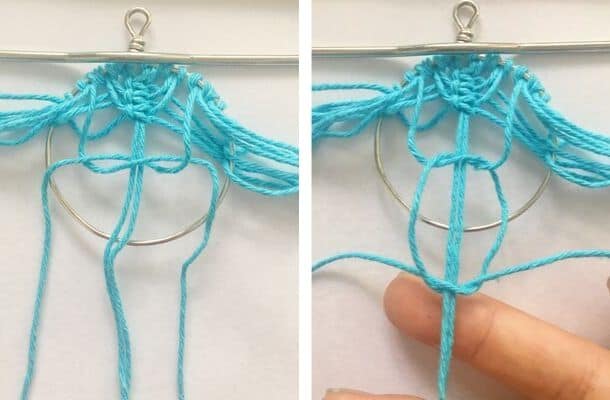
The 2 strings in the center stay and you just keep making square knots with the outer strings and leaving the previous string underneath to the side.
Make sure to keep them all facing the same way. I just think that looks better that way, but you can also experiment with it
Here is another video of the square knot and how to finish the necklace.
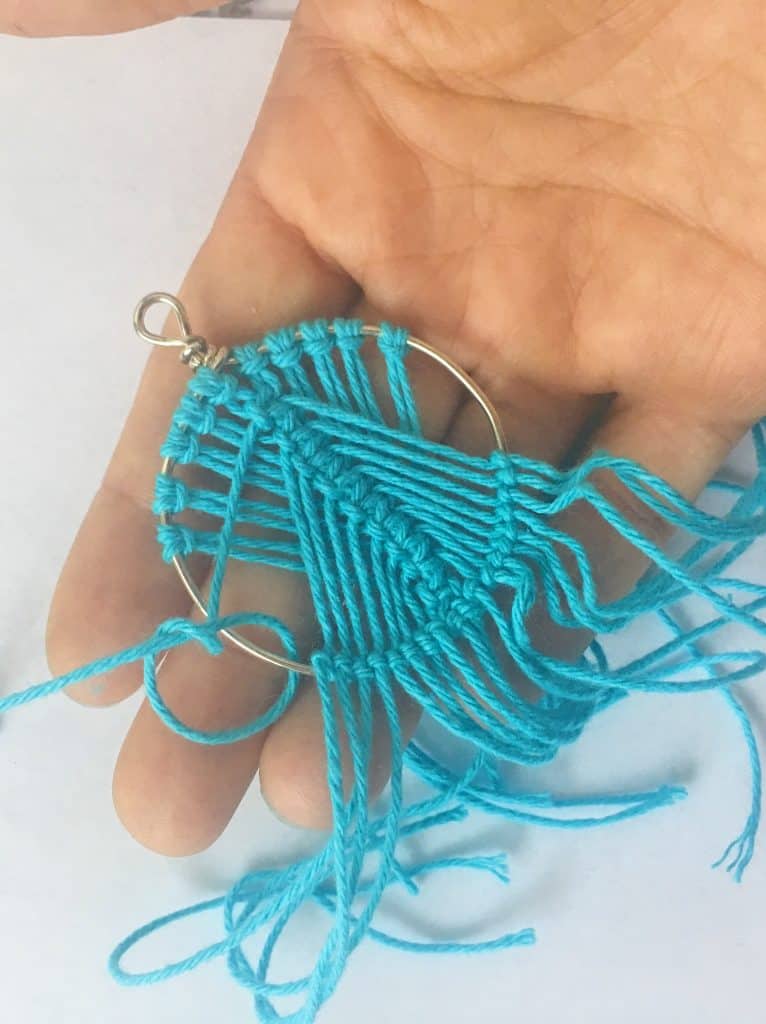
5. Adjust the knots

Once you are finished with all the knots, push the string to the back of the frame so it looks like this.
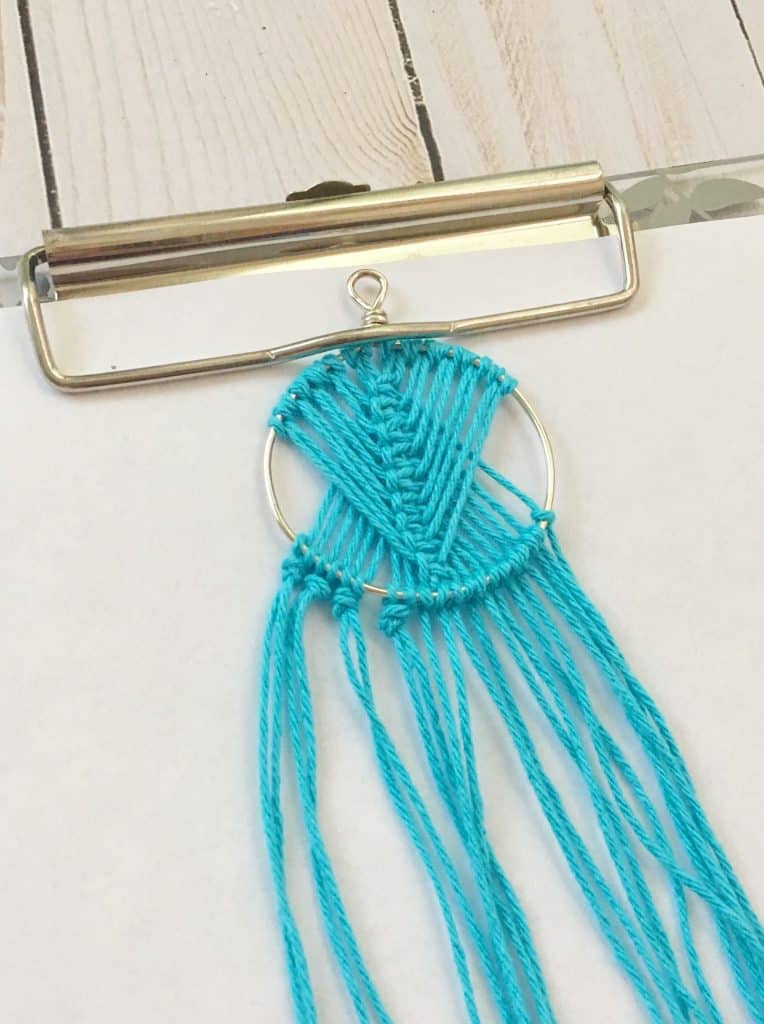
Now you have to secure the string to the bottom of the wire frame. Make sure everything is tight and balanced between the left and right side.
6. Secure all strings with a knot at the bottom
With each string, loop over the wire frame and backwards through the string to make a tight knot.
Now, take 2 strings at a time and tie them in a knot.
7. Finish necklace
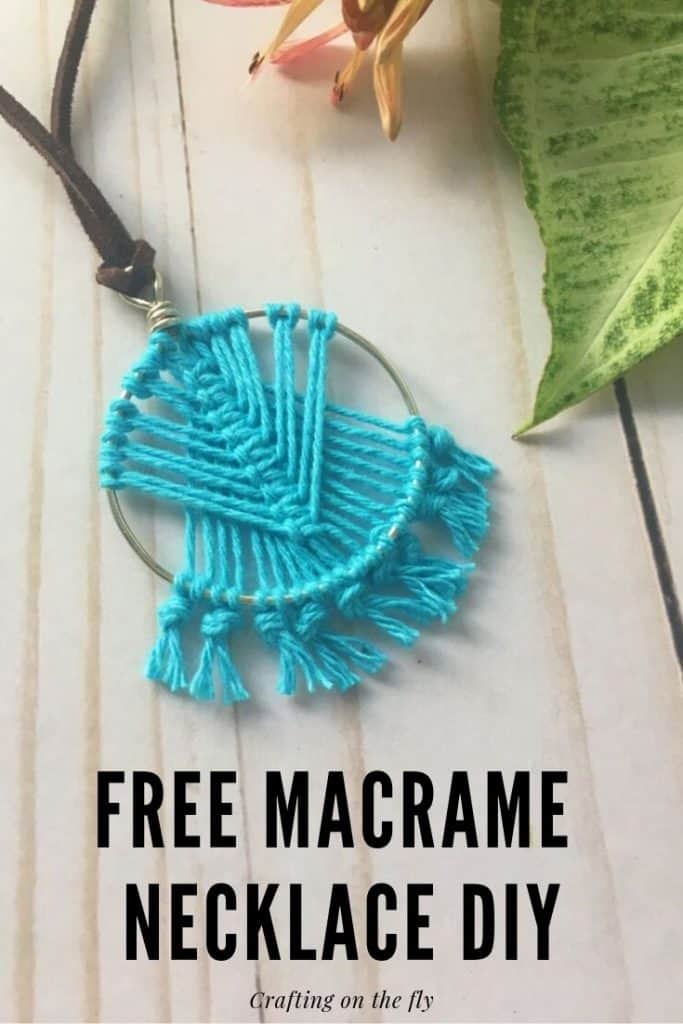
Once you are finished wit h all the strings, you can cut them shorter to the length you like and fray the ends with your fingers.
Now all that is left is to add a leather string and you are ready to wear your macrame necklace!
Pro Tip!
Now that you made your first necklace, you can make a matching pair of earrings with smaller hoops and only 6 or 8 strings. Just make sure it’s an even number!
I hope you have fun with this beginner macrame project. Comment below if you have any questions and show off your creations her and on Instagram #kaileacrafts
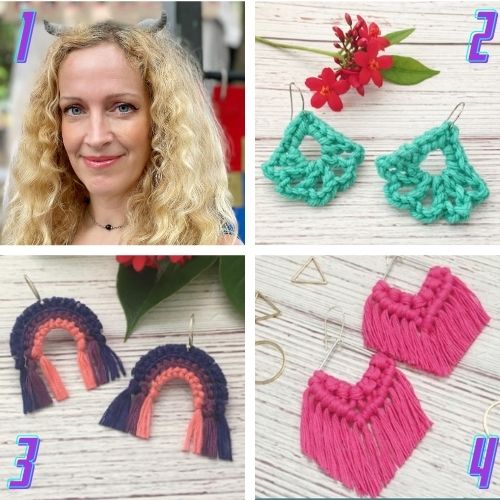
- Cosplay Horns – Create cute horns with air dry clay
- Crochet Earrings – Crochet fun dangle earrings
- Rainbow Earrings – Stitch these large rainbow earrings
- Macrame Earrings – Make these macrame statement earrings