
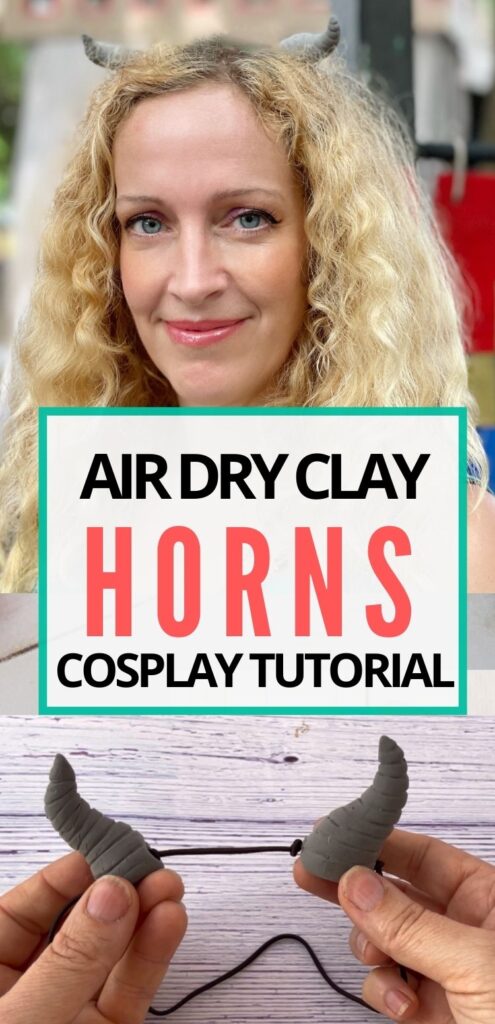
How to make Horns for Cosplay with this easy & quick DIY Tutorial
I am so happy that the South Florida Renaissance Festival is back to Deerfield beach again this year! There are so many interesting stands with the most fantastical things to buy. The most prominent ones are the stands with all kinds of different cosplay horns. They are made from ceramics and come in all kinds of shapes and colors. Unfortunately, they are not cheap!
So once I was home, it got me thinking about what I can do to create cosplay horns like that. Then I saw the air dry clay my daughter was gifted for Christmas and I realized that it would be the perfect medium to use. It is lightweight and comes in many different colors. So you can create many different styles of horns – small fairy horns, deer horns or larger rams horns. You can even spray paint them with glitter paint to make them stand out even more.

You can buy the ad-free printable PDF for this Cosplay Horns Tutorial on Etsy. Thank you for your support!
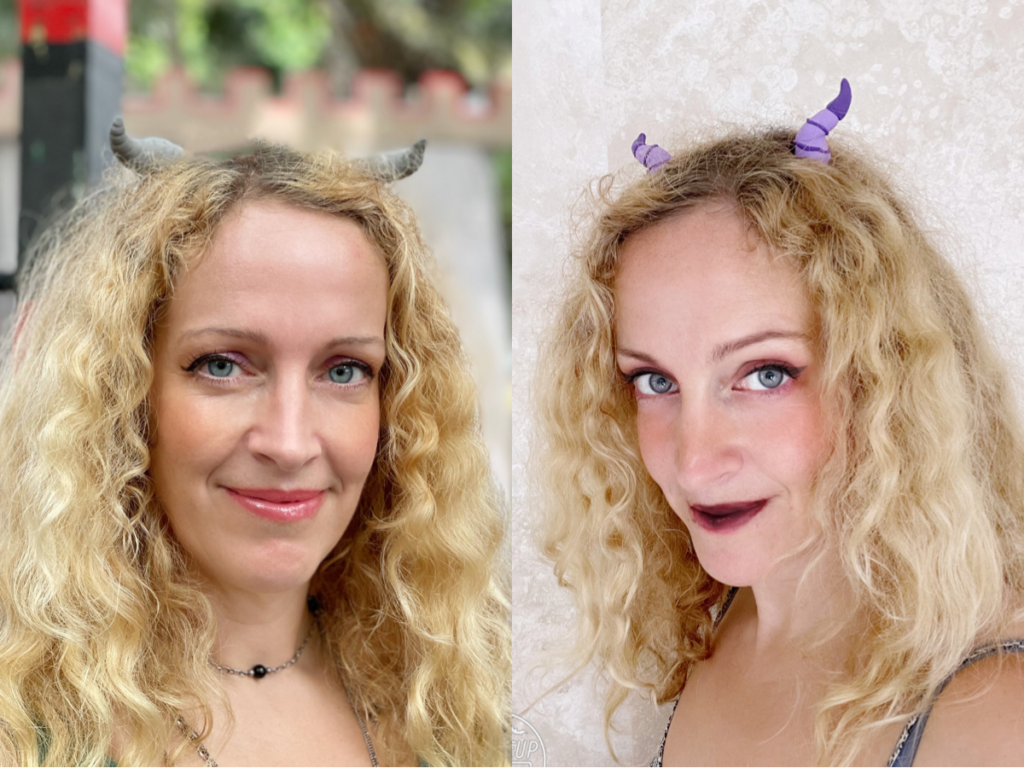
I made my horns with the traditional grey color and slightly twisted. Then my daughter made a second set in purple and more pointed so you can see that the sky is the limit in what you can create.
As an Amazon Associate I earn from qualifying purchases. If you make a purchase through my link, I will make a small commission with no extra cost to you. “
Cosplay Horns Materials
- Air dry clay (this one has lots of different colors to play with) White Air dry clay (this is just a bucket of white air dry clay if you like to paint it anyway)
- elastic string (I used the dark brown to hide in my hair)
- long needle
- pencil
- Scissors
How to make Cosplay Horns
Choose the colors you would like to use. I used the gray and 1 small container was enough for both horns. So I took everything out of the small container and divided it up evenly.
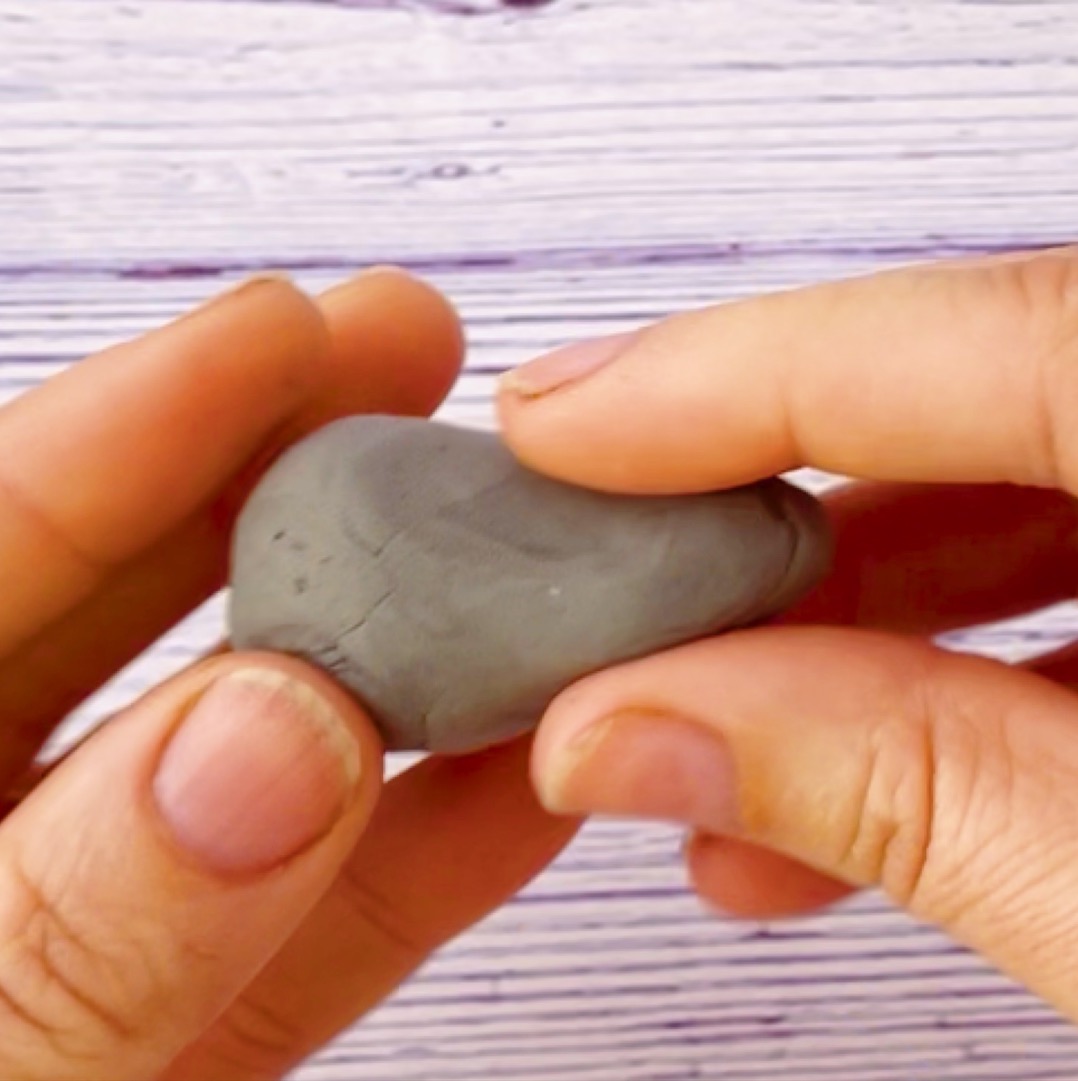
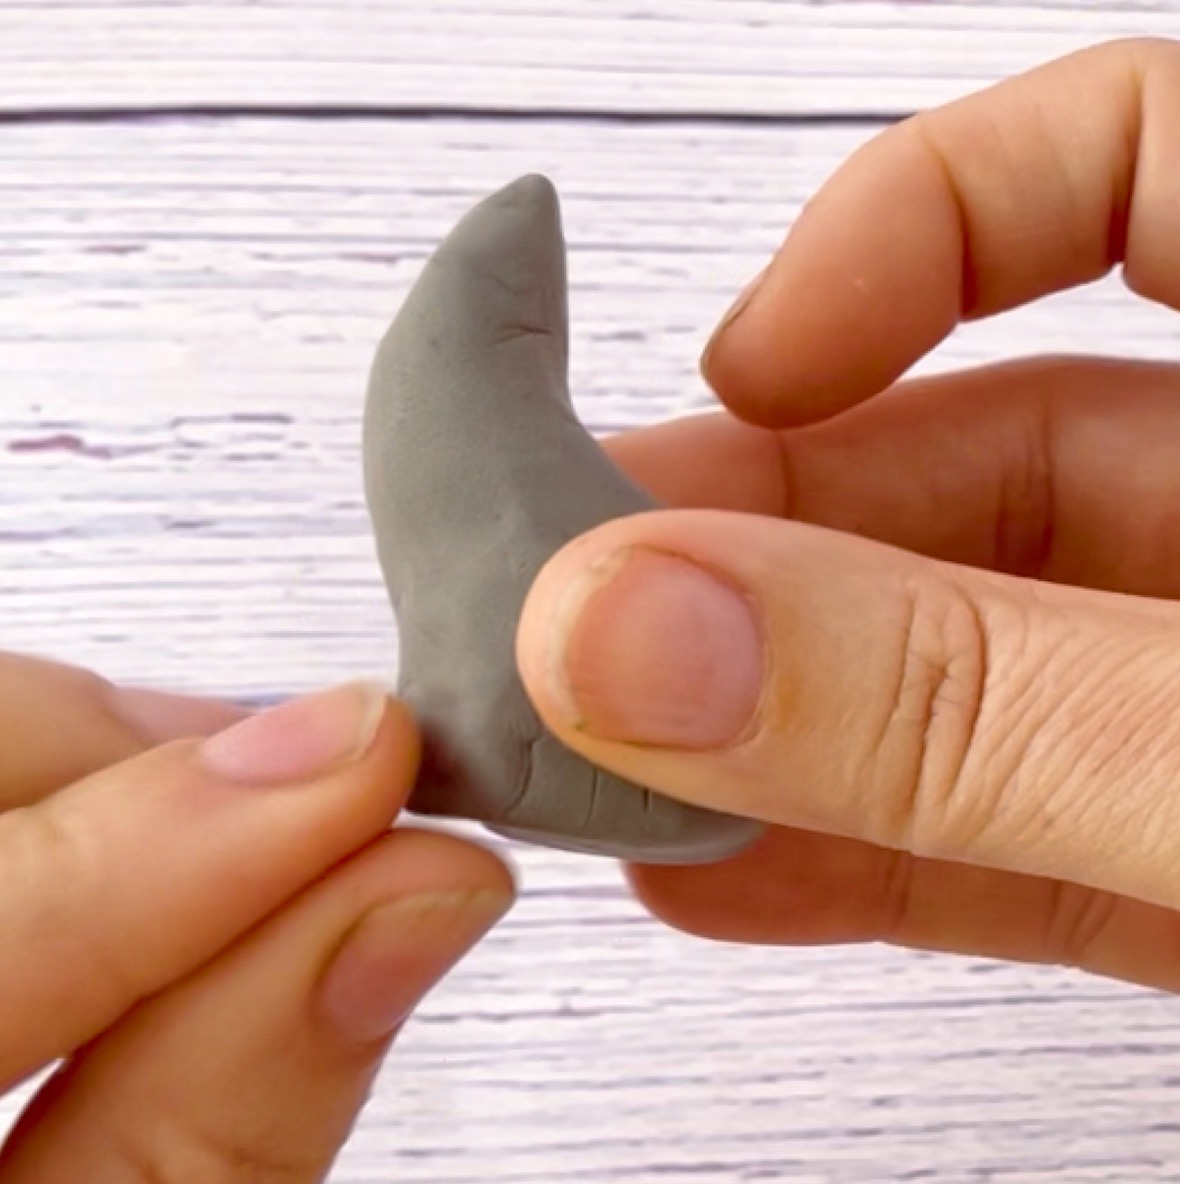
First, I rolled the clay into a cone shape between my hands. I then flattened out the bottom and formed the top into a tip. Then I twisted the cone shape to make it look more like a horn.
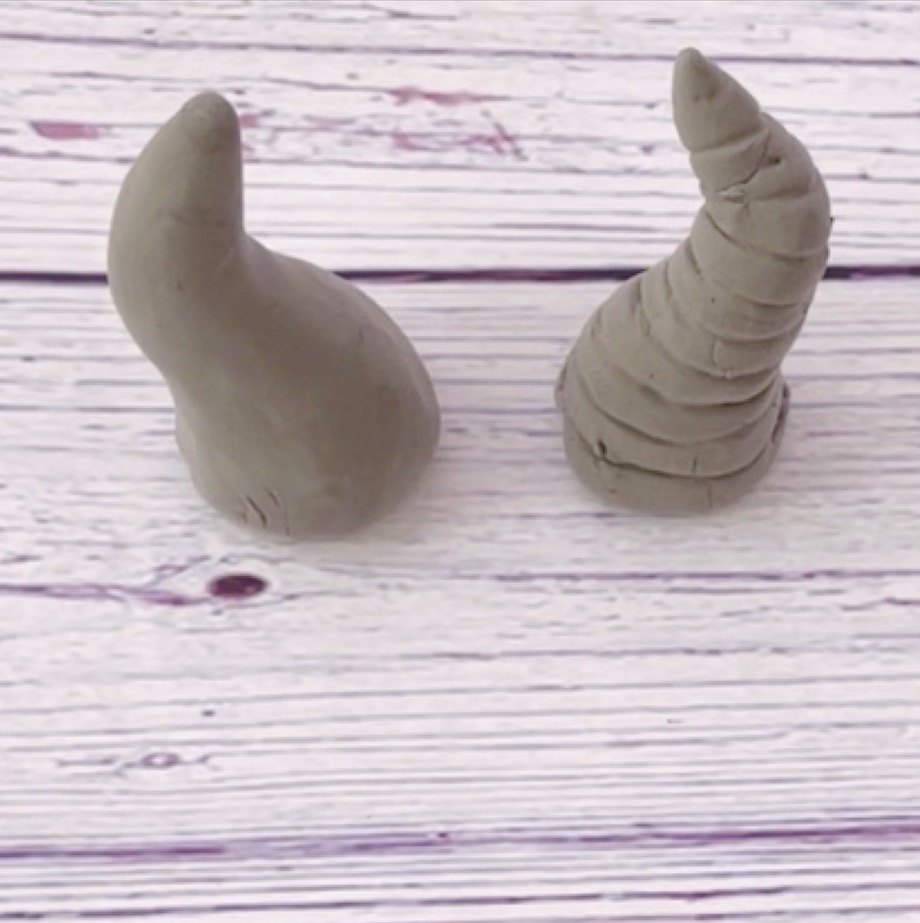
Here you can see the 2 horns and how they are twisted the opposite way. It is hard making the second one look like the first, but they do not have to be perfect matches. Nothing in nature perfectly matches either.
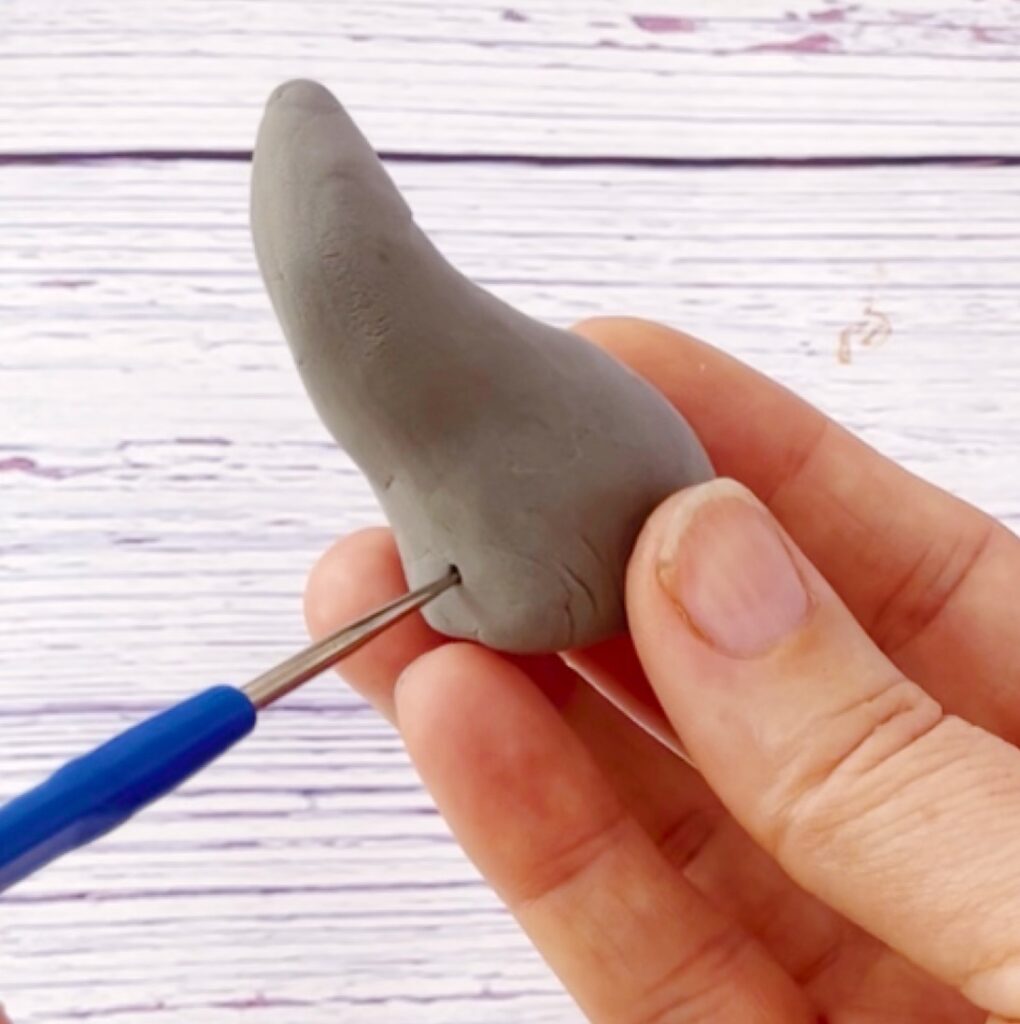
Now it’s time to add the large hole to the bottom to string the elastic though. I used a long needle, but you can use anything that is a similar shape. Roll the needle around in the hole to make it larger and also so the clay doesn’t stick to it. Make the hole larger than you think it has to be. Trust me!
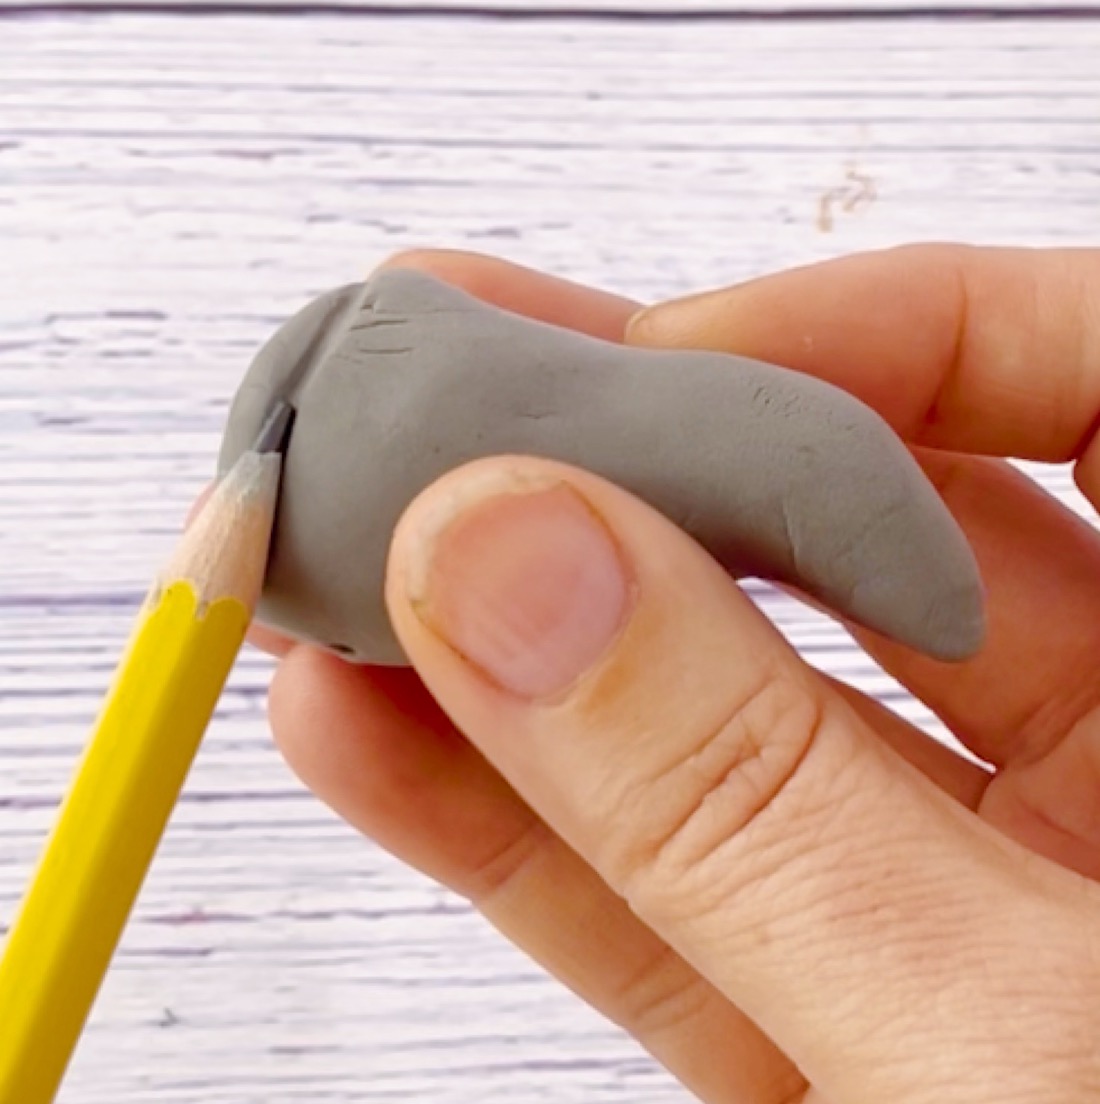
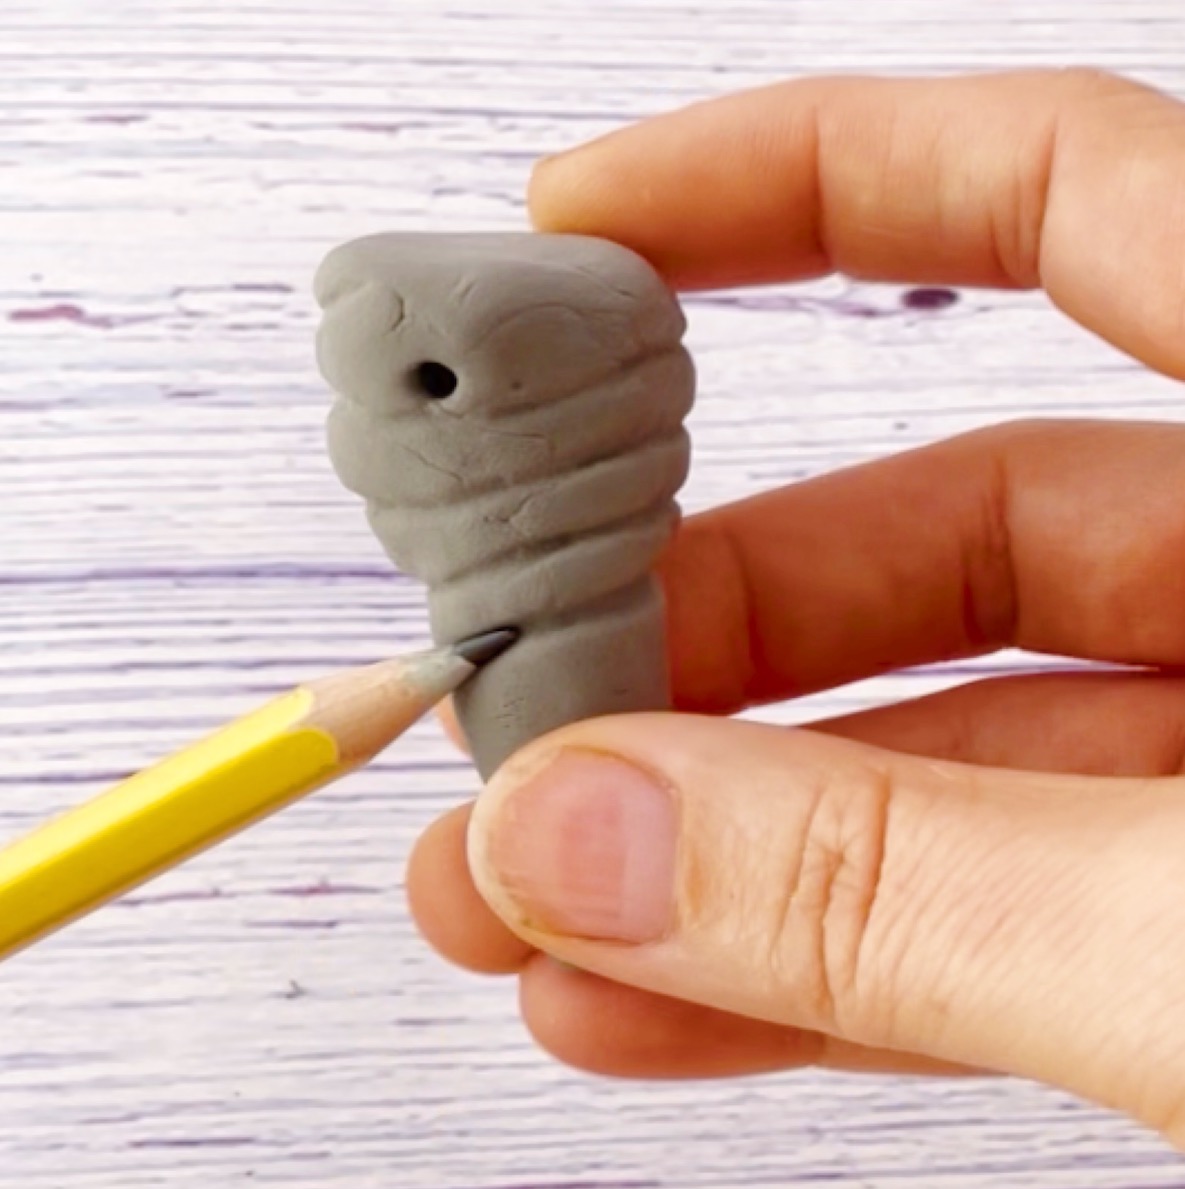
Next, use a pencil to ass the lines for the horns. This is what makes it really look like horns
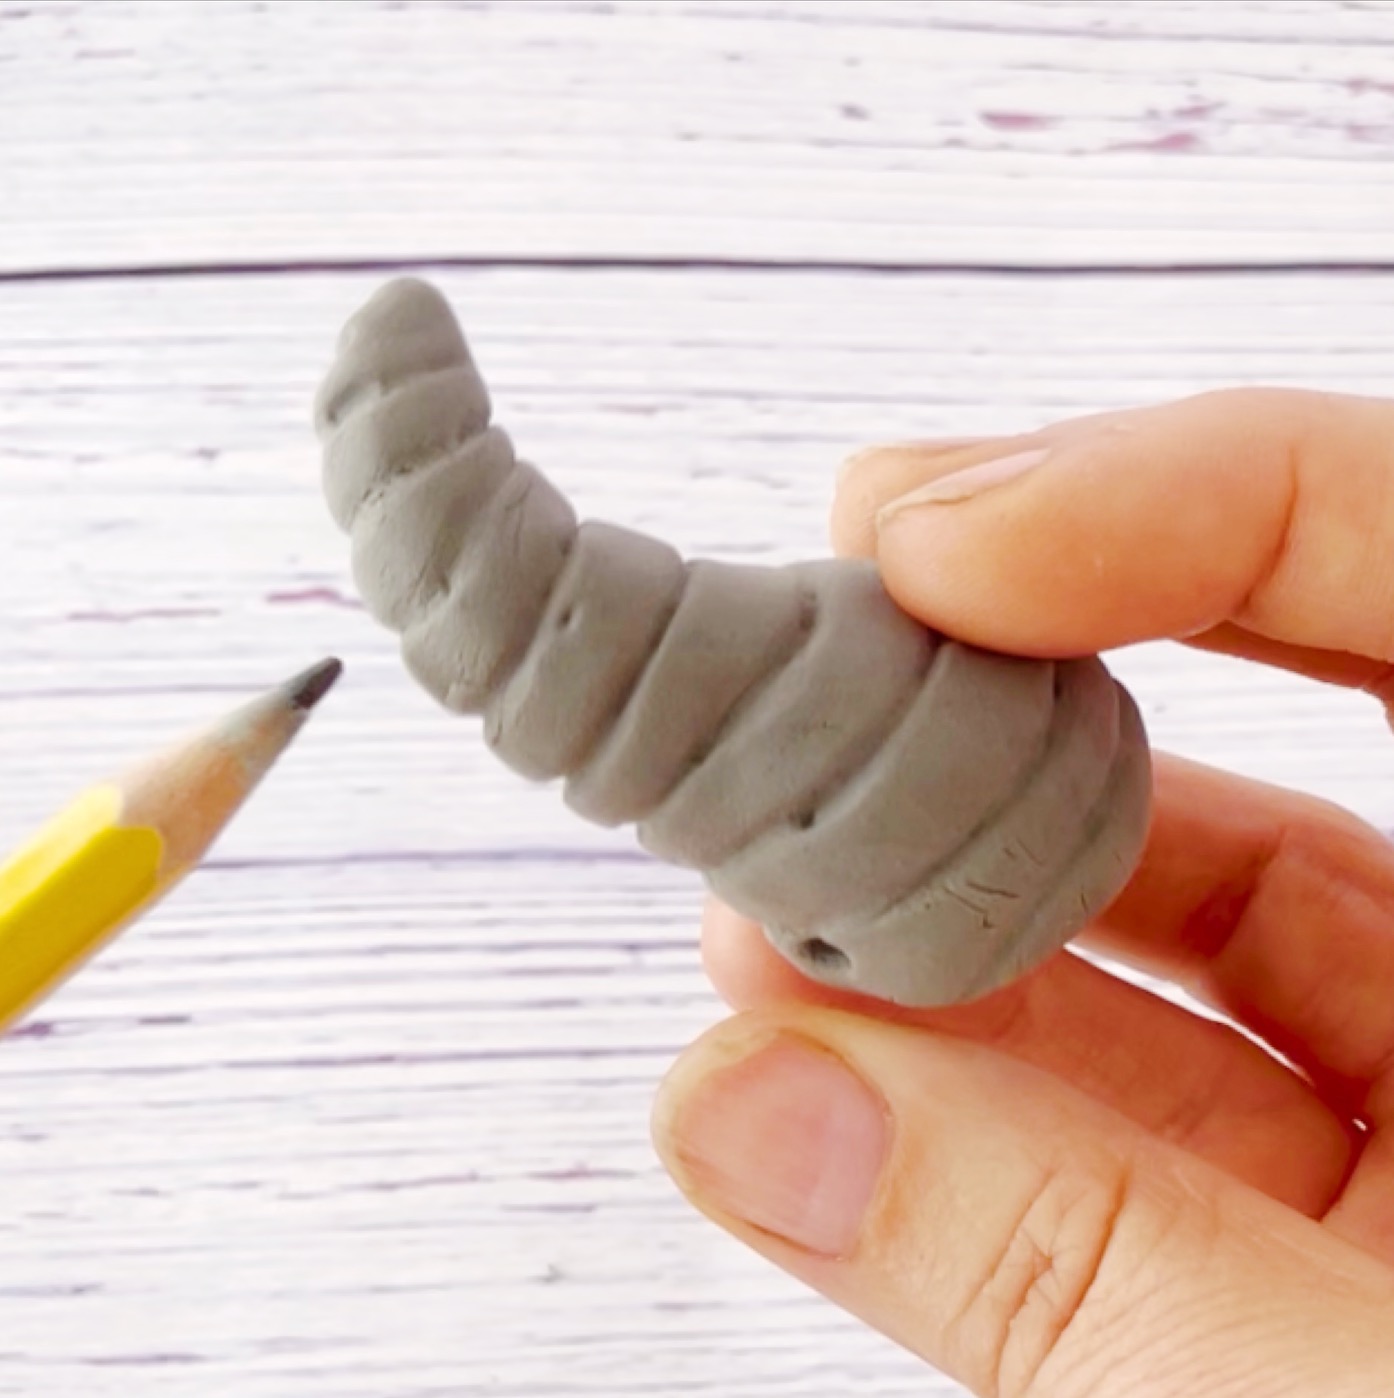
Use the cone shape of the pencil to create the ridges along the horns. I just kept going round and round pressings the pencil into the clay all the way to the top.
After creating 2 horns, let them air dry overnight.
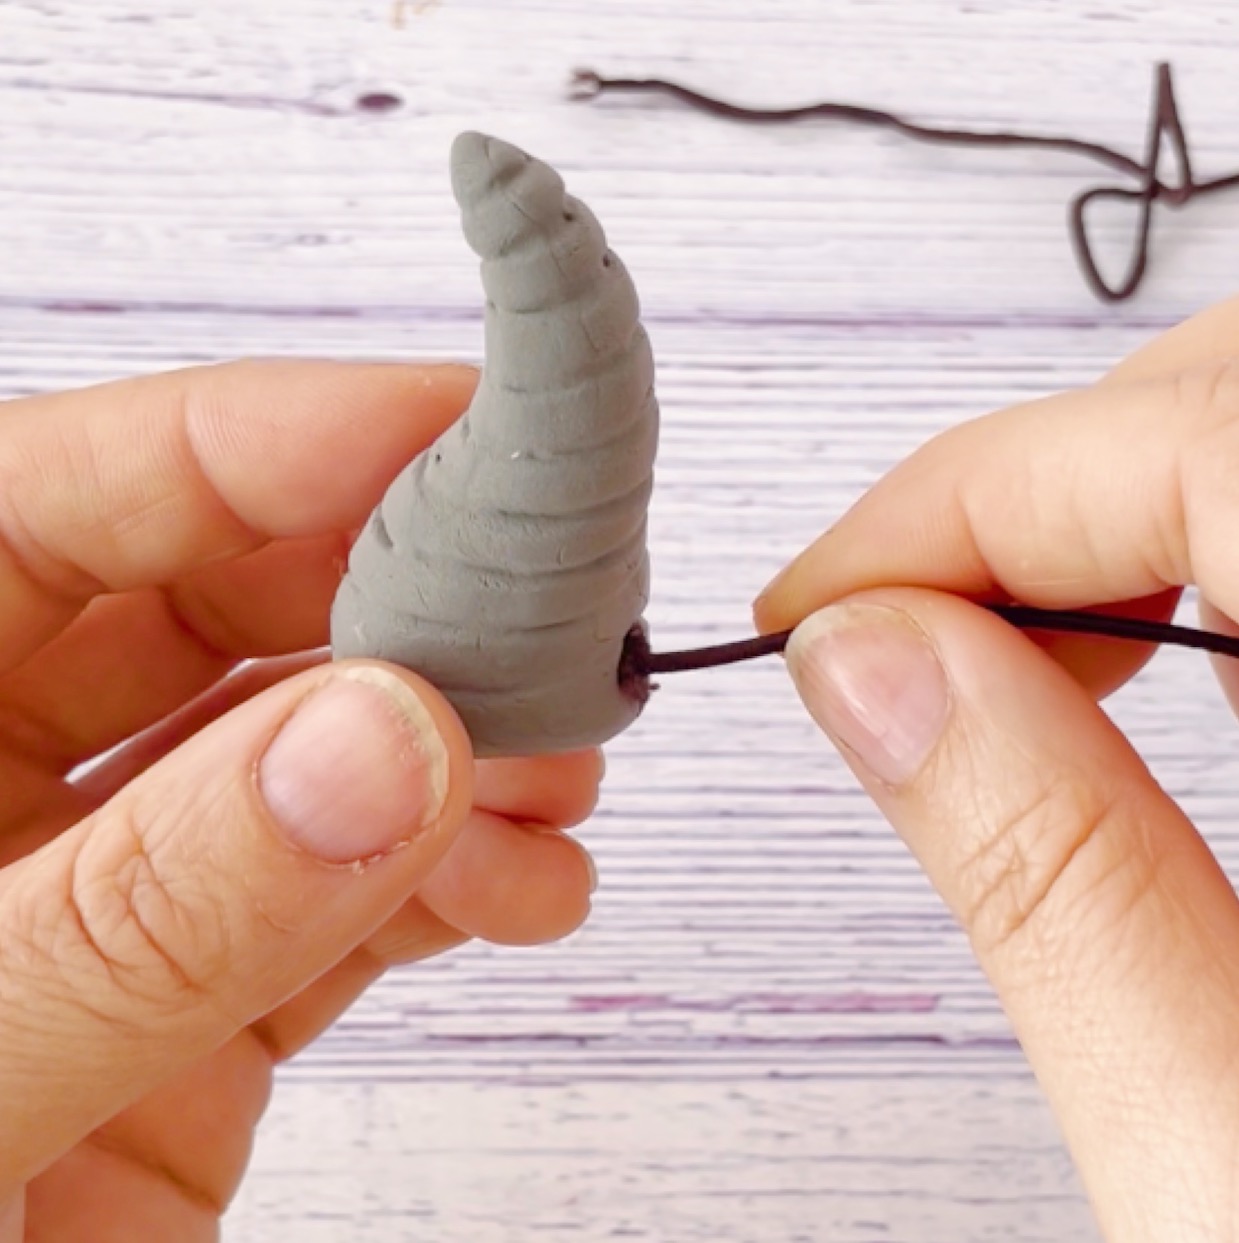
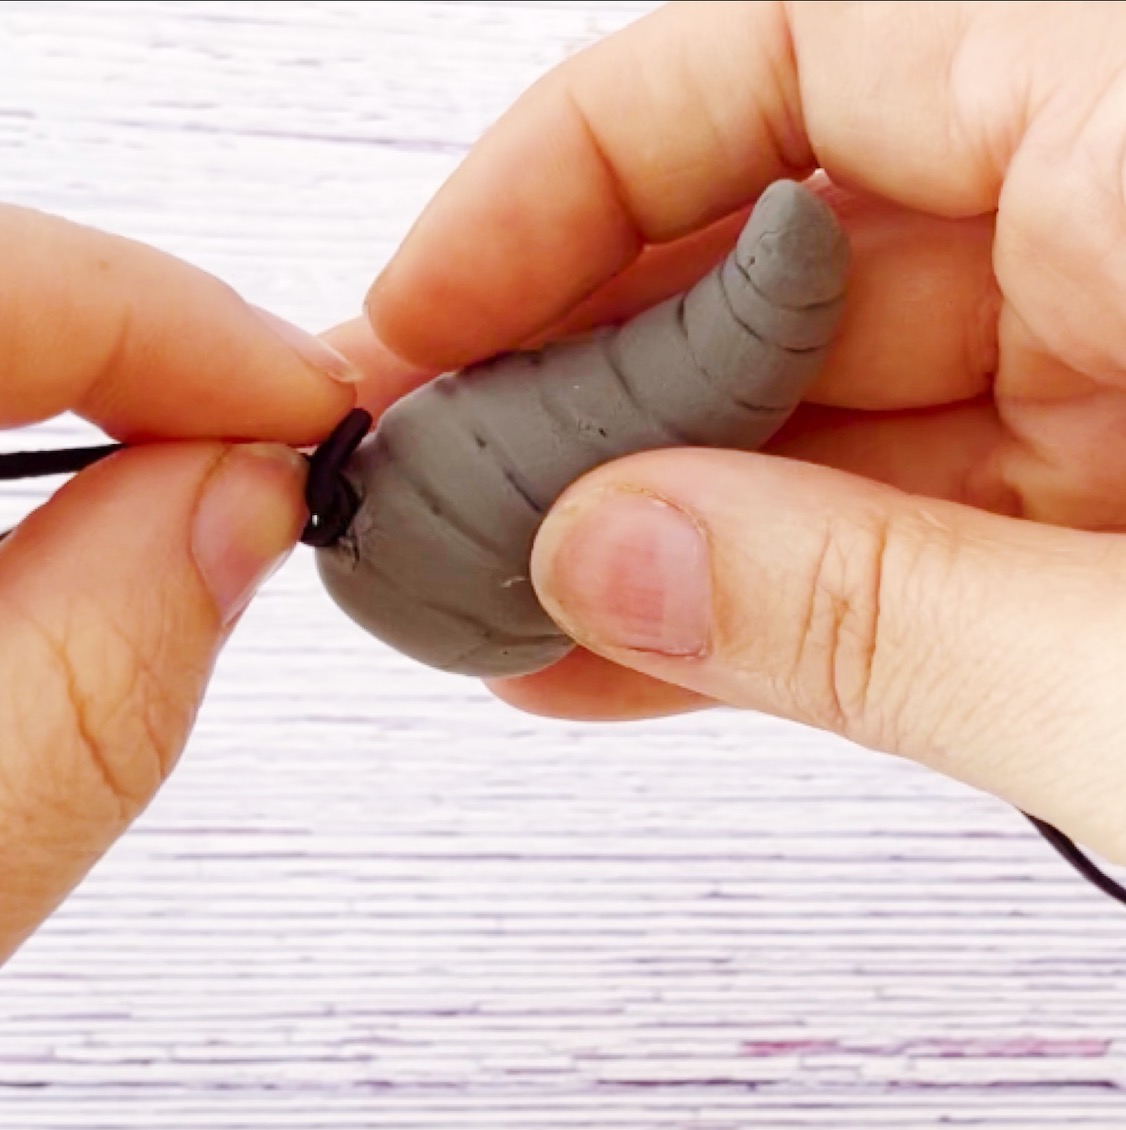
The next day, take a dark colored elastic string and pull it through the first horn. It is best to use a dark color so it won’t be noticed in your hair. If you are really light blond, try to use a white elastic.
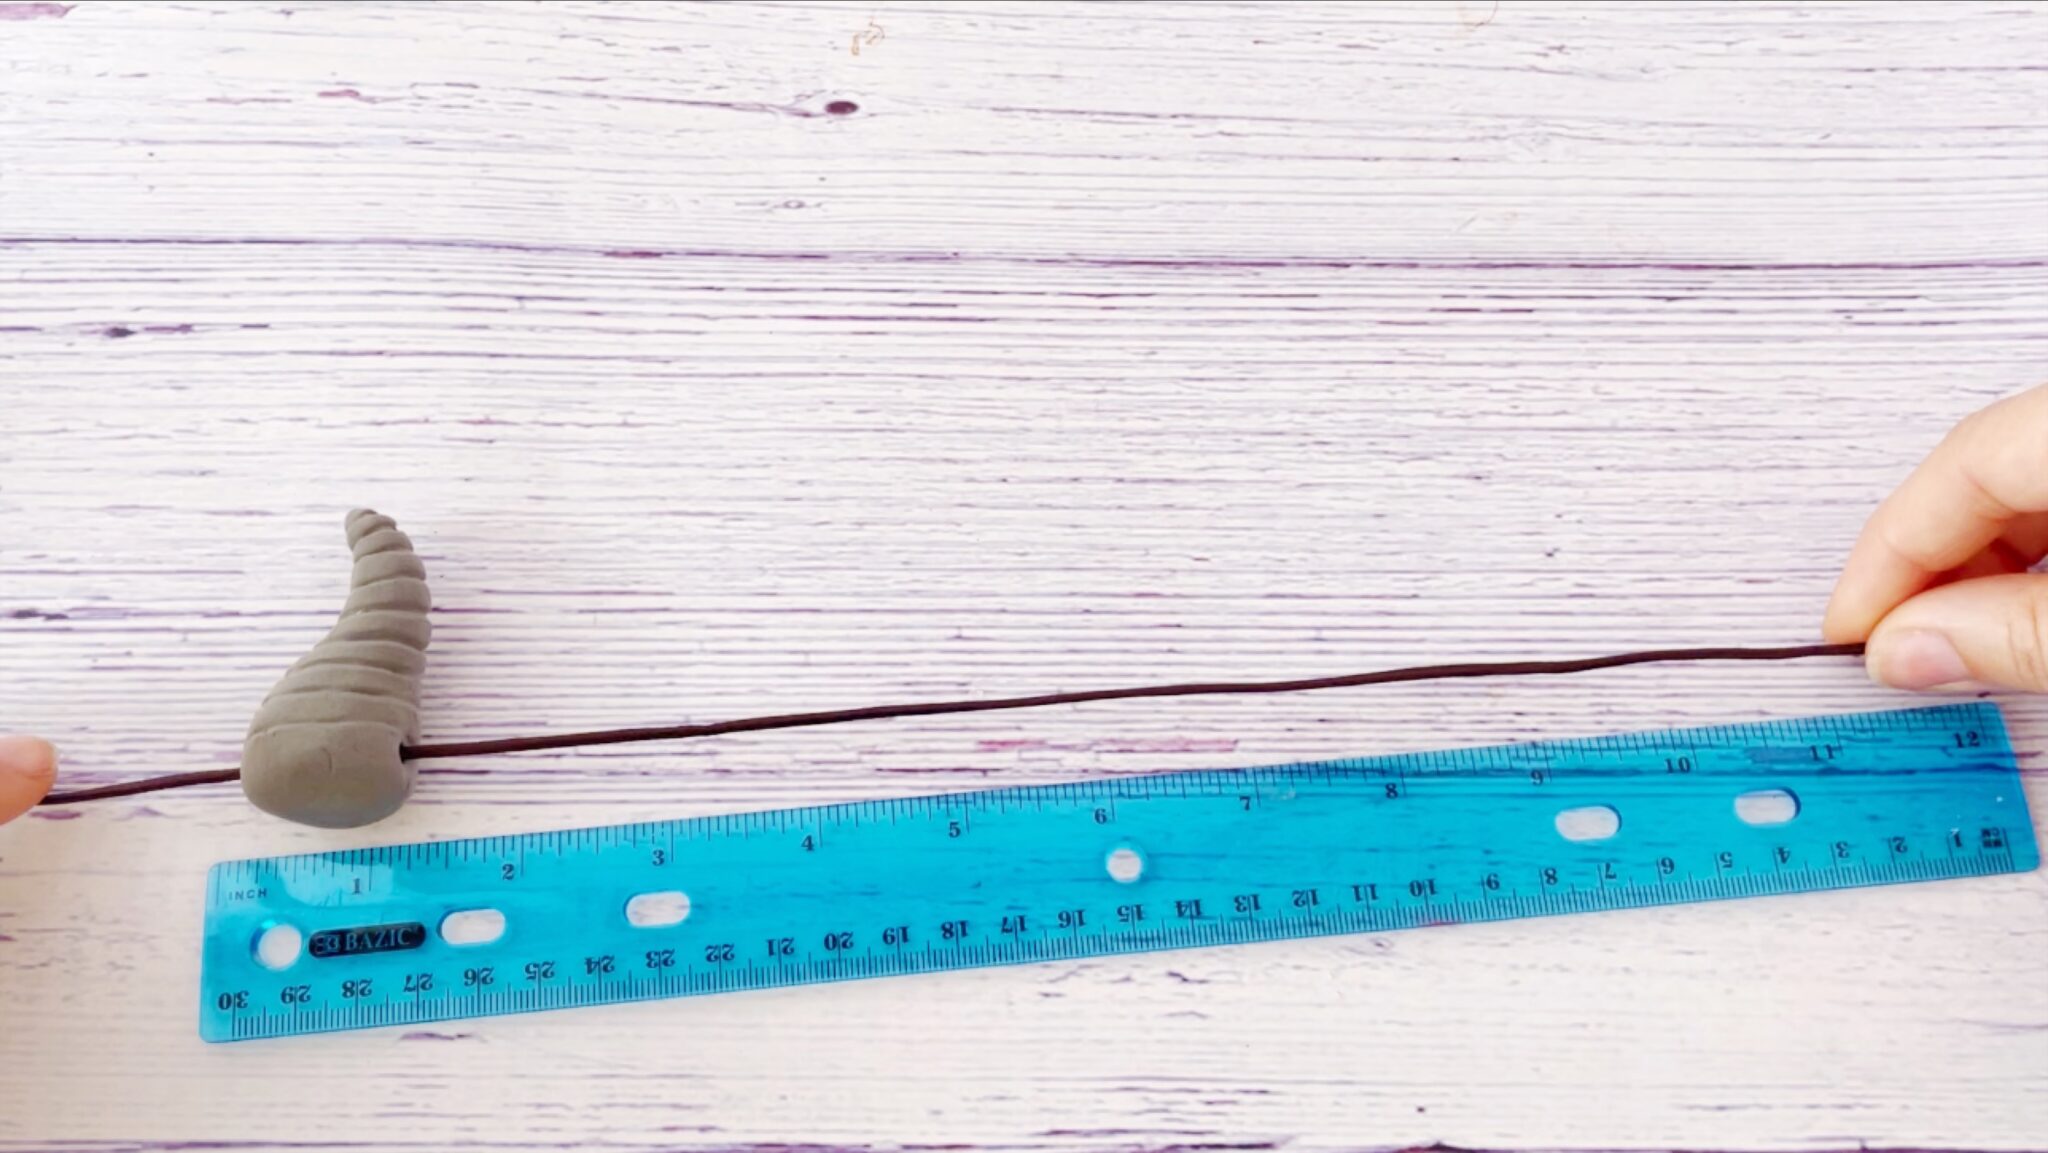
The elastic should be about 23″ long. Make the first knot at around 8″, then string on the horn, add another knot on the other side of the horn. Then make another knot about 3″ away from the first horn and string the second horn on.
And finally, knot the 2 strings together and they are ready to be worn!
These horns are really easy to make and ones you made your first pair, I am sure you want to try out some more. Different colors, glitter, different shapes. Anything is possible!
I hope you will enjoy this cosplay horns tutorial as much as I do. Comment below if you have any questions and show off your own horns here and on Instagram #kaileacrafts
More Free Tutorial
Want to make even more fun pieces? Check out these Crafting on the Fly creations!
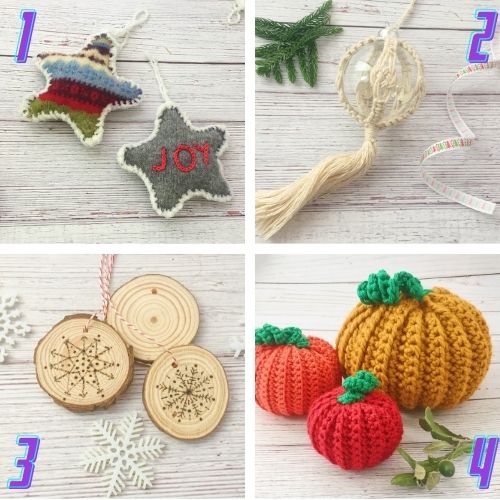
- Star Ornament Tutorial – Create Star Ornaments out of old sweaters.
- Macrame Bauble Ornament – A beautiful ornament created with easy macrame knots
- Snowflake Ornament Tutorial – Learn how to make rustic snowflake ornaments with your woodburning tool and wood slices
- Pumpkin Patch Crochet Pattern – These pumpkins are quick and easy to create for your Thanksgiving table decor