
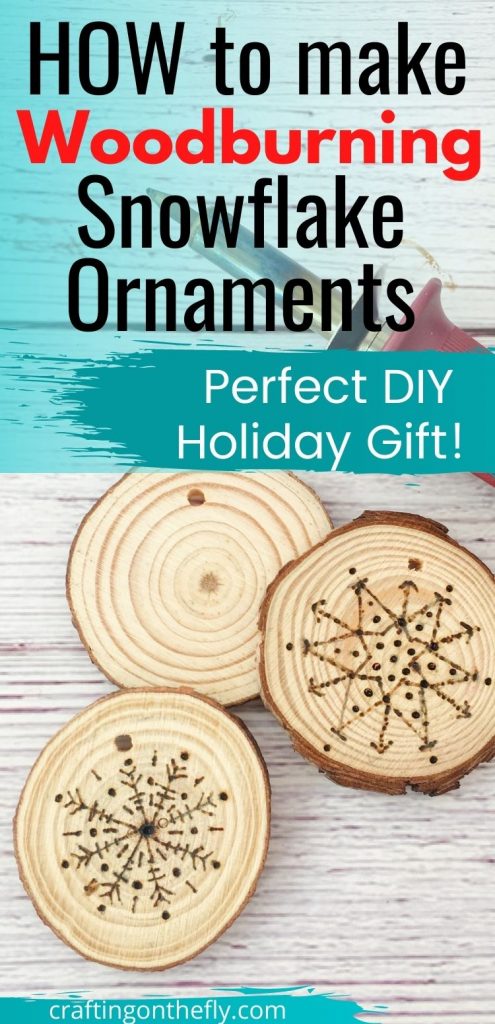
Learn how to make Wood Burning Snowflake Ornaments for your Christmas Tree
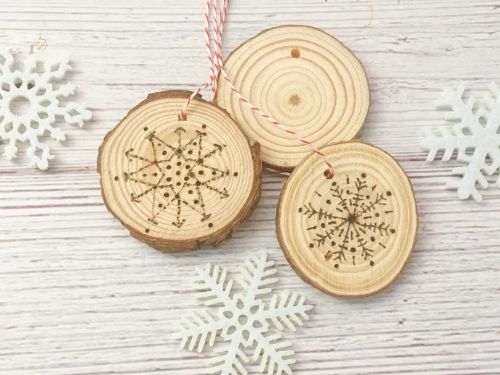
Making these snowflake wood burning ornaments puts you right in the holiday mood. Just sit by the fire in some comfy cloth and enjoy the smell and sizzle of the woodburning tool.
You can use my 4 snowflake designs and copy them right on the wood or use them as a guideline to create your own snowflakes. Remember, each snowflake is unique and no 2 are ever the same!

You can buy the ad-free printable PDF for this Snowflake Ornament Tutorial on Etsy. Thank you for your support!
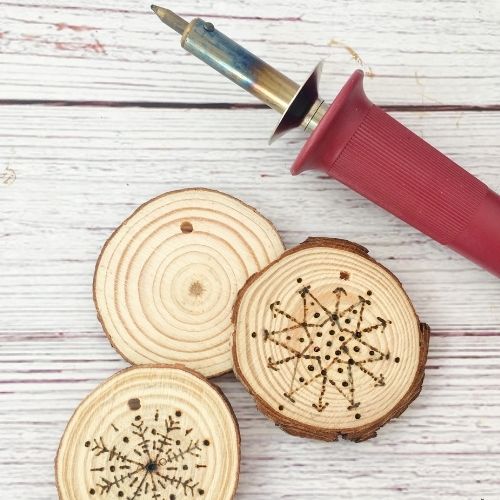
When using a woodburing tool, be careful because the can get really hot. I like this woodburning tool where you can select between different temperatures. It also comes with a nice assortment of tips and stencils so you work on lots of different projects and just keep on creating. Just make sure to keep it away from small children and let everyone know that it can be very hot.
As an Amazon Associate I earn from qualifying purchases. If you make a purchase through my link, I will make a small commission with no extra cost to you. “
Woodburning Snowflake Ornaments Materials
- Wood burning Tool
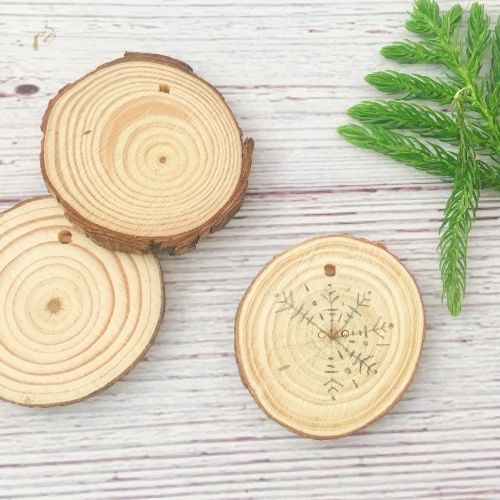
- Natural Wood Slices
- transfer paper (included with the wood burning tool kit above)
- red and white twine
Woodburning Snowflake Ornaments Tutorial:
First, you have to decide which snowflake design you want to use on your wood slice. If you are tracing one of my designs, you have to print it out and use transfer paper to trace it only the wood slice. The transfer paper is included with this woodburing tool set, but if you already have a wood burning tool, you can get this transfer paper.
Or you can copy the design free hand or create your own design. Lay it out in a way that fits nicely on the wood slice. They are not perfectly round, so make sure it will fit all the way around.
Then it is time to heat up your wood burning tool to about 400 degrees or whatever is recommended by your wood slices and woodburing tool. Use the thinnest tip and wait until it is nice and hot before you start gently tracing your design. You have to move slowly but smoothly along the lines to give it time to burn the wood. So it is a lot slower than drawing.
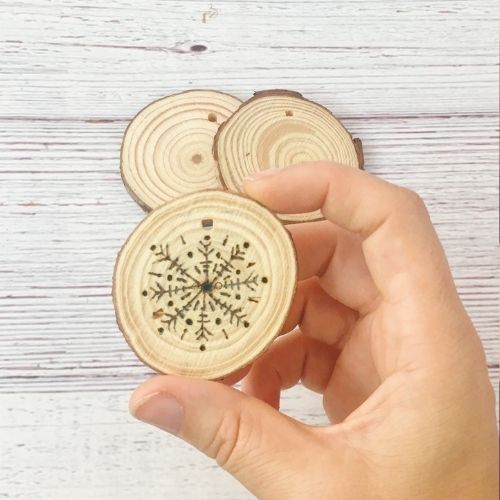
After you initially traced your entire snowflake design, go over anything that is too light as well as all the dots. It looks nicer if those are darker than the rest.
Now all that is left is to add the twine, these wood slices have 2 types of twine included so you can hang them from your Christmas tree or add them as gift tags to your presents. If you use other wood slices, you can use this red and white candy cane twine.
I hope you will enjoy this woodburning snowflake ornament tutorial as much as I do. Comment below if you have any questions and show off your own ornaments here and on Instagram #kaileacrafts
More Free Holiday Tutorials
Want to make even more holiday accessories? Check out these Crafting on the Fly creations!

- Macrame Christmas Tree Tutorial – Create Christmas Tree Ornaments with this easy Macrame Tutorial.
- Snowflake Oyster Shell Dish Tutorial – Make custom oyster shell trinket dishes with holiday themed napkins.
- Macrame Ornament Tutorial -Make elegant bauble ornaments with easy macrame knots.
- Star Ornament Crochet Pattern – These cozy star ornaments are made from old sweaters and easy crochet stitches.