
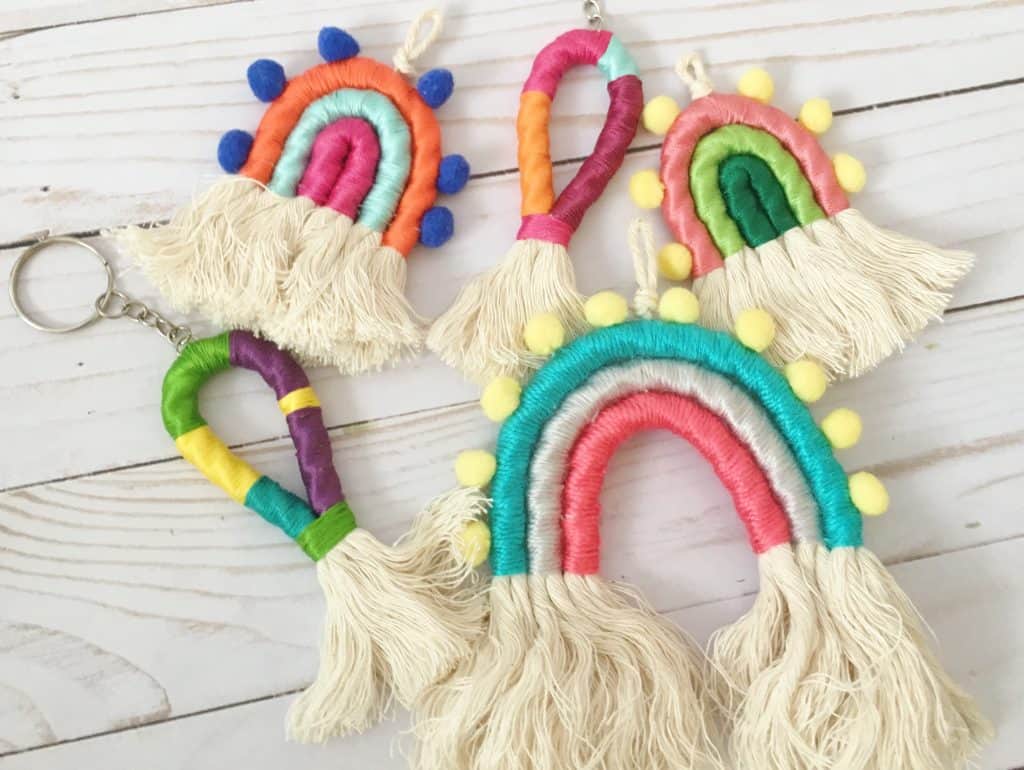
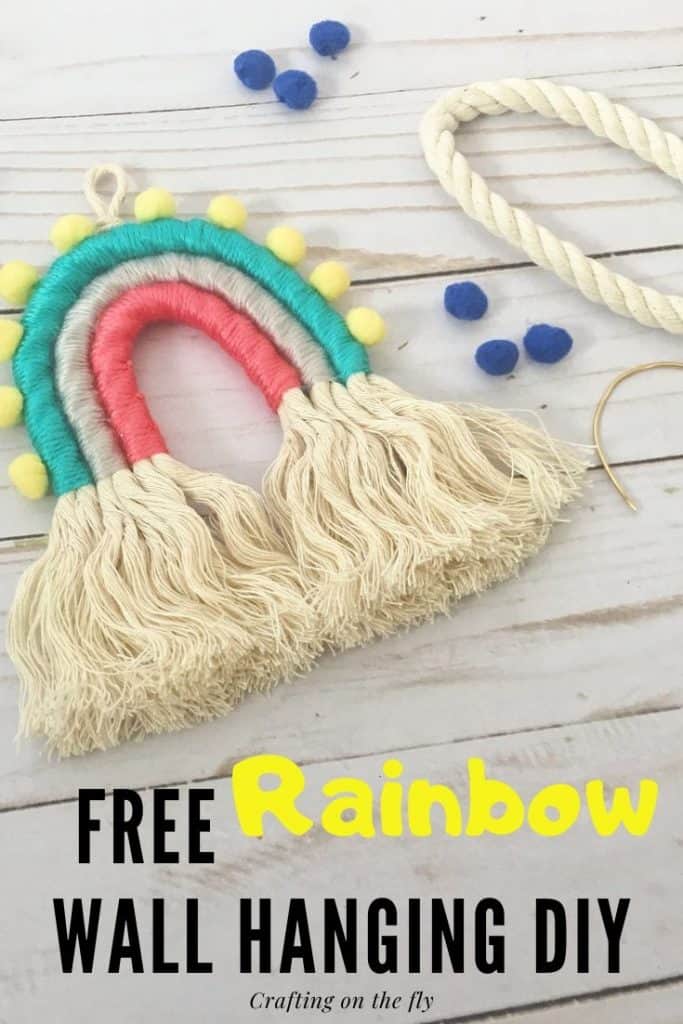
Learn how to make a Rainbow Wall Hanging
These little fiber rainbow wall hangings just make my heart sing! And I can’t tell you how many I made since then. They are just perfect as key chains on your purse, backpack, hanging from your windshield and, of course, every wall in your home. And I have been giving them as gifts for nurseries for all my new Mommy friends.
The best part: They are easy to make so you can have a few ready in no time!
You can buy the ad-free printable PDF for this Rainbow Wall Hanging Tutorial on Etsy. Thank you for your support!
As an Amazon Associate I earn from qualifying purchases. If you make a purchase through my link, I will make a small commission with no extra cost to you. “

Materials:
- Embroidery Yarn (I prefer DMC for the shine and used colors 3712, 3753 & 3812 for the big one and 601, 964 & 740 for the small one)
- Embroidery Needle
- Macrame Cord
- 1 cm PomPoms
- 16 gauge wire for larger rainbow
- Masking tape

In this Rainbow Wall Hanging tutorial I show you how to make the small version where you don’t need a piece of wire to keep the cord in the rainbow shape because you are stitching the 2 ends together in the center.
So for the larger version, you need to add a piece of wire that you can bend into shape.
Just hold the wire along the macrame cord and wrap the embroidery yarn over the cord and the wire. This way it is hidden underneath the colorful yarn.
Here is a video of the entire process!
Let’s get started!
This rainbow will have 3 rows. So start be taking the thick macrame cord and coiling it back on itself until you are happy with the size.
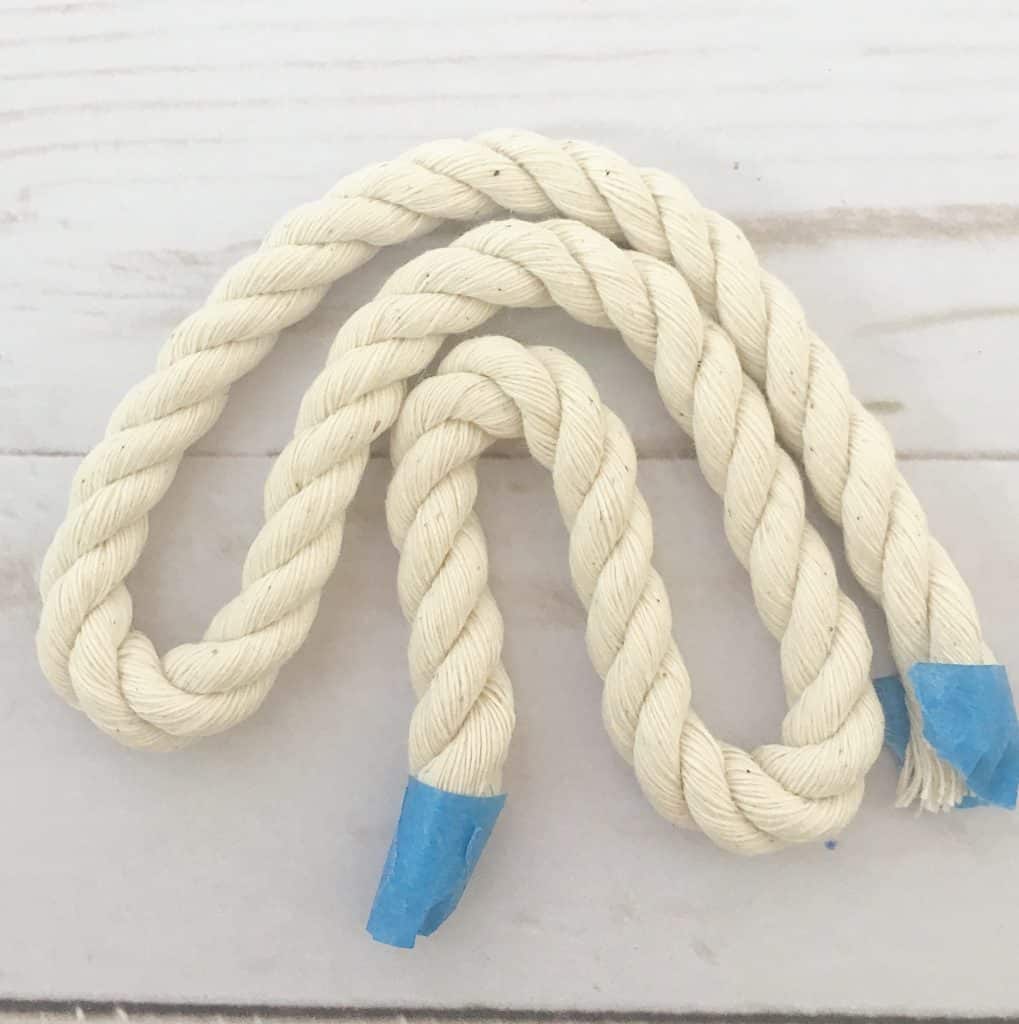
Cut off the end and use some regular or masking tape to wrap it around the ends. You really need the tape or it will fray on you right away.
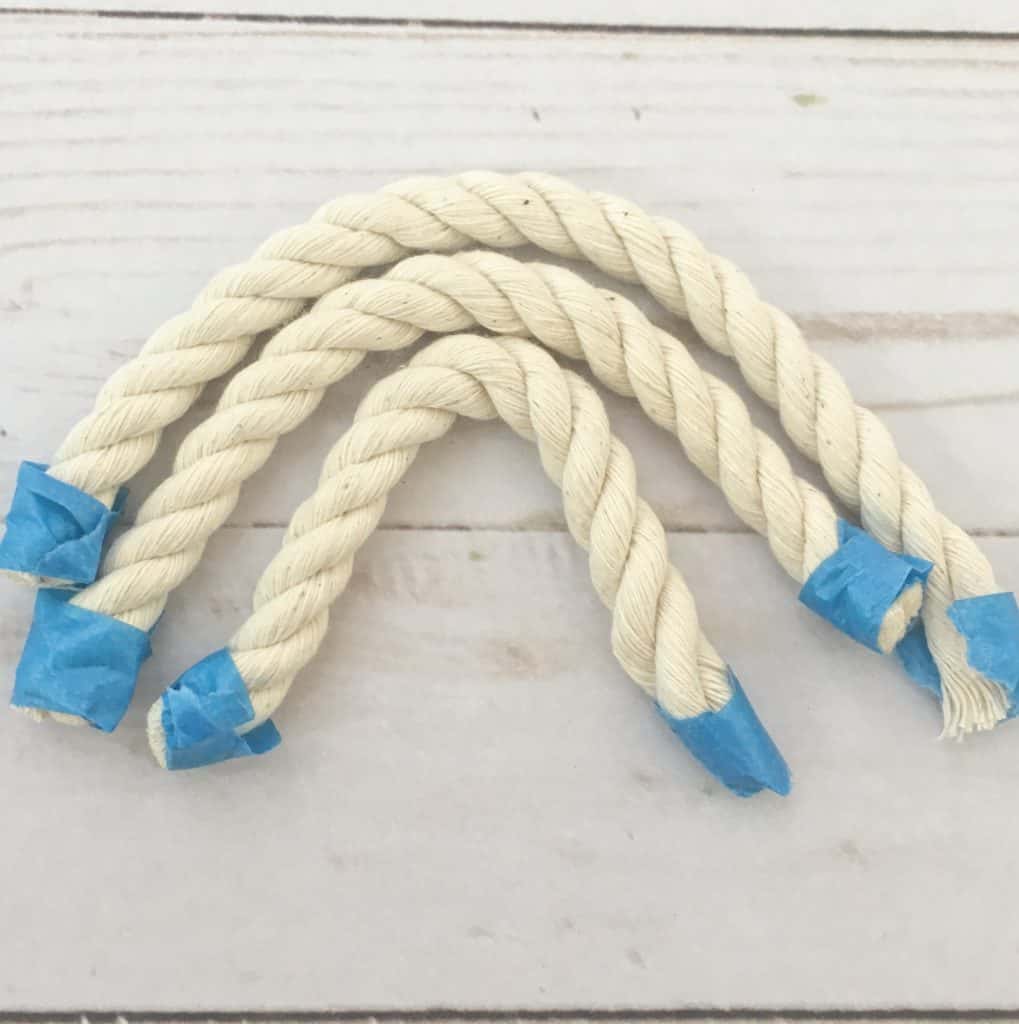
Now wrap tape around the 2 outer loops and cut them in the middle.
You should end up with 3 cord sections that stack on top of each other nicely.
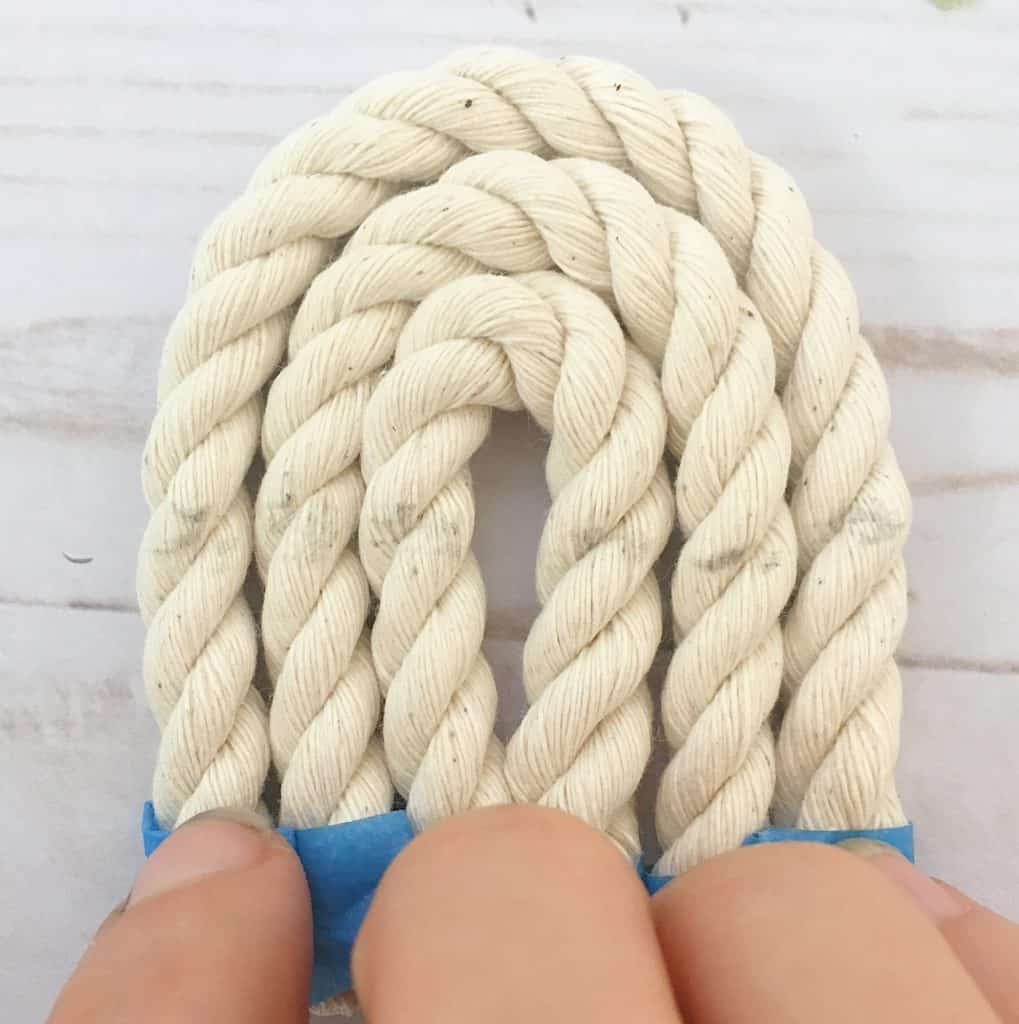
Hold all 3 sections together so it looks like your rainbow shape. This one is connected in the center so it will hold the shape without the need of wire. So hold them close together.
Now take a pencil and draw a line across all rows at the height you would like your colorful yarn to go to. This will be your guide to start and finish the wrapping.
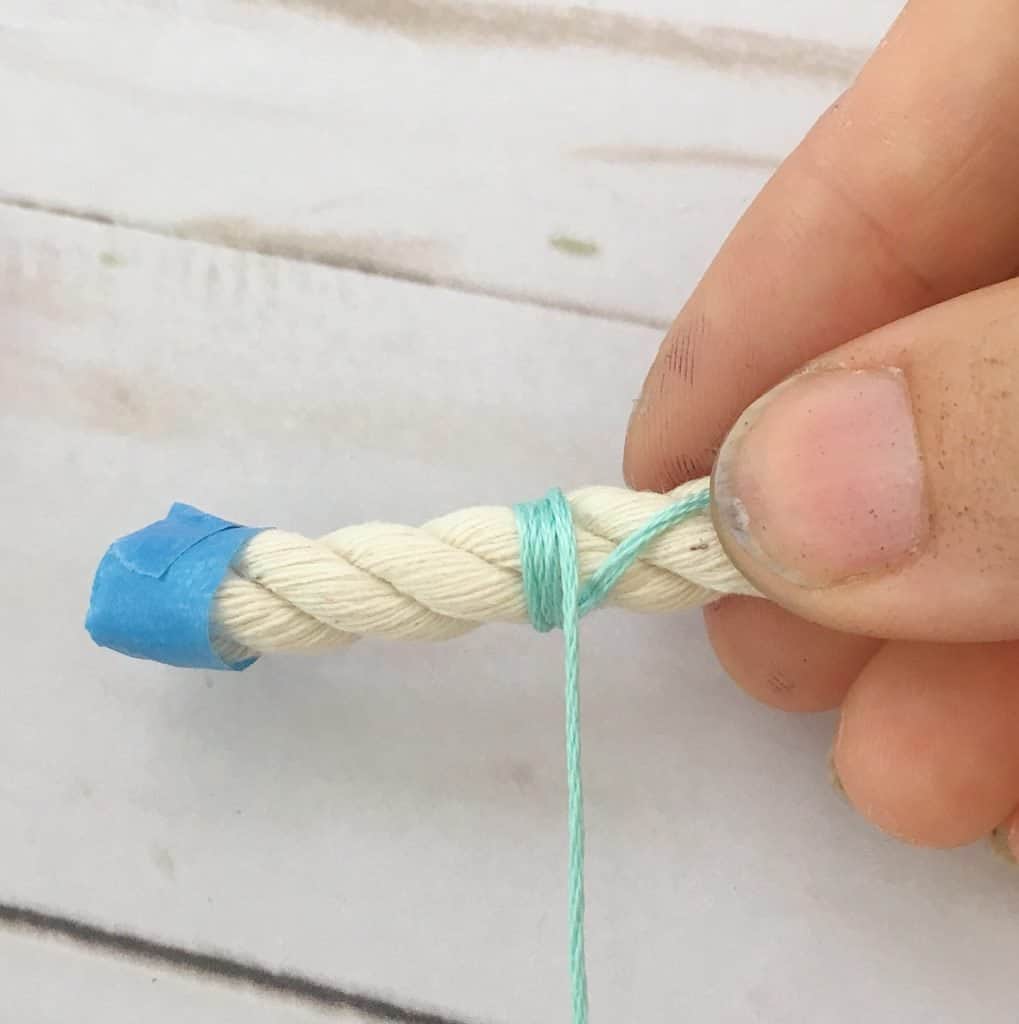
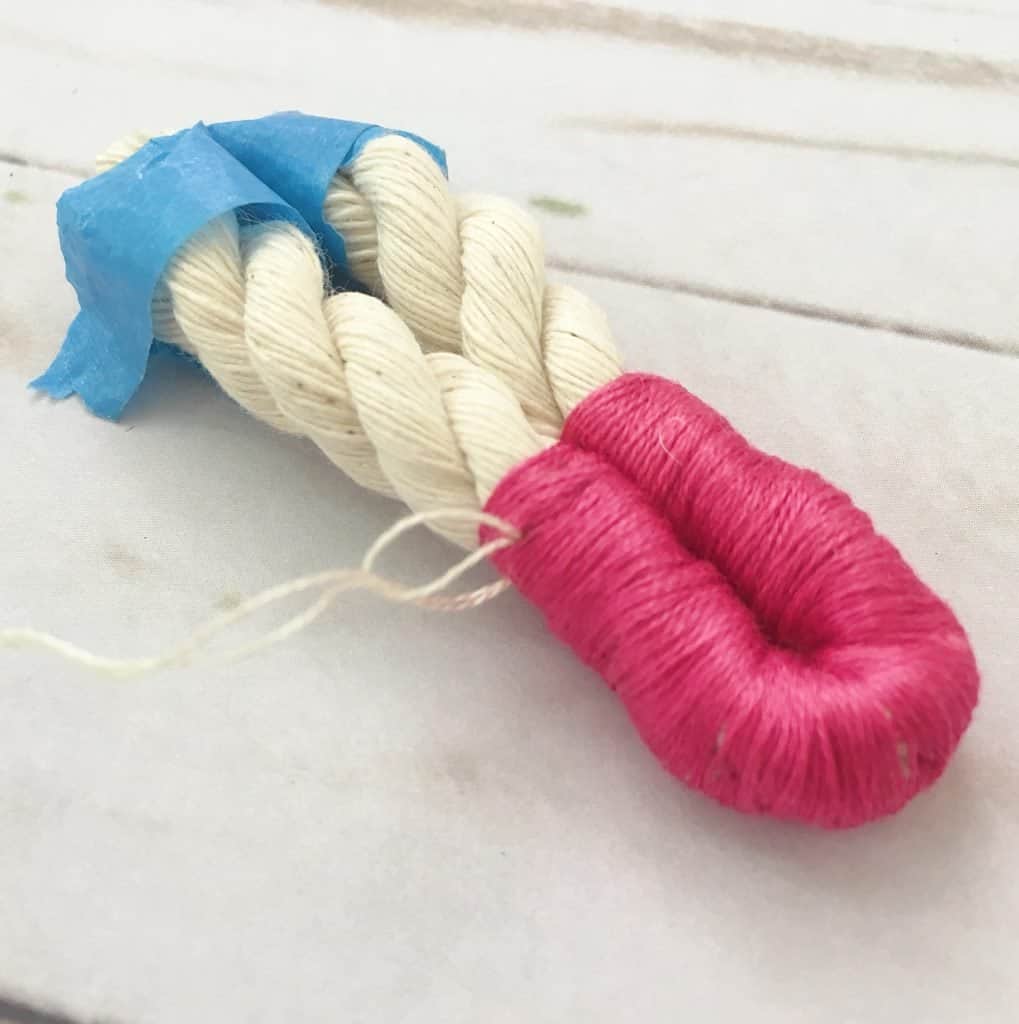
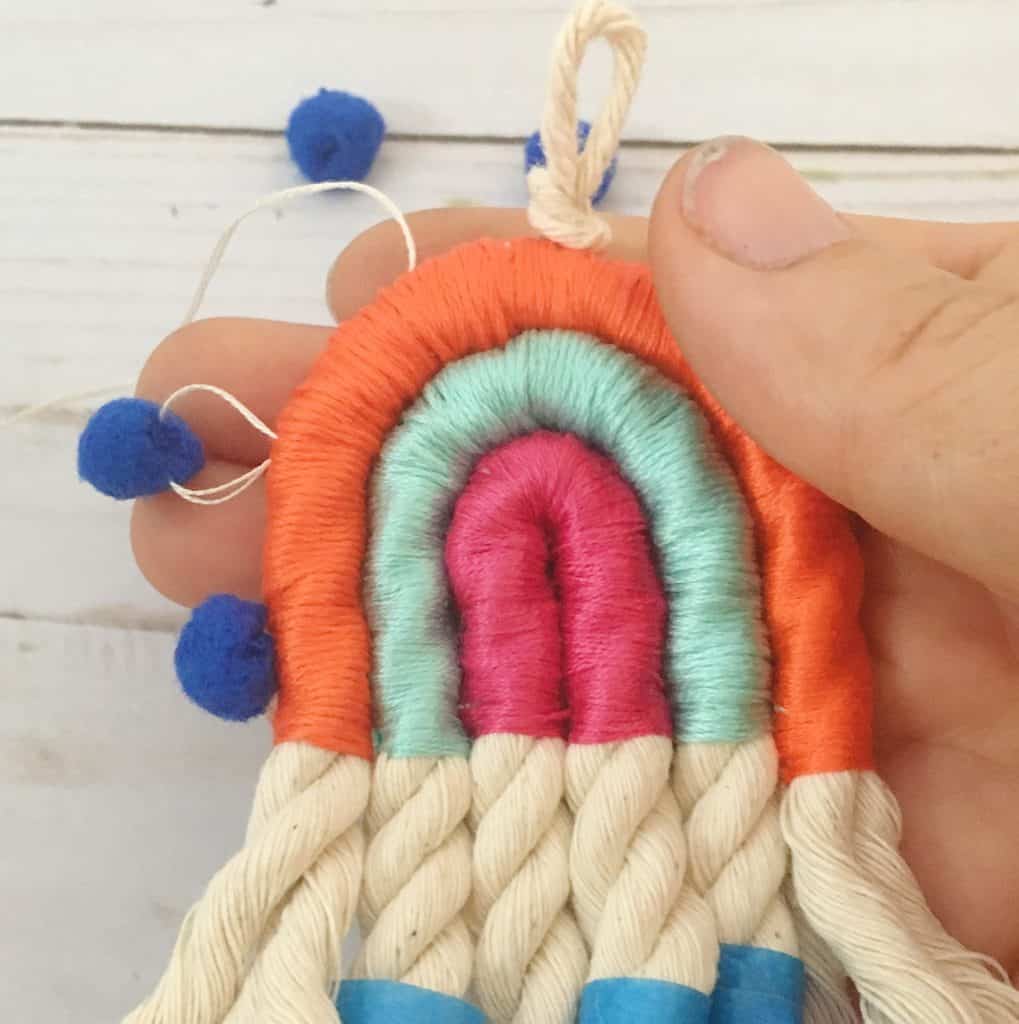
Start with the inner section and start wrapping your embroidery yarn tightly around the macrame cord. Hold the end of the yarn and cover it by wrapping the yarn around.
Pro Tip!
It is best to keep the 6 strands of embroidery yarn parallel to each other and not twisted around itself. This will give you better coverage. Make sure to wrap tightly and not leave any gaps where you see the macrame cord through.
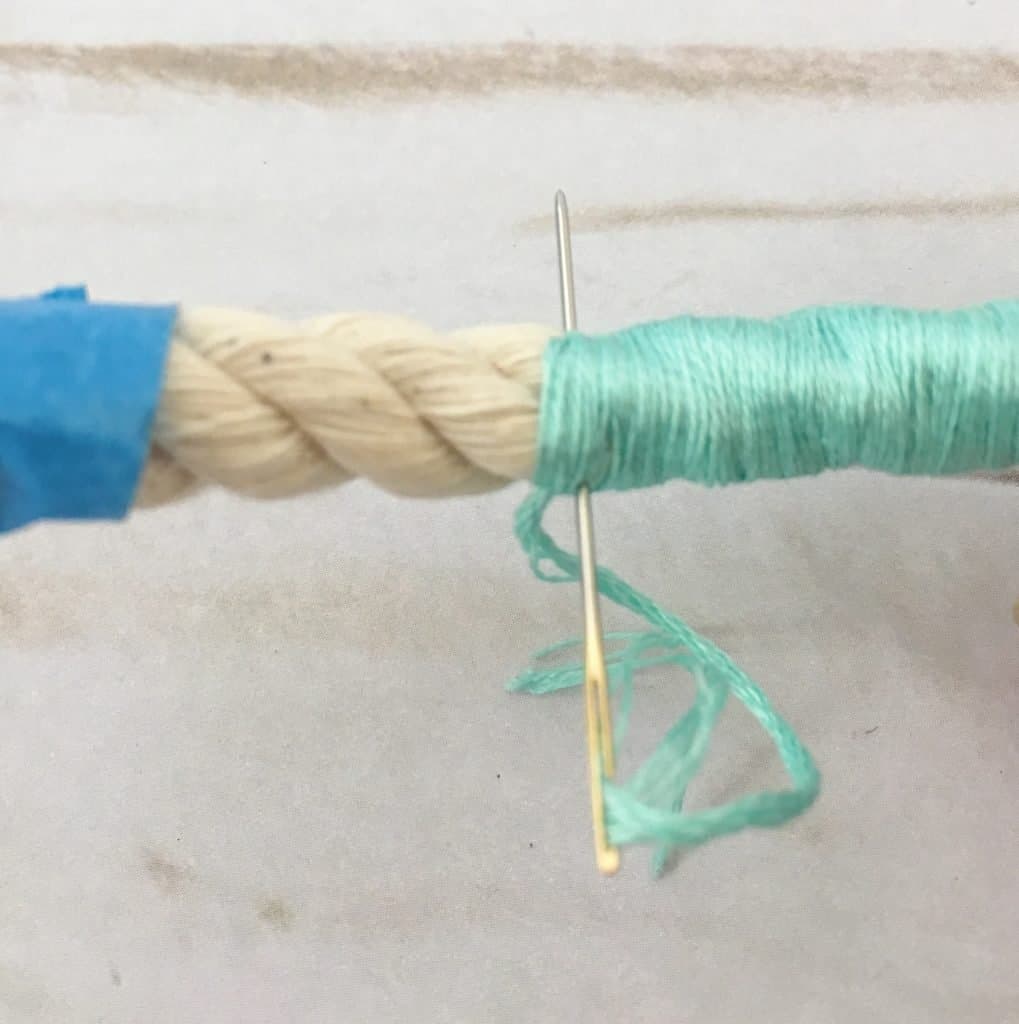
When you reach the mark you made with the pencil indicating the end, Cut the embroidery yarn and add a needle.
Now pull the yarn tightly through the macrame cord twice and cut it flush.
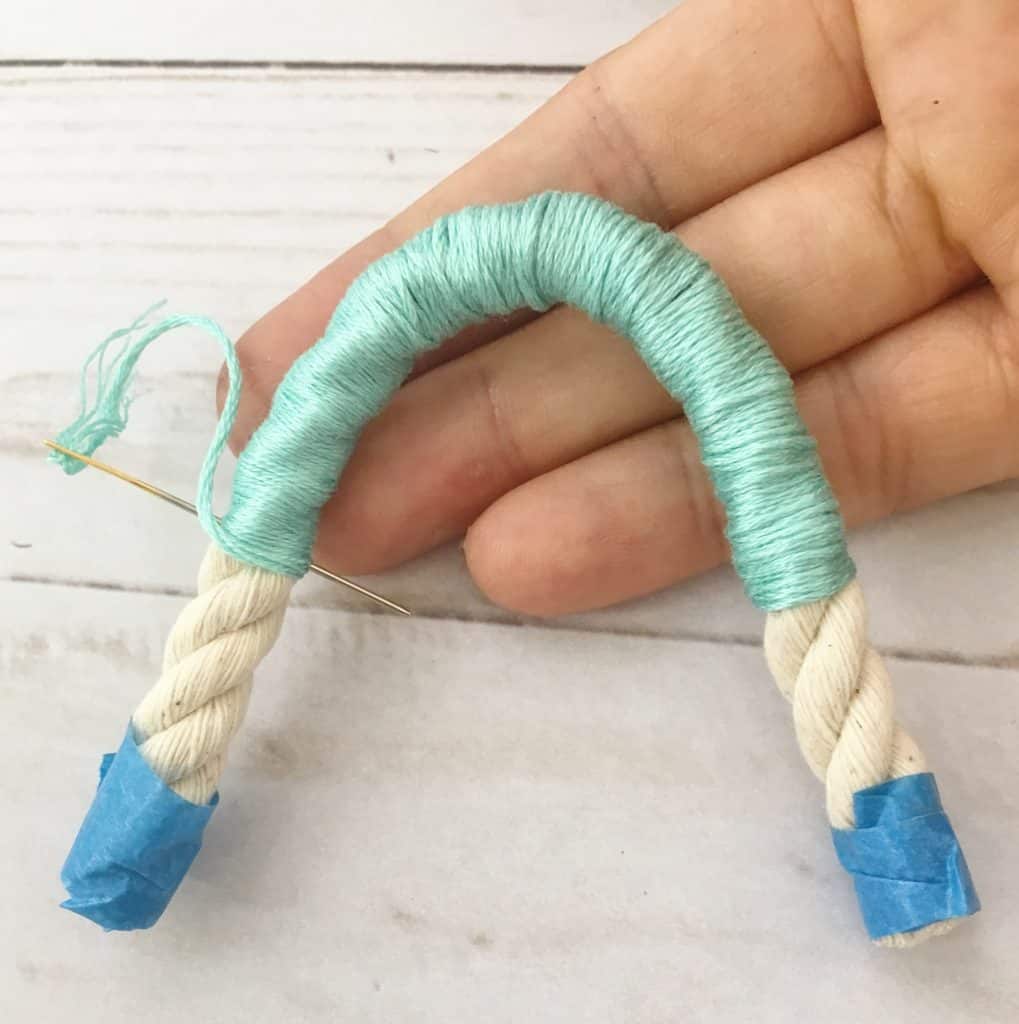
Repeat this process with the other 2 cords in coordinating colors.
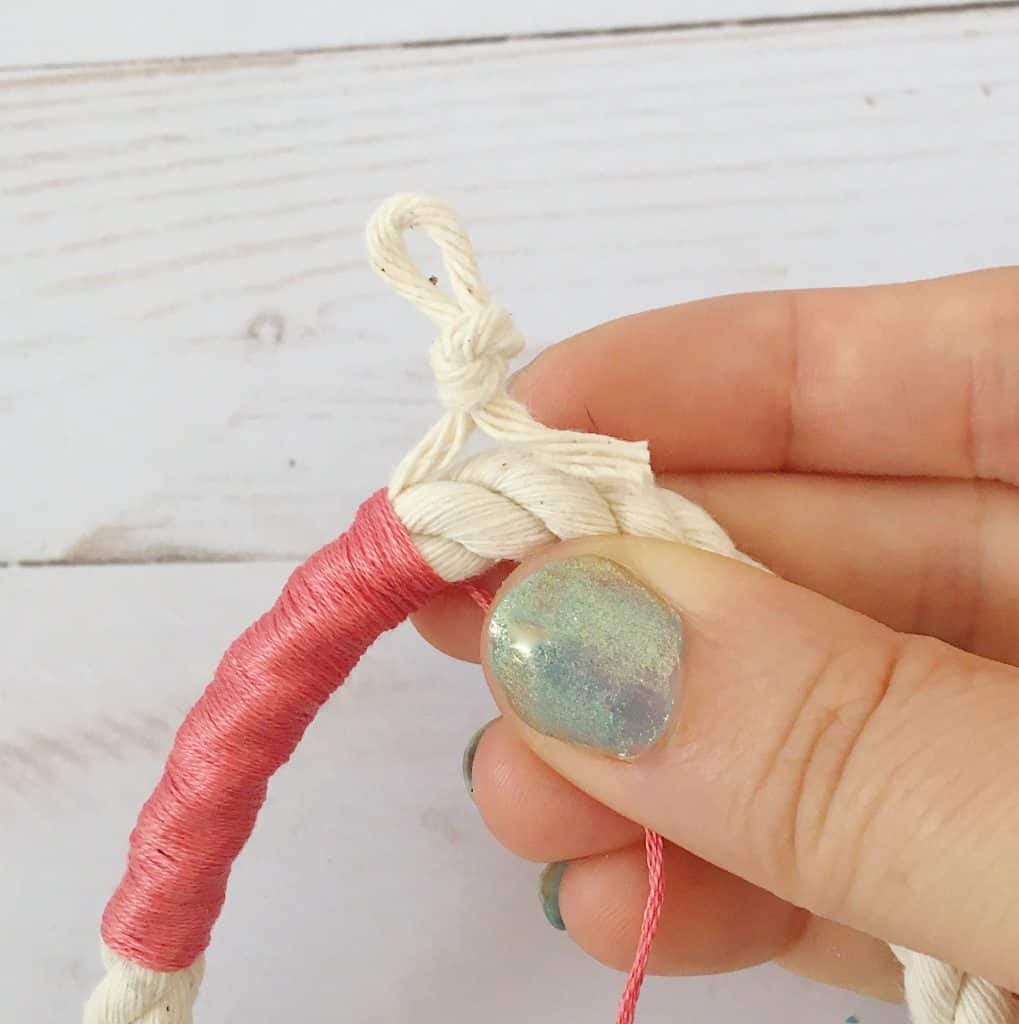
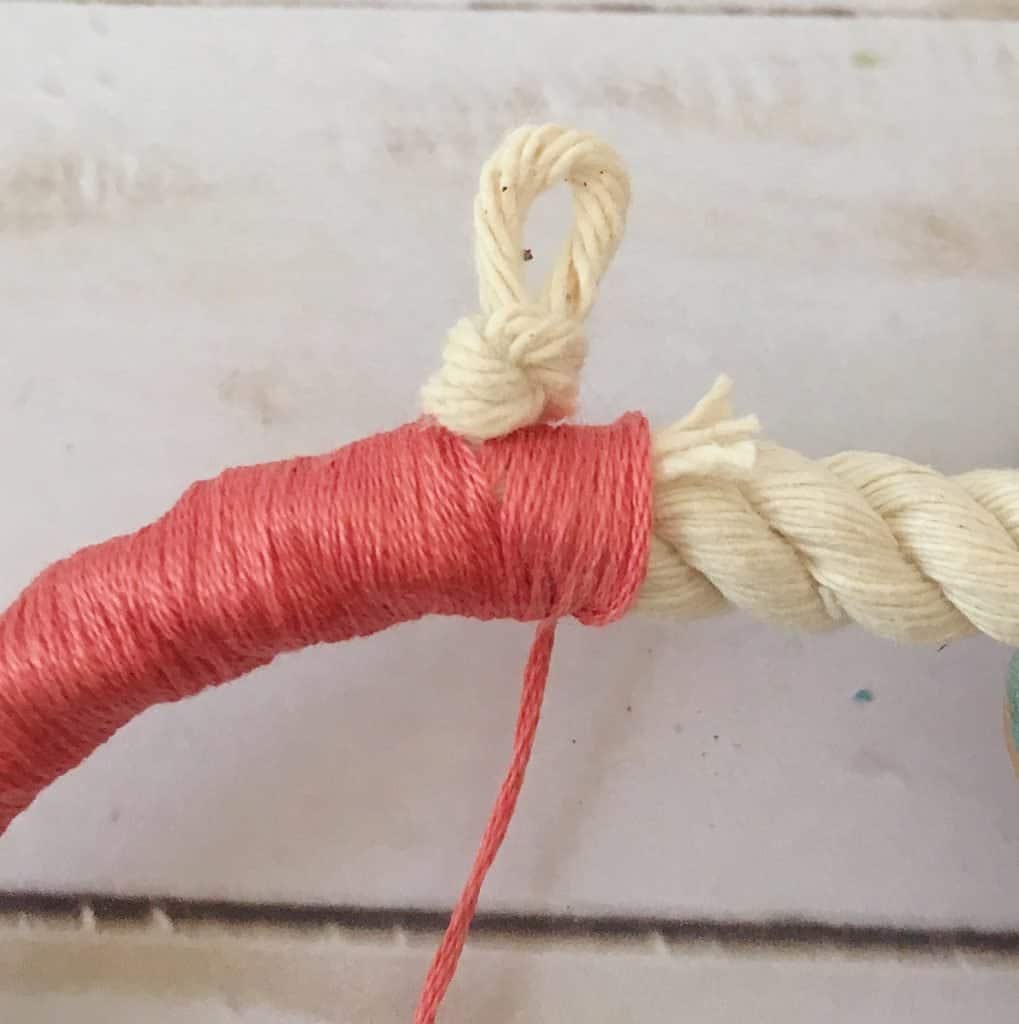
For the top row, use a bit of macrame cord and tie a knot with a loop. Then weave it into the top of the rainbow for hanging.
Just spread the ends on either side and wrap the embroidery yarn over the ends and the macrame cord and keep going on the other side of the knot.
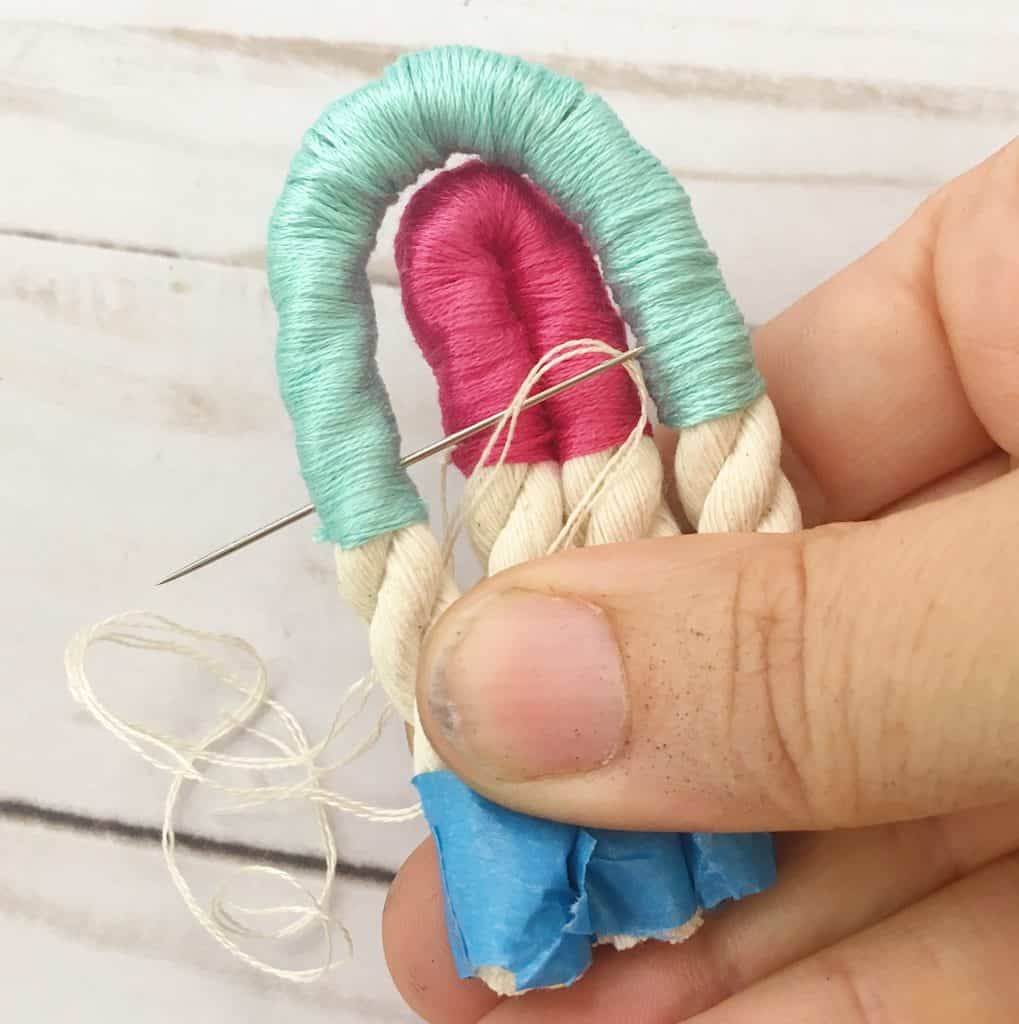
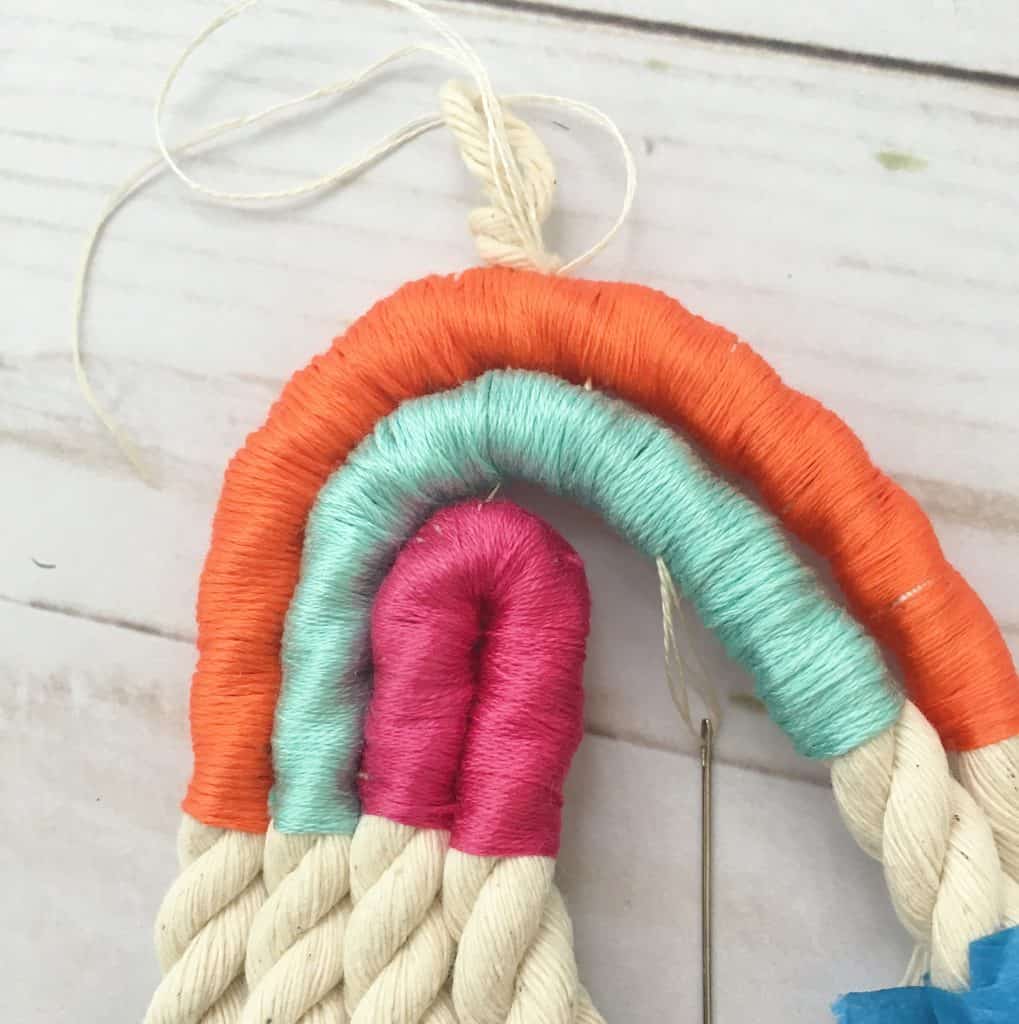
Now it’s time to combine the 3 rows to make one beautiful rainbow!
Use a neutral yarn and stitch all 3 rows tightly together with a needle.

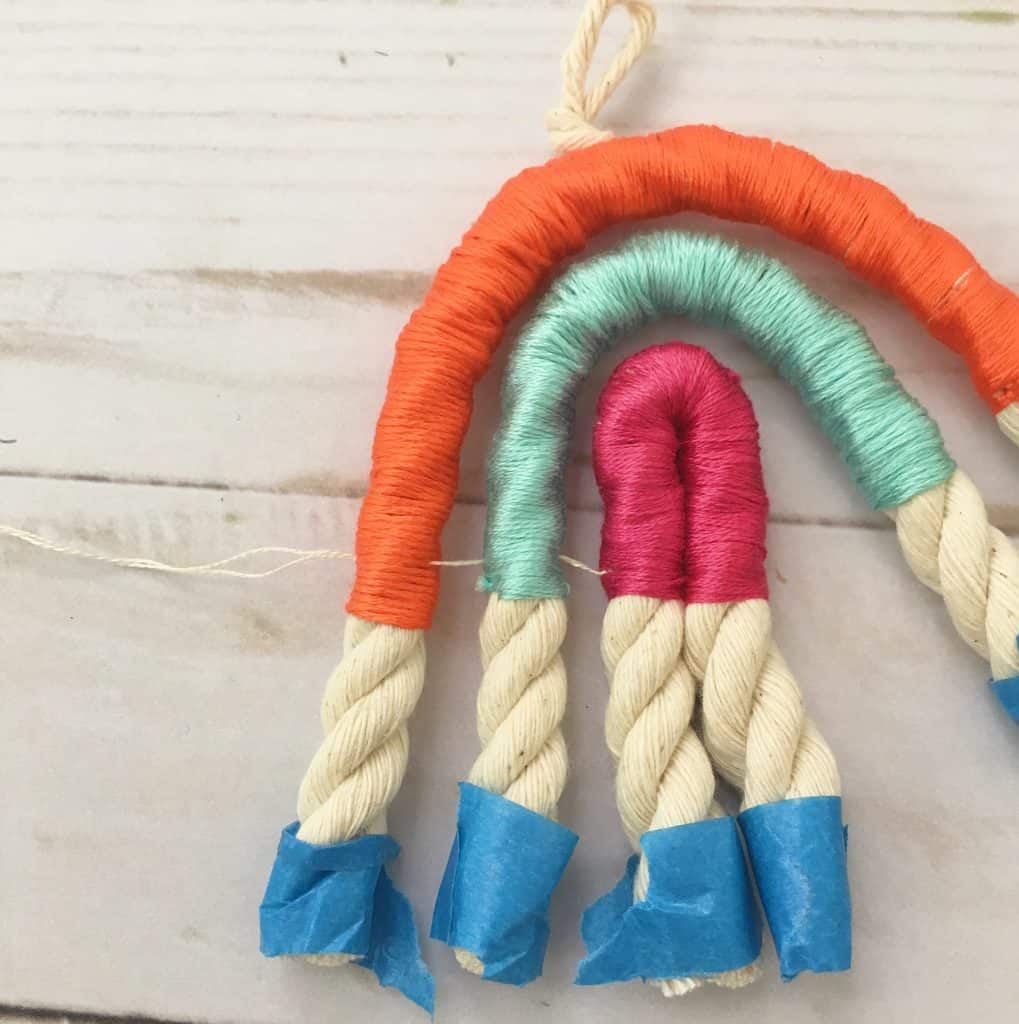
Now all that is left is adding the PomPoms and fraying the ends.
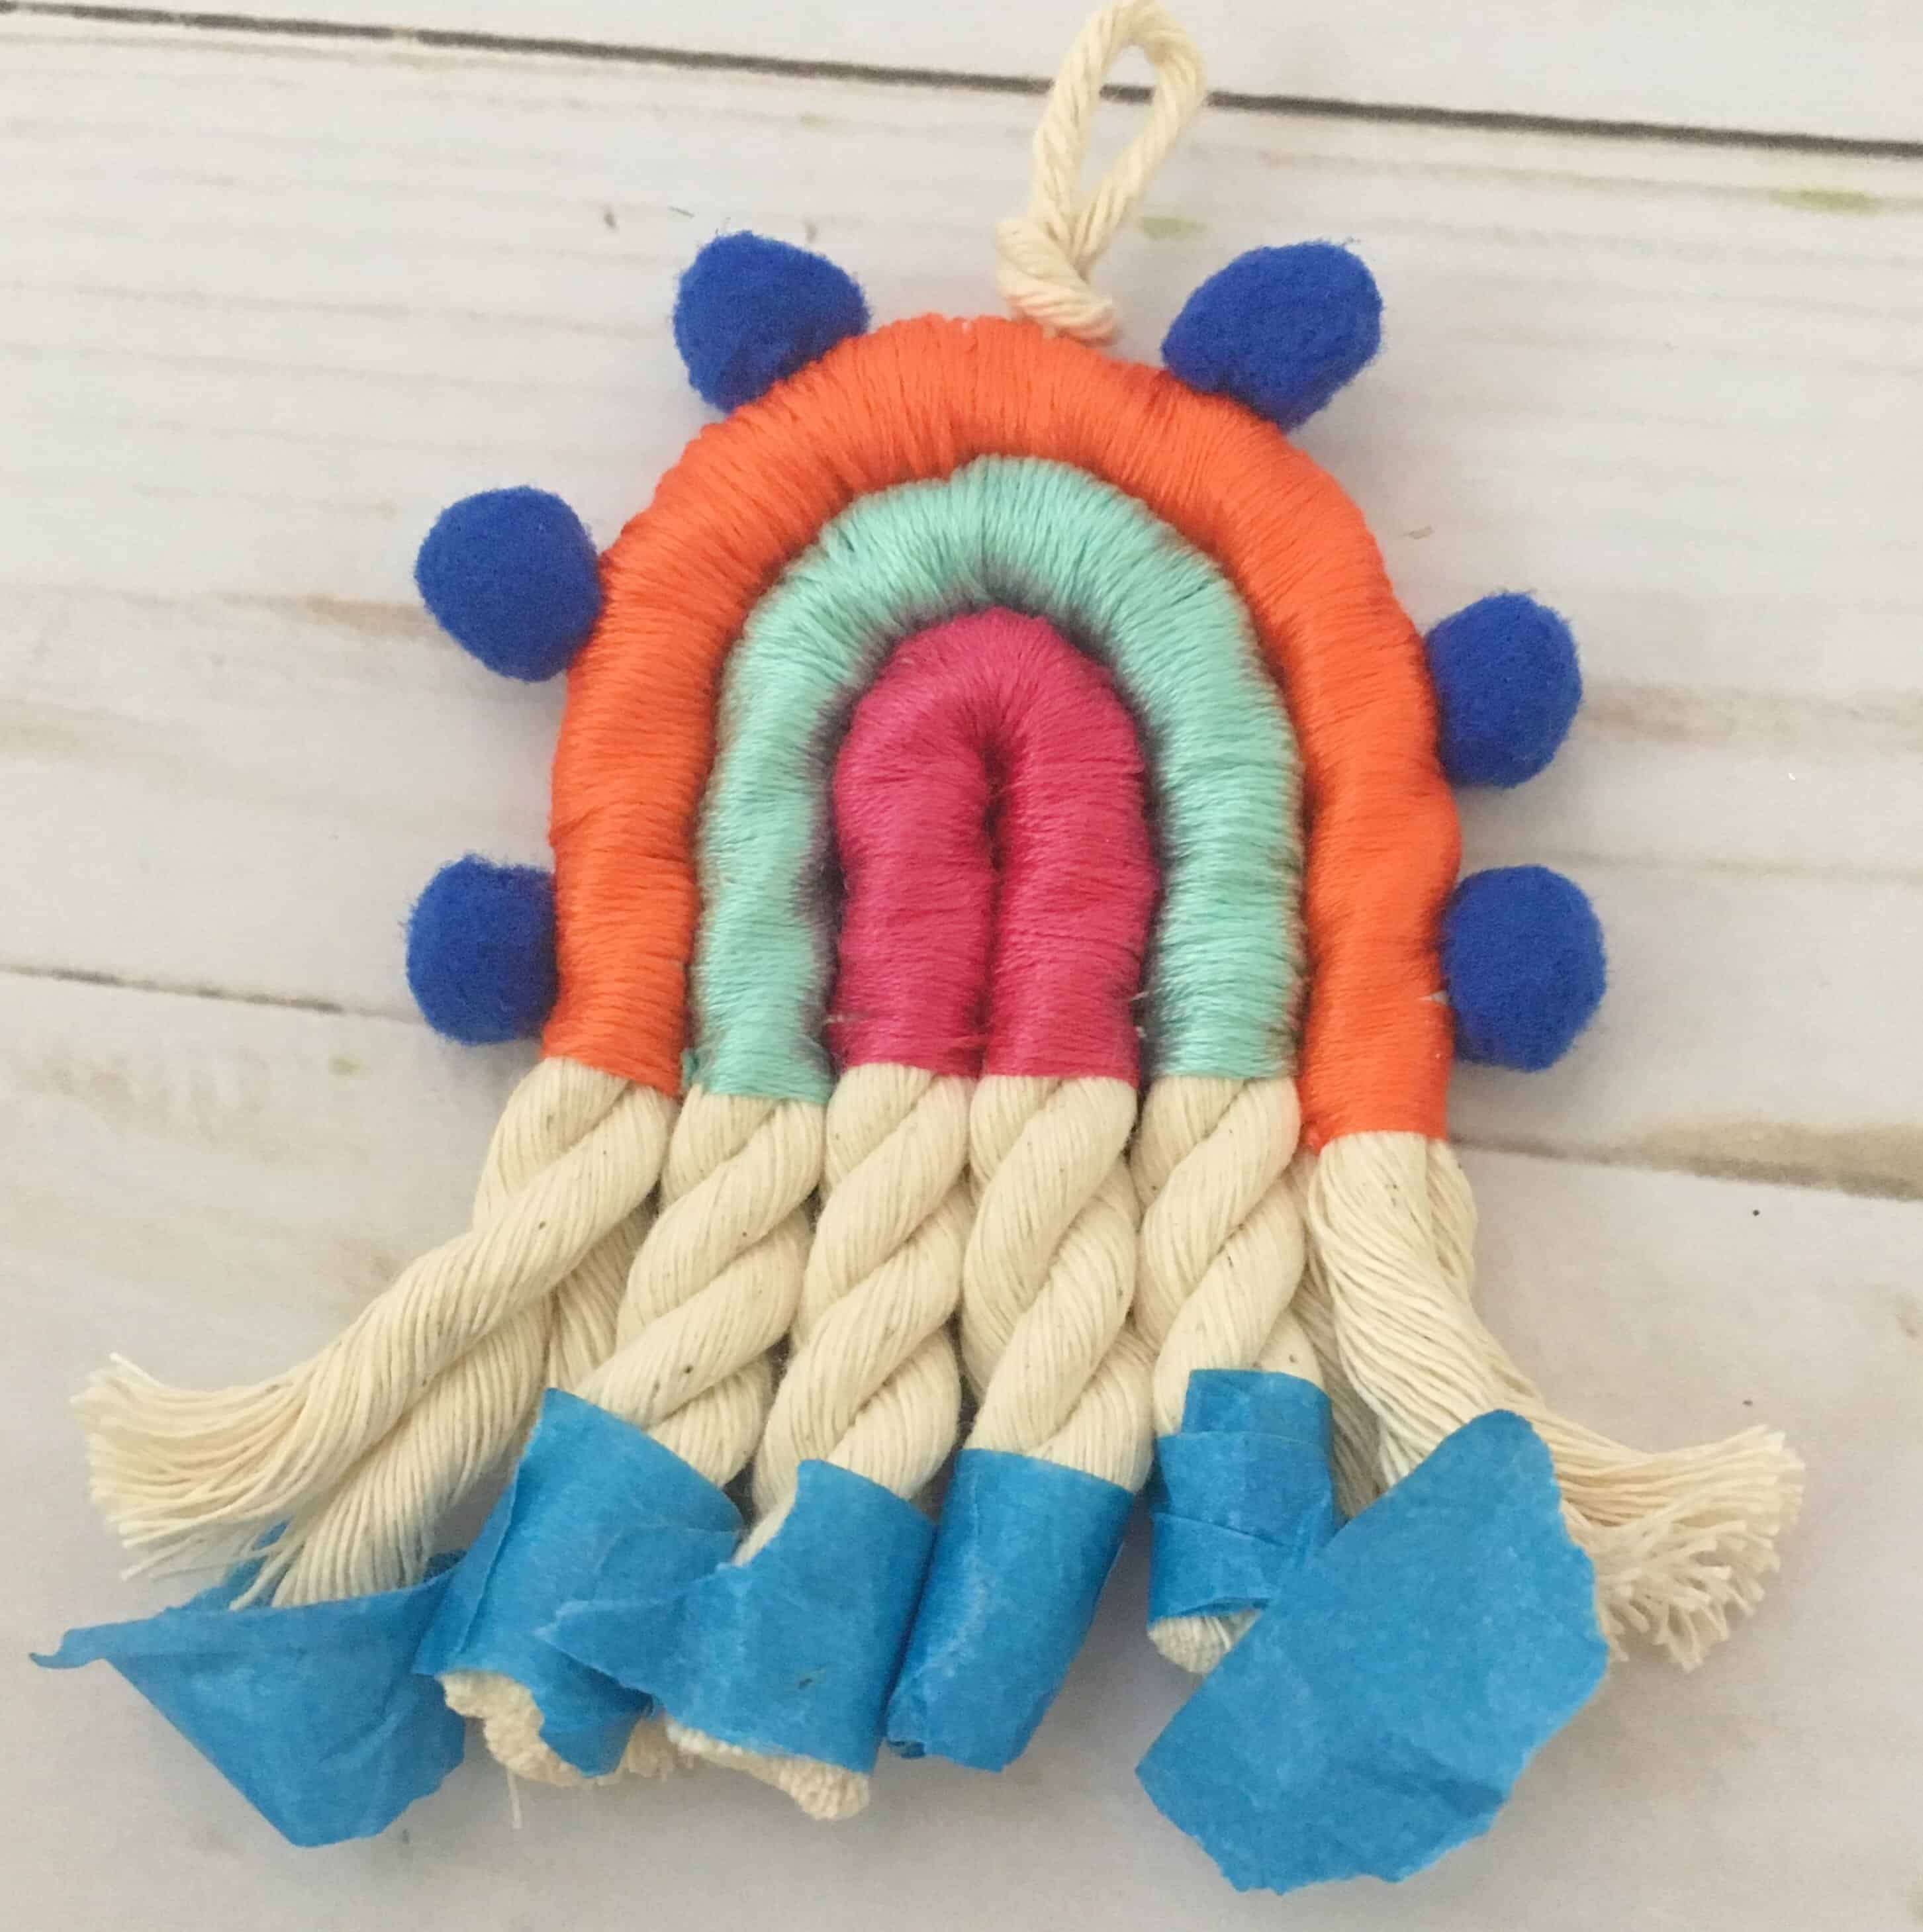
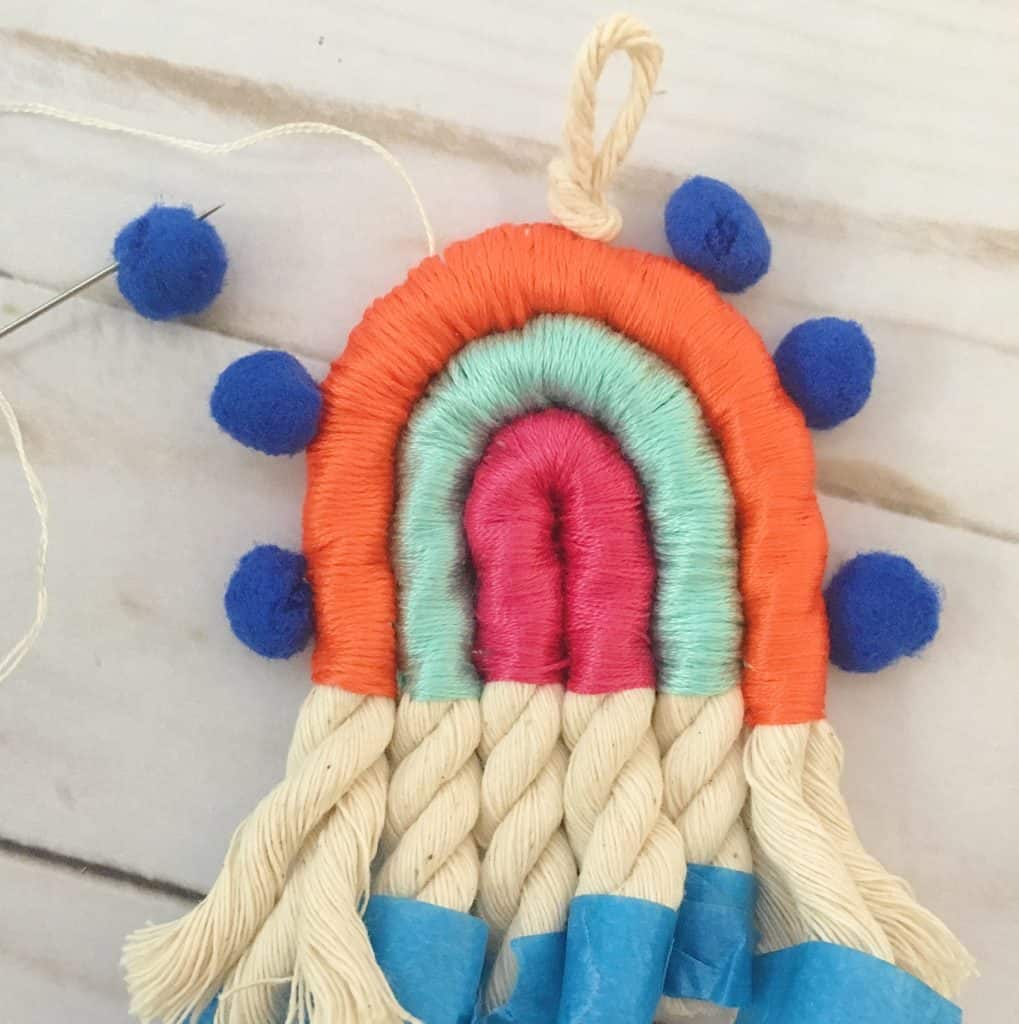
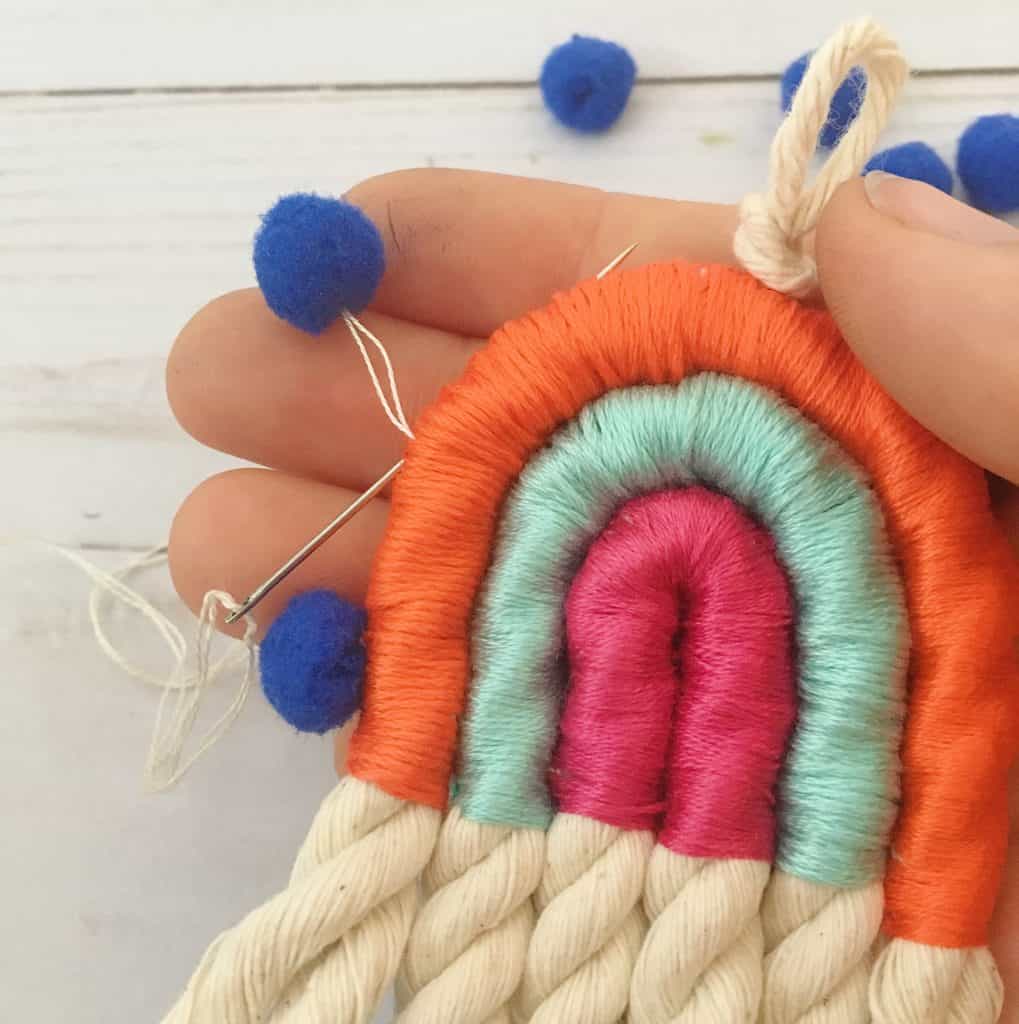
Decide on a layout and how many pompoms you like to go around the rainbow. You can have them spaced tightly together or further apart.
Then attach them one by one.
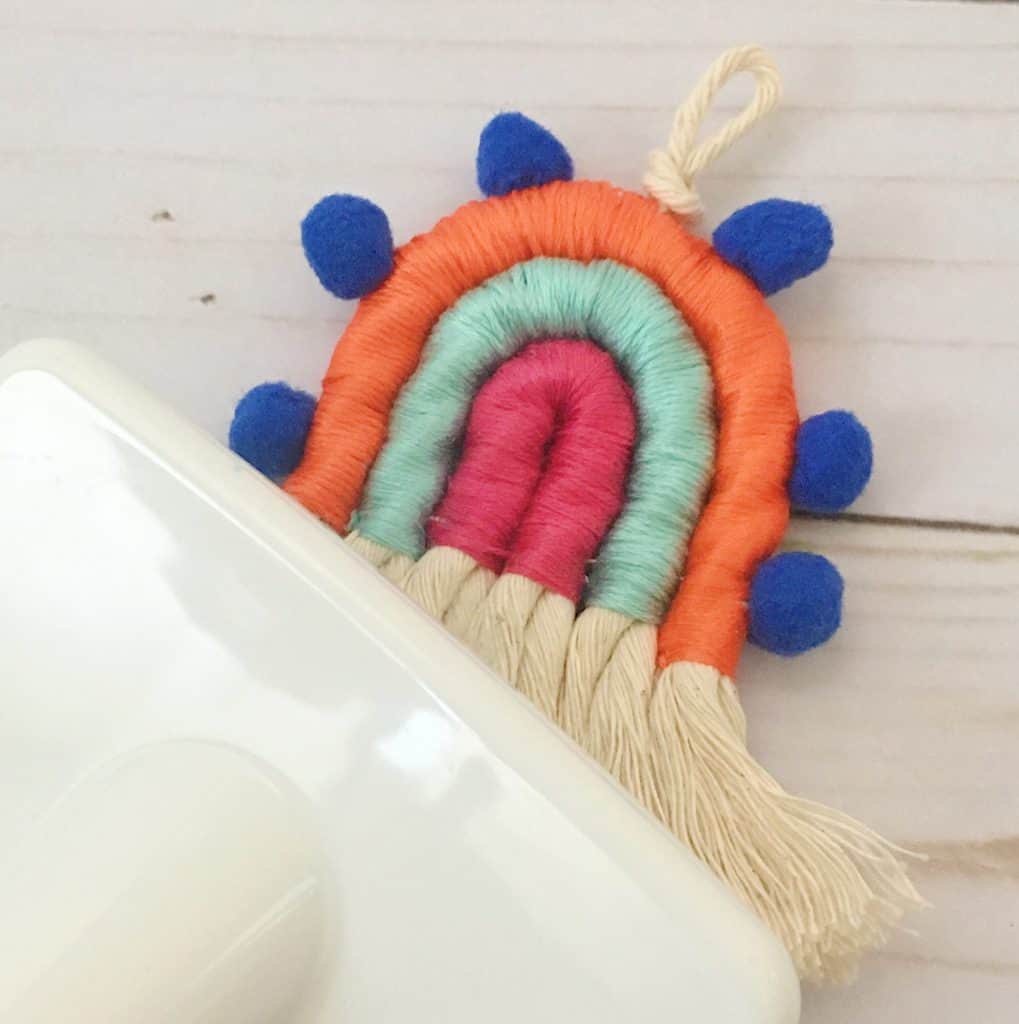

And finally, take out the blue masking tape and fray the ends. A dog grooming brush makes this easier.
For the last step, cut the ends straight with scissors. Now it’s ready to hang or gift!
Pro Tip!
Experiment with different color combinations for your rainbow wall hanging!
You can also make them larger with 5 or more rows or even dip dye the ends. And don’t forget, if you want to leave an arch in the center, use wire to hold the macrame cord in shape!
I hope you are having lots of fun making these rainbows! I am already gifting them left and right and I am sure a few more will make it into the stockings of my family and friends. Comment below if you have any questions and show off your creations here and on Instagram #kaileacrafts
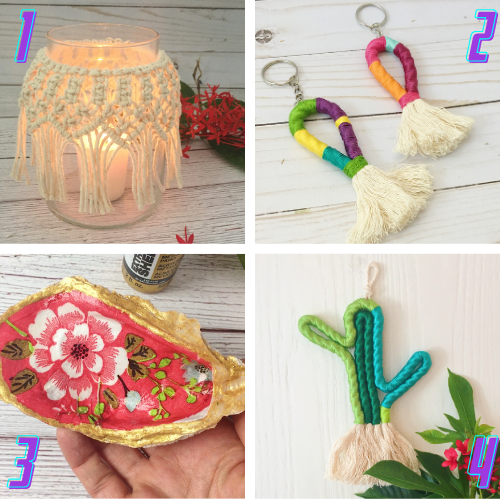
- Macrame Candle Holder – A step by step tutorial for a macrame jar
- Colorful Keychain – another tutorial involving wrapping
- Oyster Ring Dish – Create beautiful ring dishes with oysters and napkins
- Cactus Wall Hanging – add a cactus to your wall hanging collection