
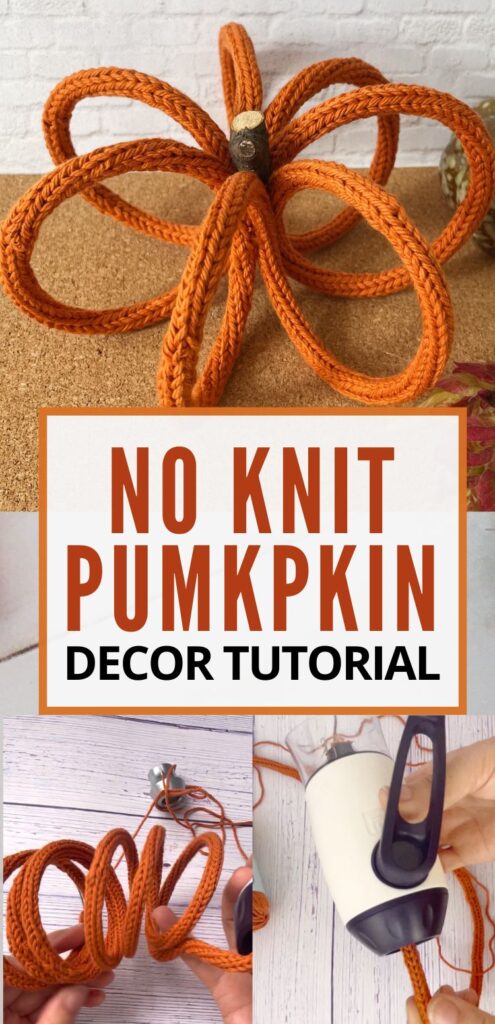
When the leaves turn a colorful red, yellow and green, it is time to fill your home with autumn decorations. My favorite ones are pumpkins in all shapes and sizes and I love making my own pumpkin decor.
This knitted pumpkin is really easy to make since it looks like knit, but actually uses an I-cord making knitting machine. This machine works up your cord in no time and together with some wire you can create any pumpkin shape!
Your Email Address
SUBSCRIBE

You can buy the ad-free printable PDF for this PumpkinTutorial on ETSY. Thank you for your support!
As an Amazon Associate I earn from qualifying purchases. If you make a purchase through my link, I will make a small commission with no extra cost to you. “
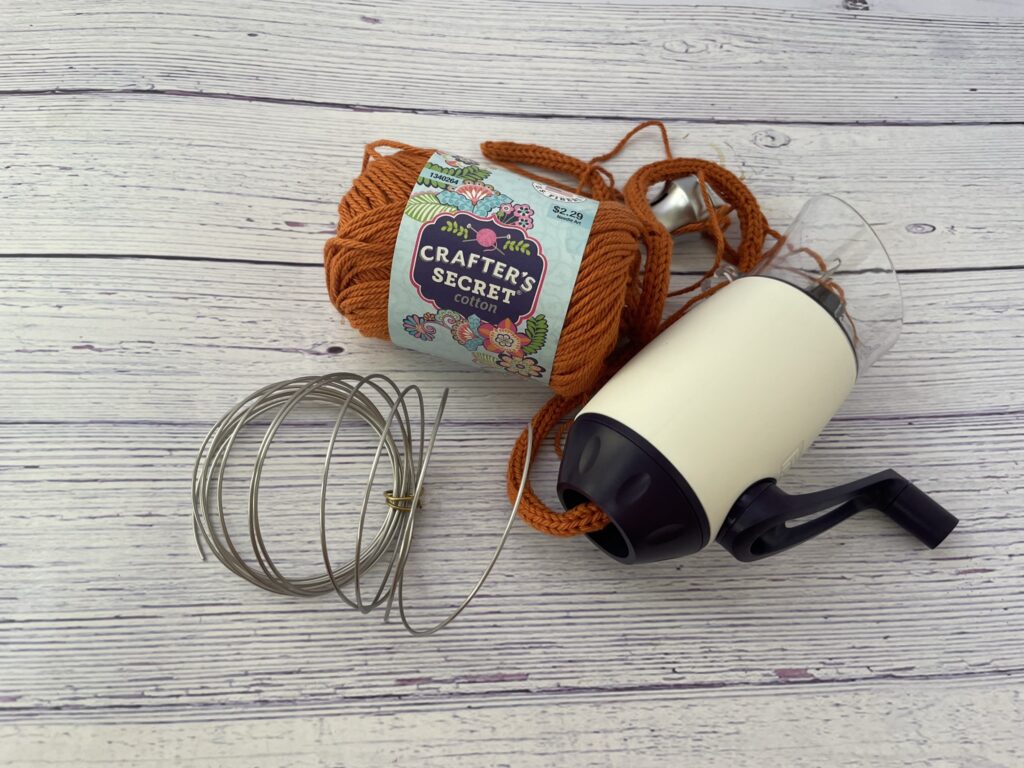
Pumpkin Materials
- Knitting Machine
- Silver Wire
- Yarn: Crafter’ Secret Cotton in Papaya or https://amzn.to/3QPSdSK It should be thin, more like a #3 or even #1 yarn
- branch or cinnamon stick
- Needle
- Scissors
- Pliers and wire cutters: This is a great little set for the novice jewelry maker
Your knitting machine to make the i-cord will come with general directions. I like this machine the best. I had ordered a cheaper one before and the yarn got stuck on every turn. So I returned that knitting machine and got this one. SO much better! The key to using the machine successfully is using a thin yarn that is smooth. At least a #3 yarn but a #1 is better.
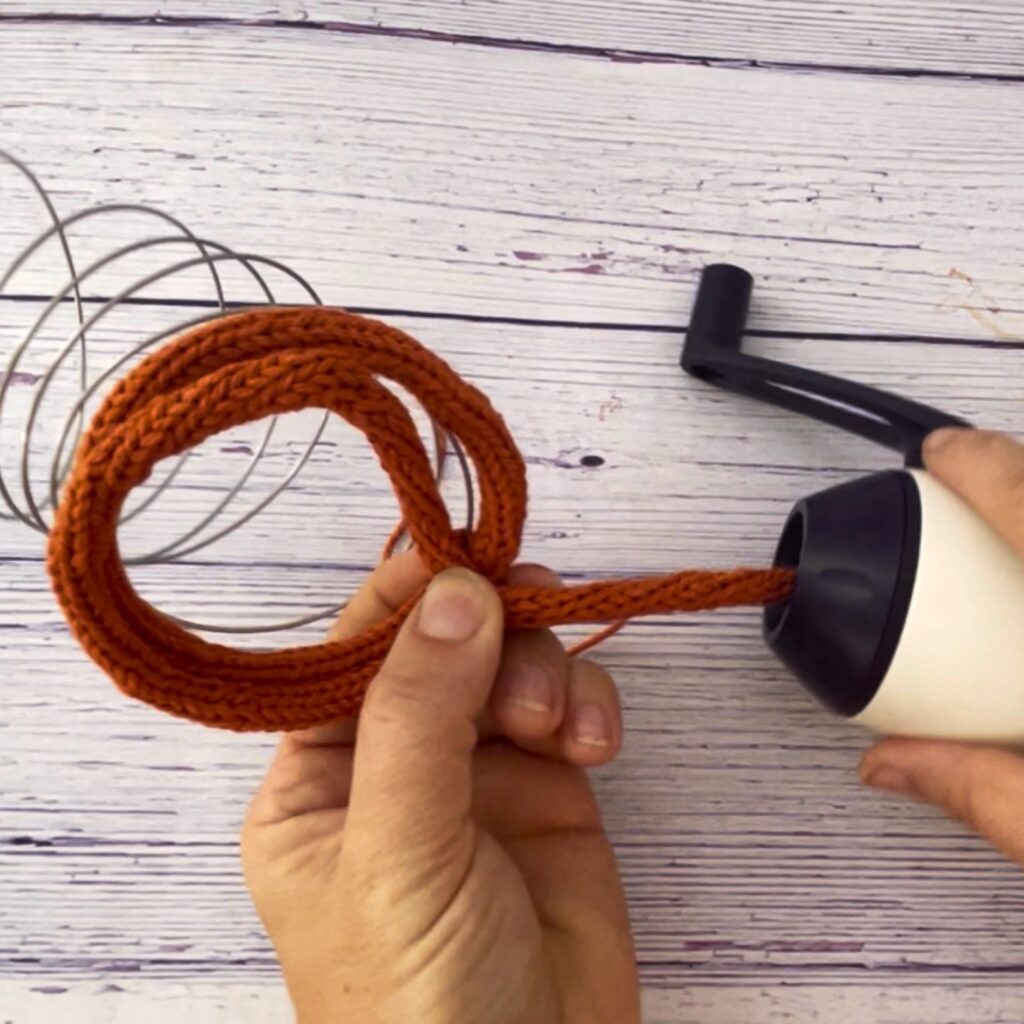
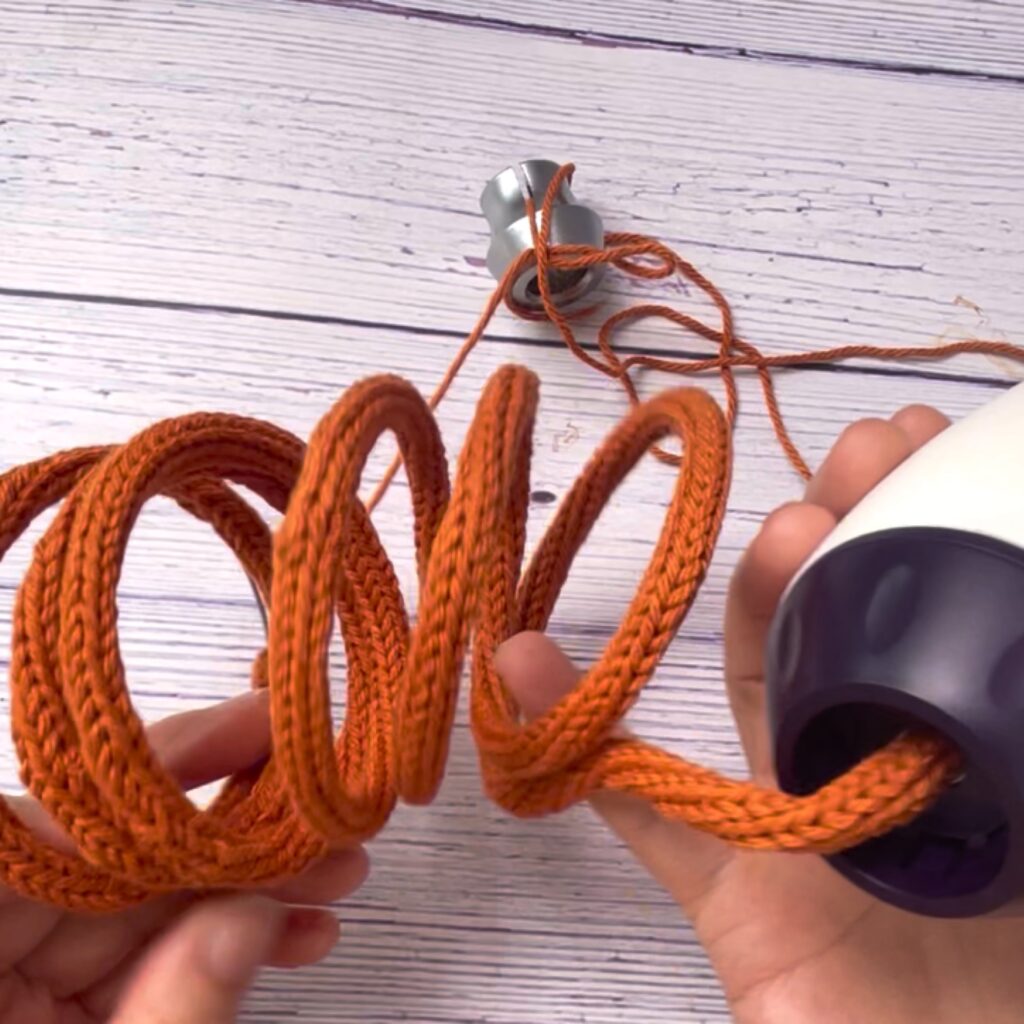
Step 1: Make a no knit i-cord with the knitting machine
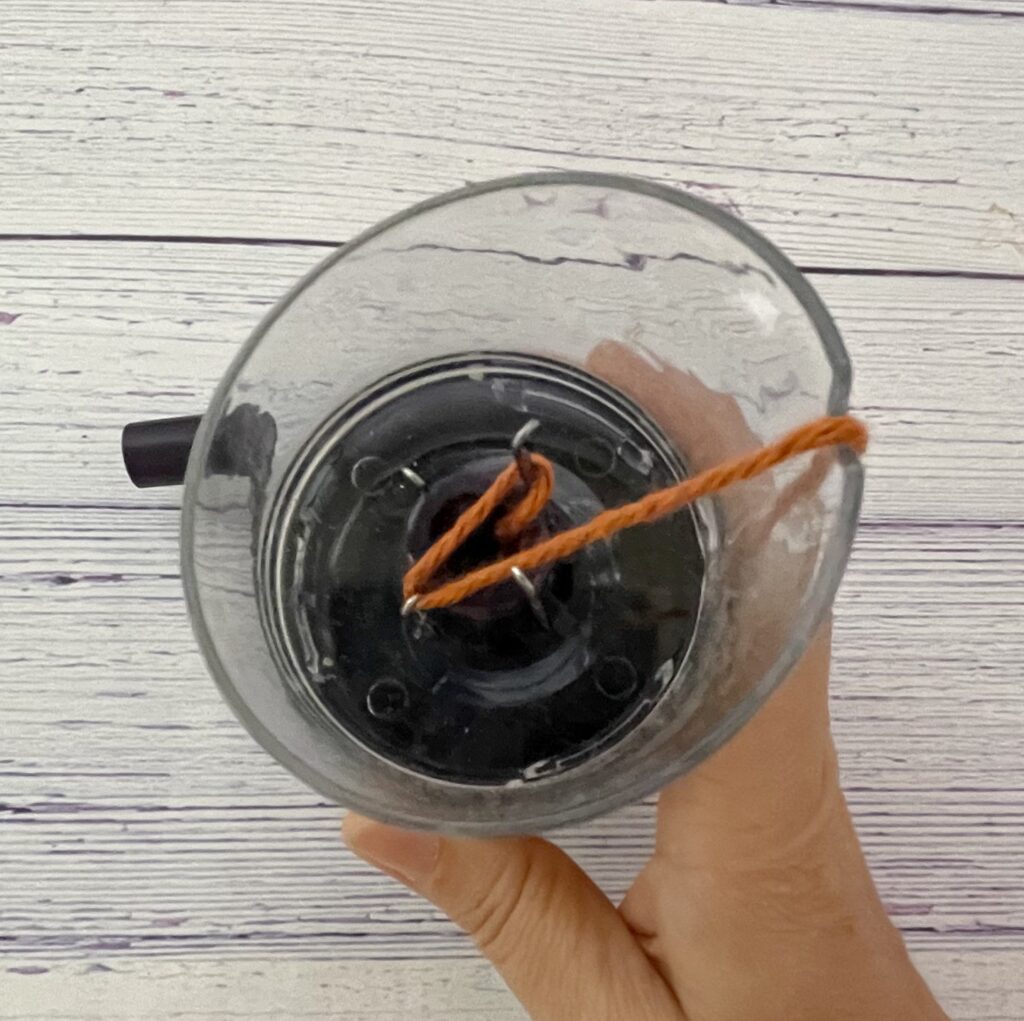
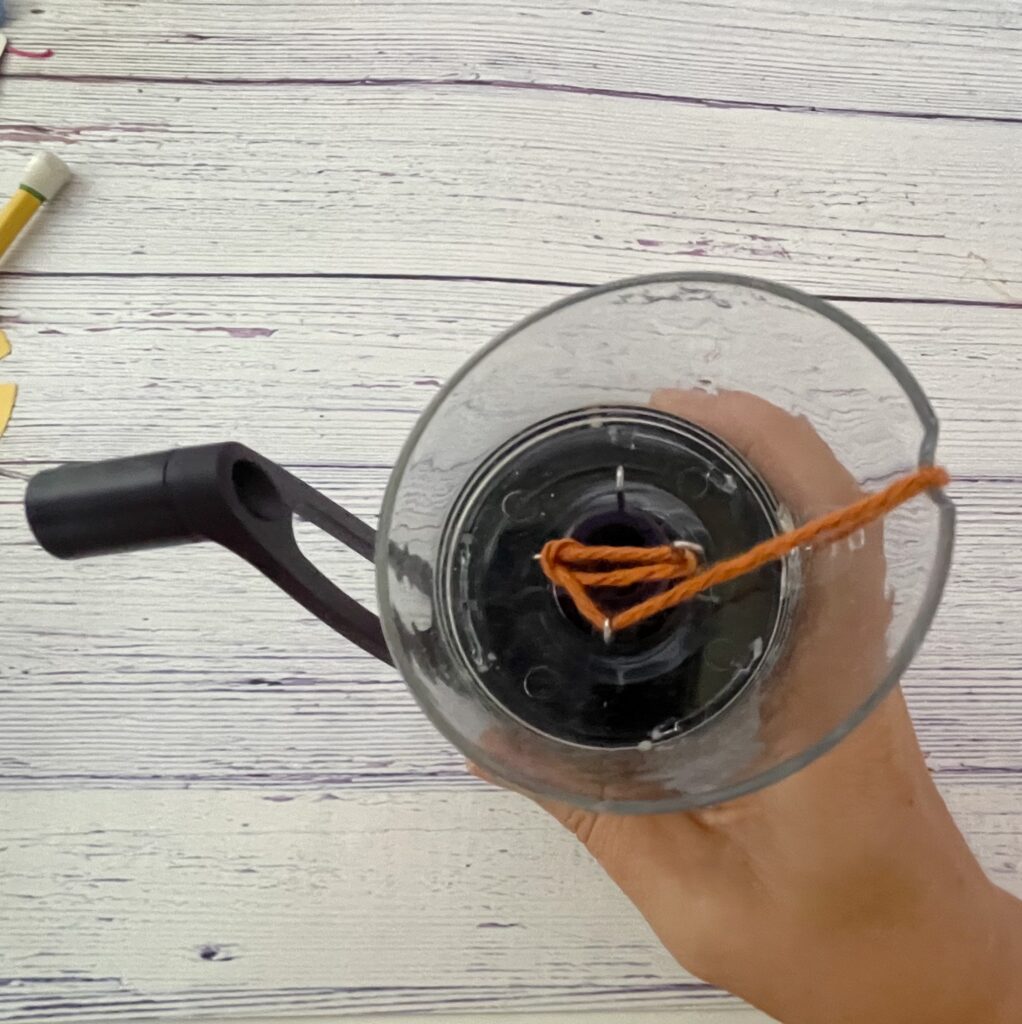
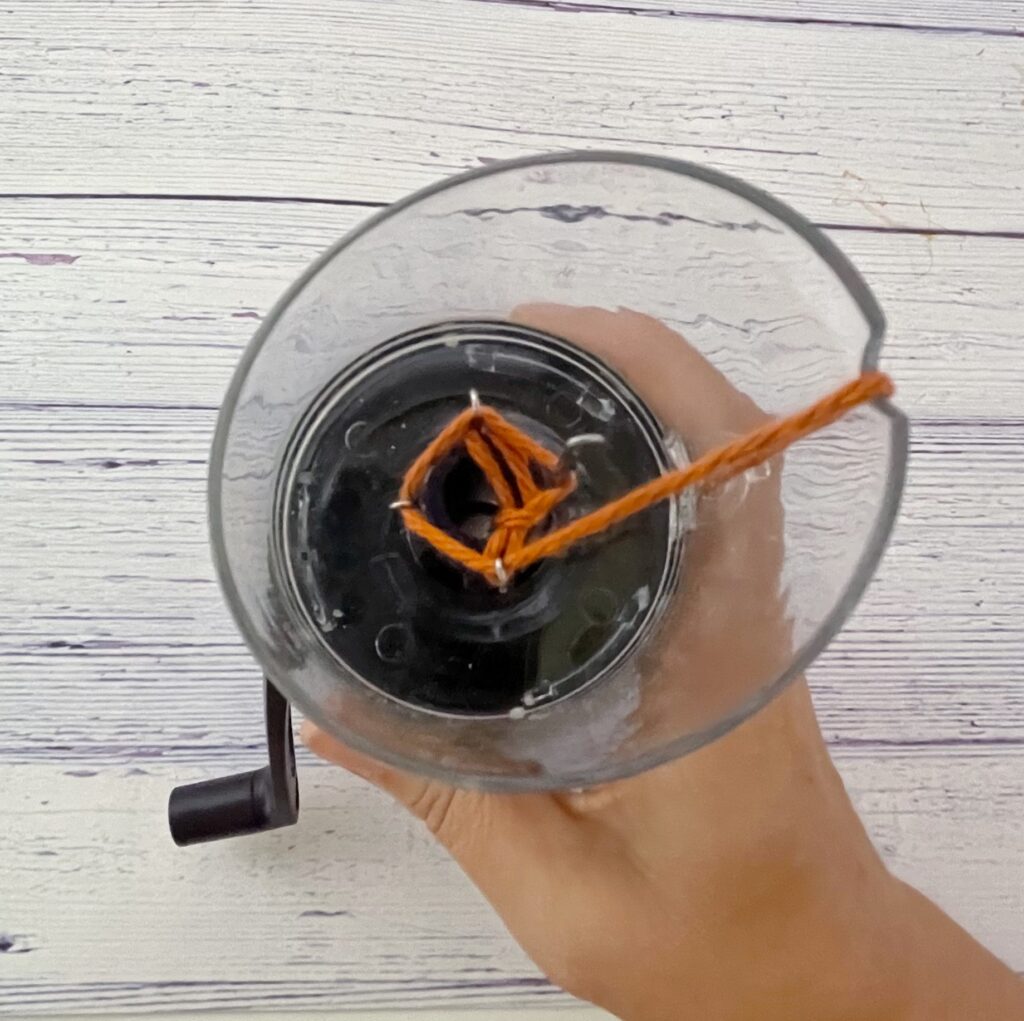
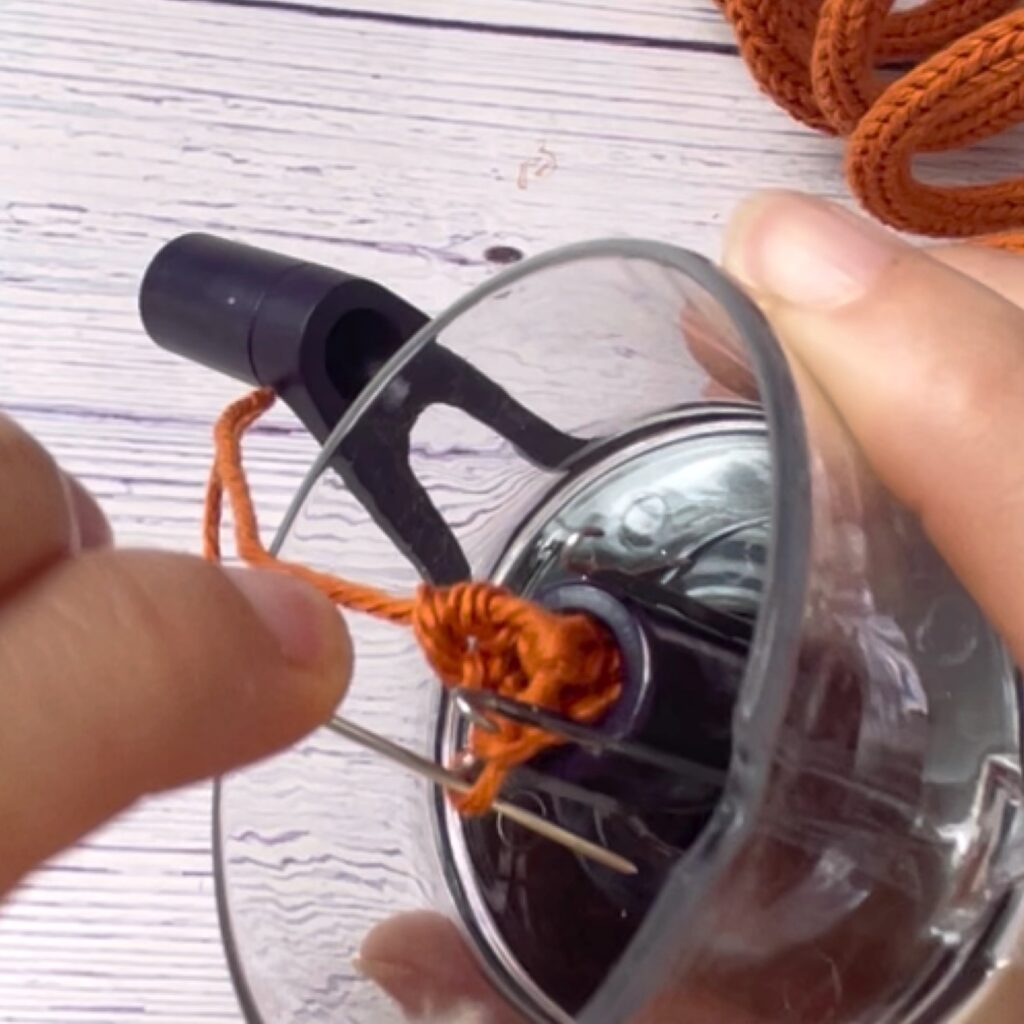
Put the end of your yarn through the center of the machine and attach the weight to it. Then let the first hook catch the yarn, skip the second hook, let the 3rd hook catch the yarn again and skip the 4th hook. After that, let the yarn be caught by all the hooks. Make your cord as long as you think you will need for your pumpkin. Since that might be hard to gauge, I started winding the cord onto the wire as I went along.
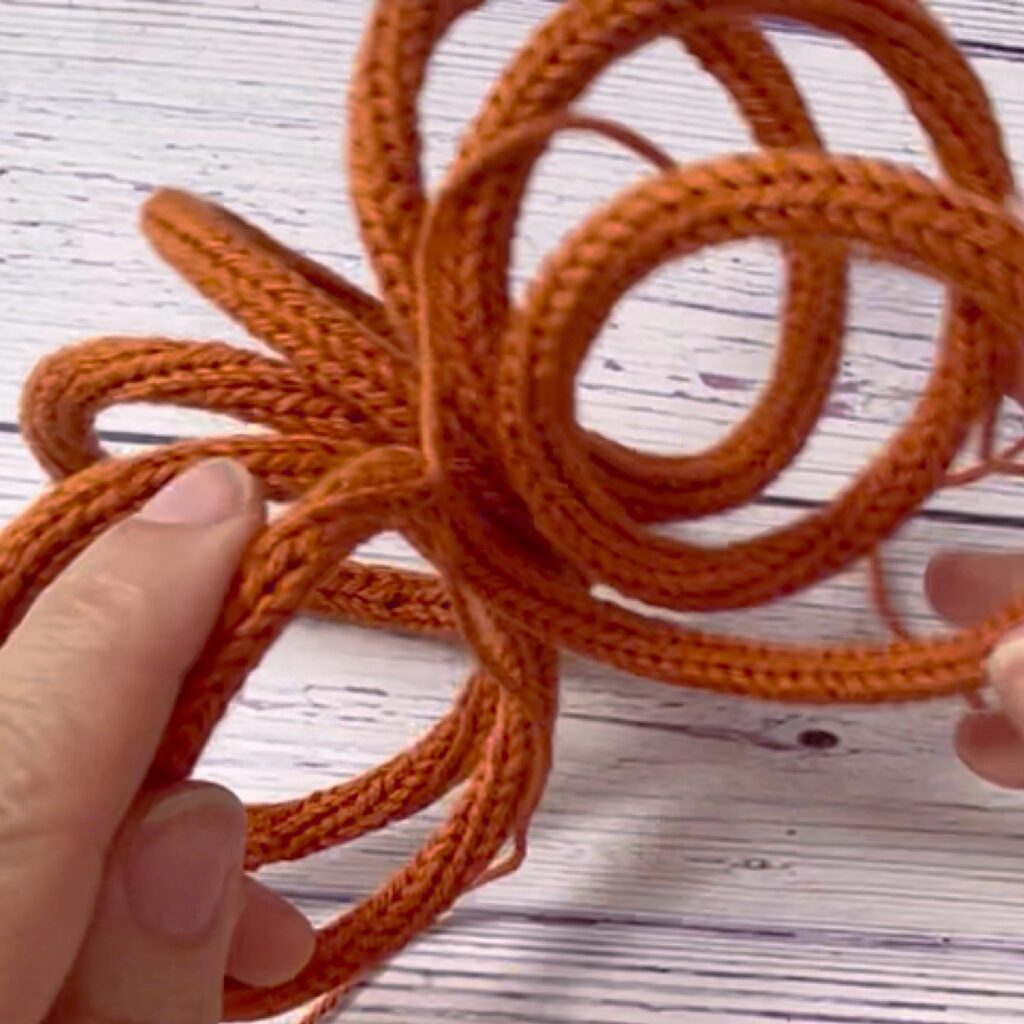
Step 2: Cutting the wire into the pumpkin frame
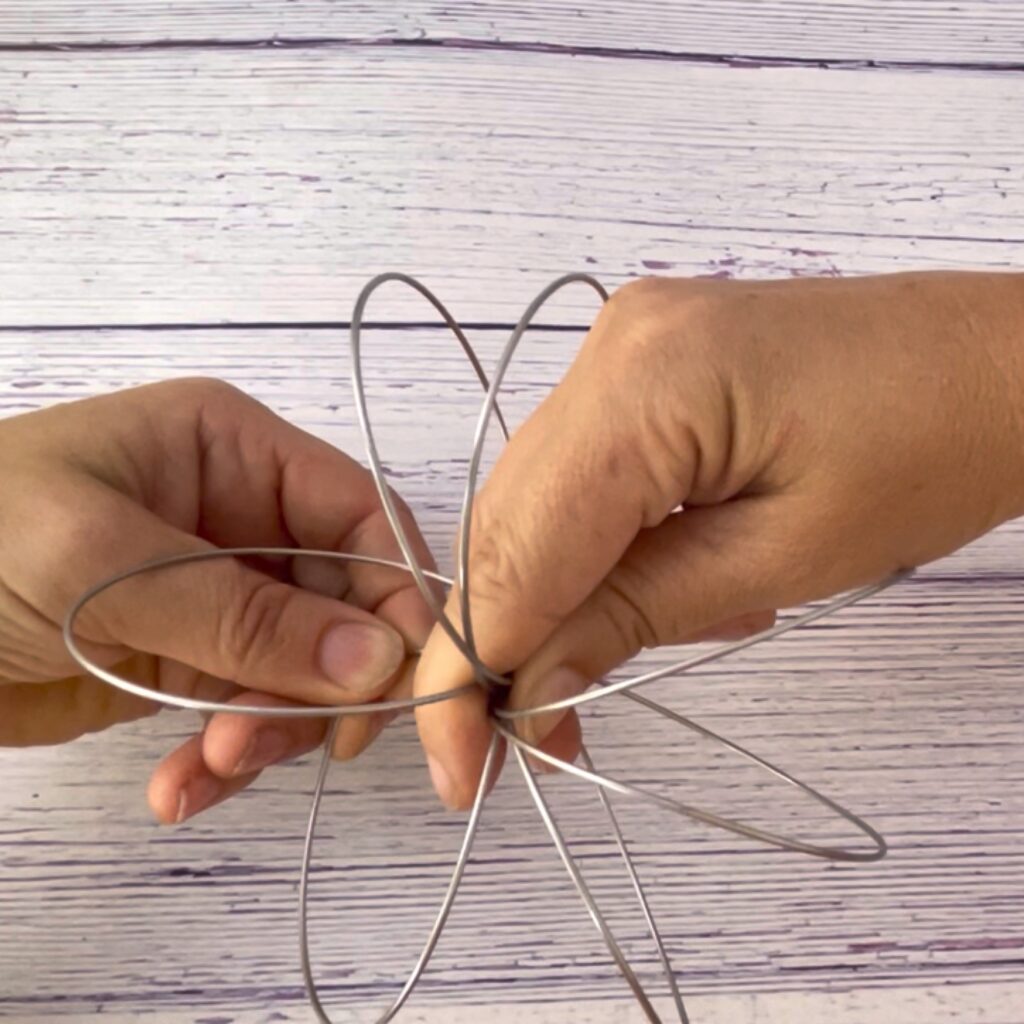
Most wire will come in a coil so it is already shaped in a spiral to be used as a pumpkin shape. Now you can decide how dense you want your pumpkin. I fanned out part of the wire and decided that 7 loops would be good and cut the wire at that size. You might decide that you want more or less loops for your pumpkin shape.
Step 3: Winding the I-cord onto the wire frame
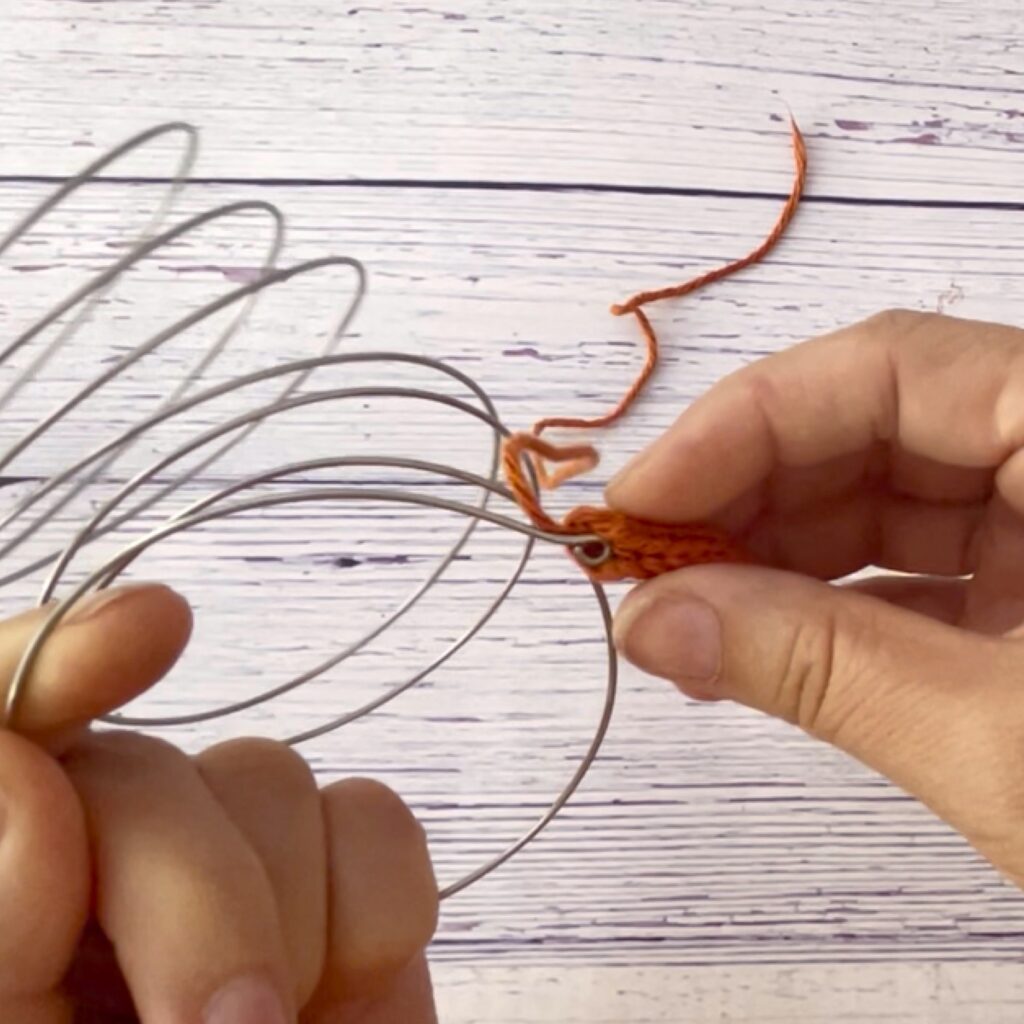
Once the cord is so long that the weight would hit the floor, it is best to start winding it onto the wire. I used some pliers to create a little hook on the end to smooth the edge and also to give the wire enough surface so it won’t poke out through the cord. Then just push cord onto the wire frame until you are close to the knitting machine.
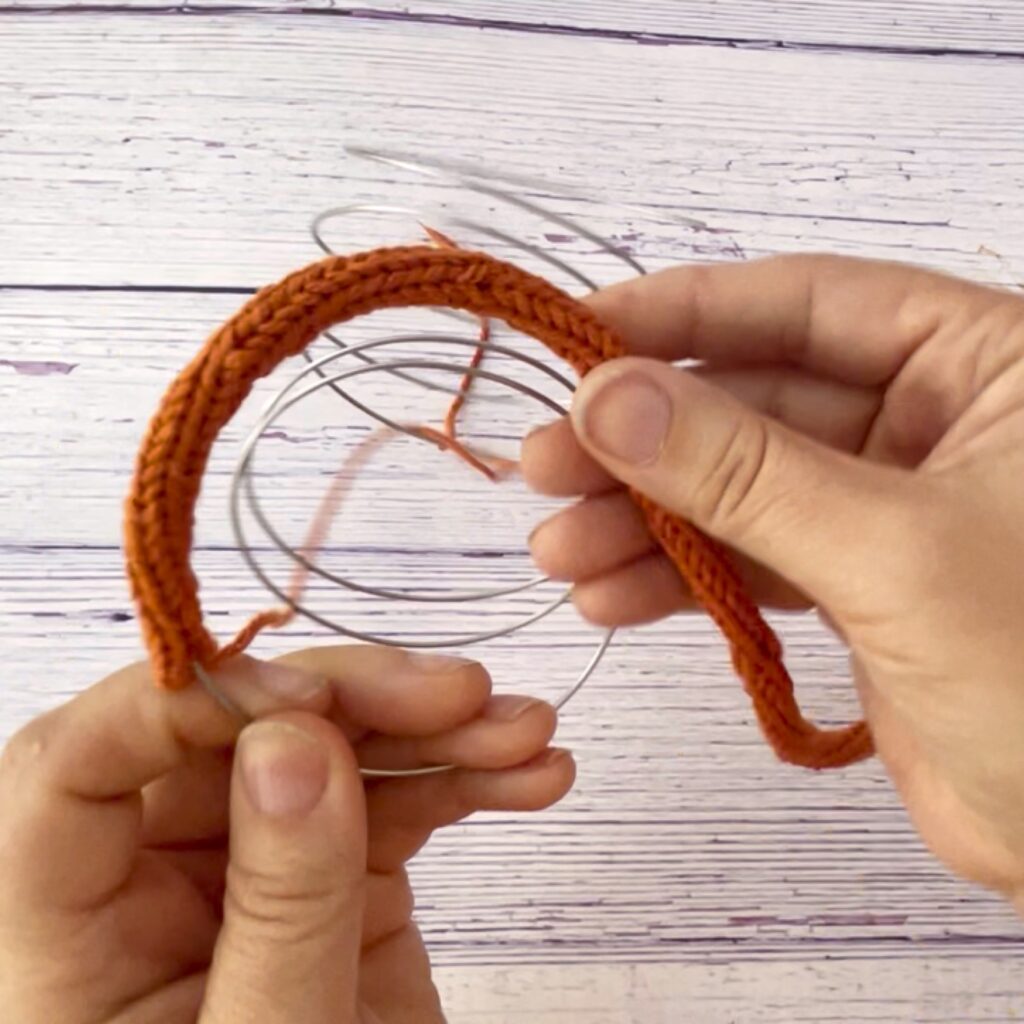
Keep knitting the cord and winding it onto the wire frame until it is long enough to cover it all.
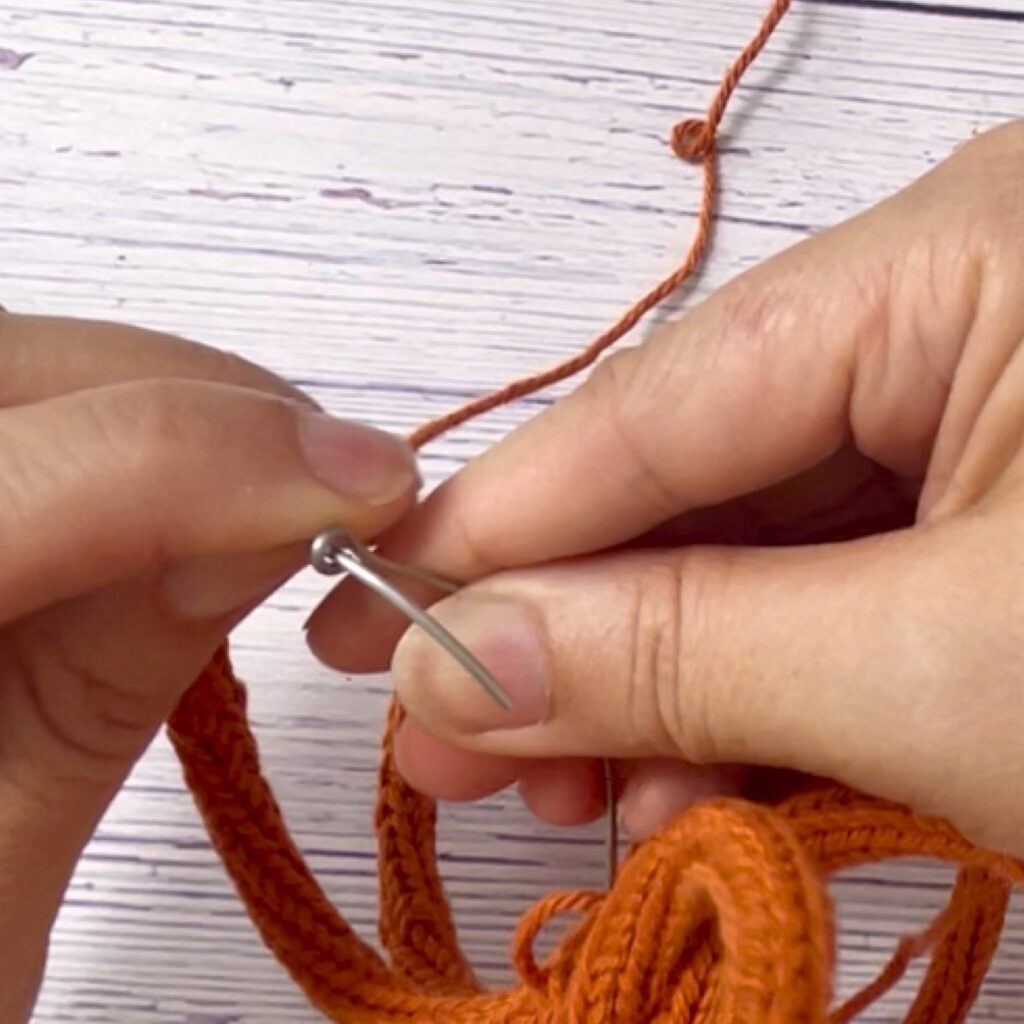
Step 4: Finishing off the end of the I-cord

Cut the string about 4″ from the hooks and string it on a needle. Now take off the loops of yarn from all 4 hooks with the needles. So you are pulling the end of the yarn through all 4 loops and pulling it tight. Then just pull it through the machine.
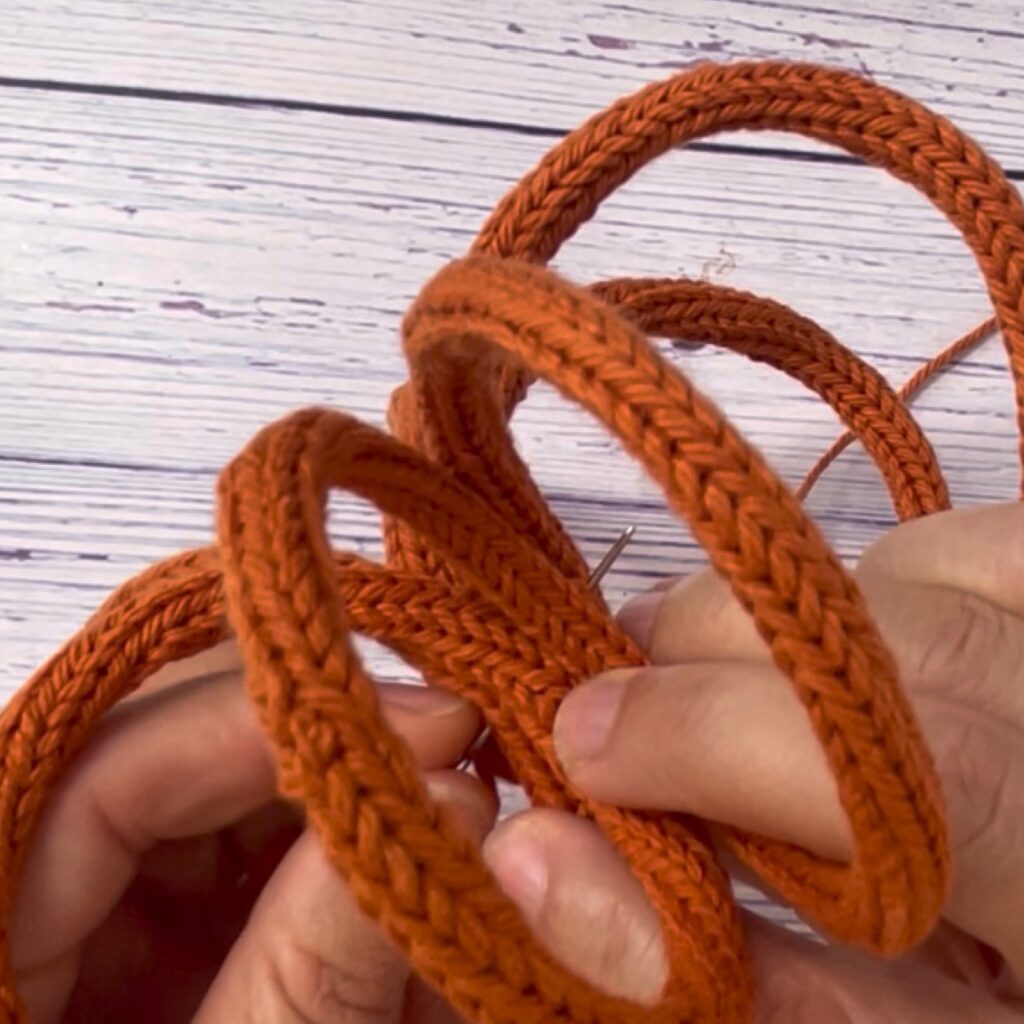
Step 5: Attach 2 ends of wire together
To attach the 2 ends of the wire frame together, you need to push the end of the wire through the loop of the beginning of the wire and wind it over the its length. Meaning you are spiraling them together so that they are secure.
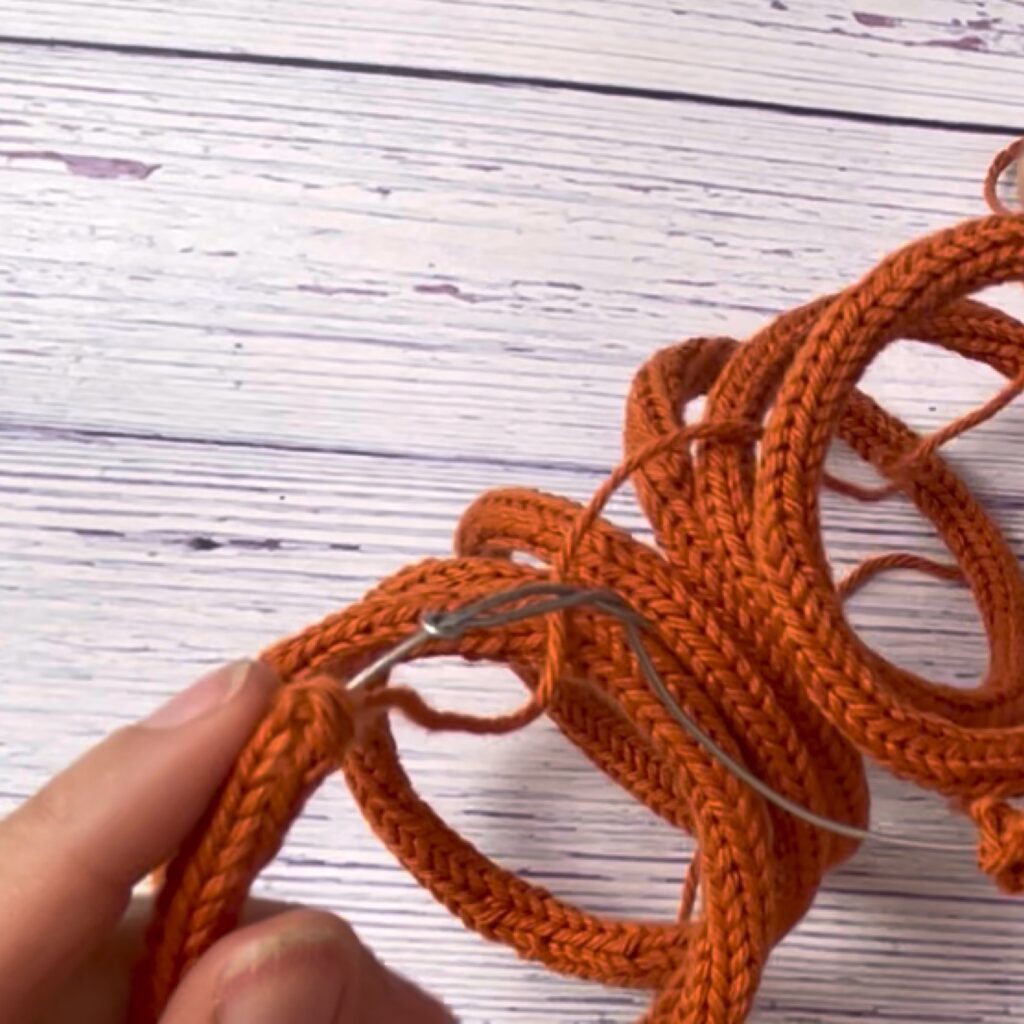
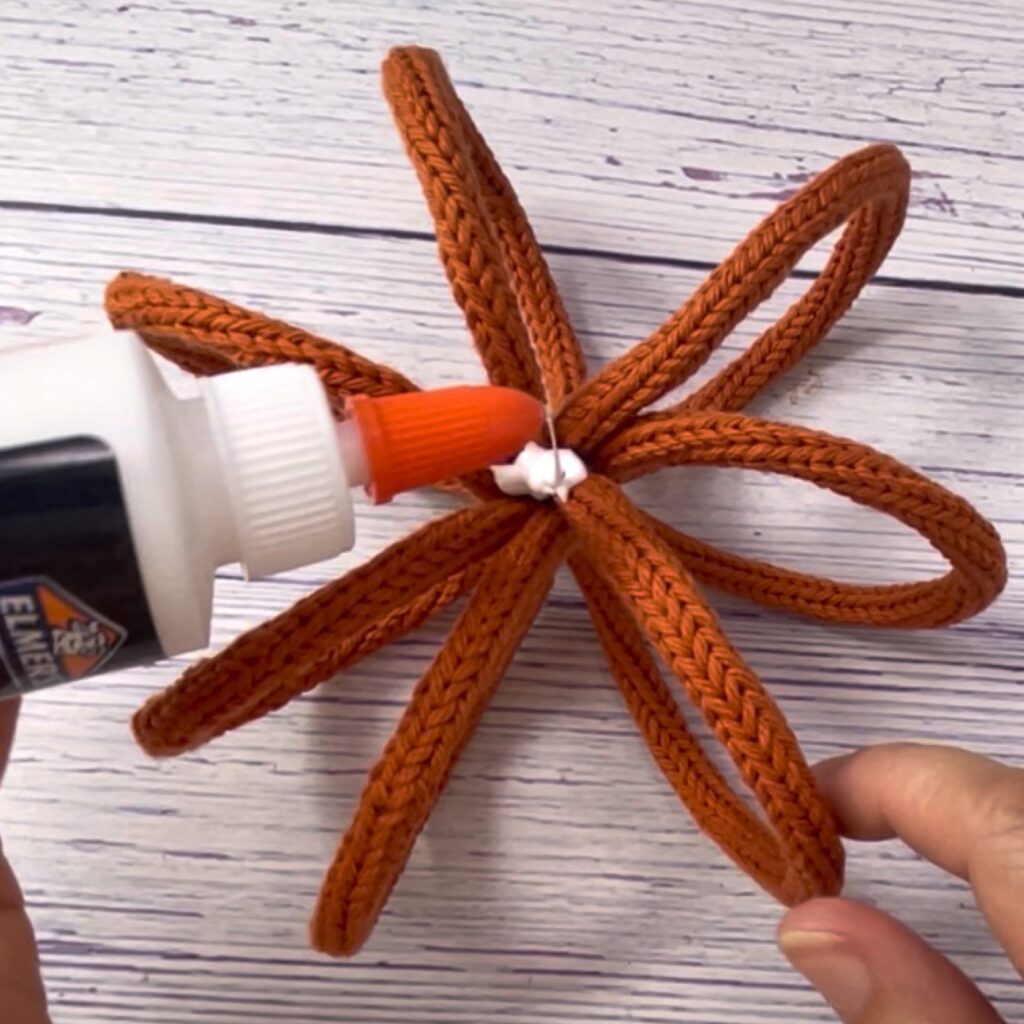
Step 6: Pull 2 ends of the cord together
After the wire is wound together, you can pull the cord over the connection that tie the two ends together as well. String on a needle and securely sew the ends around the center of the pumpkin. This will stabilize the wire frame and also hid the ends of the cord. Now, shape the wire so each round is evenly spaced around the circle.
Step 7: Adding the top of the pumpkin
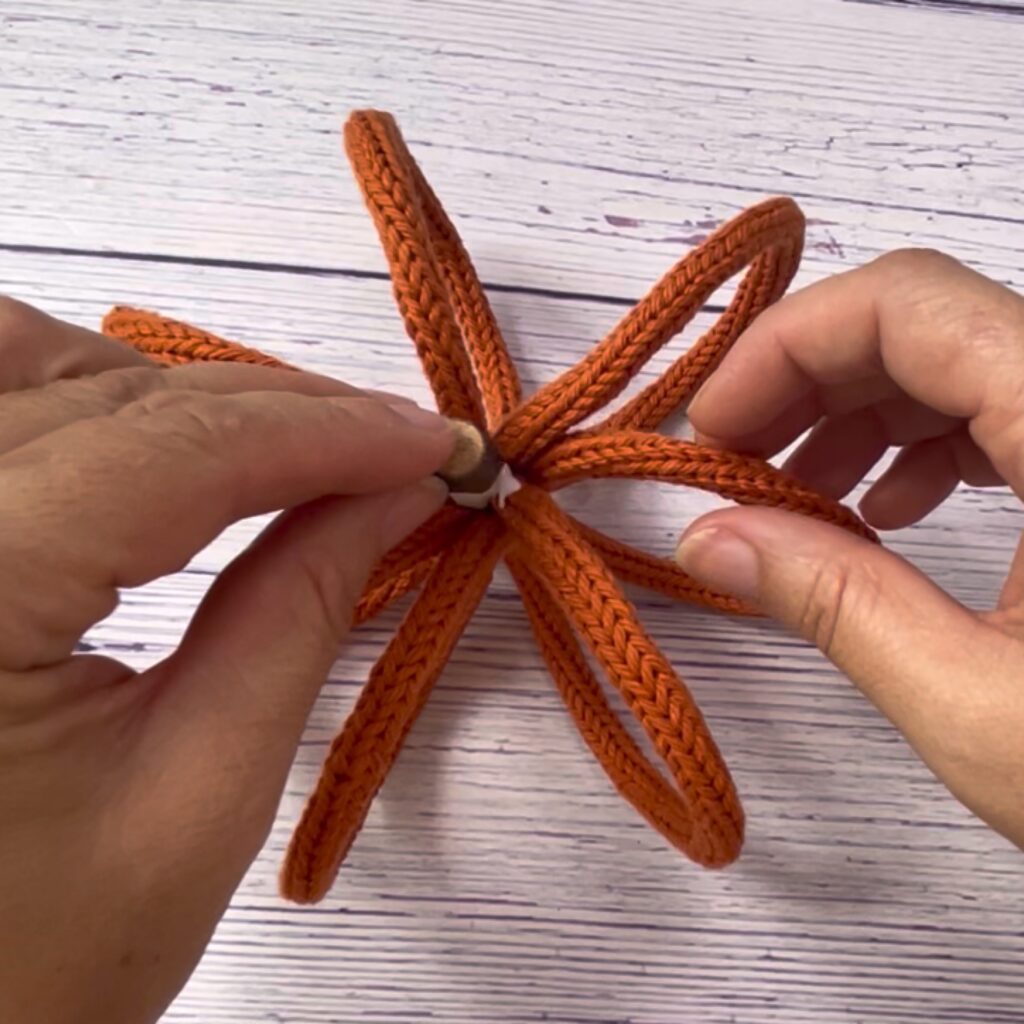
All that is left now, is to add the top of the pumpkin. I used a stick from my yard, but you can also use a cinnamon stick for extra flair.
I hope you will enjoy this pumpkin tutorial as much as I do. Comment below if you have any questions and show off your own pumpkins here and on Instagram #kaileacrafts
More Free Tutorial
Want to make even more fun pieces? Check out these Crafting on the Fly creations!
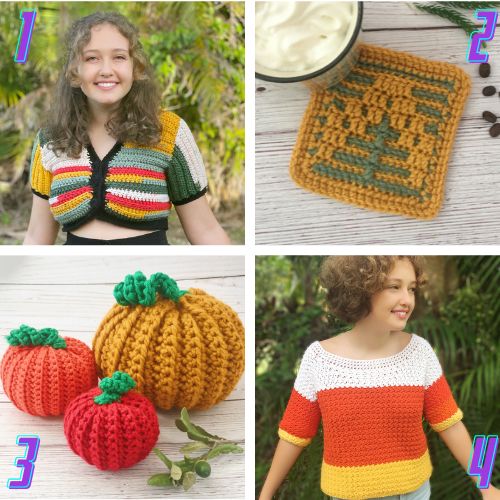
- Autumn Crop Jacket– Crochet this autumn inspired crop jacket
- Mosaic Pine Tree Coaster – Crochet this pine tree coaster
- Pumpkin Patch – Crochet a pumpkin patch in 3 different sizes
- Candy Corn Sweater – Crochet a Candy Corn Sweater