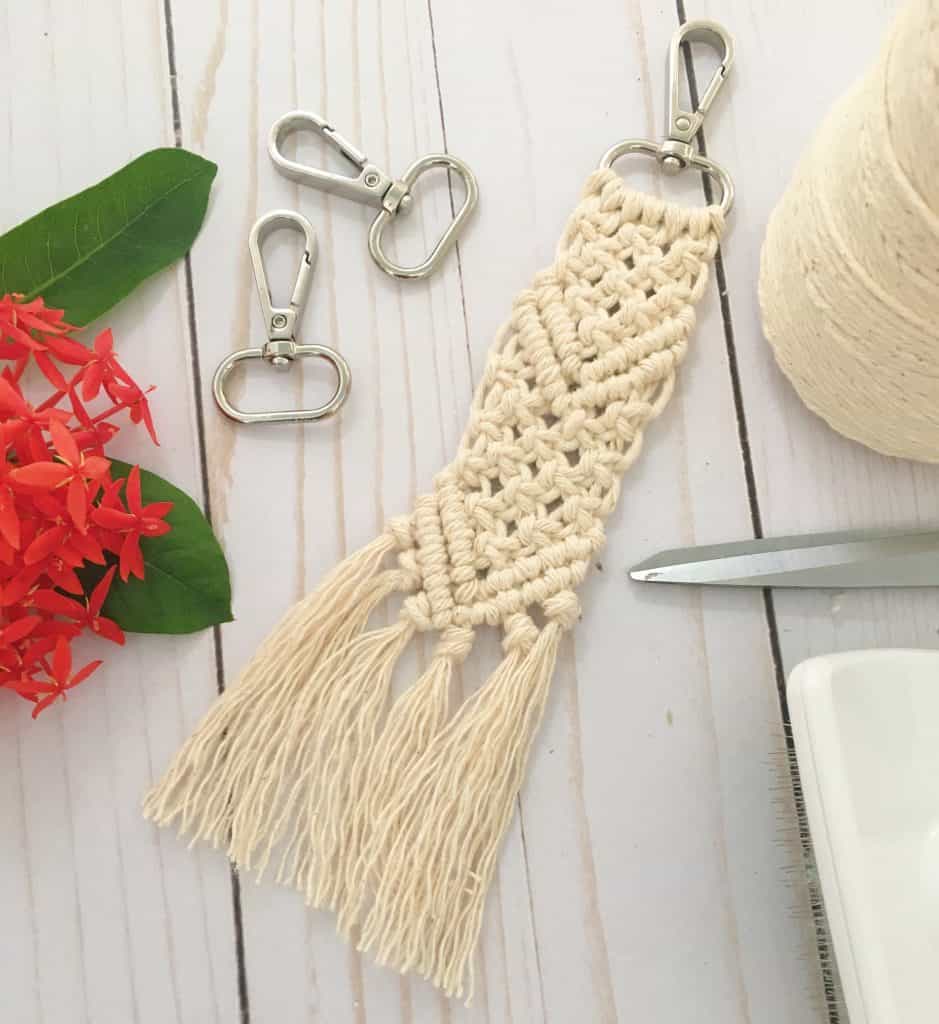
Learn how to make Macrame Keychains
Right now, I am in love with macrame and all the different things you can create with just a few knots! This easy macrame tutorial shows you how to make a stylish keychain that you can add to about anything! You can change the color you dye the ends of your macrame keychain to any color you like. Match it with your favorite boho bag or make a few different macrame keychains for your friends in all their favorite colors. This is a great quick macrame project to really have some fun with!
“As an Amazon Associate, I earn from qualifying purchases. If you make a purchase through my link, I will make a small commission with no extra cost to you. “
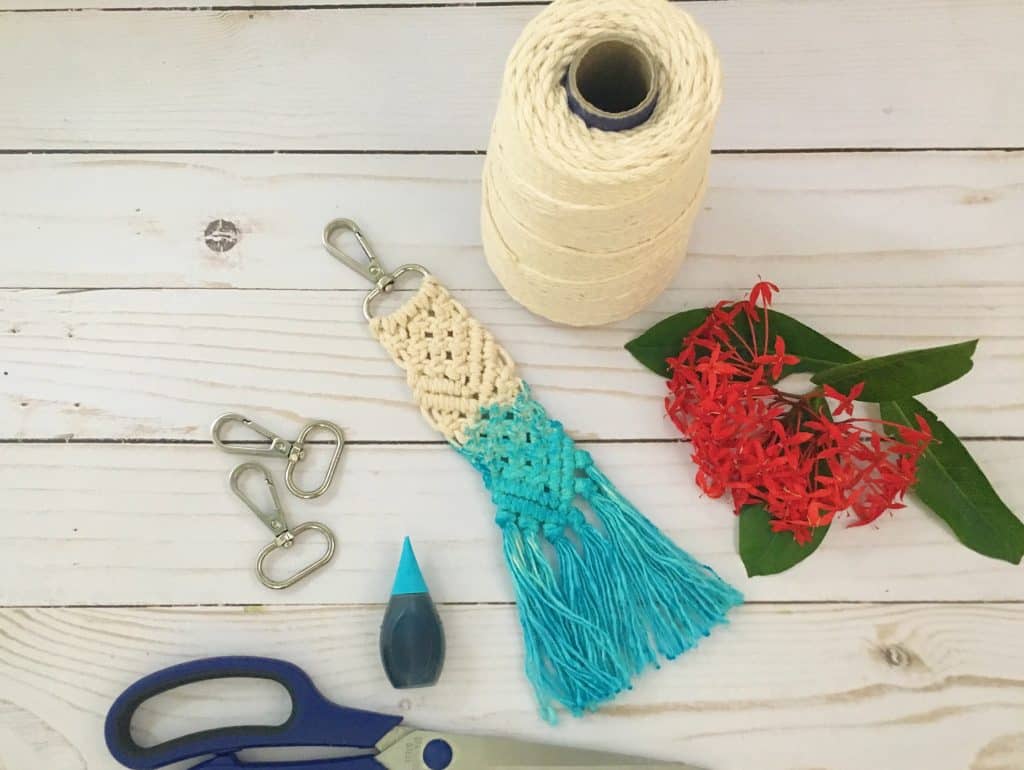
Macrame Keychain DIY Materials:
- Macrame Cotton Cord
- Lobster Clasp Keychain
- Food Coloring (this is optional, I used the blue from the neon pack)
- Scissors
- A glass bowl for dyeing
- Clipboard to hold the strings (one with a straight clip like in the link)
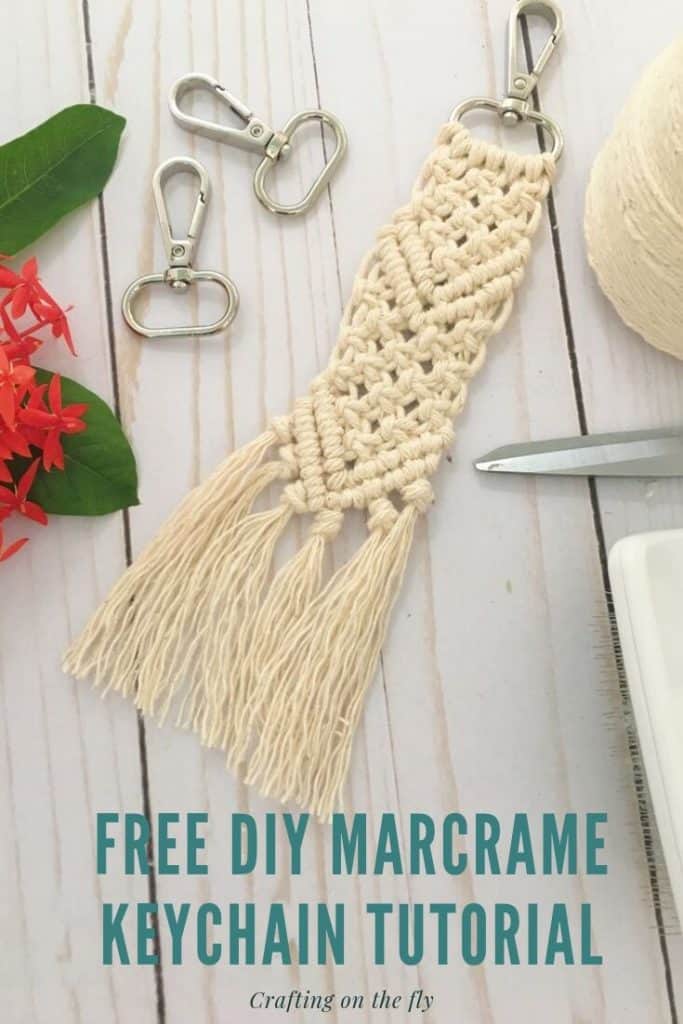
This is a great project to practice 2 main macrame knots. This macrame key chain works up quickly and by using different colors for dyeing, you can make a bunch for gifts!
You can also make some macrame feather keychains by following along with my Macrame Feather earring tutorial here.
Or try my Macrame Necklace tutorial here. They all make beautiful Christmas Stocking stuffers!
Here is a video of each step or you can follow along with the photos!
How to Make a Macrame Keychain:
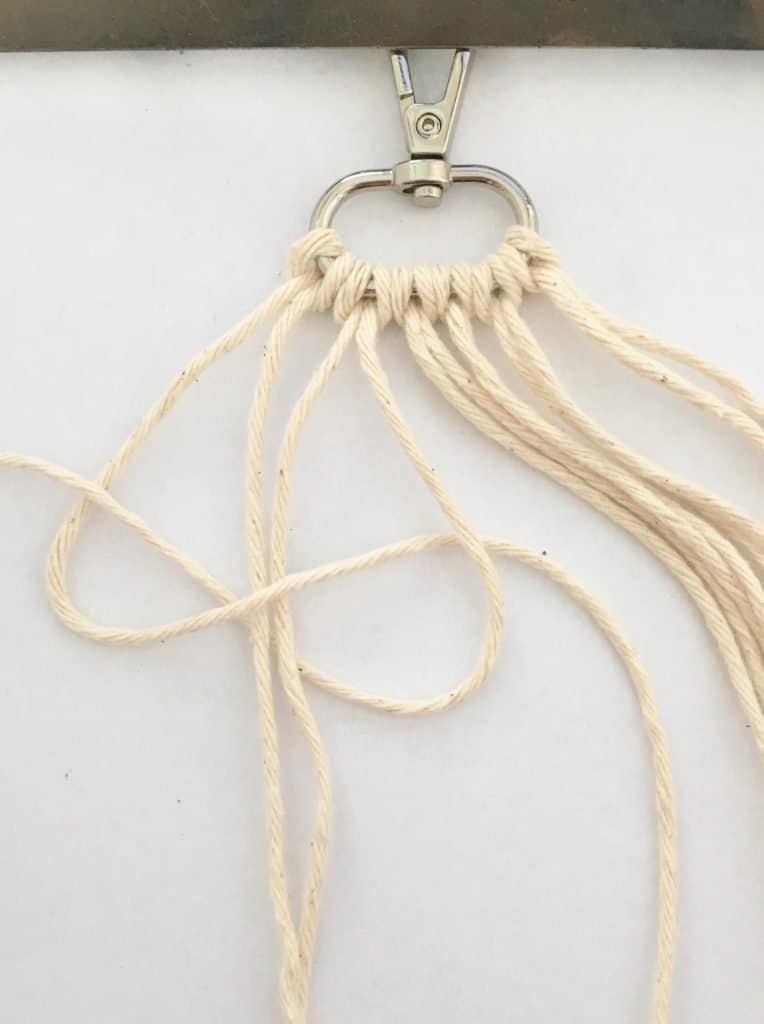
First, you need to cut 6 pieces that are each 4’long.
Then fold each piece in half and attach it to the keychain with a lark’s head knot.
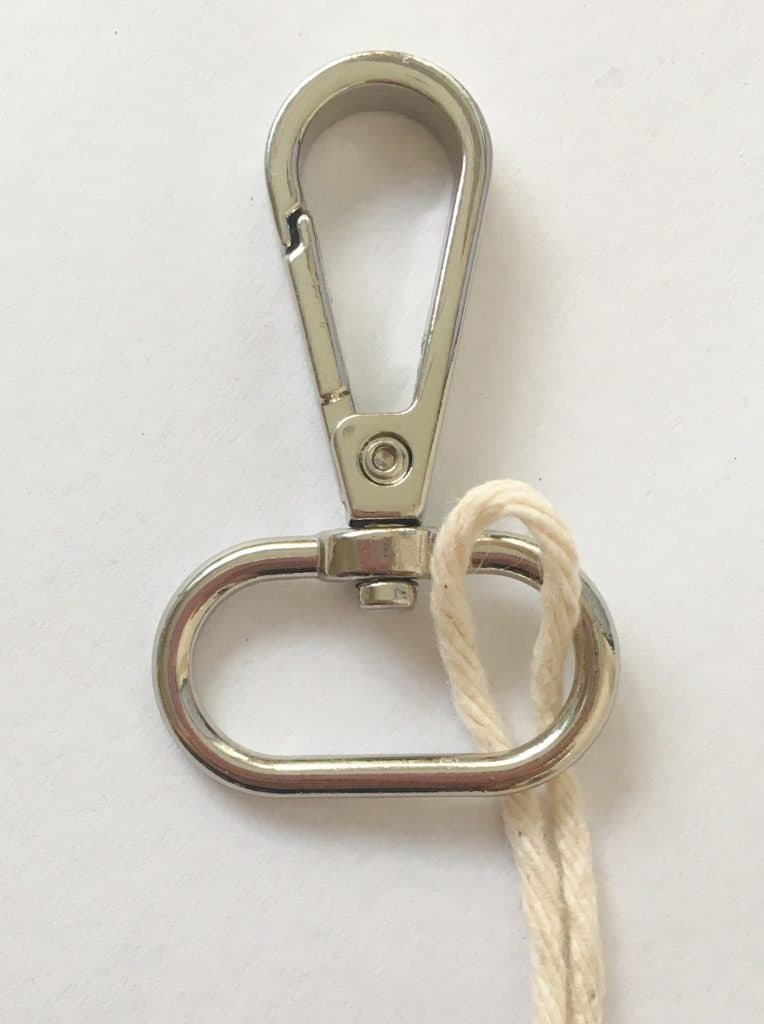
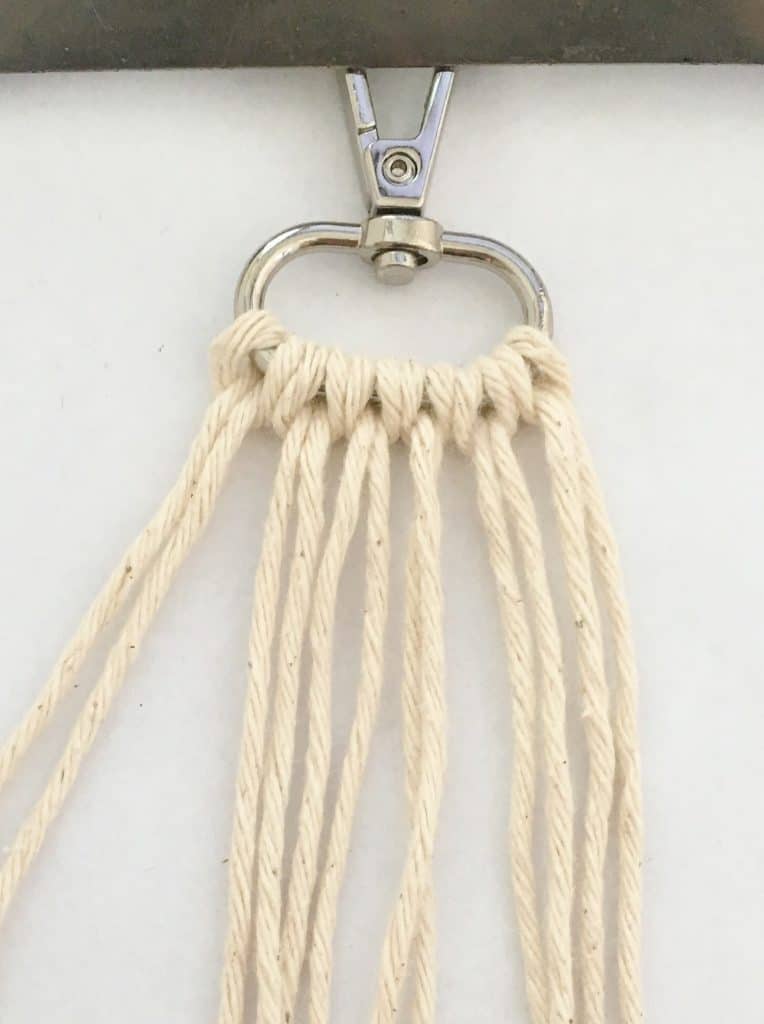
Now you place 3 square knots along the top.
With the 12 strings, you have 3 sections of 4 strings each. 2 strings are used as center and 1 on each side to tie the knots.
1st Photo: Place your left string over the 2 center strings and under the right string.
Do the opposite with the right string by placing it under the center strings and over the left string. And pull tight.
2nd Photo: Now do the opposite by placing your left string over the 2 center strings and under the right string.
Do the opposite with the right string by placing it under the center strings and over the left string. And pull tight.
That completes 1 square knot.
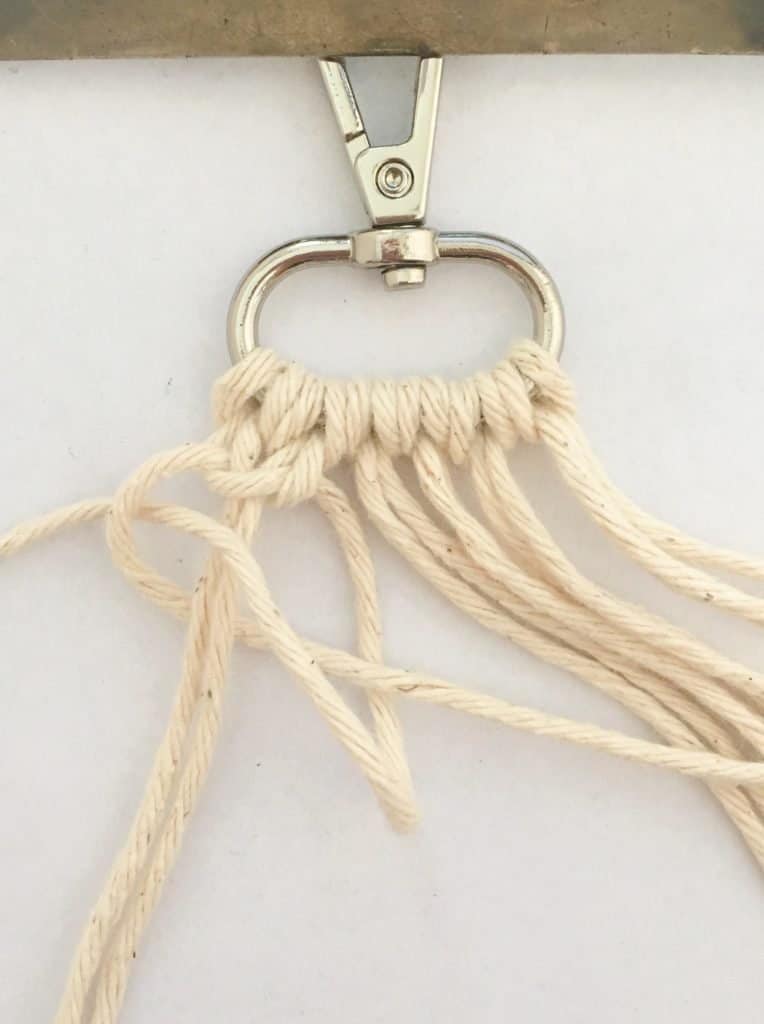
Continue making square knots.
I made the next one on the other side and then in the center. So 3 across the top.
Then a row of 2 followed by another row of 3 square knots. And another row of 2 square knots.
The 4th photo shows only 1 square knot in the center of the 5th row. This gives the beginning for the triangular end.
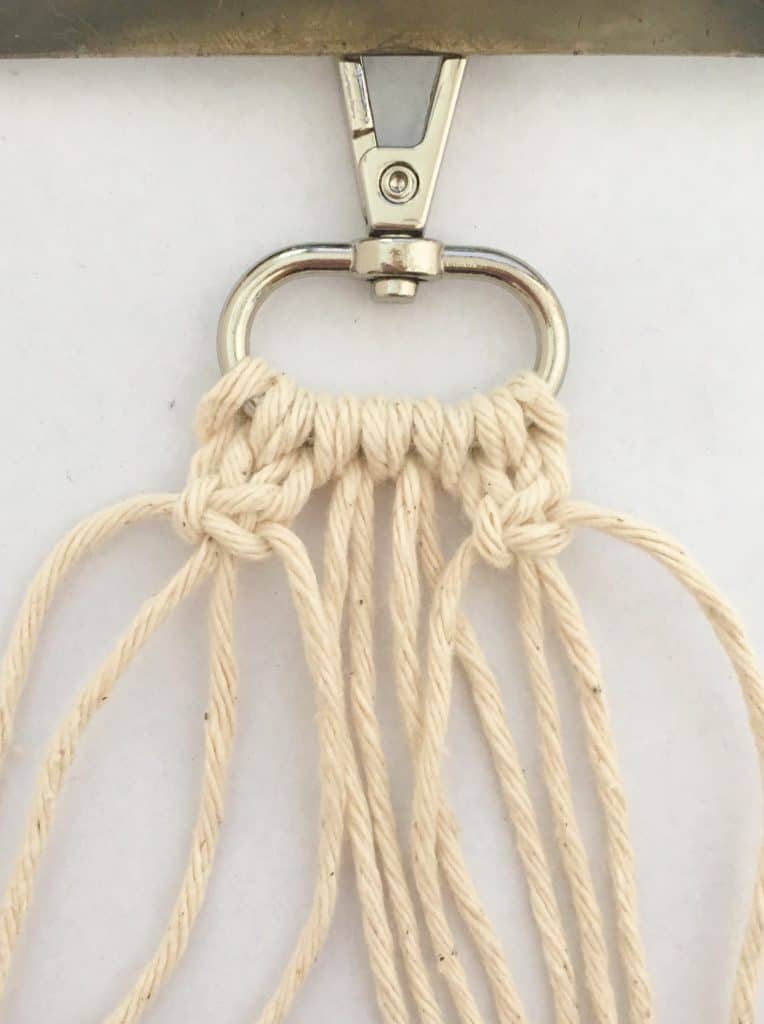
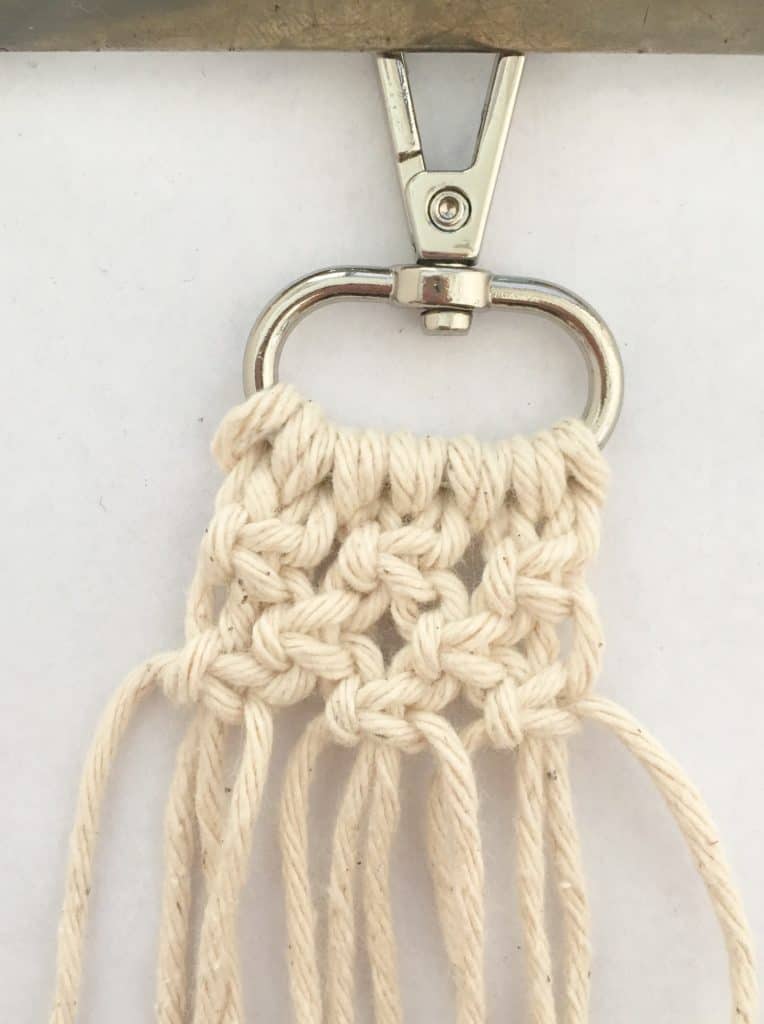
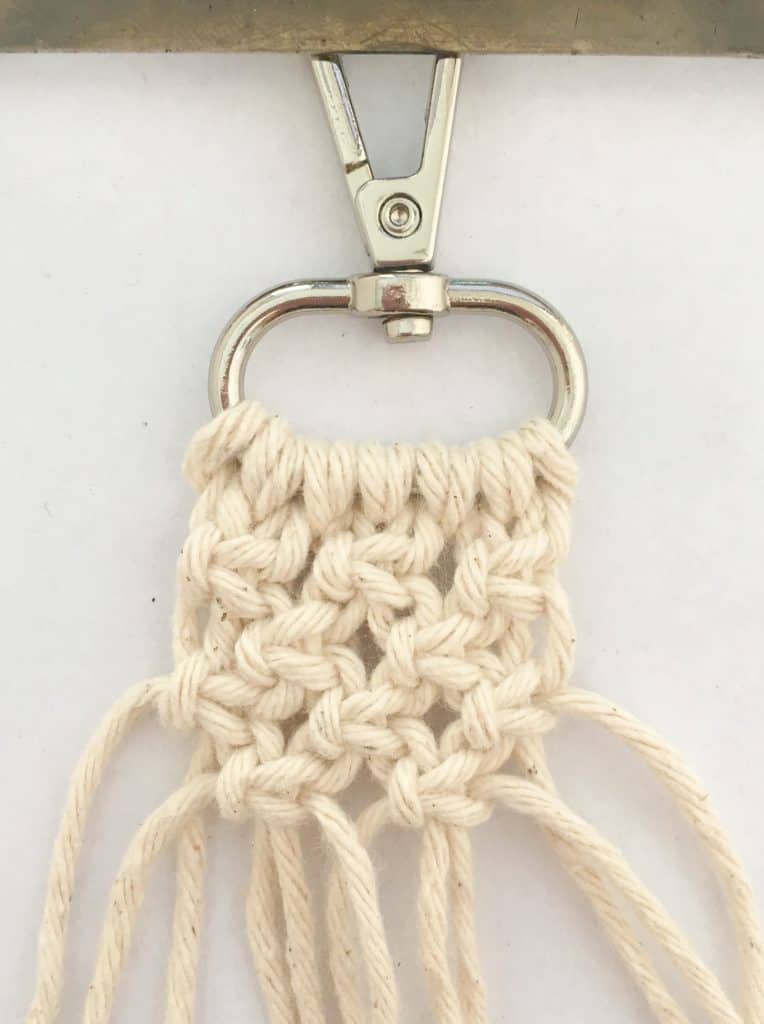
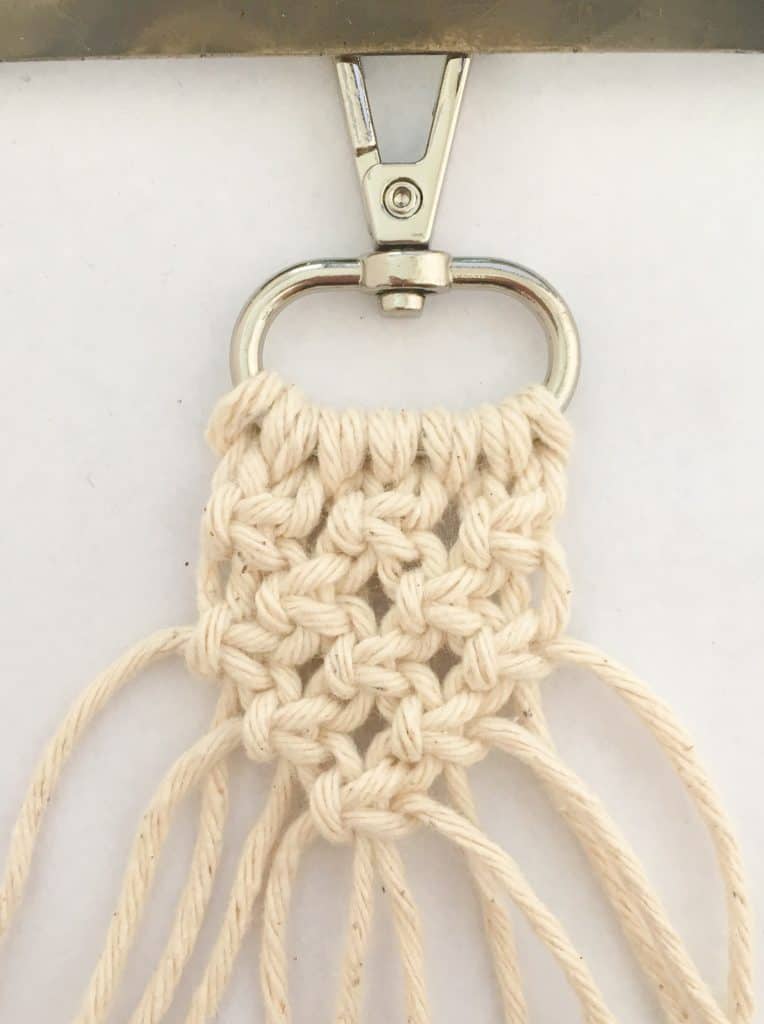
Now switch to the 2nd type of macrame knot used for this keychain. The Half Hitch.
First, take the right string and place it perpendicularly to the other strings.
This will be your knot-bearing cord. So all the knots on the right side will be strung onto this cord.
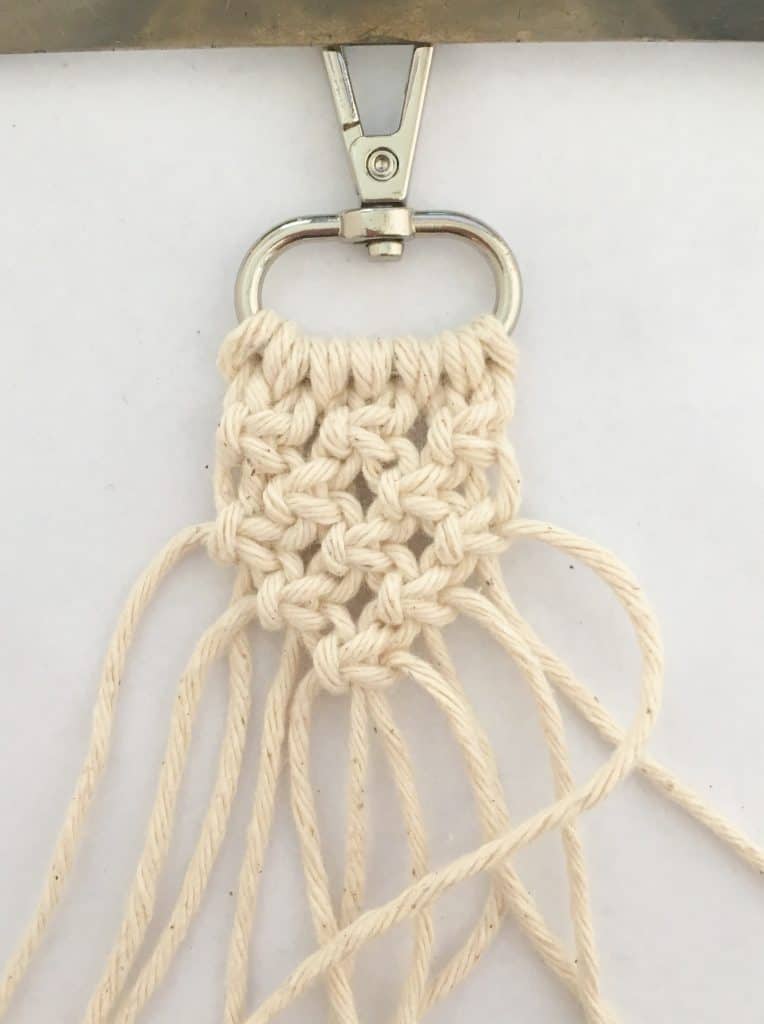
1st Photo: Loop the string that is under the knot bearing cord over it and through the hole between the knot bearing cord and the string itself. Pull tight.
2nd Photo: Do the same again and pull it tight. This completes 1 Half Hitch.
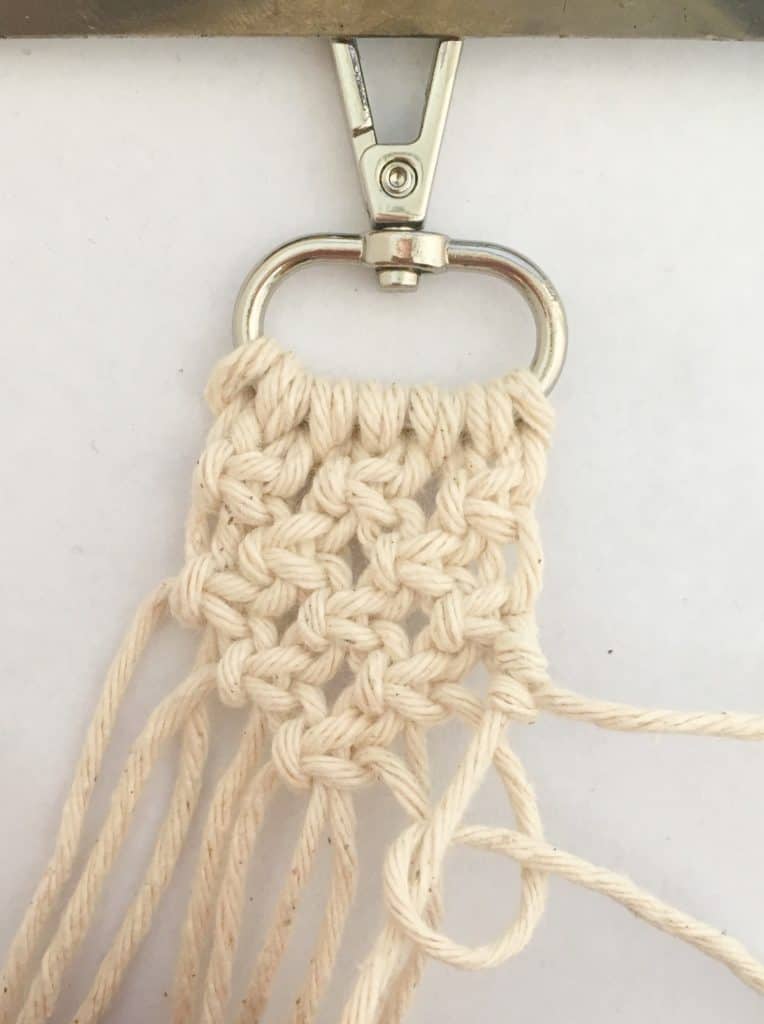
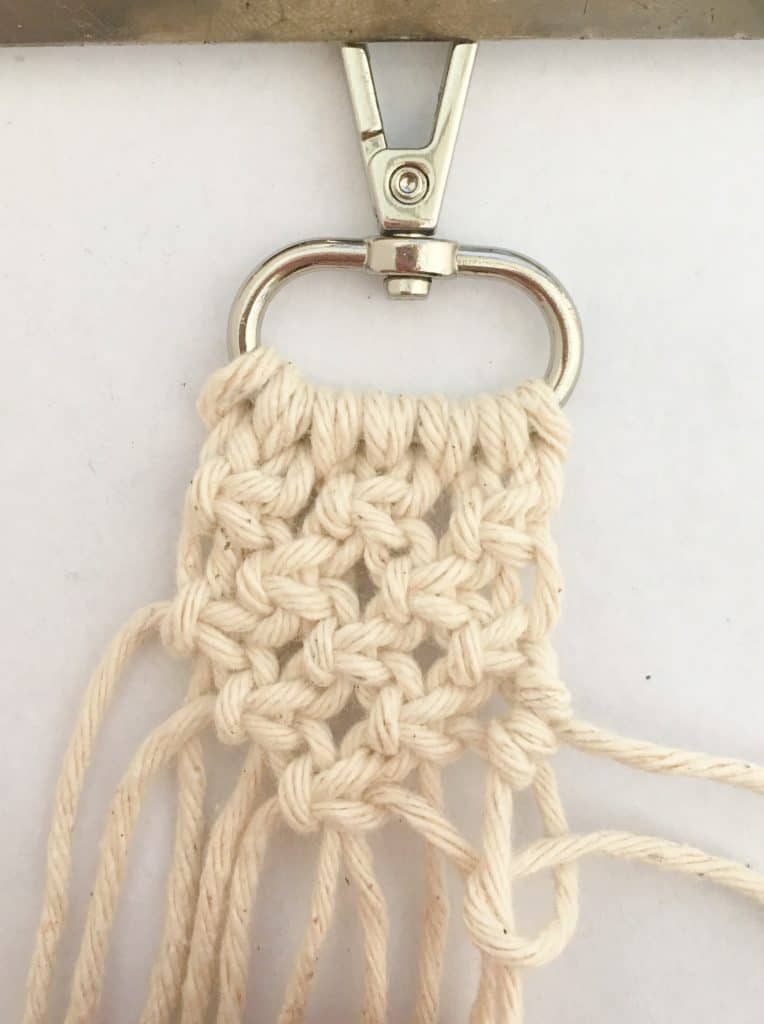
Keep making Half Hitch Knots with each string until you reach the center. So a total of 5 Half Hitch Knots.
Then repeat the same on the other side but the opposite way. So all the knots on the left are angled to the left and pulled out on the left.
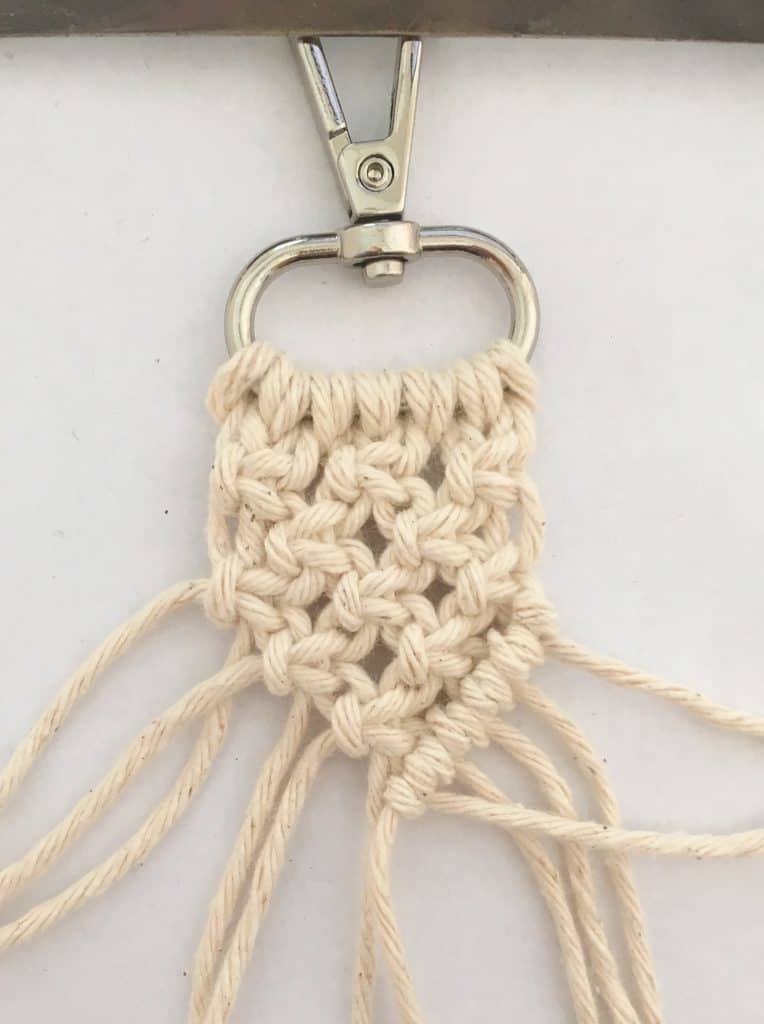
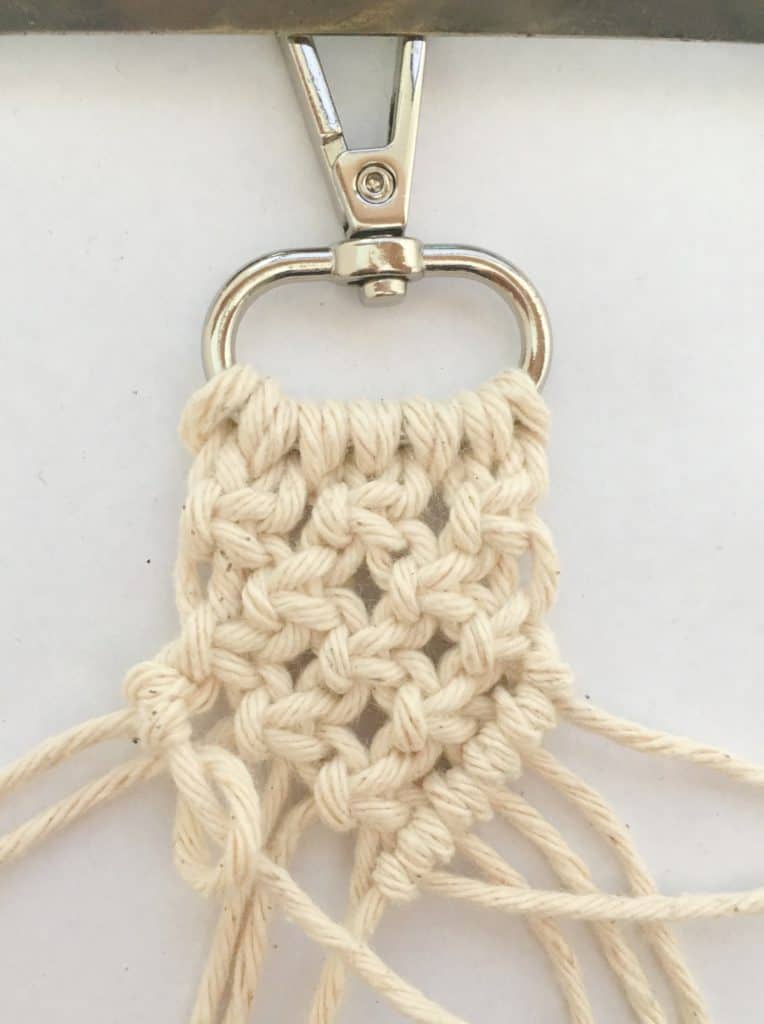
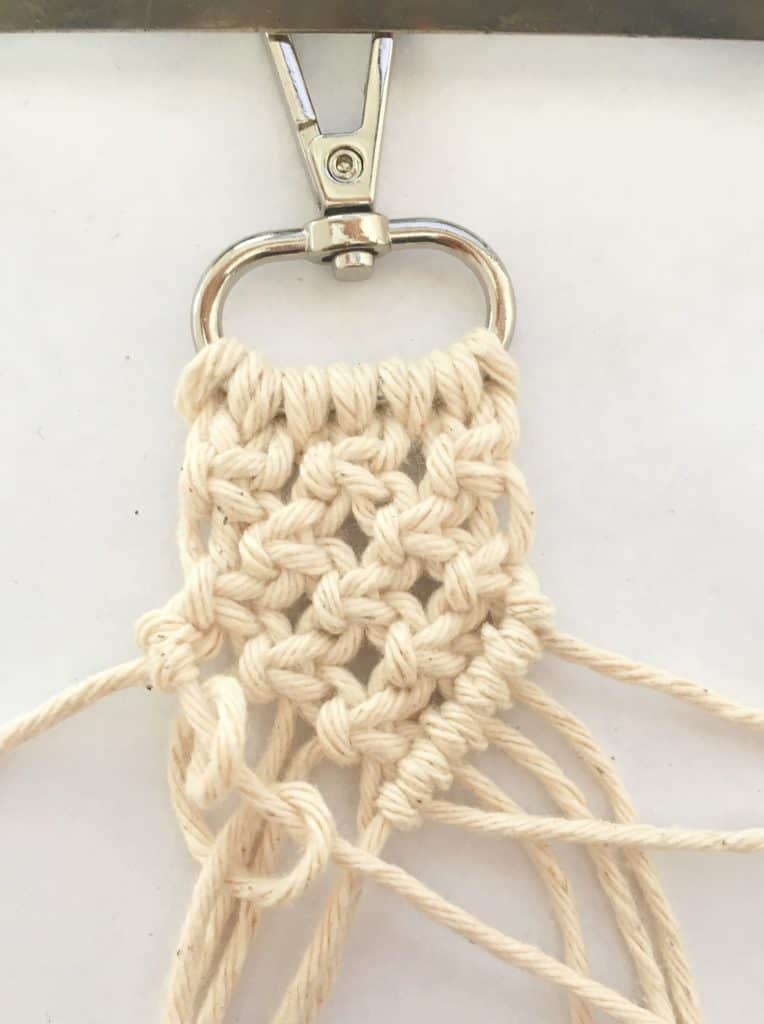
Tie another Half Hitch knot in the center to combine the 2 sides.
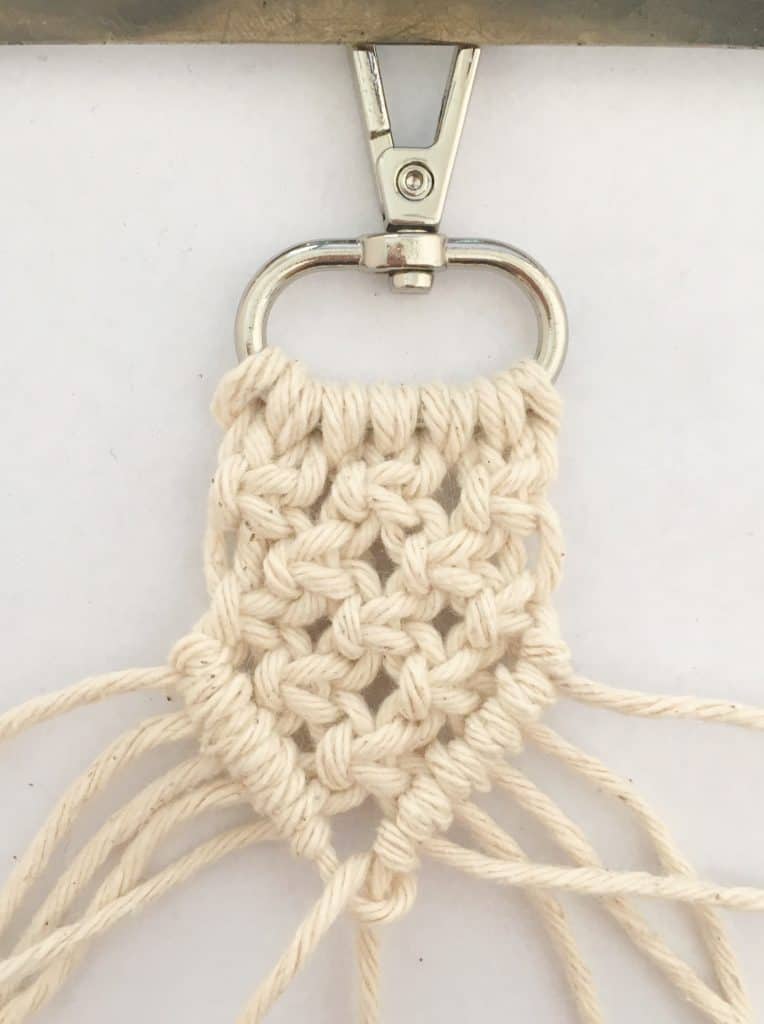
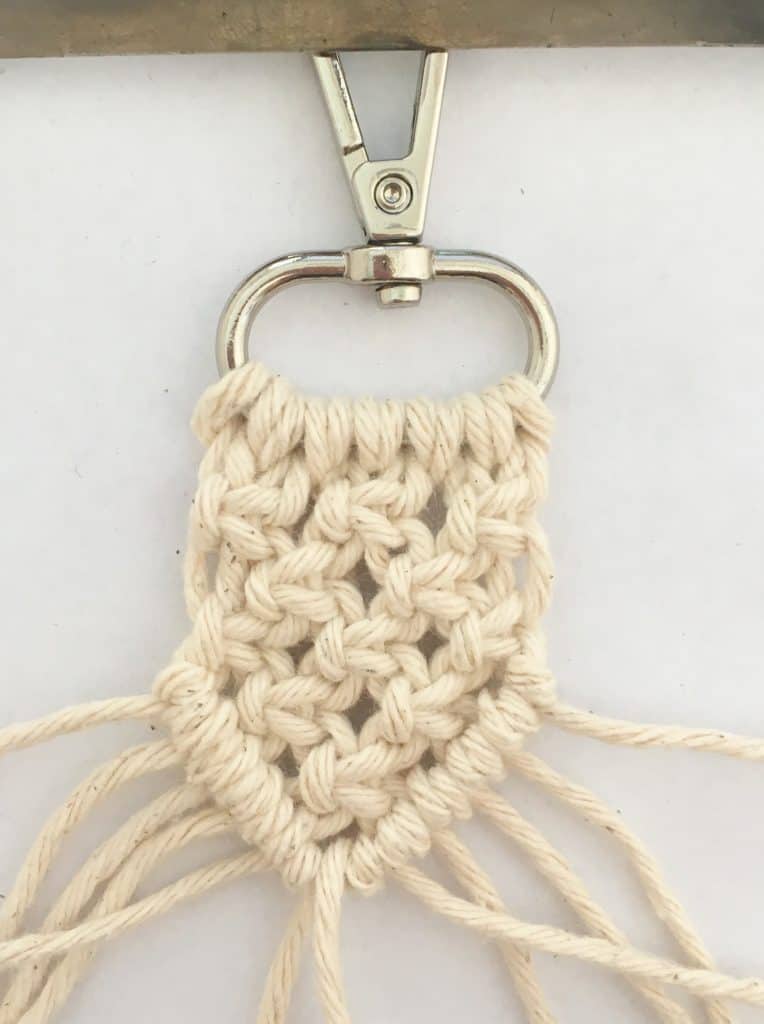
Add one more row of Half Hitch knots on both sides.
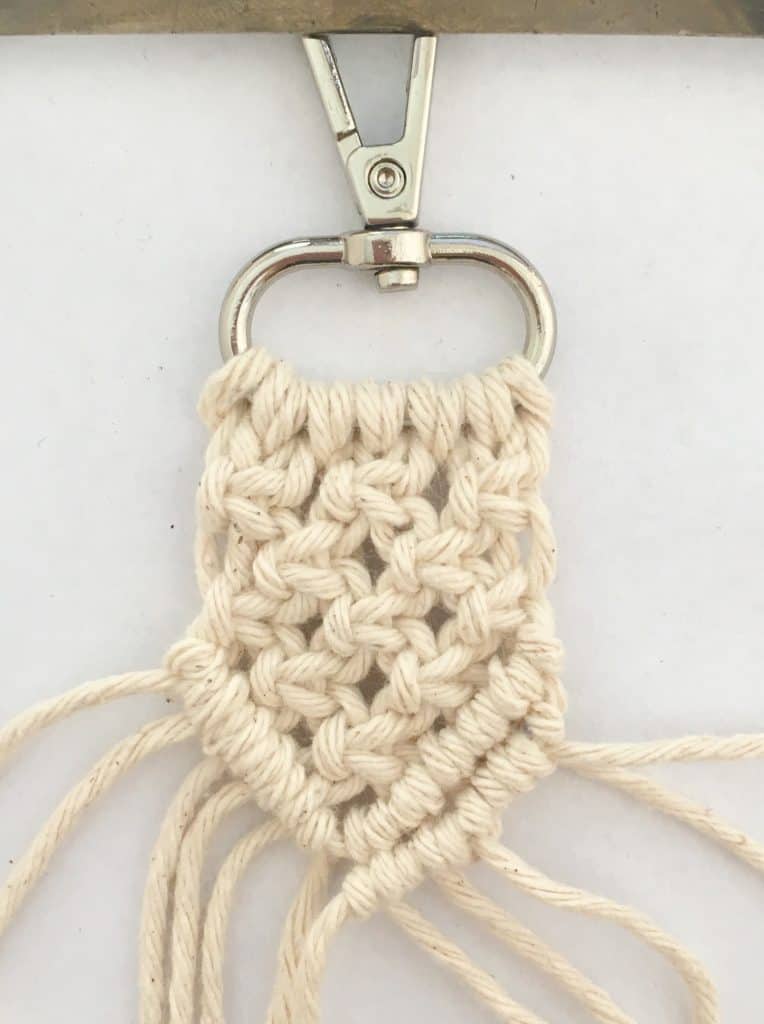
Now add a square knot on each side. This levels off the design.
For the next row, add 2 square knots on the inside.
Then 3 square knots for the following row. Keep alternating between 3 and 2 square knot rows until you reach your desired length.
I made mine as followed:
Row 1: 2 square knots on the outside (one on each side)
Row 2: 2 square knots on the inside
Row 3: 3 square knots
Row 4: 2 square knots
Row 5: 3 square knots
Row 6: 2 square knots
Row 7: 1 square knot in the center for the triangular shape
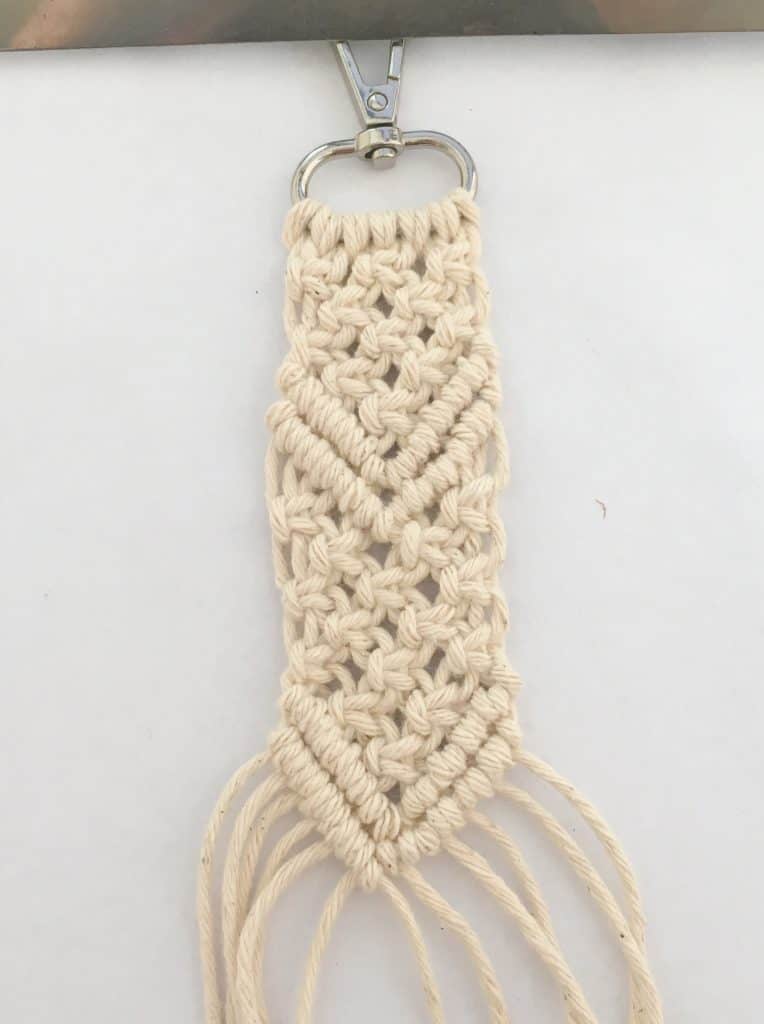
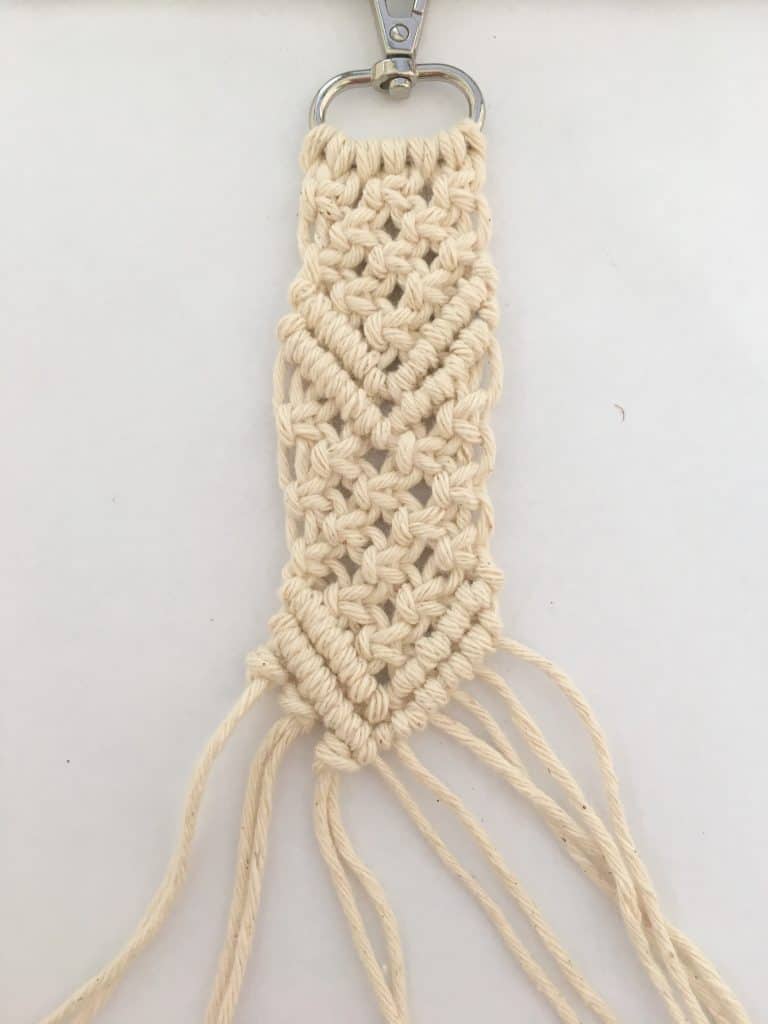
Then I added another 2 rows of Half Hitch Knots.
To complete the Macrame Keychain, I tied regular knots in the ends using 2 strings for each knot.
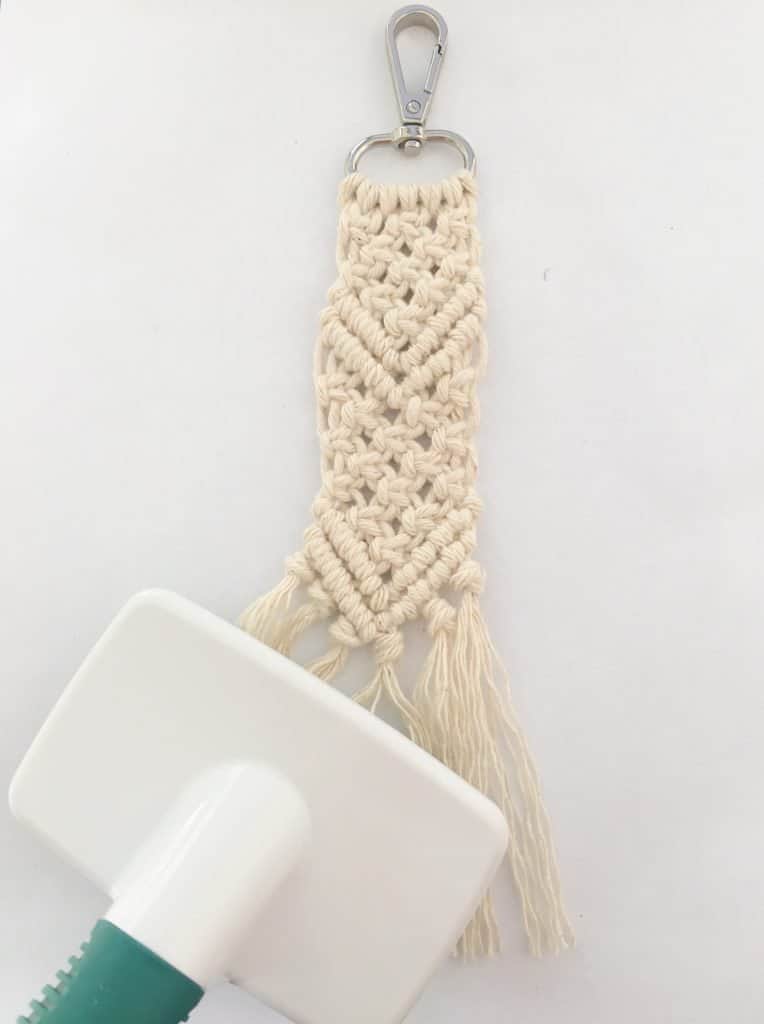
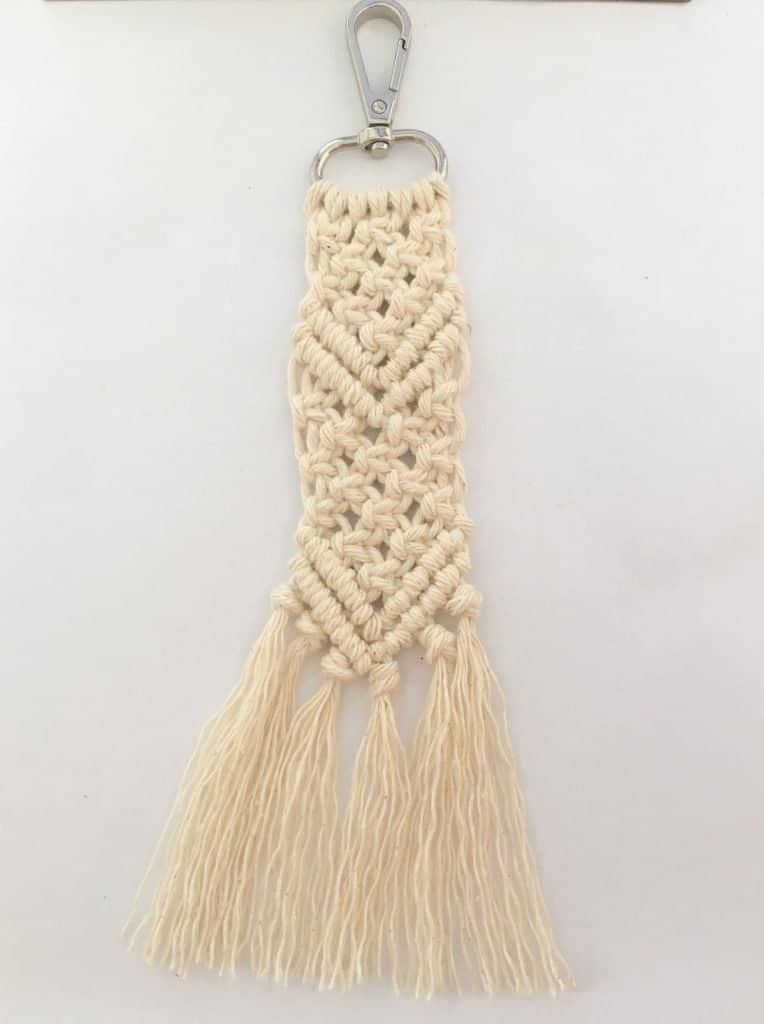
Then I combed out the strings and cut them neatly across.
Now the handmade macrame keychain is finished! You can leave it as is or dye them using the dip dye method.
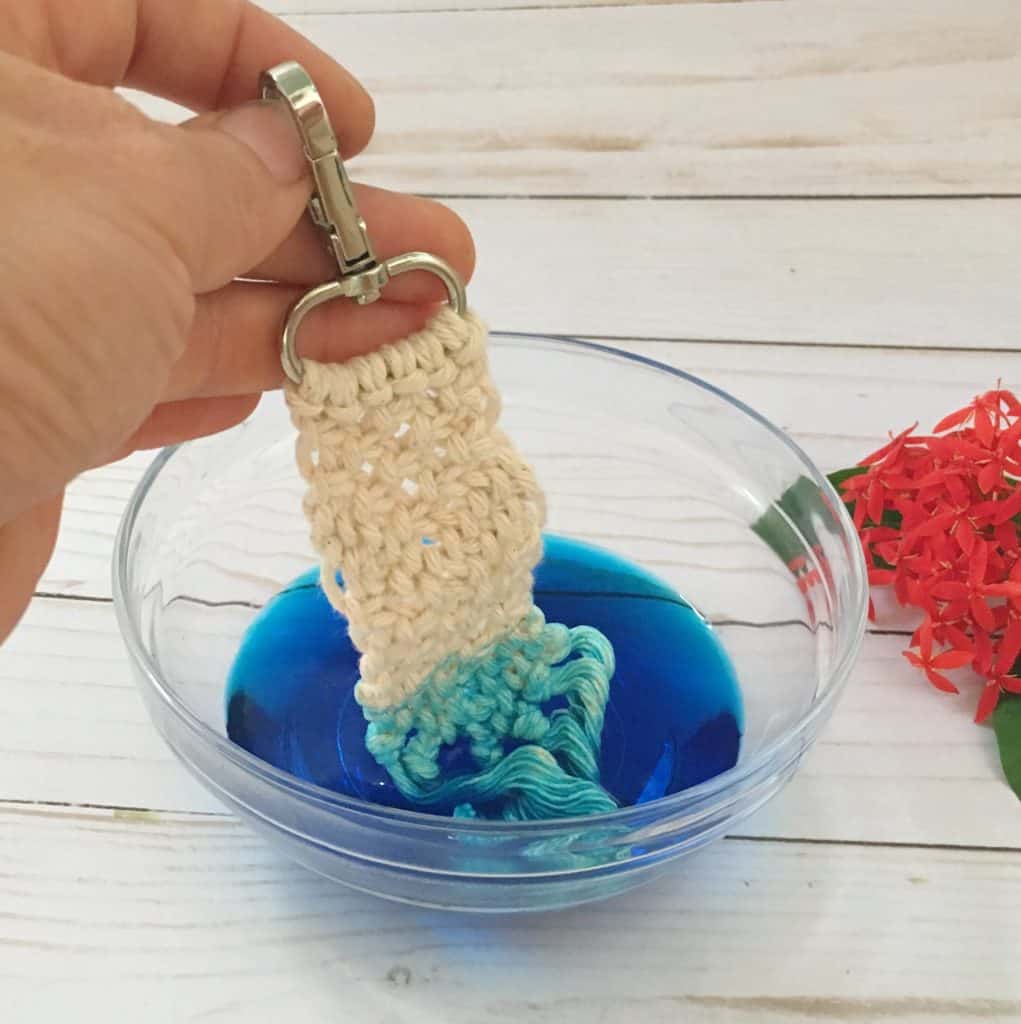

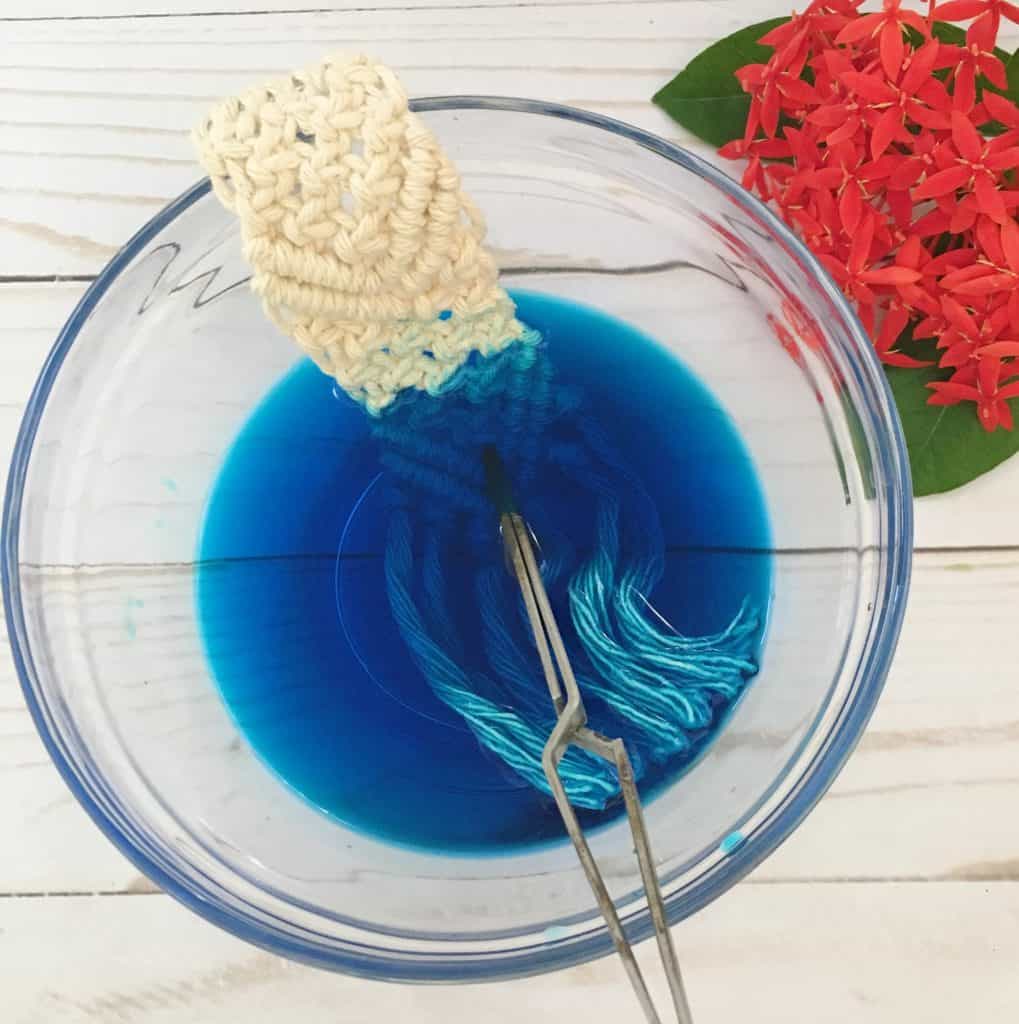
Fill a glass bowl with water and add a few drops of food coloring to it. Then dip your macrame keychain into the dye bath as far as you want the color to go. It is best to use a little spoon or something to push the fringe into the dye bath. I left the bottom in a little longer for an ombre look.
When you are happy with the color, just take it out and let it dry overnight.
Pro Tip!
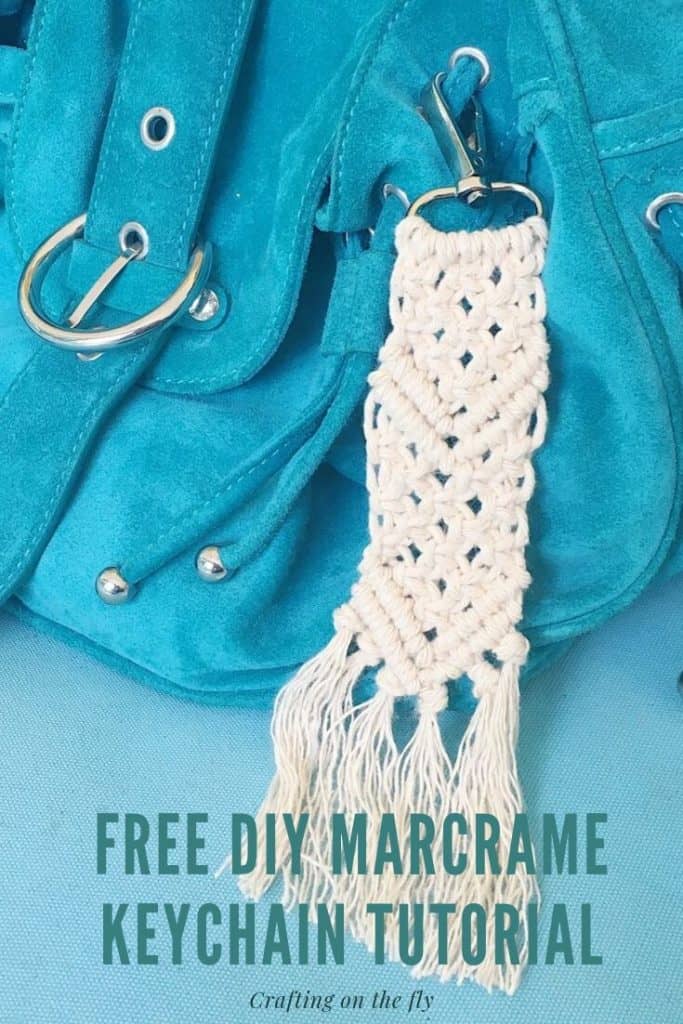
Now you can attach your ombre macrame keychain to your favorite purse, backpack, your keys…anything! And create some more in different colors and lengths. If you make it really long, this would be a fantastic macrame belt!
I hope you have fun making this macrame project. Comment below if you have any questions and show off your creations here and on Instagram #kaileacrafts
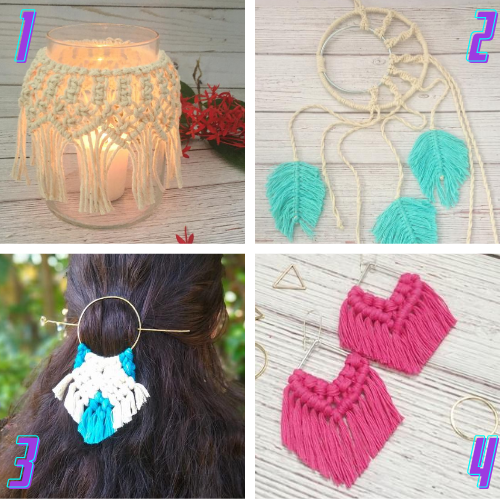
- Macrame Candle Holder – Create a Macrame Mason Jar with advanced Macrame knots
- Macrame Dream Catcher – A beautiful Moon Dream Catcher with feathers
- Macrame Hair Pin – Quickly make this eye-catching hairpin
- Macrame Earrings – Stunning statement earrings that are easy to make with Macrame

