
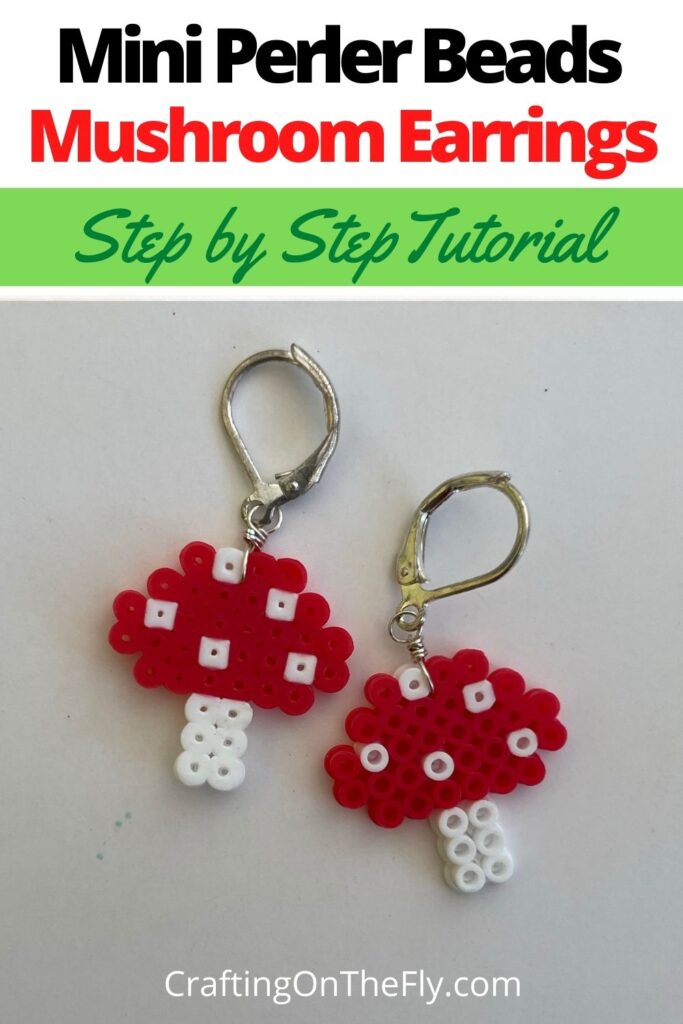
Mini Perler Beads are like the grown up version of your regular Perler Beads you played with as a child. Due to their small size, you can create intricate designs on a small scale and use them for fun jewelry pieces.
First, you need to decide on a design and lay out your piece. Then just iron it and add wire loops to hang them from earwires.
You can buy the ad-free printable PDF for this Mushroom Earrings Tutorial on ETSY. Thank you for your support!
I designed 2 versions of these mushroom earrings. You can even just make one each to wear as a miss matched set!
As an Amazon Associate I earn from qualifying purchases. If you make a purchase through my link, I will make a small commission with no extra cost to you. “
Mushroom Earrings Materials
- Mini Perler Beads: This is a great starter kit with tons of colors, tweezers, pegboards and so much more
- Silver Wire
- Silver Earwires
- Pliers and wire cutters: This is a great little set for the novice jewelry maker
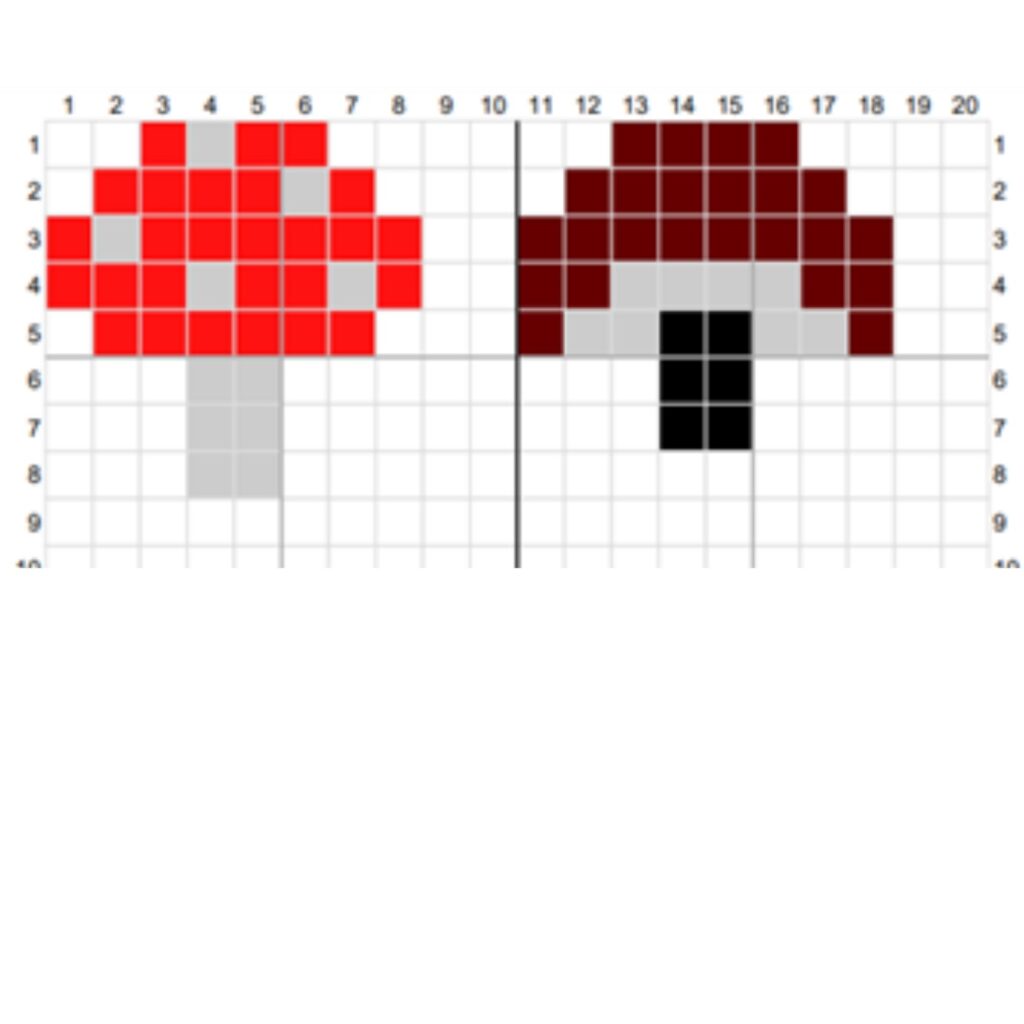
1. Lay out Mini Perler Bead design on peg board

Choose which of the 2 designs you would like to make and place each bead on the pegboard with your tweezers
2. Iron Design

Carefully place the wax paper over your design on the pegboard. Wait until your iron is hot and press it onto the wax paper. Since these beads are smaller than regular perler beads, they melt much faster. So only place it on the beads for a few seconds. Test if they are fused together by lifting the paper off the pegboard. If the beads stick to the paper, you can lift it off all the way and fold the paper over to place the iron on the design on the other side as well. So fuss them together on both sided. The longer you iron them, the more fused together the bead will be. I normally just do it for a as little as possible to still see each individual bead.
3. Make the mushrooms into earrings

Now that you have finished your mushroom designs, it is time to make them into earrings or even a necklace.
3. Make a wire loop at top of mushrooms


Take your thin wire and poke it through the top of the mushroom in the middle. Then loop the end around the wire itself to secure the end.


Now take your round nose pliers and loop the end around the pliers. Then wrap it tightly around the middle on top of your previous wrap.

Cut off the end and repeat the process for the other earring.
4. Attach earring to loop

Now all that is left is to attach your earring finding to the loop of your mushroom. Open the loop at the bottom of the earwire, hook the bail of the mushroom into the loop and close it with your pliers. repeat with your second earring.
You can make a matching necklace by using the bail to slide it on a chain.
I hope you will enjoy this mushroom earrings tutorial as much as I do. Comment below if you have any questions and show off your own earrings here and on Instagram #kaileacrafts

More Free Tutorial
Want to make even more fun pieces? Check out these Crafting on the Fly creations!
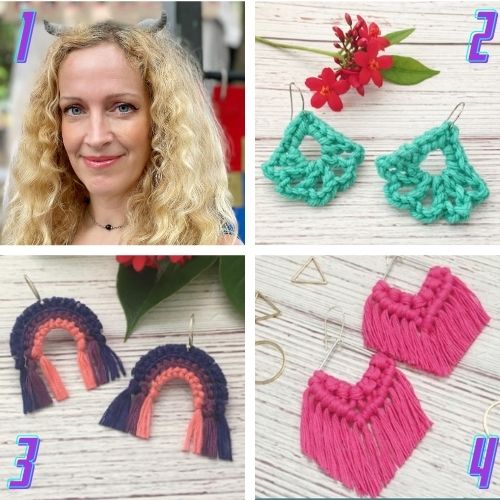
- Cosplay Horns – Create cute horns with air dry clay
- Crochet Earrings – Crochet fun dangle earrings
- Rainbow Earrings – Stitch these large rainbow earrings
- Macrame Earrings – Make these macrame statement earrings