Don’t you just love to decorate your home during the cold winter month? This makes everything so much more cozy and warm. Plus, you will be spending more time inside to really enjoy all your handmade decorations.
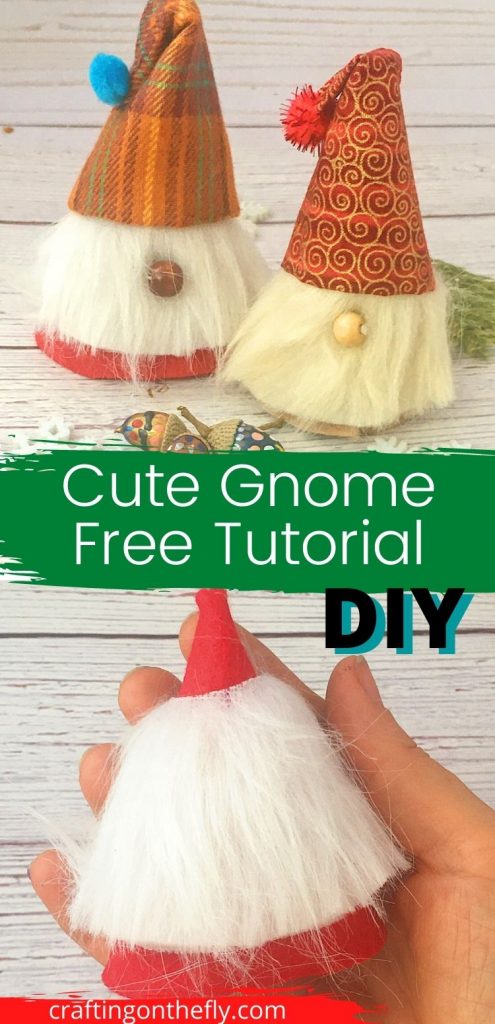
These cute little gnomes are perfect to add to your table decor. They can be made in many different sizes following your color theme and overall decorations. And since these felt gnomes are quick and easy to make, you might want to give them to your family and friends as well!
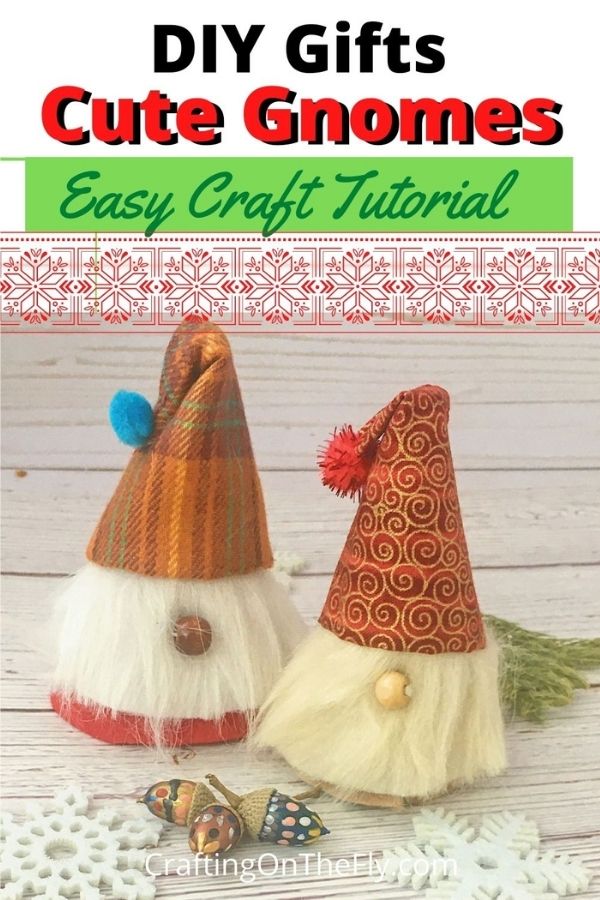
To make these cute little gnomes, you need a piece of felt cut into a cone shape. Then you add a shorter faux fur cone on top followed by a cute fabric cone. This one serves as the hat with the tip folded to one side and secured with a pompom. Finally, just add a wooden bead in the center to serve as the nose.
You can buy the ad-fee printable PDF for this gnome tutorial on Etsy. Thank you for your support!
I made my gnomes in the traditional color palette of red and white for the winter month, but I am sure they would look great in Nordic white and blue or even earthy tones.
As an Amazon Associate I earn from qualifying purchases. If you make a purchase through my link, I will make a small commission with no extra cost to you. “
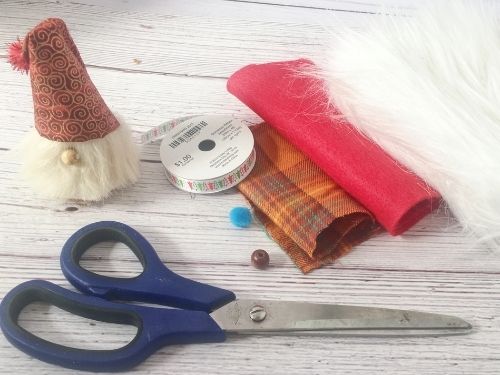
Cute Gnome Materials
- red felt ( you need the thicker felt so your gnome can stand up easily)
- white faux fur
- plaid fabric
- wooded bead (8mm works best for this size gnome)
- PomPom
- Trim (optional)
- Glue gun (I love this cordless one)
- Marker
- Scissors
- Needle
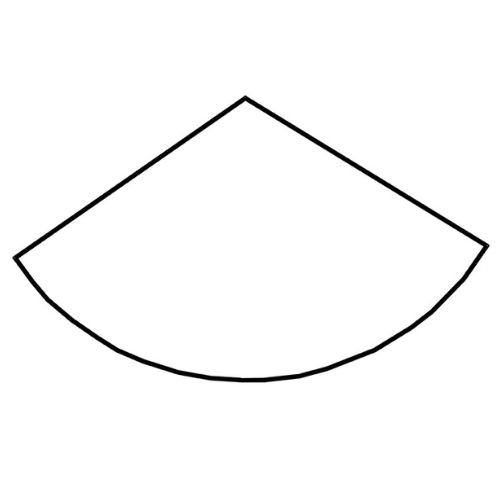
1. Make the felt gnome body in a cone shape
You can print out the template for the main body of the gnome. It is 120 degrees and 3.4″ long. Of course, you can also make the body thinner by using less of an angle. So between 100 and 120 degrees. Or you can make it larger. Then I would suggest an even smaller angle for a long thin body.
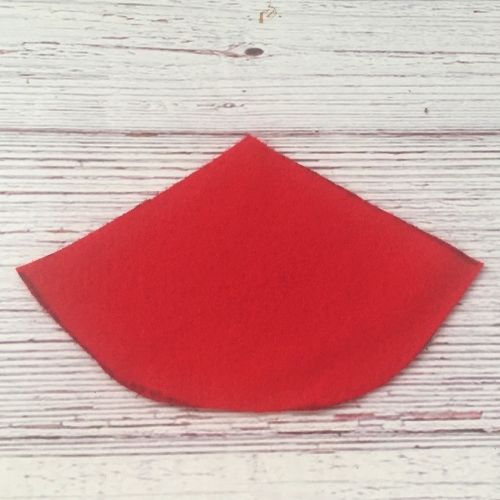
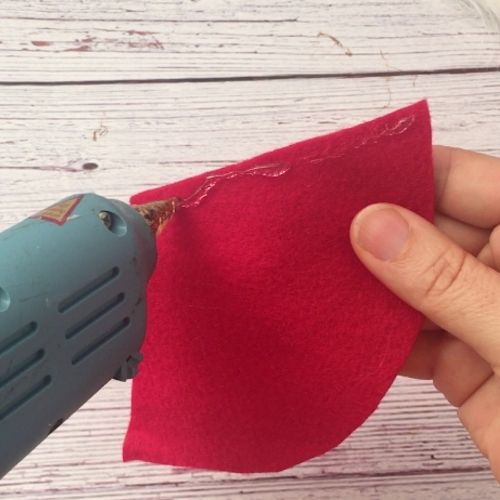
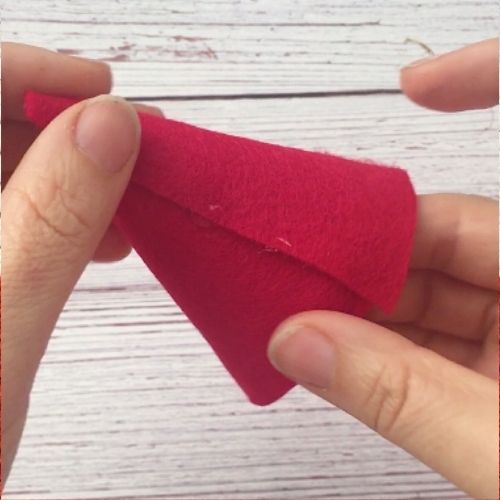
Trace the paper body onto a piece of felt. It is best to use thicker felt for a stiff body that can easily stand up.
Using your hot glue gun, but a line of glue along the edge and fold the other side over to create a cone.
2. Create beard for gnome from faux fur
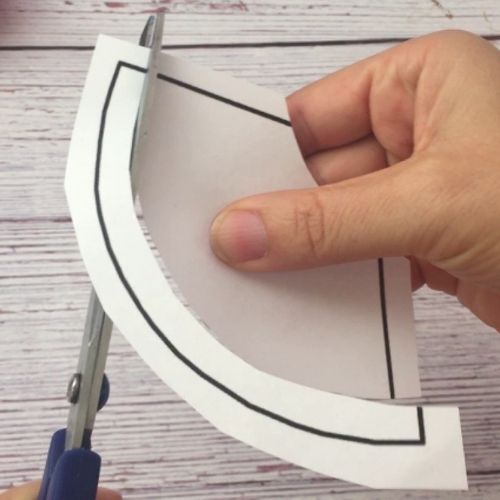
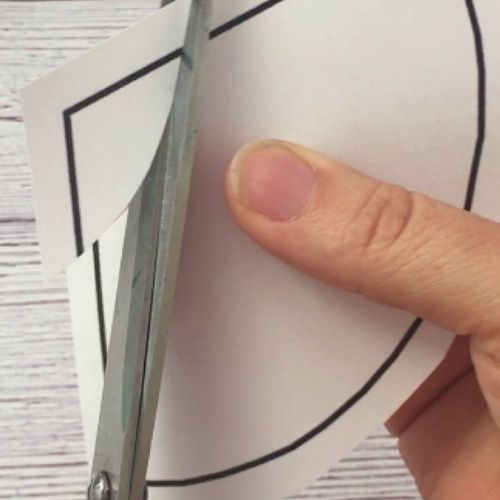
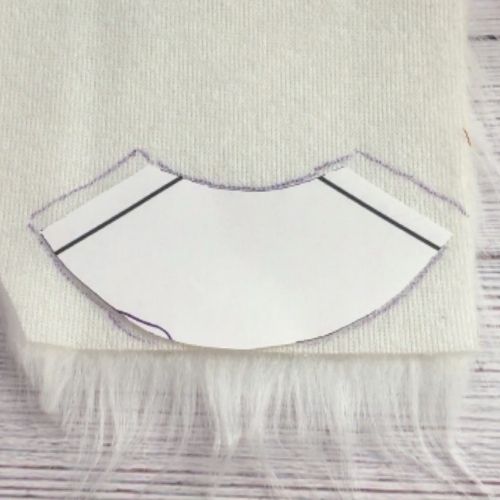
To create the beard for the gnome, take your paper template and cut about 1/4″ off from the bottom and 1/2″ off from the top. This will give you the template for the beard. When you trace it onto the faux fur, make sure the fur faces down and add an extra 1/4″ to each side so it fits around the felt cone you made earlier.
3. Glue faux fur beard to gnome cone base
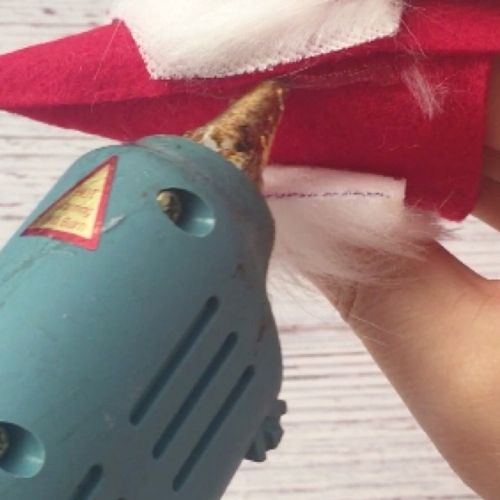
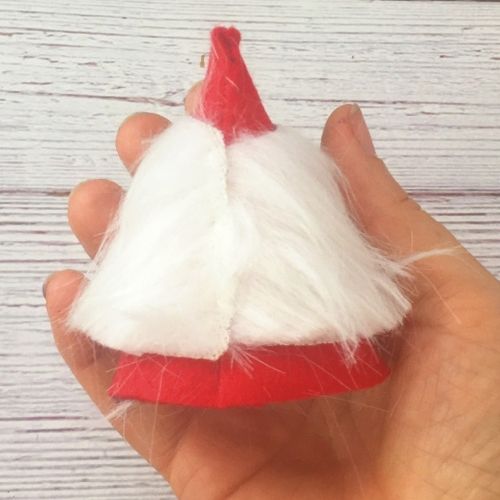
Using the glue gun, add a line of glue on the back of the felt cone and press down both sides of the faux fur.
4. Fold & attach hat for gnome
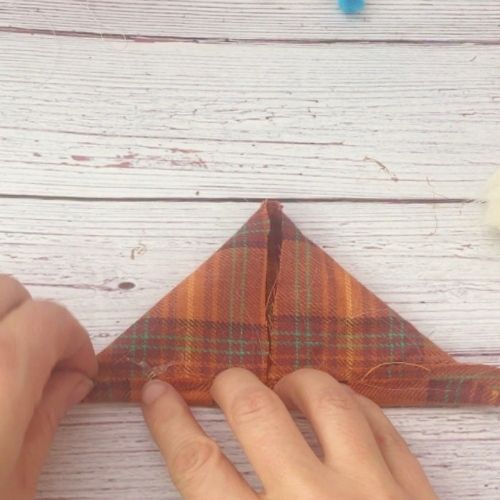
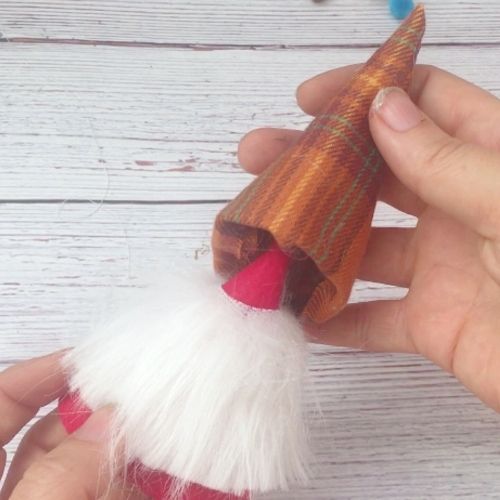
Now it is time to add the hat for the gnome. Cut a piece of plaid fabric that is 4″ high and 8.5″ long. Fold the top 2 corner to the bottom center so it looks like a triangle.
Add a line of glue from your hot glue gun along the bottom and fold about 1/4″ of fabric over it. This will be the bottom edge of the hat.
Next, add a line of glue along one short edge and glue it to the other short side to form a cone.
5. Tug end of hat under gnome body
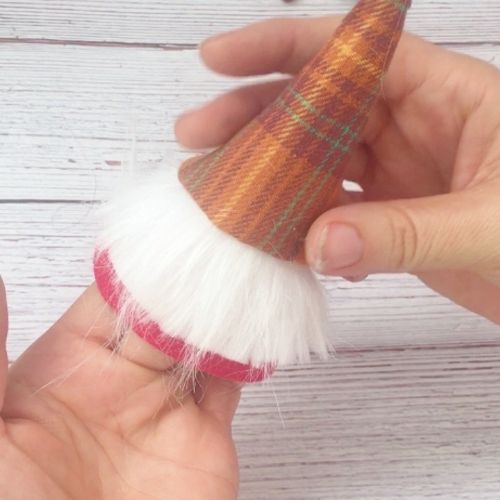
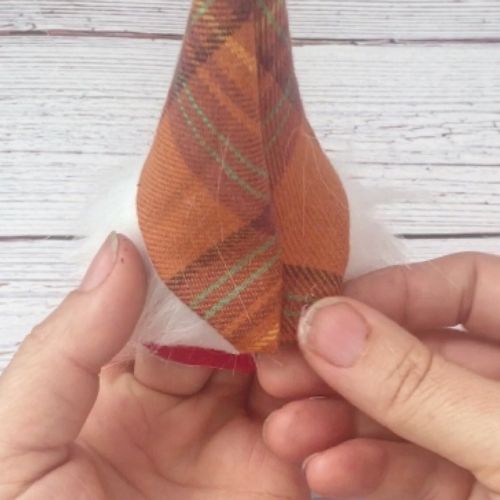
6. Sew on bead for nose and pompom to hat
Now add some glue to the inside of the hat and place it on top of the gnome. Finally, tug the long end of the hat under so it lines up with the faux fur and glue it to the fur.
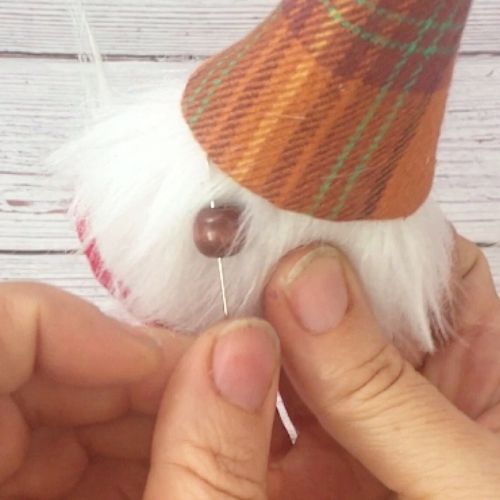
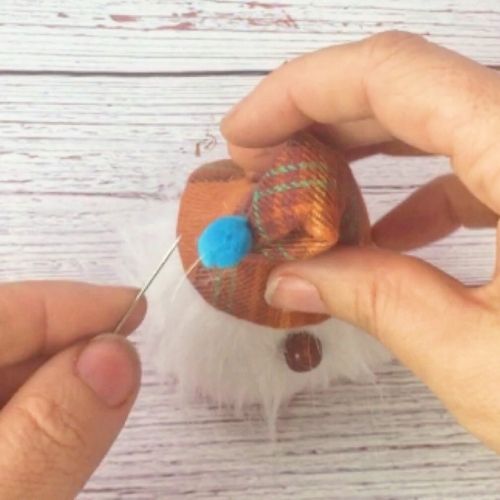
Now the main body of the gnome is finished and it is time to add some embellishments. Add a wooden bead for a nose to the front of the gnome right under its hat. Just use a needle with regular thread to stitch it in place.
You can also add a little pom pom to the top of the hat. I folded the hat over to add the pompom and stitch it all in place. If you like, you can also leave the hat pointy and add a pompom right on top.
7. Add optional embellishments to gnome
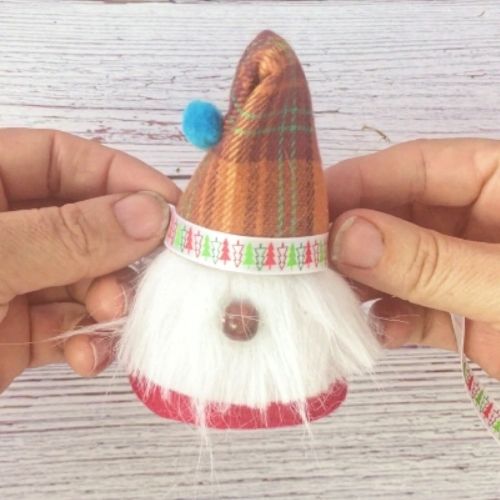
If you like to add even more finishing details, you can glue some holiday ribbon along the edge of the hat. For some of my holiday gnomes, I even added a little bit of felt holly to the side of the hat. At this point, you imagination can go wild and you can add all kinds of little details to make each gnome special.
I hope you will enjoy this Holiday Gnome tutorial as much as I do. Comment below if you have any questions and show off your own gnomes here and on Instagram #kaileacrafts
More Free Decor Tutorial
Want to make even more home decor pieces? Check out these Crafting on the Fly creations!
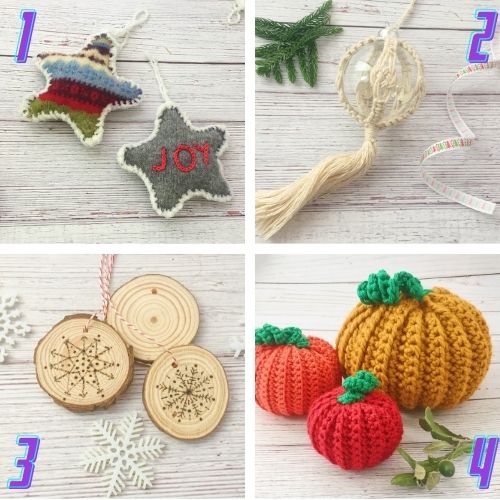
- Star Ornament Tutorial – Create Star Ornaments out of old sweaters.
- Macrame Bauble Ornament – A beautiful ornament created with easy macrame knots
- Snowflake Ornament Tutorial – Learn how to make rustic snowflake ornaments with your woodburning tool and wood slices
- Pumpkin Patch Crochet Pattern – These pumpkins are quick and easy to create for your Thanksgiving table décor
