
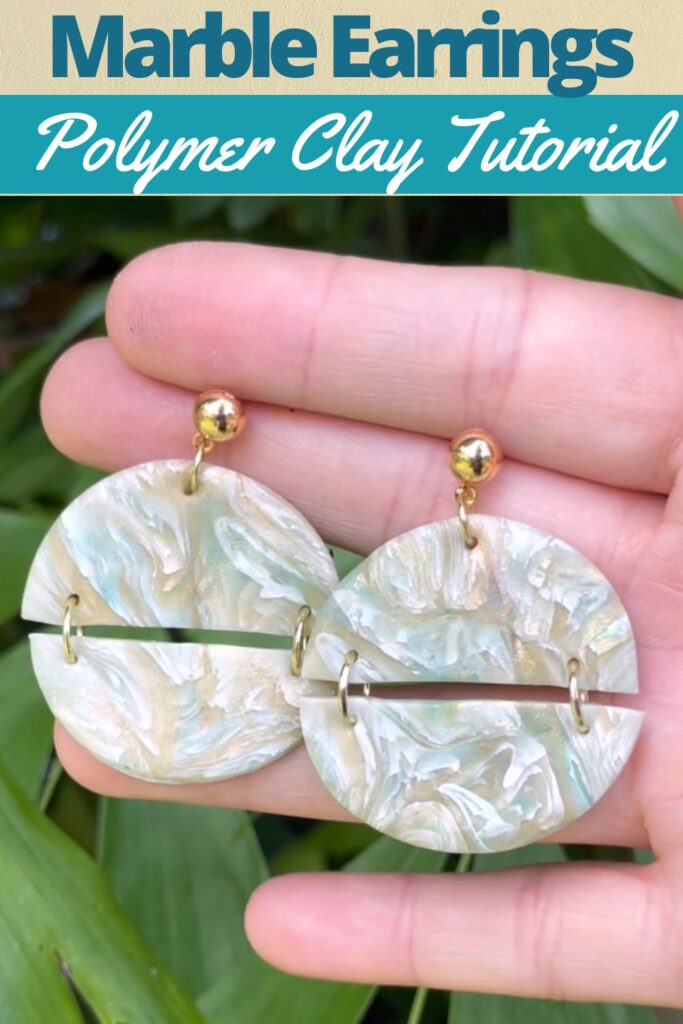
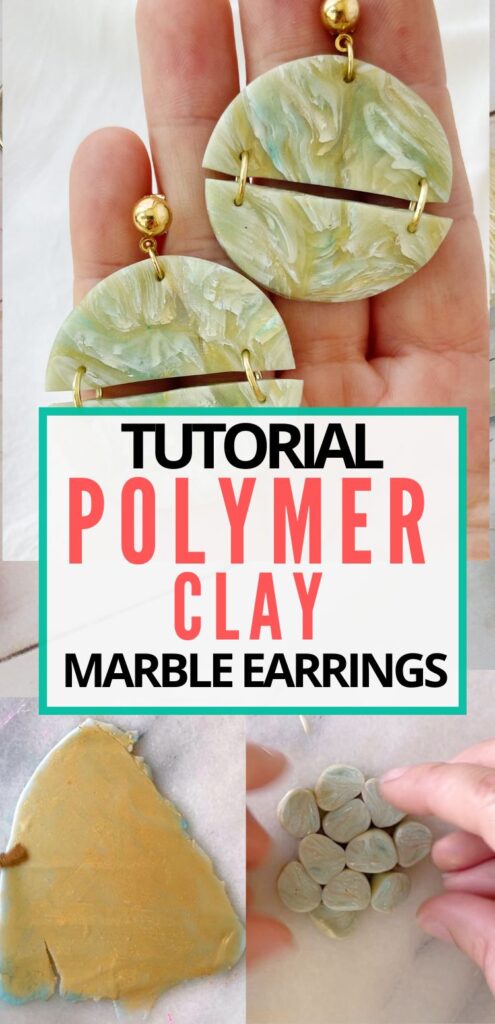
Polymer Clay earrings are everywhere right now! And it is no surprise since polymer clay can be made to look like so many other materials including marble and stone. The following technique is an easy way to make your polymer clay look like marble.
As an Amazon Associate I earn from qualifying purchases. If you make a purchase through my link, I will make a small commission with no extra cost to you. “
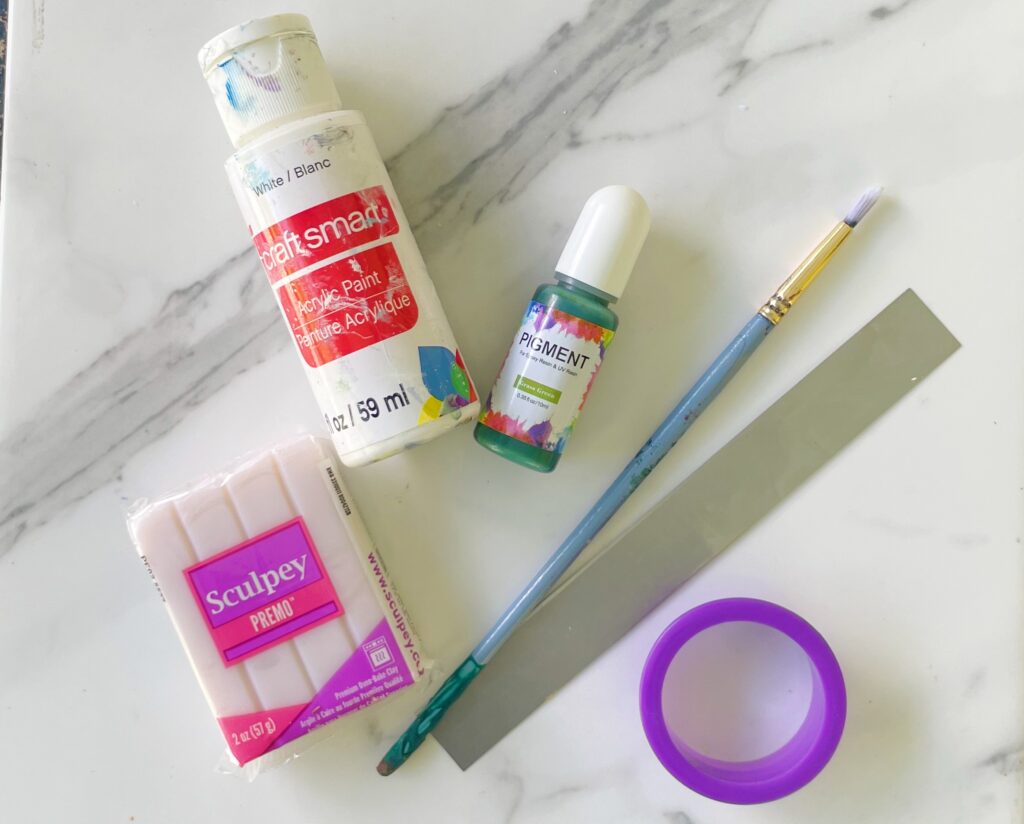
Polymer Clay Earrings Materials:
- Sculpey Premo in translucent
- Rolling Pin
- Blade
- Alcohol ink in green
- Acrylic paint in white
- Mica powder in gold
- Round cutter (I used the round one from this set)
- jumprings (this set comes with pliers)
- earring findings
- pliers
Step 1. Add alcohol ink to translucent clay
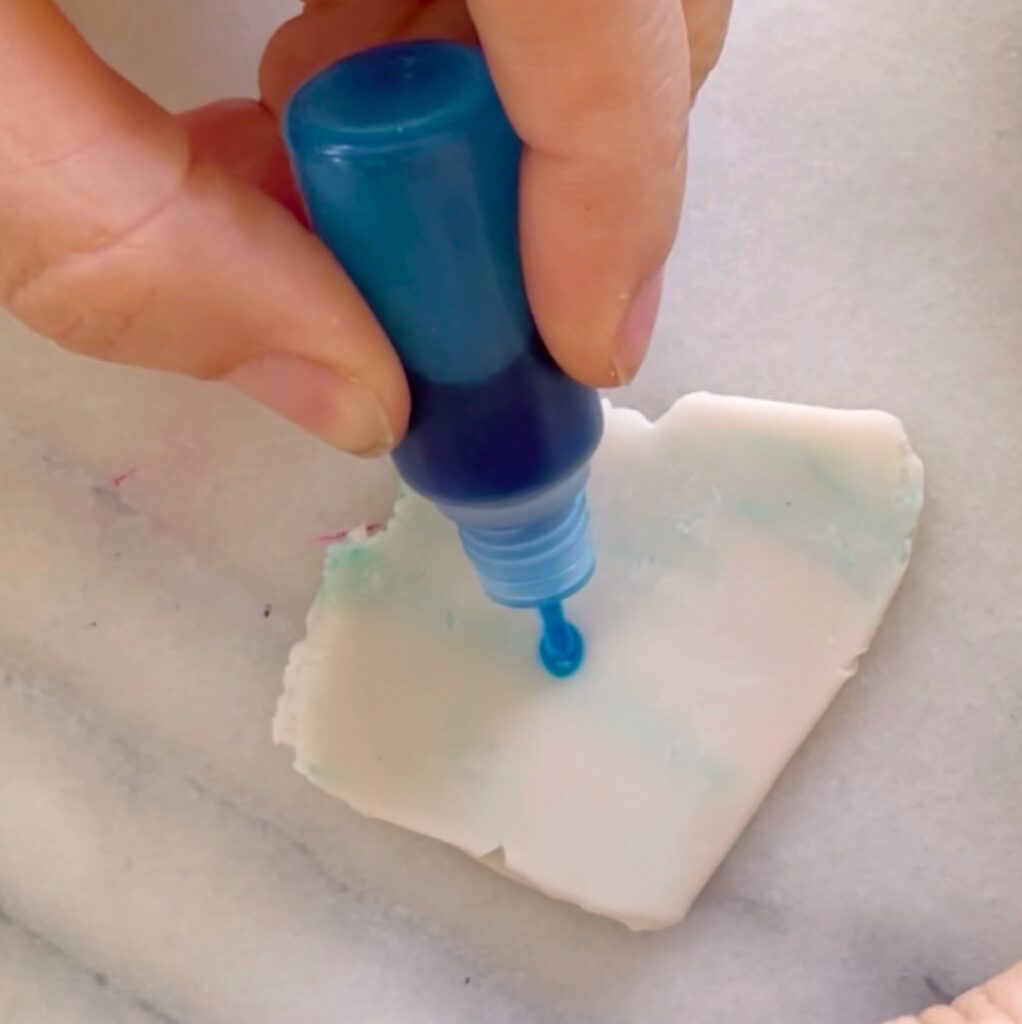
Cut off a piece of the translucent polymer clay and condition it with the rolling pin. conditioning it means to roll it out and fold it back together a few times to it becomes smooth and soft. Then add a few drops of the alcohol ink and repeat rolling the clay out and folding it over until the color is evenly distributed.
Step 2. Add Gold Mica Powder to one side
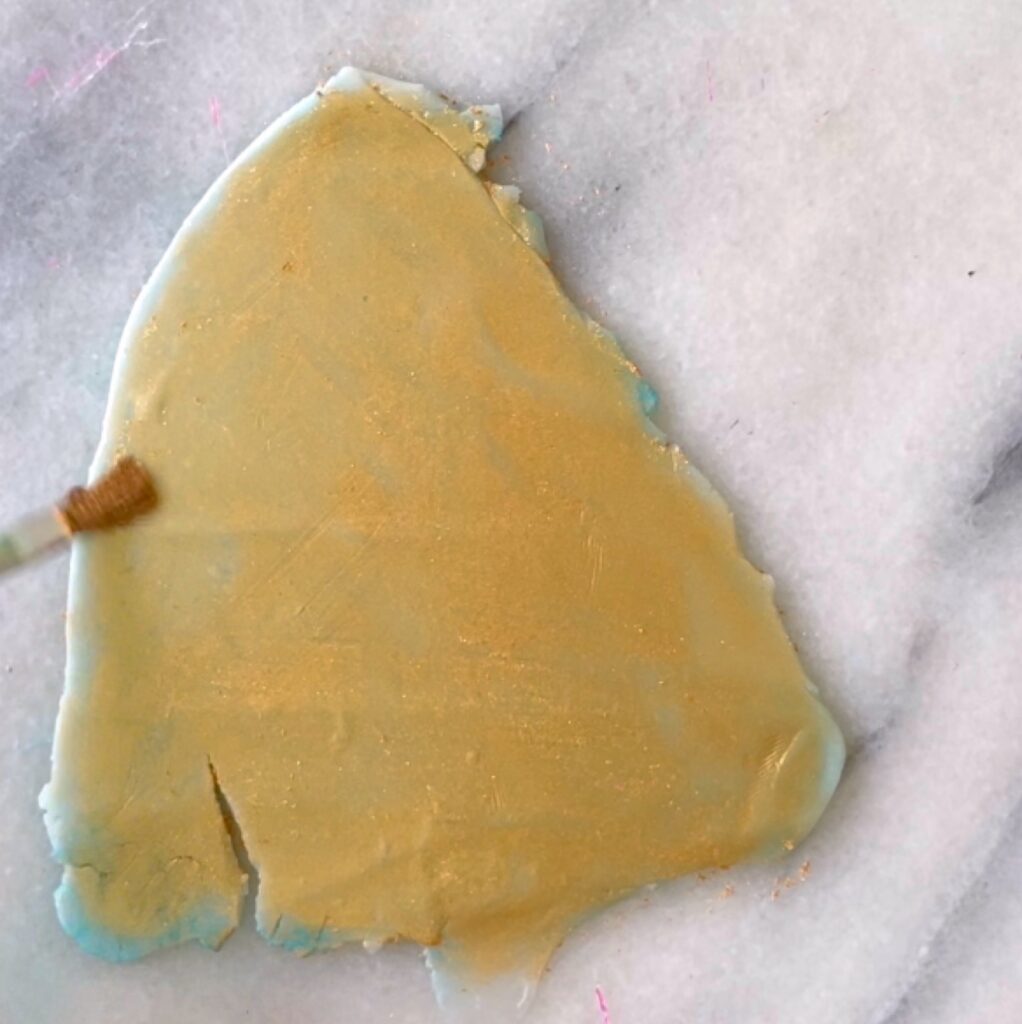
With a paint brush or your fingers, add mica powder to one side of the polymer clay
Step 3. Paint other side white
Turn the polymer clay slap around and paint the other side evenly with the white acrylic paint. Let it dry completely before moving to the next step.
Step 4. Roll the slab up
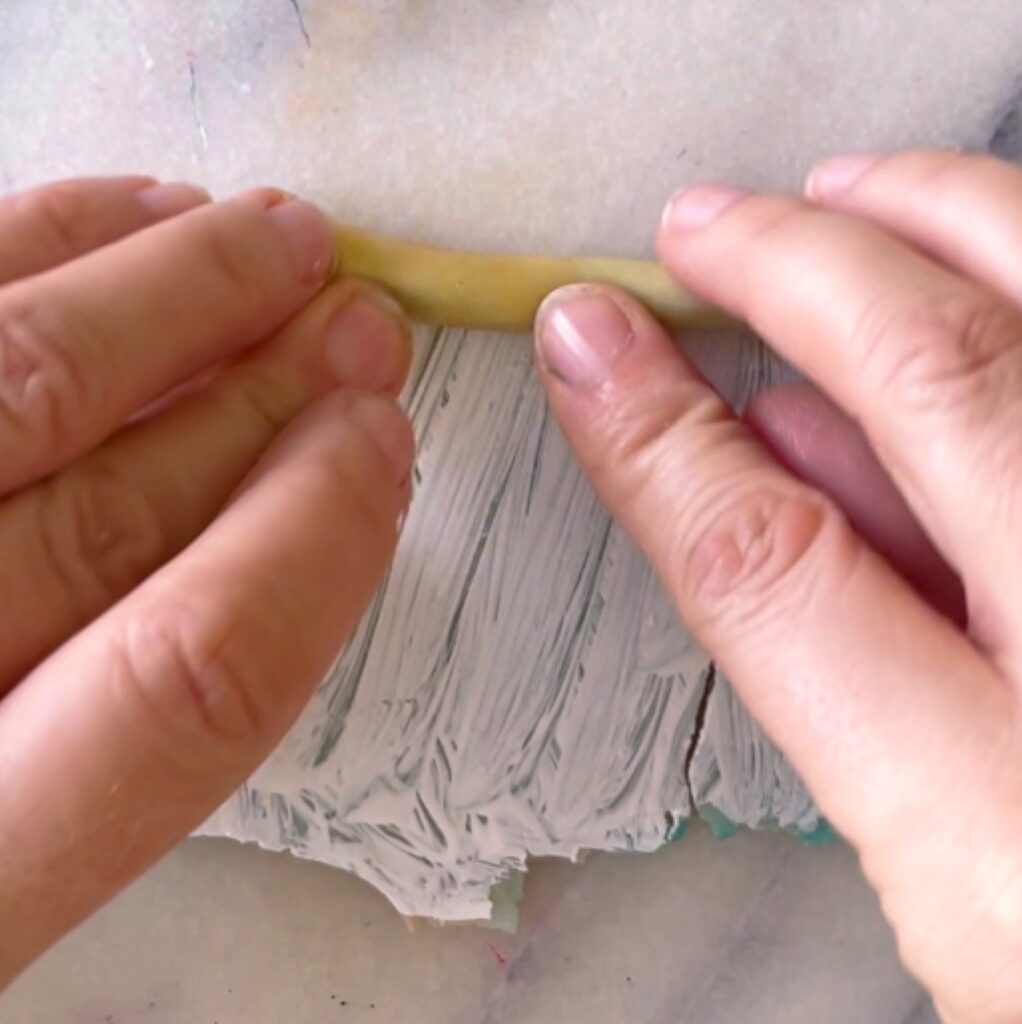
Starting from one side, roll the slab tightly into a long line. Then stack it up and roll again so all the clay is tightly fit together into one roll.
Step 5. Cut up the cane
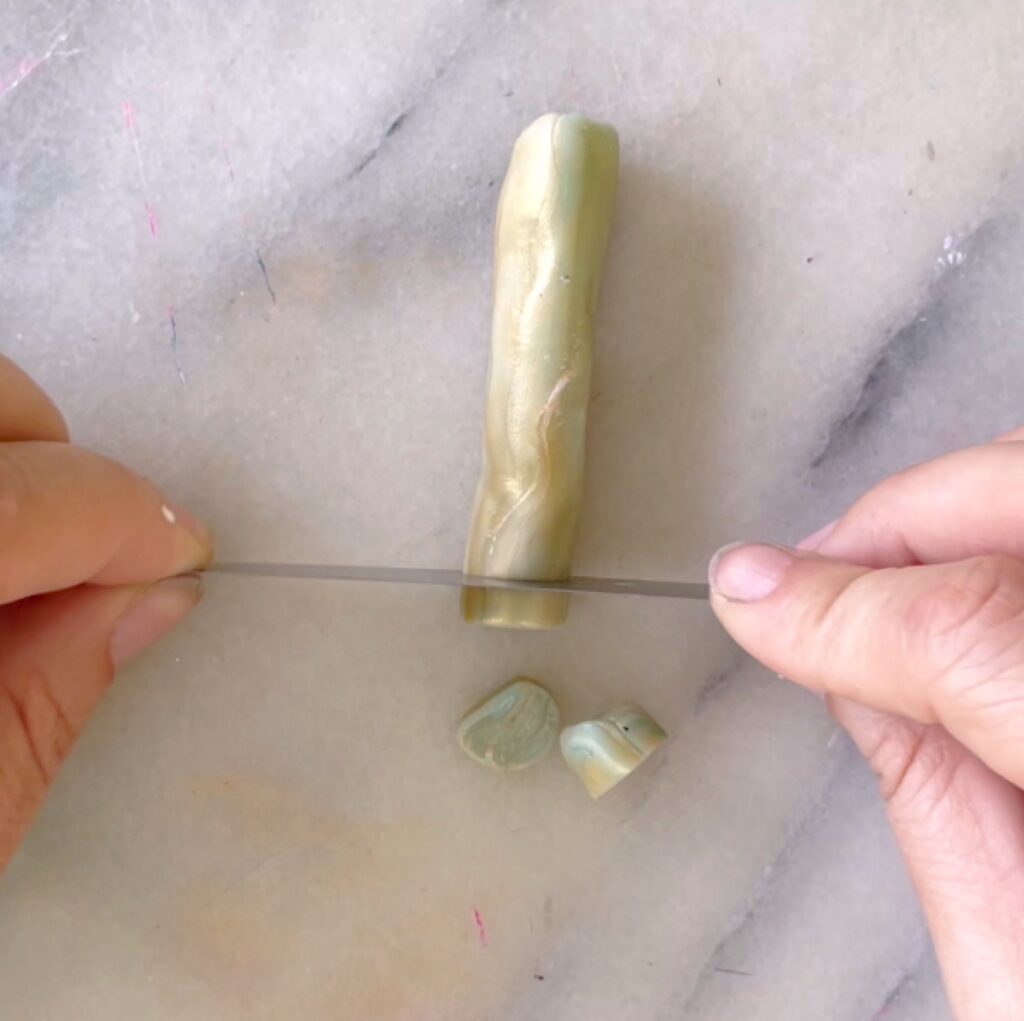
Now it is time to cut up the cane. The slices should be a bit thicker so it can still be rolled out into a new slab. Then place the pieces next to each other and press them together so they start to overlap and stick to each other.
Step 6. Rolling out the slab
Now roll out the slab and you start seeing all the swirls of the white paint and gold mica coming through. The polymer clay might stick to the rolling pin at the start, but just keep pushing it back into the slab and eventually it all will become one beautiful slab. It is best to use a rolling pin with the 1/8″ rubber band on each side to keep the thickness of the slab even.
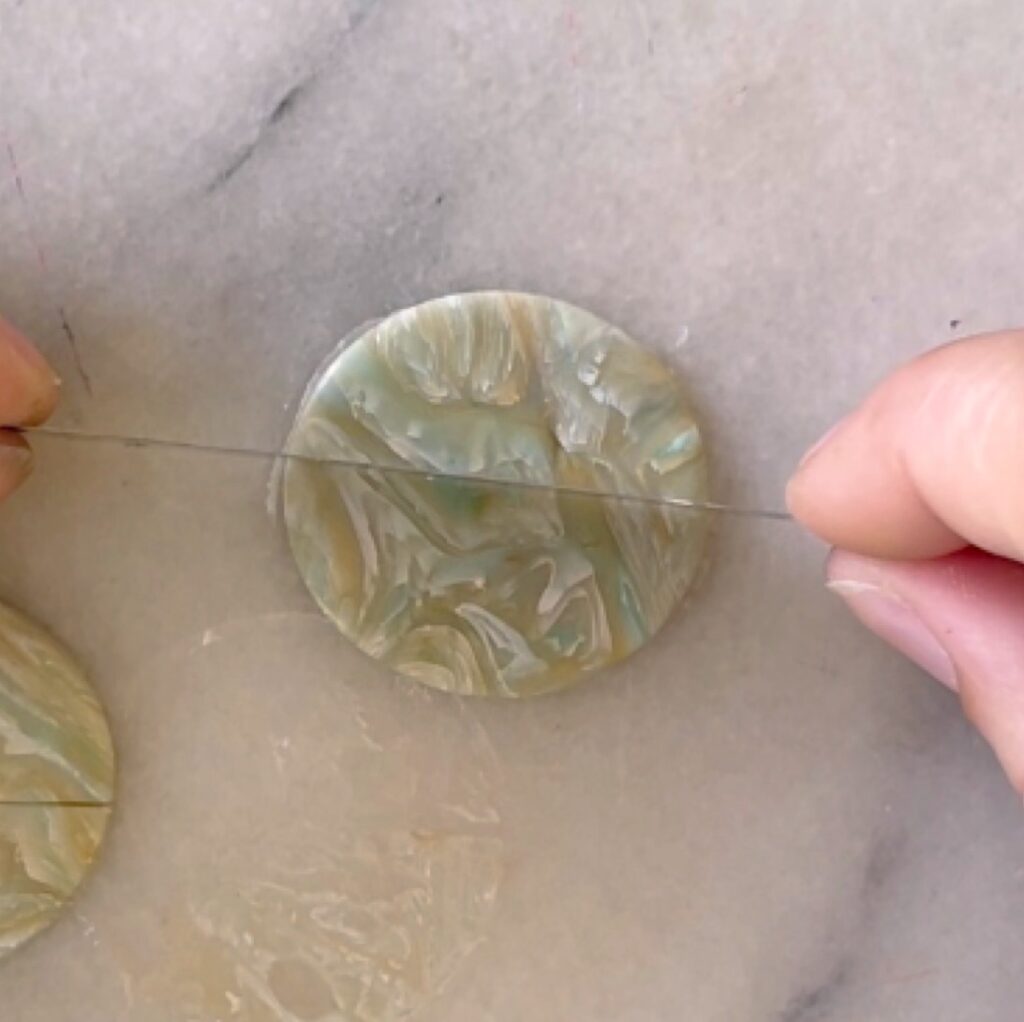
Step 7. Cutting the circles
Once the slab has the correct thickness, use your cutters to cut 2 circles from the slab.
I always put by slab on a ceramic tile at this point so I can back the cut pieces directly on them without having to transfer the pieces to another surface. This way they stay true to their form and are not being distorted.
Step 8. Cutting in half, adding holes, backing
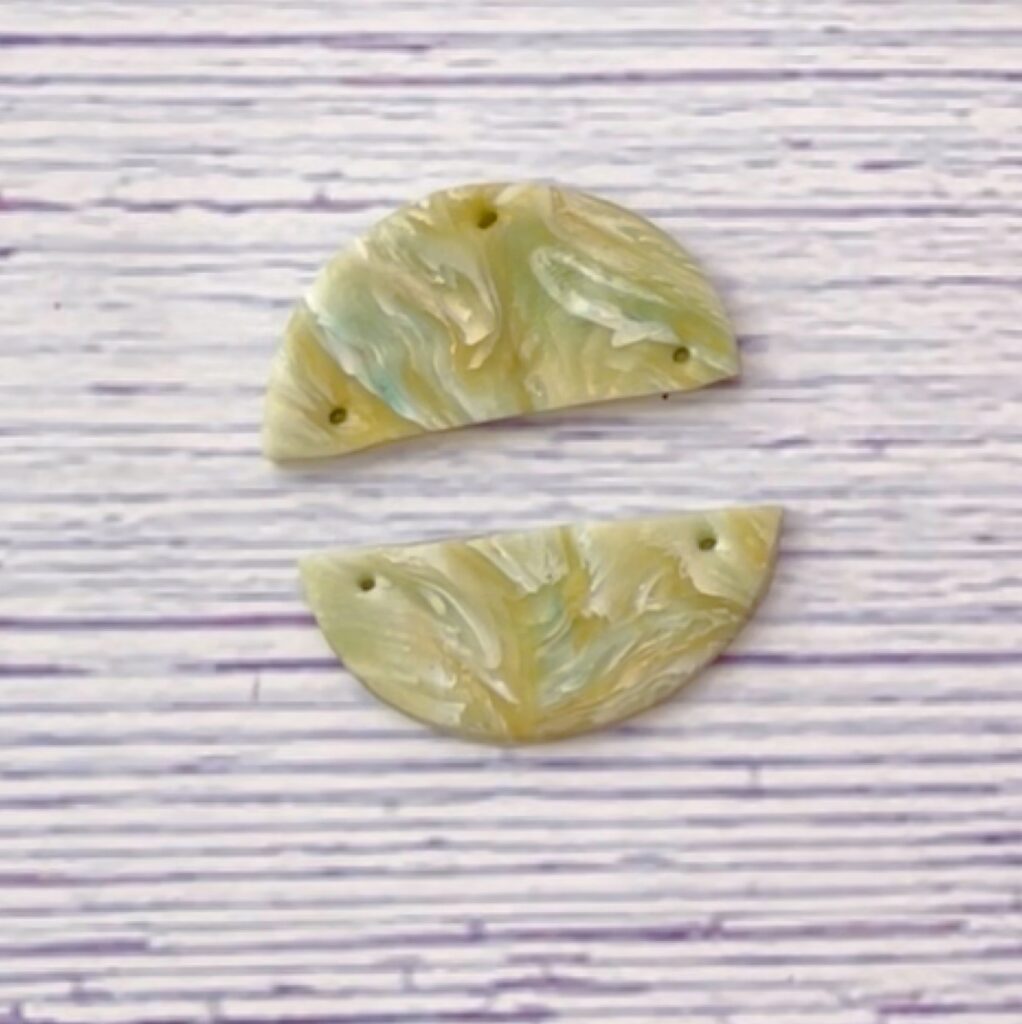
To create the 2 half moon pieces, I use the blade to cut each circle in half. I also add the holes for the jumprings before baking them with a toothpick. Then back it in the oven according to the manufacturer instructions. I normally have the temperature set to 230 and leaf it in for 30 minutes.
Step 9. Adding jewelry findings
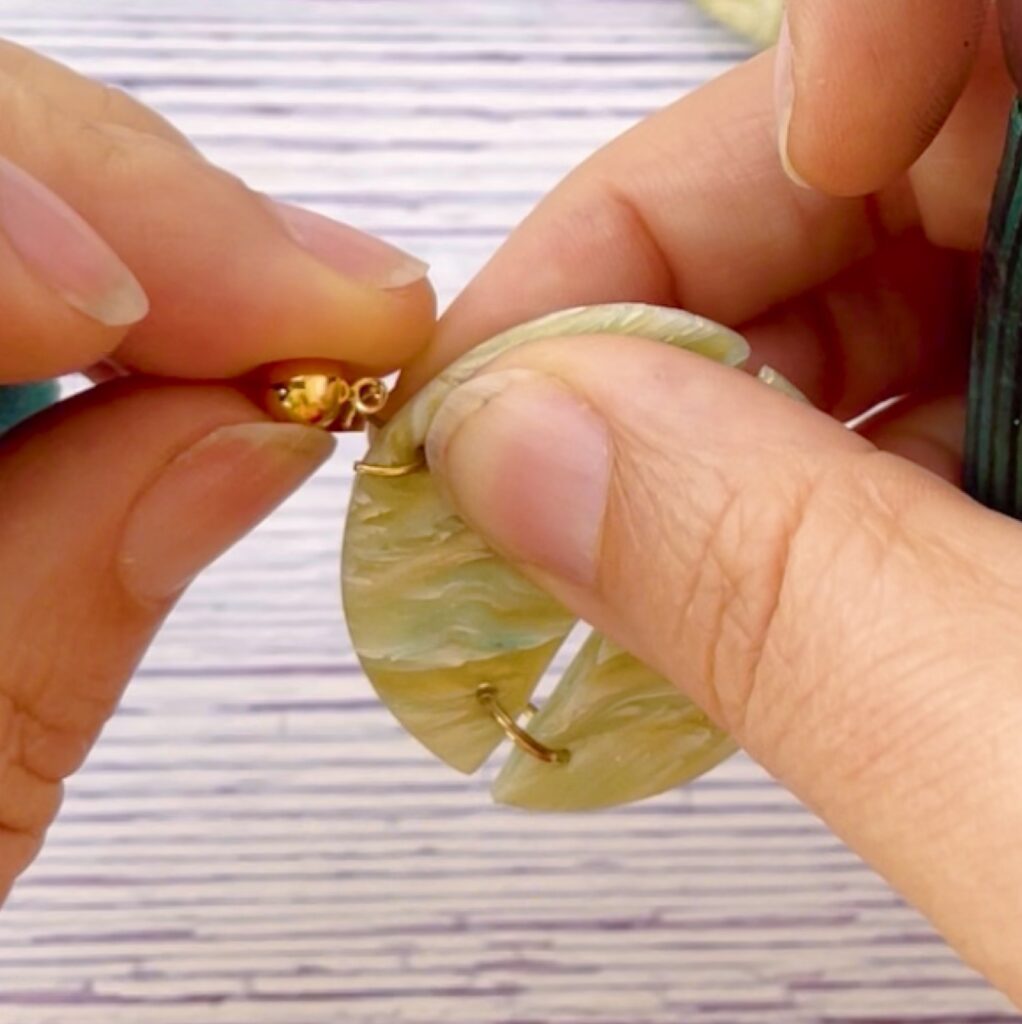
Once the pieces have backed and cooled, it is time to assemble them into earrings. Add jumrings to connect the 2 halves. Then add the earring findings to the top of the circle with a jumpring as well.
More Free Tutorial
Want to make even more fun pieces? Check out these Crafting on the Fly creations!
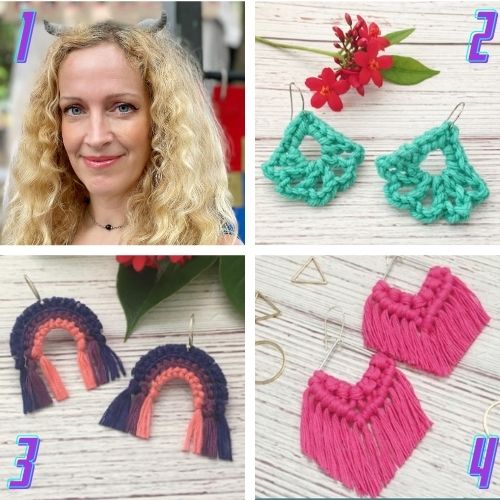
- Cosplay Horns – Create cute horns with air dry clay
- Crochet Earrings – Crochet fun dangle earrings
- Rainbow Earrings – Stitch these large rainbow earrings
- Macrame Earrings – Make these macrame statement earrings